This post may contain affiliate links. Please read my disclosure and privacy policy.
When I walked into my kitchen this afternoon, I had no intention of making cheesy crackers.
To be honest, I’ve never really considered myself much of a cracker person.
I’m definitely more of a chip person, and this recipe is the result of a failed attempt at “homemade Doritos” for the Superbowl this weekend. With most of our friends still experimenting with a Paleo-style diet, I thought a grain-free, non-processed chip might be appreciated for the big game.
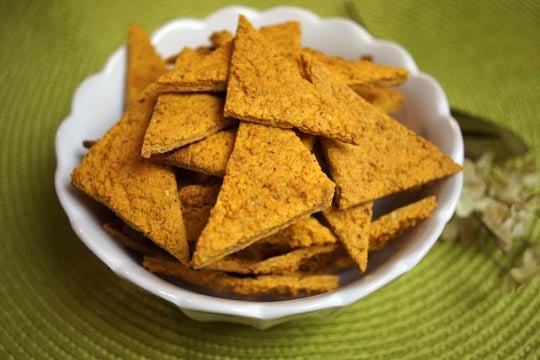
While the result was a far cry from Doritos… I ended up with a bowl of of tasty Cheez-It style crackers!
Don’t you love happy accidents?
—
Vegan Nacho Cheez-Its (Paleo-friendly)
makes a 9″ x 13″ pan of crackers
Ingredients:
1 1/2 cups raw Brazil nuts, soaked and rinsed (cashews or almonds work, too!)
1 red bell pepper, roughly chopped
1 tablespoon fresh lemon juice
1/2 teaspoon garlic powder
1/2 teaspoon onion powder
1 teaspoon sea salt
2 tablespoons Nutritional Yeast
Directions:
Begin by soaking the nuts in filtered water for at least a couple hours– soaking times vary depending on the nut you use, but I’m not too particular about that– then rinse and drain well.

Preheat your oven to 350F.
In a high-speed blender, process the bell pepper and all of the seasonings together until you have a smooth, brightly colored sauce.

*Note: If you don’t have a powerful blender, you can use a food processor instead, but it may take up to 10 minutes to get a smooth consistency.
Transfer the batter to a 9″ x 13″ baking sheet, lined with parchment paper, and use a spatula to spread it out evenly.
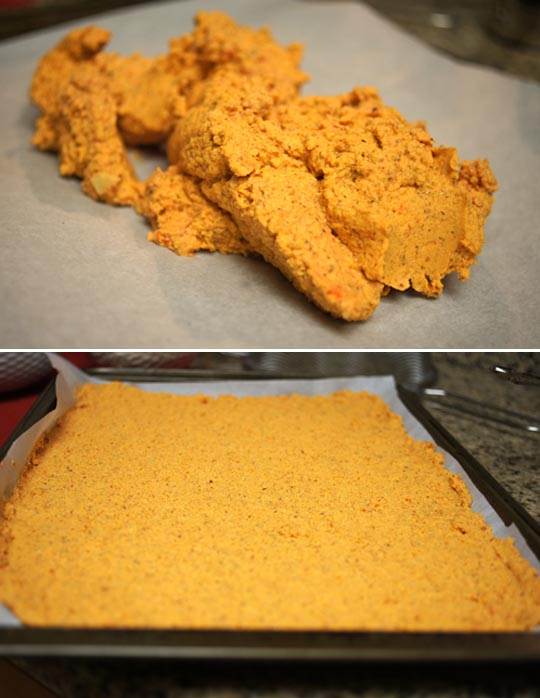
Bake at 350F for 20 minutes, then remove from the oven and use a pizza cutter to score the cracker shapes.
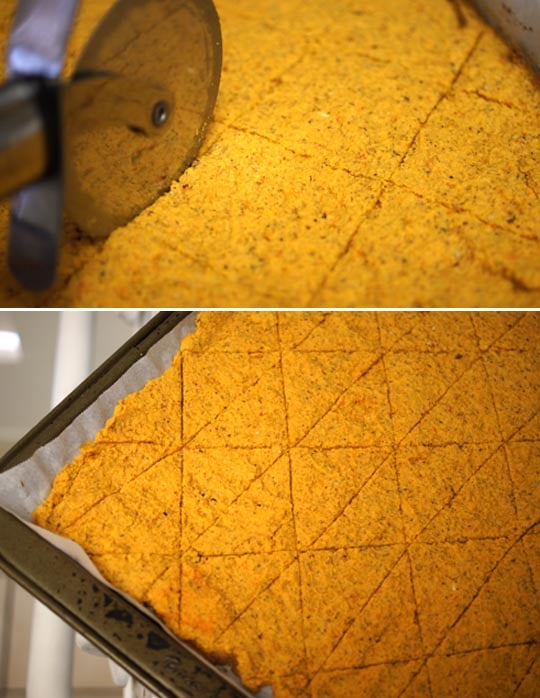
Return to the oven, to bake for another 10-15 minutes, or until firm enough to move without losing their shape.
Watch closely, as you don’t want them turning too brown!
For a nice and crisp cracker, you’ll want to flip them over to bake on both sides. To do this, I simply placed a second pan (lined with a Silpat) on top of my cracker pan, and flipped them over! The parchment paper will come with your crackers, and you’ll need to gently peel it off to bake the bottom sides of your crackers.
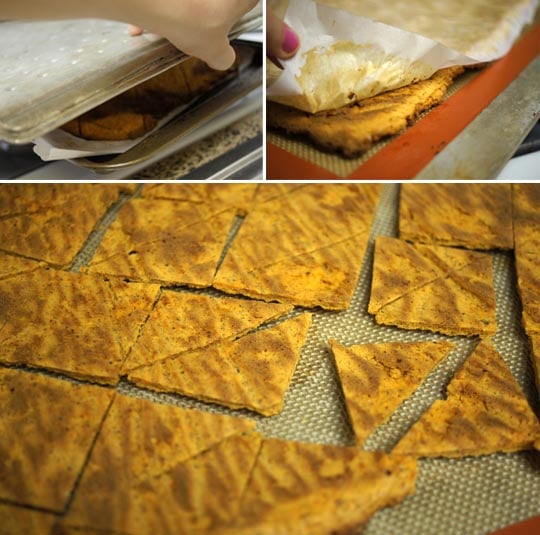
Allow the crackers to cool completely, then serve!
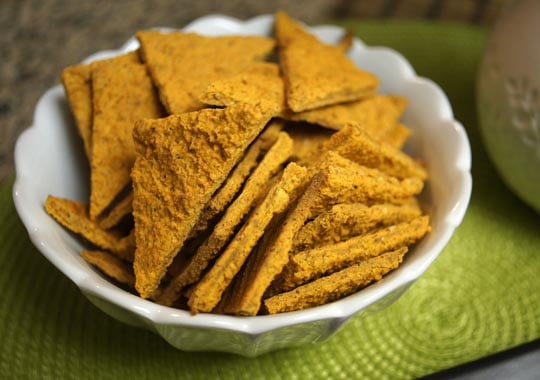
Next time, I’ll be making a double batch.

Ingredients
- 1 1/2 cups raw Brazil nuts , soaked and rinsed (cashews or almonds work, too!)
- 1 red bell pepper , roughly chopped
- 1 tablespoon fresh lemon juice
- 1/2 teaspoon garlic powder
- 1/2 teaspoon onion powder
- 1 teaspoon sea salt
- 2 tablespoons Nutritional Yeast
Instructions
- Begin by soaking the nuts in filtered water for at least two hours, then rinse and drain well.
- Preheat your oven to 350F.
- In a high-speed blender, process the bell pepper and all of the seasonings together until you have a smooth, brightly colored sauce. Add in the nuts, and blend again, until thick and creamy. *Note: If you don't have a powerful blender, you can use a food processor instead, but it may take up to 10 minutes to get a smooth consistency.
- Transfer the batter to a 9" x 13" baking sheet, lined with parchment paper, and use a spatula to spread it out evenly. If the batter starts sticking to the spatula, use wet hands to smooth out the top!
- Bake at 350F for 20 minutes, then remove from the oven and use a pizza cutter to score the cracker shapes.
- Return to the oven, to bake for another 10-15 minutes, or until firm enough to move without losing their shape.Watch closely, as you don't want them turning too brown!
- For a nice and crisp cracker, you'll want to flip them over to bake on both sides. To do this, I simply placed a second pan (lined with a Silpat) on top of my cracker pan, and flipped them over! The parchment paper will come with your crackers, and you'll need to gently peel it off to bake the bottom sides of your crackers. My crackers naturally separated where I scored them upon flipping, making them easy to work with.
- Return to the oven for another 10 minutes, or until they reach your desired crispiness.
- Allow the crackers to cool completely, then serve!
Nutrition
Per Serving: Calories: 365, Fat: 32g, Carbohydrates: 10g, Fiber: 4g, Protein: 9g
—
By the way, even my 2-year-old niece LOVED these crackers–> so they’re kid approved!!
Hope you all enjoy these crackers soon, too!




Would these be ok in an airtight container in the cupboard for a few days?
can i use an orange pepper?
Thanks you, these just came out of the oven. Delicious. I added paprika and some hotsauce to the mixture. I might try them at 325 degrees next time to dry them out more without browning.