This post may contain affiliate links. Please read my disclosure and privacy policy.
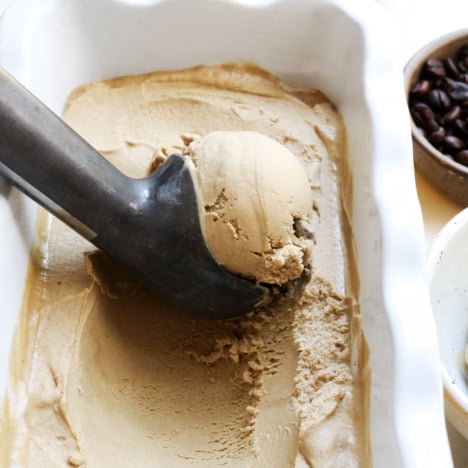
This Coffee Ice Cream is unbelievably creamy, and once you taste it, you’ll have a hard time believing it’s dairy-free! It’s possibly the best ice cream I’ve ever made, using only 3 simple ingredients. (No coconut milk required!)
Why You’ll Love It
- It’s coffee ice cream. Seriously, if you love coffee-flavored ice cream, you’ll love the flavor of this vegan version. My mother-in-law was one of my taste testers for this one, and she couldn’t believe it was dairy-free! It really does taste like “real” ice cream.
- No complicated ingredients. I originally started testing coffee ice cream recipes with instant coffee granules, but I figured it would be even easier if you could simply use home-brewed coffee. So, that’s all you need!
- Easy as possible. Just blend 3 ingredients until smooth, and pour into an ice cream maker.
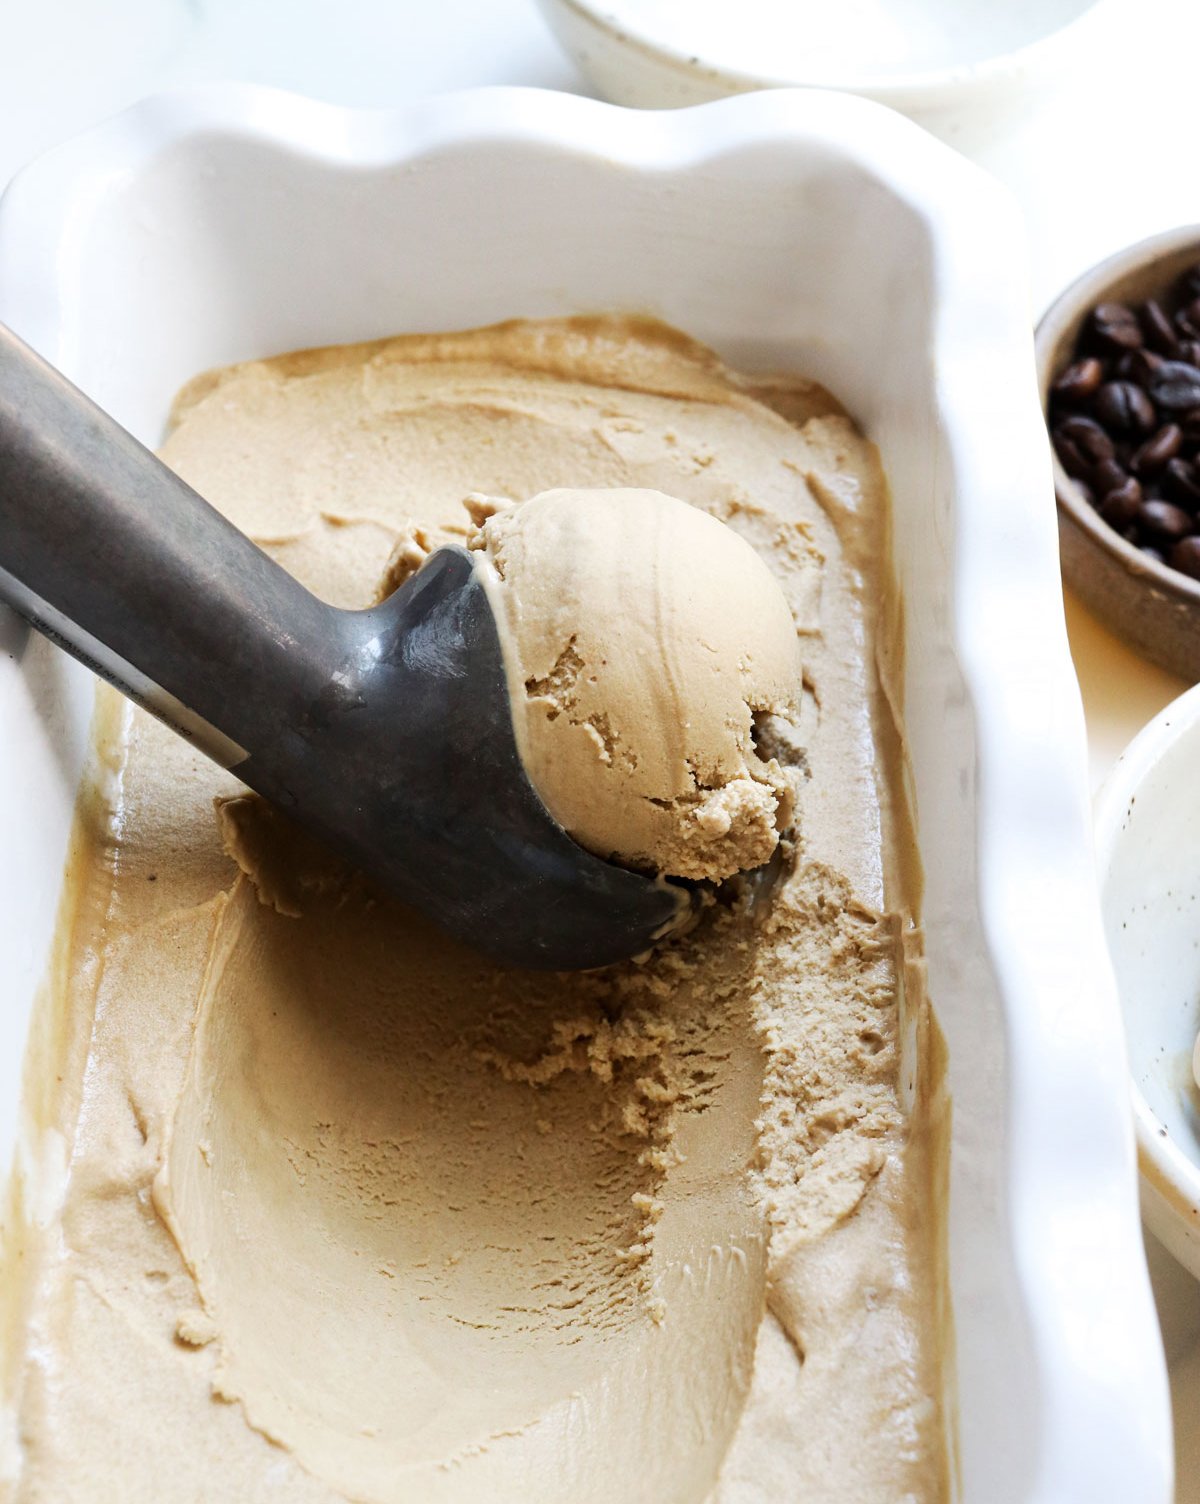
- It’s scoop-able. Have you ever made a dairy-free ice cream, only to find it turns rock-hard when you freeze it overnight? This vegan coffee ice cream is much more scoop-able than other recipes that use canned coconut milk. It’s still firm, but it’s not as “icy” in texture.
- It’s naturally sweetened. This ice cream is naturally sweetened with maple syrup, so it shouldn’t spike your blood sugar quite as much as traditional versions.
Did I mention it tastes amazing? My husband literally came home from work the day after I made this, craving another scoop. It’s so good!
How to Make It
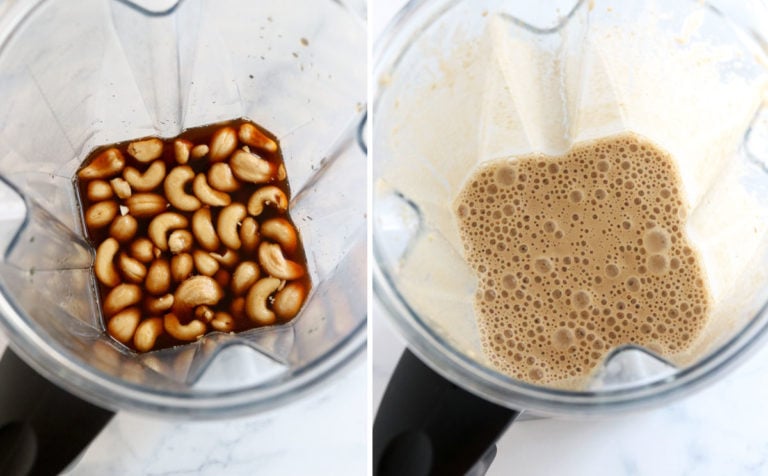
- Blend. Add the coffee, cashews, and maple syrup to a blender, and blend until very smooth. If you have a Vitamix, I recommend blending for a full 60 seconds, and using the tamper to make sure things are moving along. If you don’t have a high-speed blender, you may want to soak the cashews in the coffee for up to 2 hours in advance, to help them soften and blend easier.
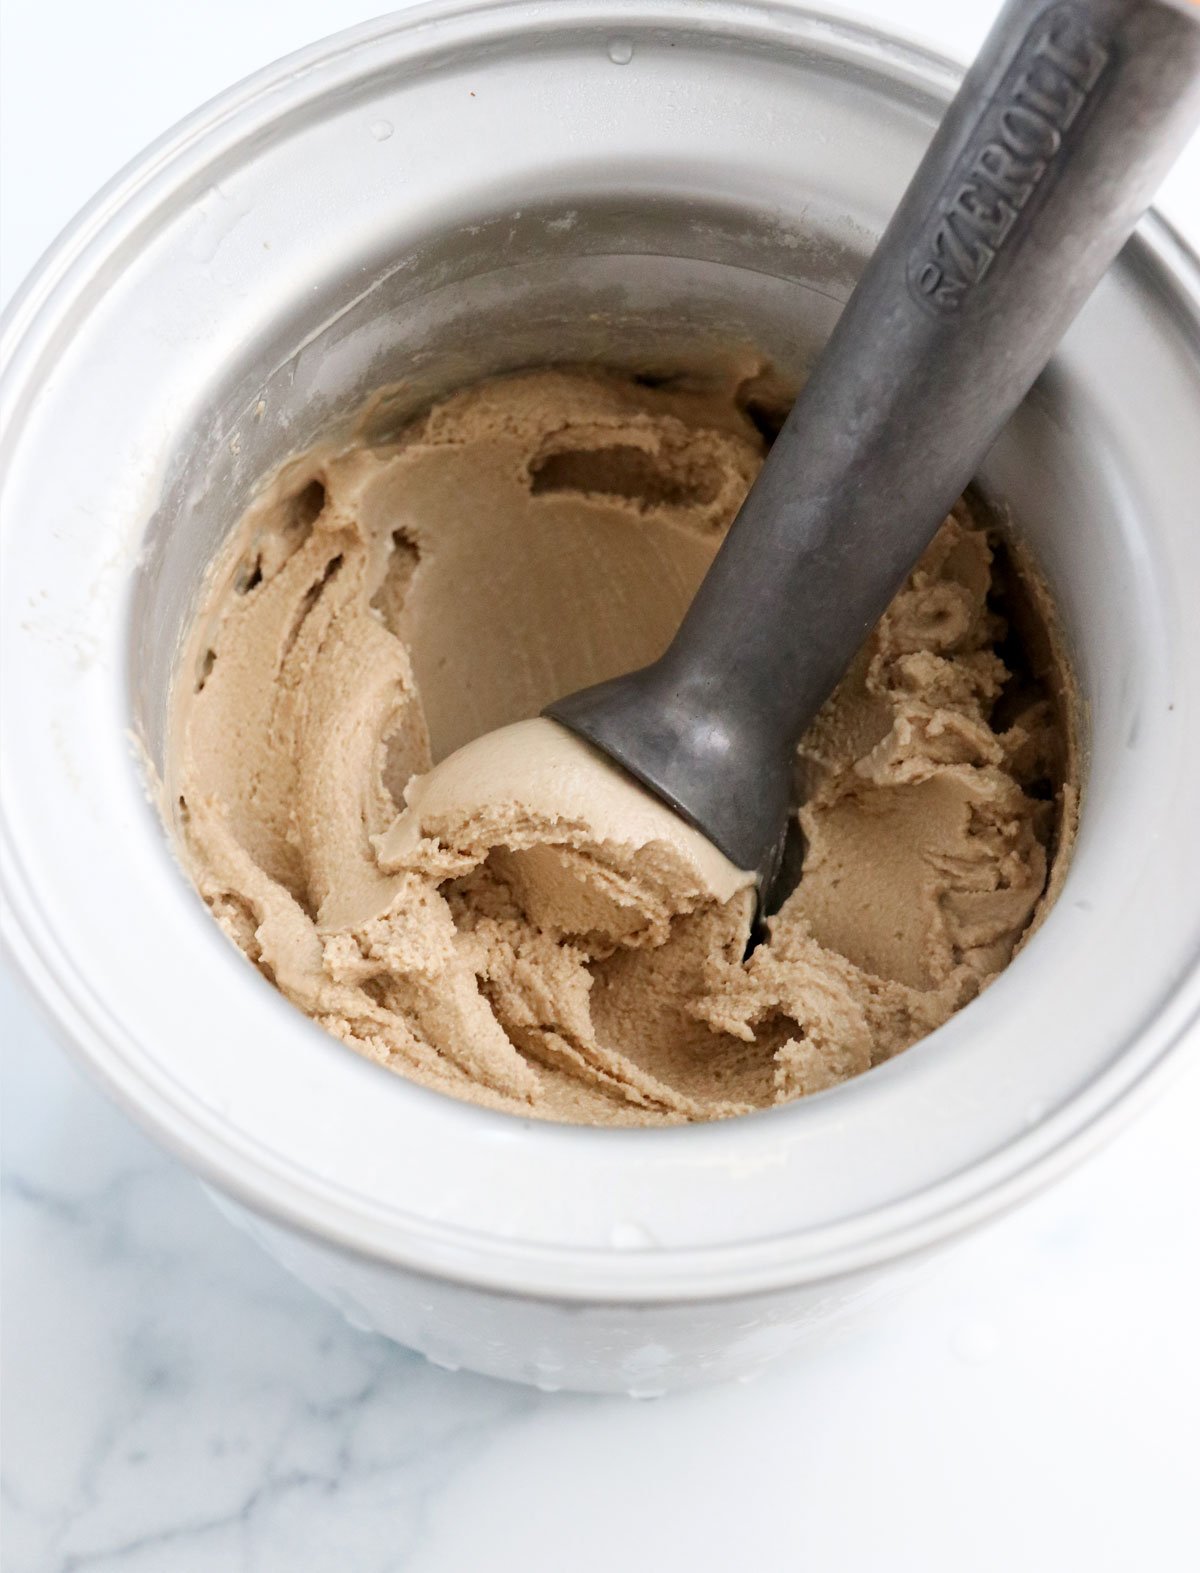
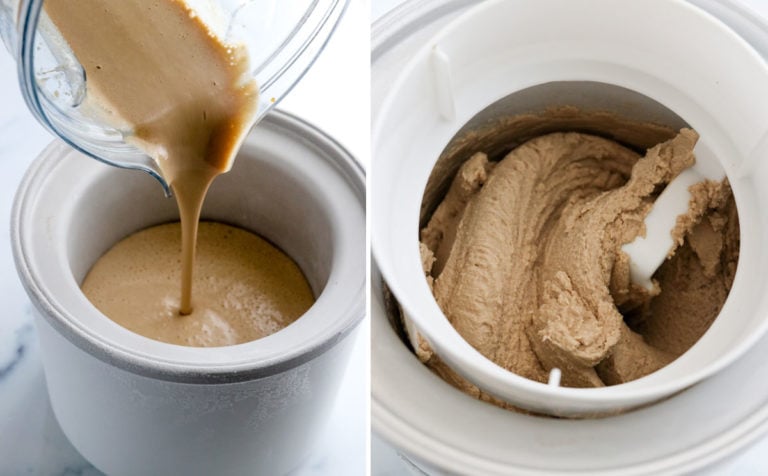
- Pour. Transfer the blended mixture into the bowl of your ice cream machine (make sure it’s been frozen for 24 hours in advance, if your machine requires that) and process until the ice cream is thick, about 30 to 35 minutes.
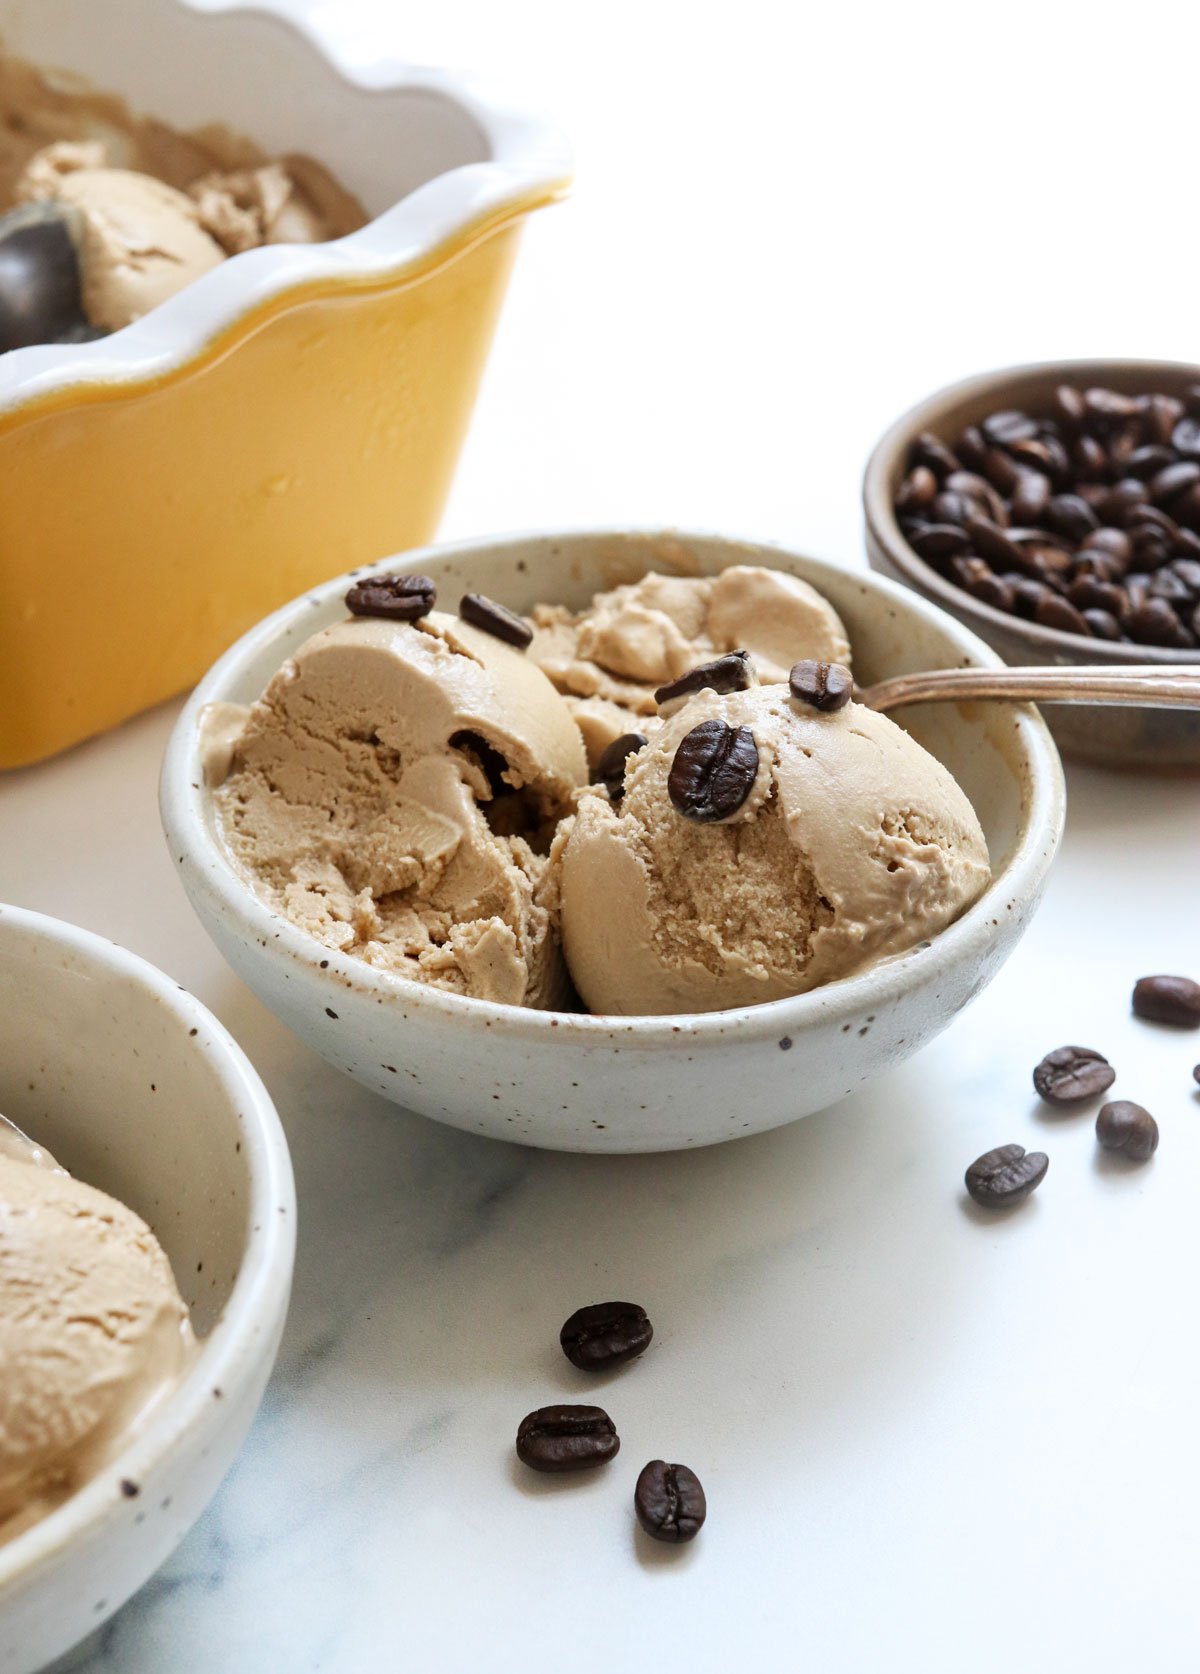
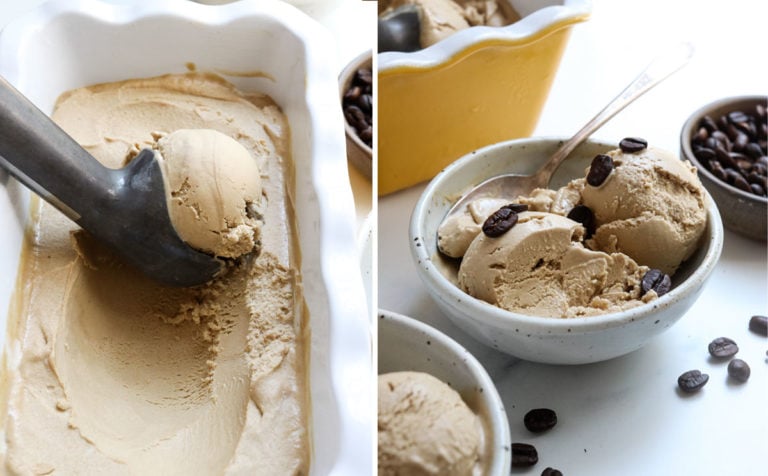
- Enjoy! You can enjoy this ice cream right away with a soft-serve consistency, or transfer it to an airtight container to store in the freezer. It will be more firm and scoop-able after you freeze it for 2 to 4 hours.
You can store this cashew based ice cream for up to 3 months in the freezer, and its flavor will be best if you keep it tightly covered.
How to Make it Without an Ice Cream Maker
Don’t have an ice cream maker? You can blend this mixture together, then pour it into an airtight container to freeze until solid, about 6 to 8 hours. The resulting ice cream will be slightly more icy in texture, but it still turns out delicious.
For even creamier results, you can stir the mixture every hour or so, to help incorporate more air into the ice cream, the way an ice cream maker does. The process just takes longer this way.
Variations
I have more ice cream recipes coming for you all Summer long, but if you want to experiment with this recipe as a base, here’s what I’ve tried so far.
- Almond Milk Ice Cream. Yes, I’ve tested this recipe with almonds instead of cashews, and the result is just as creamy, but the texture isn’t as nice. If you leave the whole almonds in the milk, without straining them out like you would when making almond milk, the resulting ice cream is very “fibrous.” My kids didn’t like it. If you strain out the pulp, you wind up with a more icy-textured ice cream, that is also delicious, but definitely not as creamy as this recipe. (And not scoop-able later– it freezes very hard!)
- Pistachio Ice Cream. This one is coming soon! You can use pistachios instead of cashews, and water instead of coffee. The pistachios leave a little more fiber in the final ice cream, so it’s a little grainier in texture, but it’s totally delicious.
- Almond Mocha Fudge. Try adding in some chopped almonds and swirls of vegan chocolate sauce, for a delicious variation.
- Coffee Caramel Crunch. Swirl in some date caramel and crunchy cacao nibs.
Could you possibly use hazelnuts, pumpkin seeds, or pecans? Possibly! I’ll let you know as soon as I try it out, and I hope you’ll share with me in the comments below if you experiment with it, too.
Ingredients
- 1 1/2 cups brewed coffee (cooled, 12 ounces)
- 1 1/2 cups raw cashews (206 grams)
- 1/2 cup maple syrup (155 grams)
Instructions
- If your ice cream maker requires a frozen bowl before you get started, make sure to freeze the bowl at least 24 hours in advance. Add the cold coffee, cashews, and maple syrup to a blender, and blend until very smooth and creamy, with no visible cashew pieces remaining.

- Pour the blended mixture into the frozen bowl of your ice cream machine, and then process until thick and creamy, about 30 to 35 minutes.
- Enjoy right away, for a soft-serve consistency, or transfer to an airtight container to store in your freezer. It will be more firm and scoop-able after 2 to 4 hours in the freezer, and will still be as scoopable as regular ice cream the next day! Store in the freezer for up to 3 months, as long as you keep it tightly sealed.
Video
Notes
Nutrition
If you try this coffee ice cream, please leave a comment below letting me know how you like it! And if you try any variations, I’d love to hear about those, too.
Reader Feedback: Which ice cream flavor would you like to see next?


Can I substitute coconut milk for the cashews? I made the chocolate one and it is to die for.