This post may contain affiliate links. Please read my disclosure and privacy policy.
Unlike store-bought veggie burgers, which are often filled with processed soy and other “fillers,” these veggie burgers are packed with veggies and millet. That’s it!!
Millet is hands-down my favorite grain. It’s alkaline in the body (remember we want our bodies to be slightly alkaline), and tastes wonderful!
Especially in this burger.
—
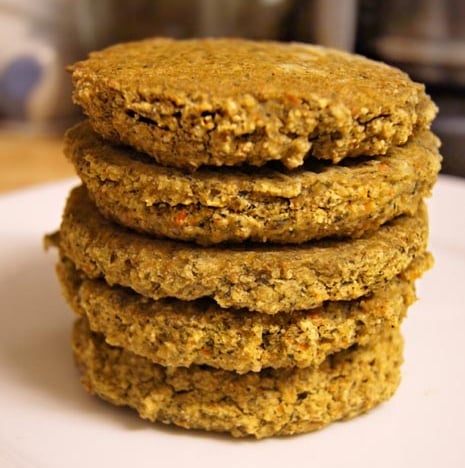
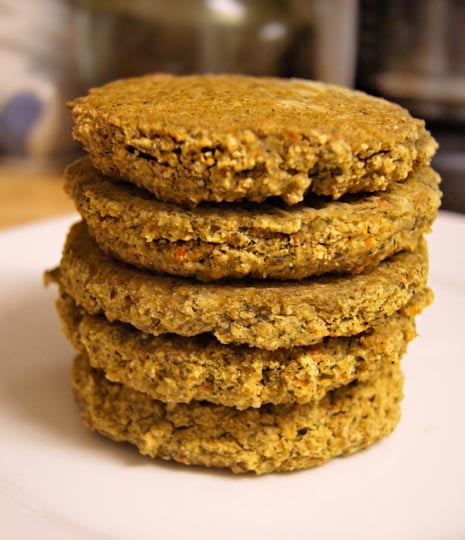
Millet Veggie Burger (vegan, gluten-free)
makes 7 patties
adapted from The Beauty Detox Solution
Ingredients:
1/2 cup dry millet (soak in water overnight, and rinse well)
1 1/2 cups water
1 large onion, finely chopped
3 cups arugula (or dark green of choice)
2 stalks celery, minced
2 carrots, minced
2 tsp. sea salt
1 T. cumin
1/2 tsp. chili powder
pinch of cayenne pepper
1 1/2 cups millet flour (or gluten-free flour of choice)
Directions:
Add the 1 1/2 cups of water to a saucepan, and bring it to a boil. Add the (soaked and drained) millet, reduce heat to a simmer, and cover for 15-20 minutes until tender.
In the meantime, preheat your oven to 400F and chop your veggies! I chopped the onions by hand, but got tired of chopping by the time I got to the celery. So I threw the roughly chopped carrots, celery and arugula into my food processor, instead!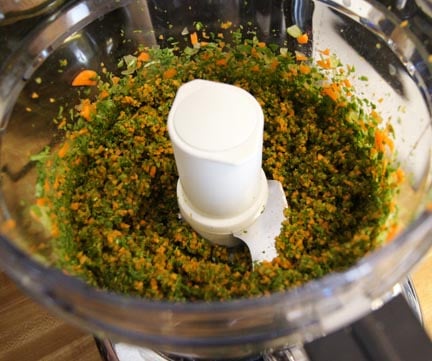
Sure, it’s one more bowl to clean– but the resulting mixture was so uniform!! Perfect texture for veggie burgers.
—
In a large saute pan, cook the onion in a bit of coconut oil until translucent, then add the rest of the finely chopped veggies.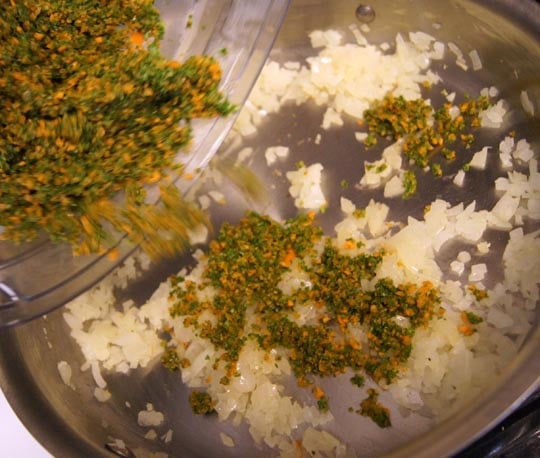
When they’re cooked, remove from heat, add the freshly cooked millet, and mix well.
Want to save this for later?
Transfer the mixture to a large mixing bowl, and add all of the seasonings, followed by the millet flour.
—
Note on Millet Flour: I made my own millet flour using my Vita-Mix. Simply throw 1 1/2 cups of dry millet into the blender, and let it blend for about a minute. (I don’t have a “dry” container, but my standard container worked just fine!) Oddly enough, 1 1/2 cups of dry millet makes MORE than 1 1/2 cups of millet flour! So be sure to measure it again, once it’s in flour-form.
*If you don’t own a Vita-Mix, you can buy a high-quality flour at your local health store and skip this step!
—
Mix your millet flour into the burger “dough:”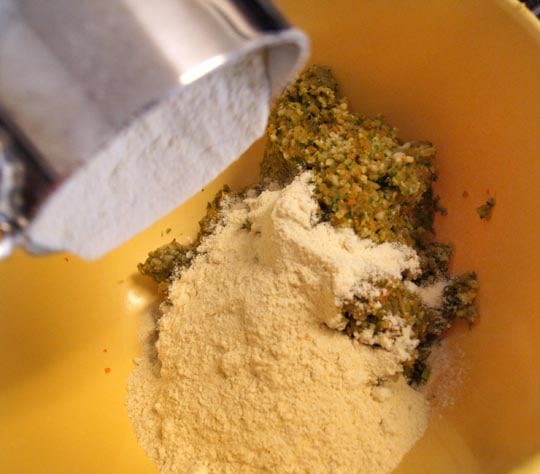
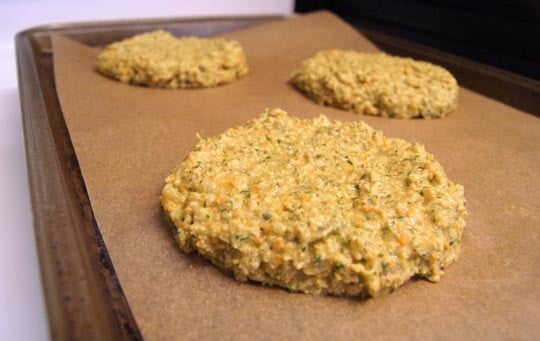
This mixture may be rather moist, but don’t worry. Simply scoop the dough with a 1/2 cup measuring cup, and plop it onto your baking sheet. I recommend lining a baking sheet with parchment paper for best results! Using your fingers, press the dough into burger-shaped patties, as shown above. Repeat until you have 7 similar patties.
Bake at 400F for 10 minutes, then flip and bake for another 10 minutes, or until firm and crispy on the outside!
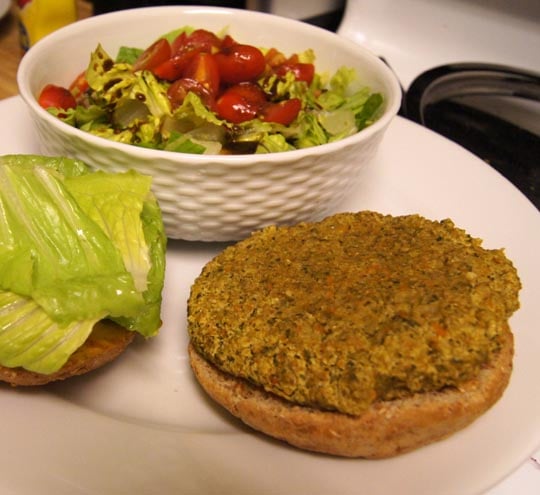
Serve immediately, while they’re still hot!

Ingredients
- 1/2 cup dry millet (soak in water overnight, and rinse well)
- 1 1/2 cups water
- 1 large onion , finely chopped
- 3 cups arugula (or dark green of choice)
- 2 stalks celery , minced
- 2 carrots , minced
- 2 tsp . sea salt
- 1 T . cumin
- 1/2 tsp . chili powder
- pinch of cayenne pepper
- 1 1/2 cups millet flour (or gluten-free flour of choice)
Instructions
- Add the 1 1/2 cups of water to a saucepan, and bring it to a boil. Add the (soaked and drained) millet, reduce heat to a simmer, and cover for 15-20 minutes until tender.
- In the meantime, preheat your oven to 400F and chop your veggies! (I recommend using a food processor to get a uniform consistency)
- In a large saute pan, cook the onion in a bit of coconut oil until translucent, then add the rest of your veggies. When they're tender, remove from heat, add the freshly cooked millet, and mix well.
- Transfer the mixture to a large mixing bowl, and add all of the seasonings, followed by the millet flour. (You can make your own millet flour using a Vita-Mix.)
- This mixture may be rather moist, but don't worry. Simply scoop the dough with a 1/2 cup measuring cup, and plop it onto your baking sheet. I recommend lining a baking sheet with parchment paper for best results. Using your fingers, press the dough into burger-shaped patties, as shown above. Repeat until you have 7 similar patties.
- Bake at 400F for 10 minutes, then flip and bake for another 10 minutes, or until firm and crispy on the outside. Serve immediately, while they're still hot!
Nutrition
Per Serving: Calories: 170, Fat: 2g, Carbohydrates: 33g, Fiber: 3g, Protein: 5g
—
The best part about this recipe? Plenty of leftovers!
In fact, next time I’m making a double-batch. While these burgers were a little more time-consuming than most recipes I make, I certainly don’t mind spending a bit more time in the kitchen when I end up with a week or more worth of meals–> they’ll keep well in the freezer!
Hope you enjoy them as much as we do!


I just tried this recipe and they turned out absolutely amazing. I halved the recipe because I live alone, but I’ll definitely do the whole recipe next time and freeze some. I used spinach for the dark green and skipped the cayenne because spicy food doesn’t like me. I also used almond flour, since I had that on hand. Other than that, I followed the recipe. I did have to cook them a few minutes extra to get them crispy around the edges. I’m pre-diabetic and have been looking for healthier recipes and wanted to start playing with some ancient grains. The millet did not disappoint. This is one of those recipes that is so good, I’m in danger of making it too often and getting tired of it. I need to pace myself! I can never eat store-bought or restaurant veggie burgers again. Thanks for sharing your recipe.
I don’t know what i did wrong but these are liquid and will not set. They went into the oven solid and just melted. Impossible to turn over, just a stressful mush!
So sorry to hear that! This is an old recipe, so I’ll have to re-test it to troubleshoot that issue. I hope you were able to salvage them for a salad topping, even if they didn’t hold together.
Hi Jo, I will definitely add to this burger mixture flax “egg”, or maybe 2 Tbsp.of whole psylium husks. This recipe is not complete for me as is missing binding ingredient.
Love the flavor in the millet burgers! Served on Portobello mushrooms on a bed of lettuce. Wonder about the need to soak the millet – does the grinding of the millet into flour take care of the digestive issues? Also looking for a way to boost the protein. Any suggestions?
These have great texture and flavor! Will definitely be making a double batch next time!
Great recipe, easy to make and very tasty! Thanks for creating and sharing!