
This post may contain affiliate links. Please read my disclosure and privacy policy.

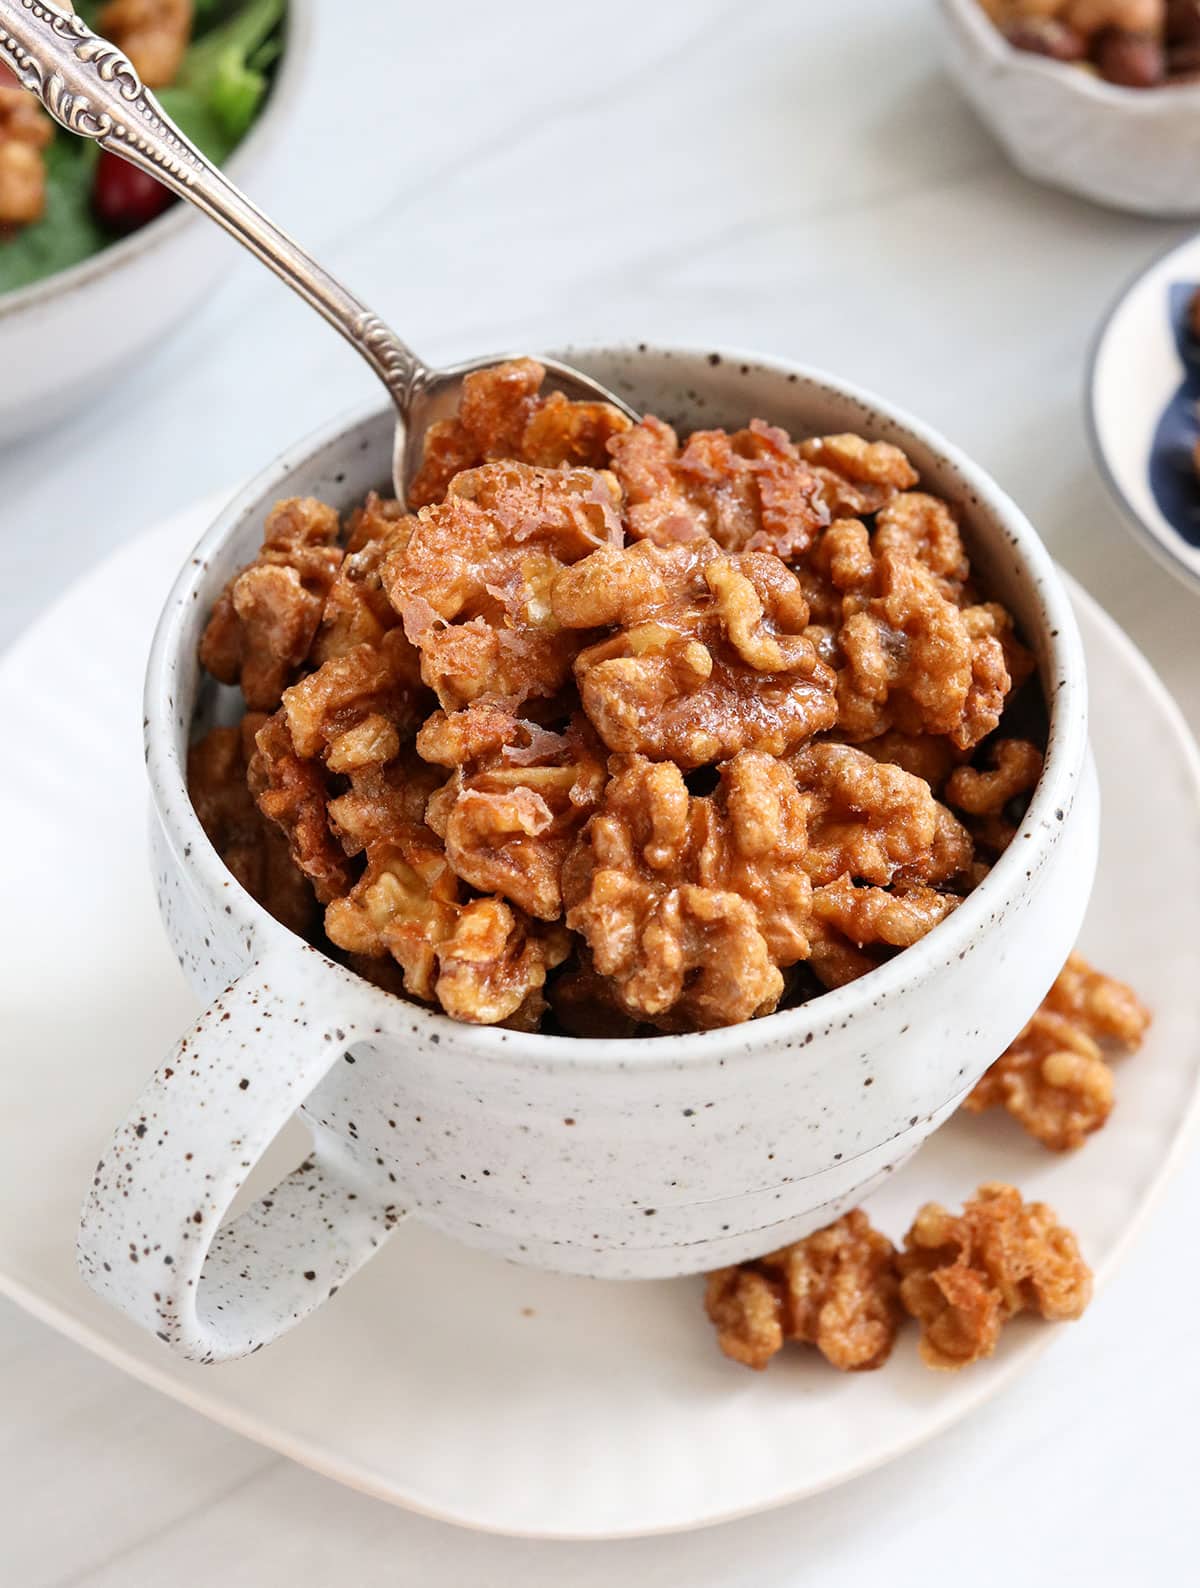
I had no idea it was THIS easy to make candied walnuts with maple syrup. They turn out just as crispy as the traditional version, without relying on butter or refined sugar. All you need is 15 minutes of effort!
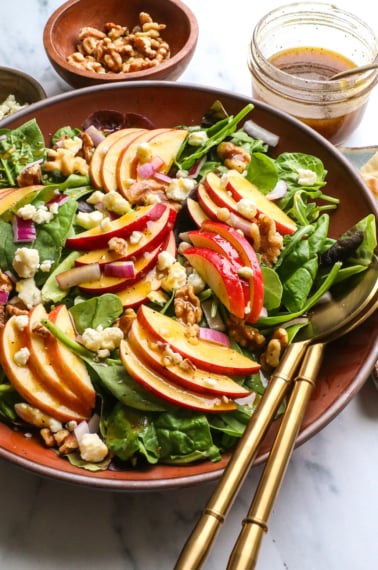
Sprinkle these over a Thanksgiving salad or Pear Gorgonzola Salad for an amazing salad experience, or serve them in a bowl next to your favorite Cranberry Sauce for a holiday meal.
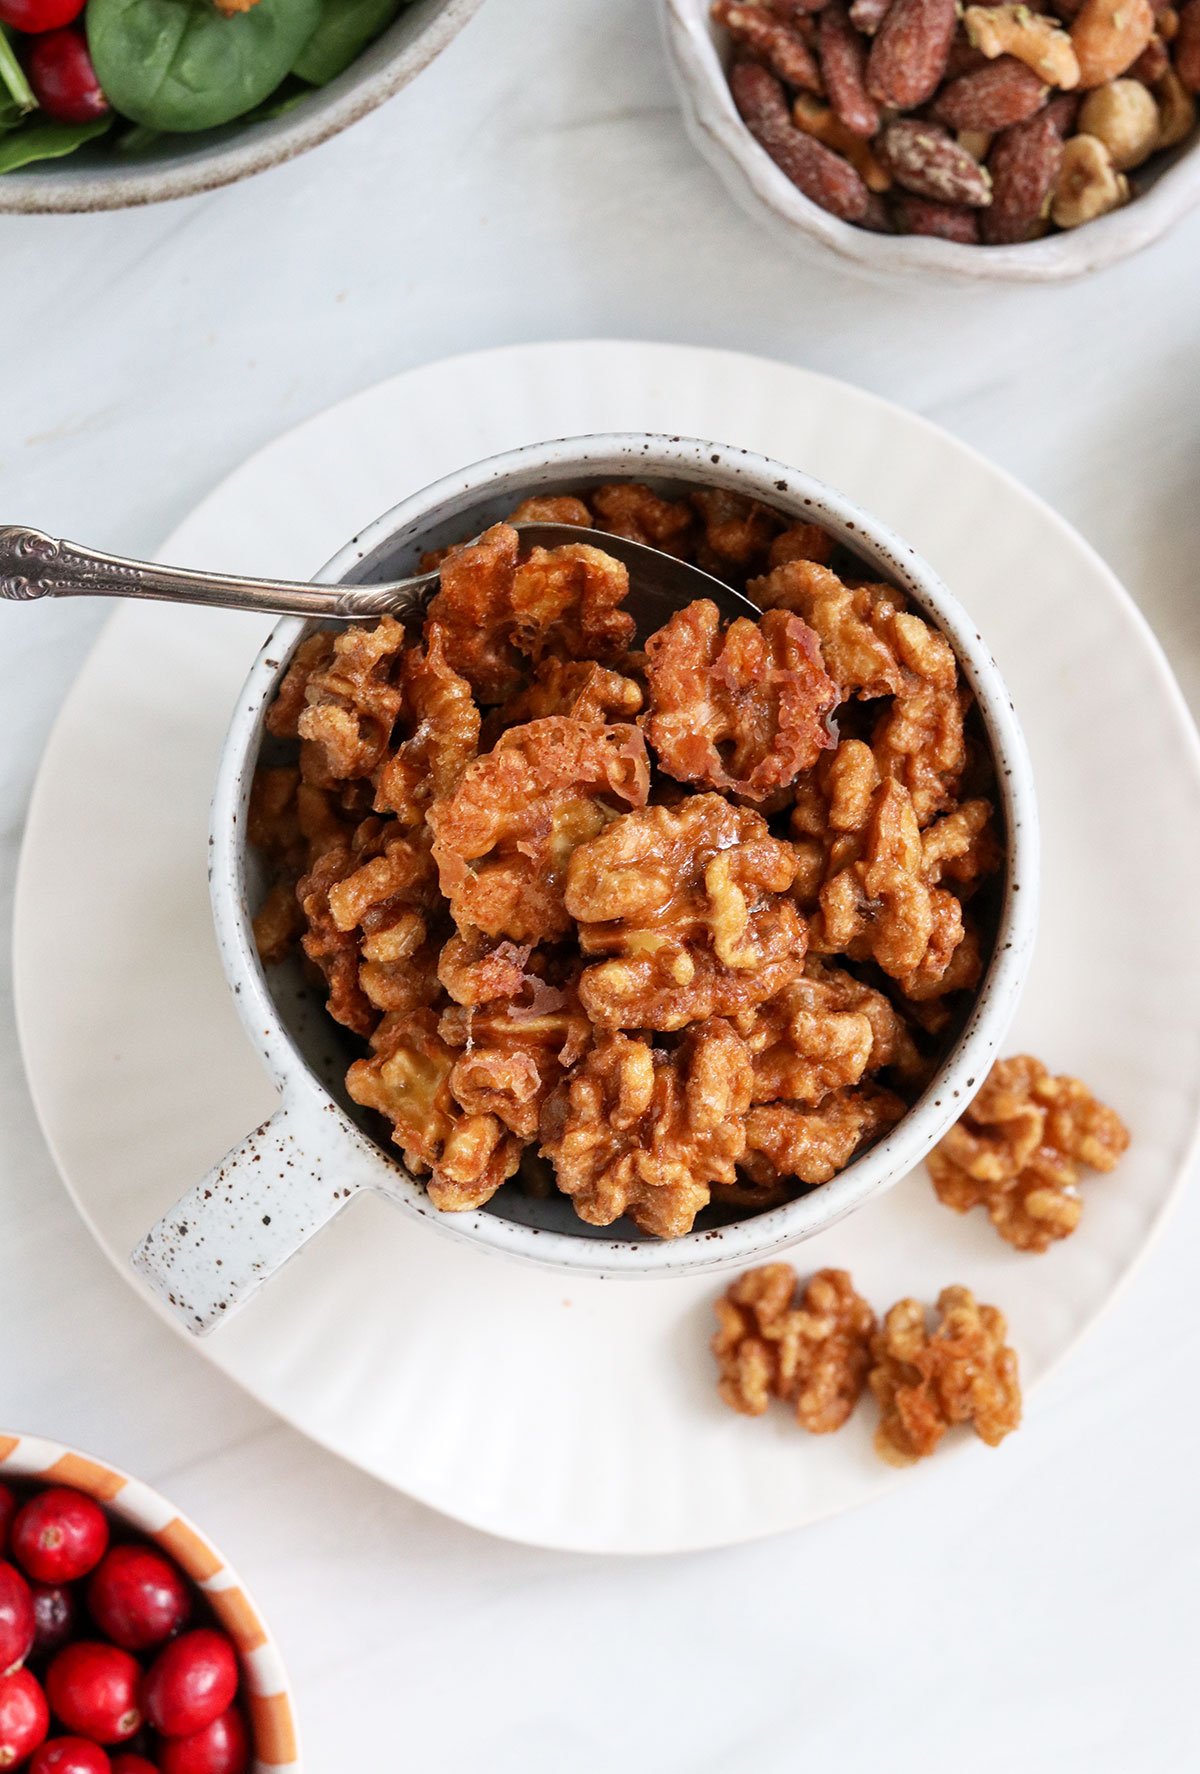
These were a hit with my family and friends this holiday season! I went to Costco and grabbed a few bags and made them to give as gifts to all my neighbors. SO good and so easy!
Table of Contents
Why You’ll Love These
- They’re unbelievably easy. All you need is 3 ingredients, and about 10 minutes of effort to make these candied nuts at home. The candy coating is simply maple syrup & salt!
- They’re delicious. The walnuts develop a rich flavor and crispy texture, thanks to the caramelized maple syrup. A touch of salt takes the flavor over the top!
- They’re great for special diets. If you are serving guests who need to avoid dairy or white sugar, these nuts are made without the need for a butter or egg white sugar mixture. They are naturally vegan and gluten-free.
- They are easy to customize. If you have a different nut on hand, like pecans or almonds, this recipe will work for those, too! You can also add extra flavor by adding in a dash of cinnamon, a pinch of cayenne pepper (for a spicy addition), or any other spice you love.
Ingredients You’ll Need
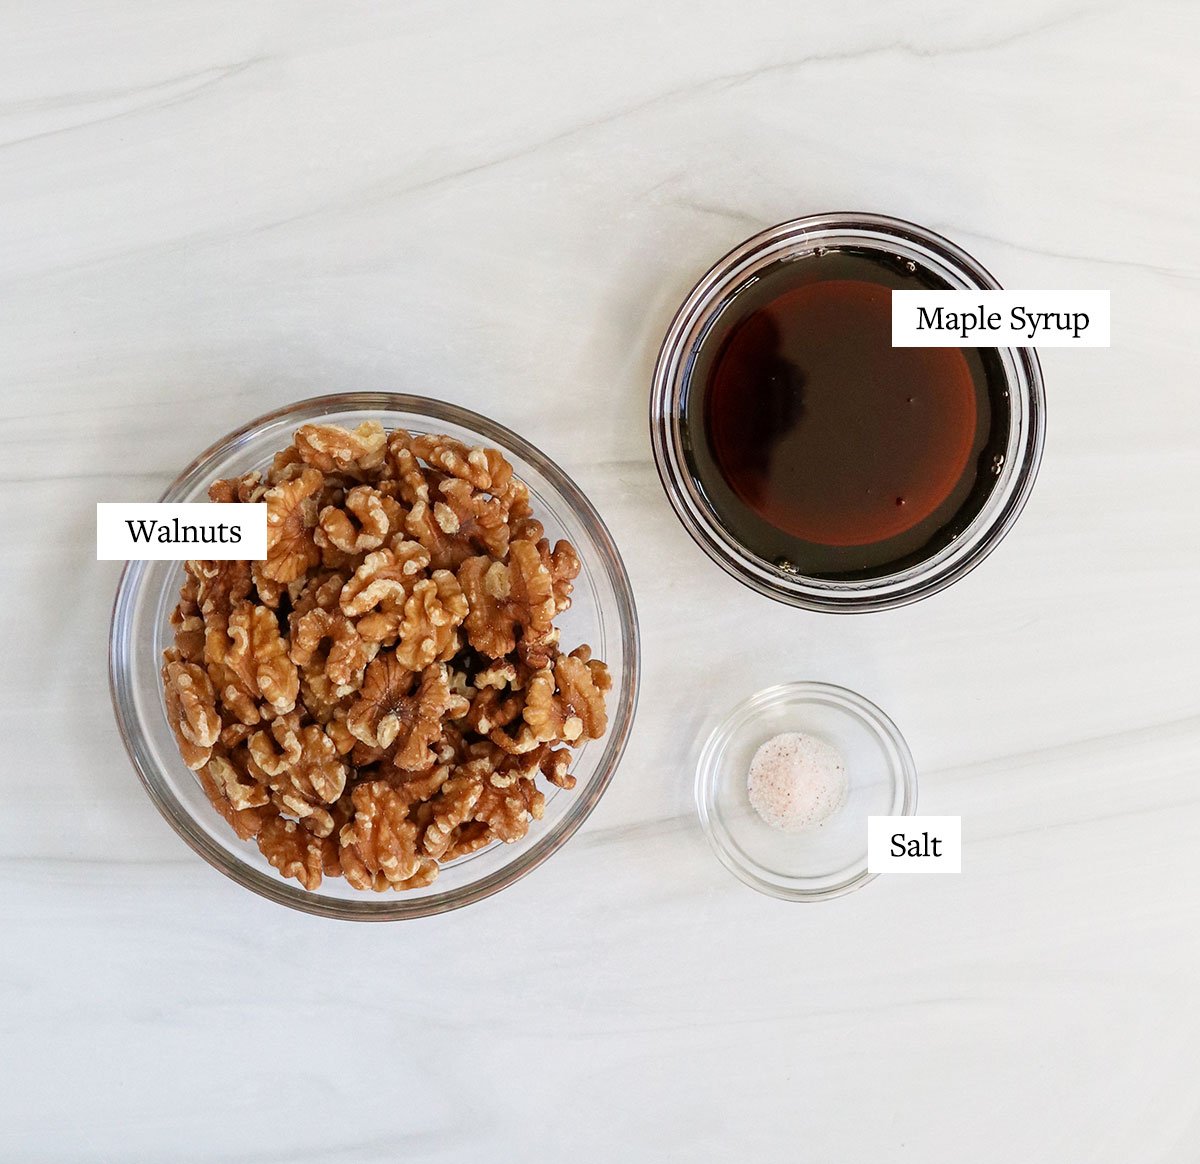
- Walnuts. I use plain walnuts to get started that are not roasted or salted. If you’d rather make this with pecans or almonds, that will work, too.
- Maple Syrup. Don’t confuse this natural sweetener with processed pancake syrup. The only ingredient on the label should be pure maple syrup.
- Salt. I use fine sea salt (Real Salt brand) which is a pink salt, but any salt should work. This is necessary for balancing out the sweetness and boosting the overall flavor.
How to Make Maple Candied Walnuts
Step 1:
Preheat your oven to 350ºF and line a baking sheet with parchment paper, so you are ready for the next steps. This recipe moves quickly!
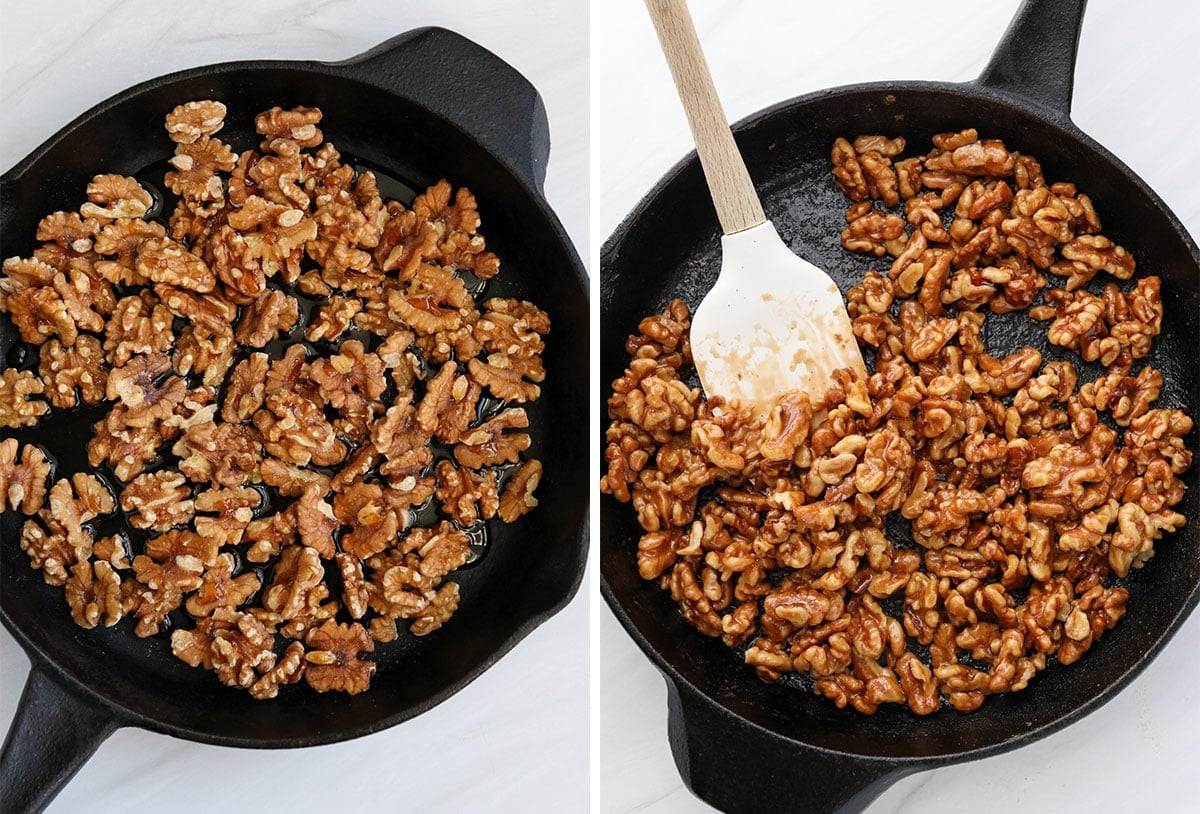
Add the walnuts, maple syrup, and salt to a 10-inch skillet or saucepan over medium heat. When the maple syrup starts to bubble, stir the walnuts with a wooden spoon, or spatula, for about 3 minutes.
The syrup will thicken and start to stick to the walnuts. When the timer goes off, carefully transfer the walnuts from the pan to the parchment-lined baking sheet.
Step 2:
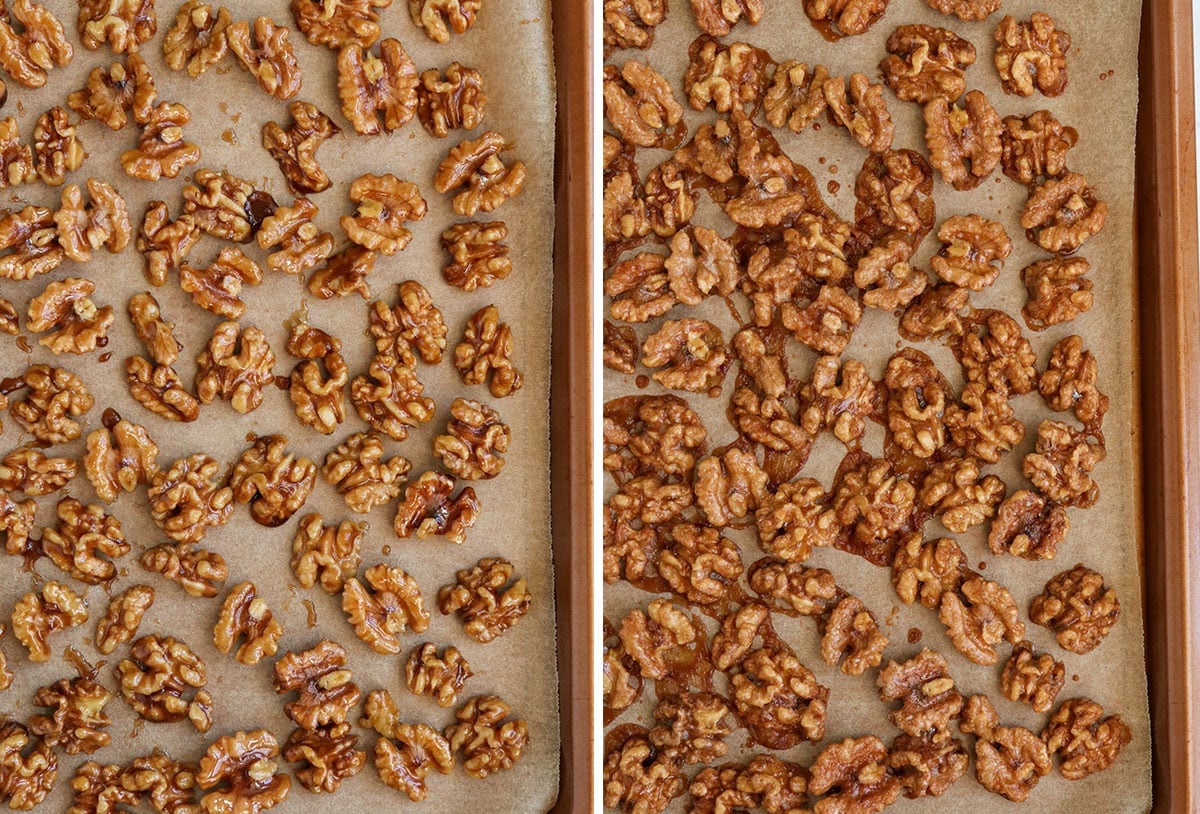
Use two forks or spatulas to spread the walnuts out in a single layer. They will want to stick together, but you’ll get the best results if they are separated. (This way you won’t wind up with a large chunk of crunchy walnuts.)
Bake the walnuts in a single layer for 5 to 7 minutes at 350ºF. You’ll see some of the maple syrup bubbling on the pan, and the walnuts might look slightly more cloudy on top.
Step 3:
Remove the pan from the oven, and let the walnuts cool completely. This should take 10 to 15 minutes.
Once the walnuts are cool, they should feel dry to the touch. Break apart any pieces that have stuck together, then they are ready to serve.
Leftovers can be stored in an airtight container for up to a week at room temperature, or you can store them for up to 1 month in the fridge.
Candied Walnuts with Maple FAQs
If you skip the oven step, you’ll make glazed walnuts rather than candied ones. In that case, they feel slightly sticky (cook them for 5 minutes in that case). They will have a glossy appearance, but can develop a tacky feel the longer they sit out at room temperature. Baking them in the oven makes them crispy and crunchy, so that’s what I recommend.
You can add a splash of vanilla extract or cinnamon, but keep in mind that the maple and walnuts are already strong flavors, so it’s not very noticeable when you add extra ingredients. I tried adding fresh rosemary to one batch, and I couldn’t taste it at all over the maple and walnut flavors!
Traditional recipes use a 1/4 cup of granulated sugar + 1 tablespoon of butter in a skillet per 1 cup of walnuts. Feel free to experiment with that, if you’d like to! (I’m not sure the oven will be necessary in that case, so you may want to refer to other recipes if you want to go that route.)
No, I used a cast iron skillet for this recipe, and sticking was not an issue. The maple syrup will start to stick to the pan as it cools (after you’ve removed the walnuts) so I recommend soaking the pan in water for 10 minutes, then gently scrub it until the pan is clean again. The syrup will dissolve right off!
More Walnut Recipes

If you try these candied walnuts with maple syrup, please leave a comment and star rating below to let me know how you like them. Thanks for visiting!
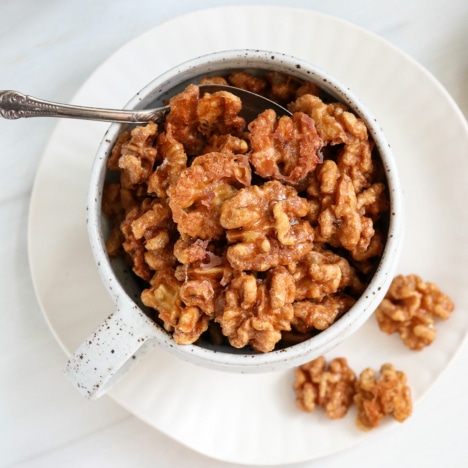
Candied Walnuts with Maple Syrup (No Butter!)
Ingredients
- 2 cups walnuts
- ⅓ cup pure maple syrup
- ⅛ teaspoon fine sea salt
Instructions
- Preheat the oven to 350ºF and line a large baking sheet with parchment paper. In a large skillet over medium heat, combine the walnuts, maple syrup and salt.
- Stir often, until the walnuts are toasted and the maple syrup is starting to stick to the nuts, about 3-5 minutes. The walnuts should look glossy, with less maple syrup visible on the pan.
- Transfer the cooked walnuts to the parchment lined baking sheet, and use two forks or spatulas to carefully separate the nuts into a single layer. (Don't use your hands, the hot maple syrup will stick to them!)
- Place the walnuts in the oven to bake at 350ºF for 5 to 7 minutes, then remove the pan and let them cool completely. (This should take 15 minutes or so.) When the walnuts are cool, break apart any nuts that have cooked together, and enjoy them straight off the pan, or in a serving bowl.
- These candied walnuts can be stored in an airtight container for up to 1 week, or for up to 1 month in the fridge. Serve them over salads for extra crunch!







This is phenomenal!
Easy and delicious. I made this to go with the All Hail to Kale salad. Subbed frozen mango for papaya bc that’s what I had. We took it camping and it was great!
These were a hit with my family and friends this holiday season! I went to costco and grabbed a few bags and made them to give as gifts to all my neighbors. SO good and so easy!
I love simple ingredient recipes that taste great! Thank you for sharing 😋, this has been perfect for my sweet tooth! And a perfect addition to salads, oatmeal, desserts…..
Added. To my banana bread as roping