This post may contain affiliate links. Please read my disclosure and privacy policy.
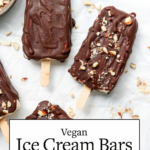
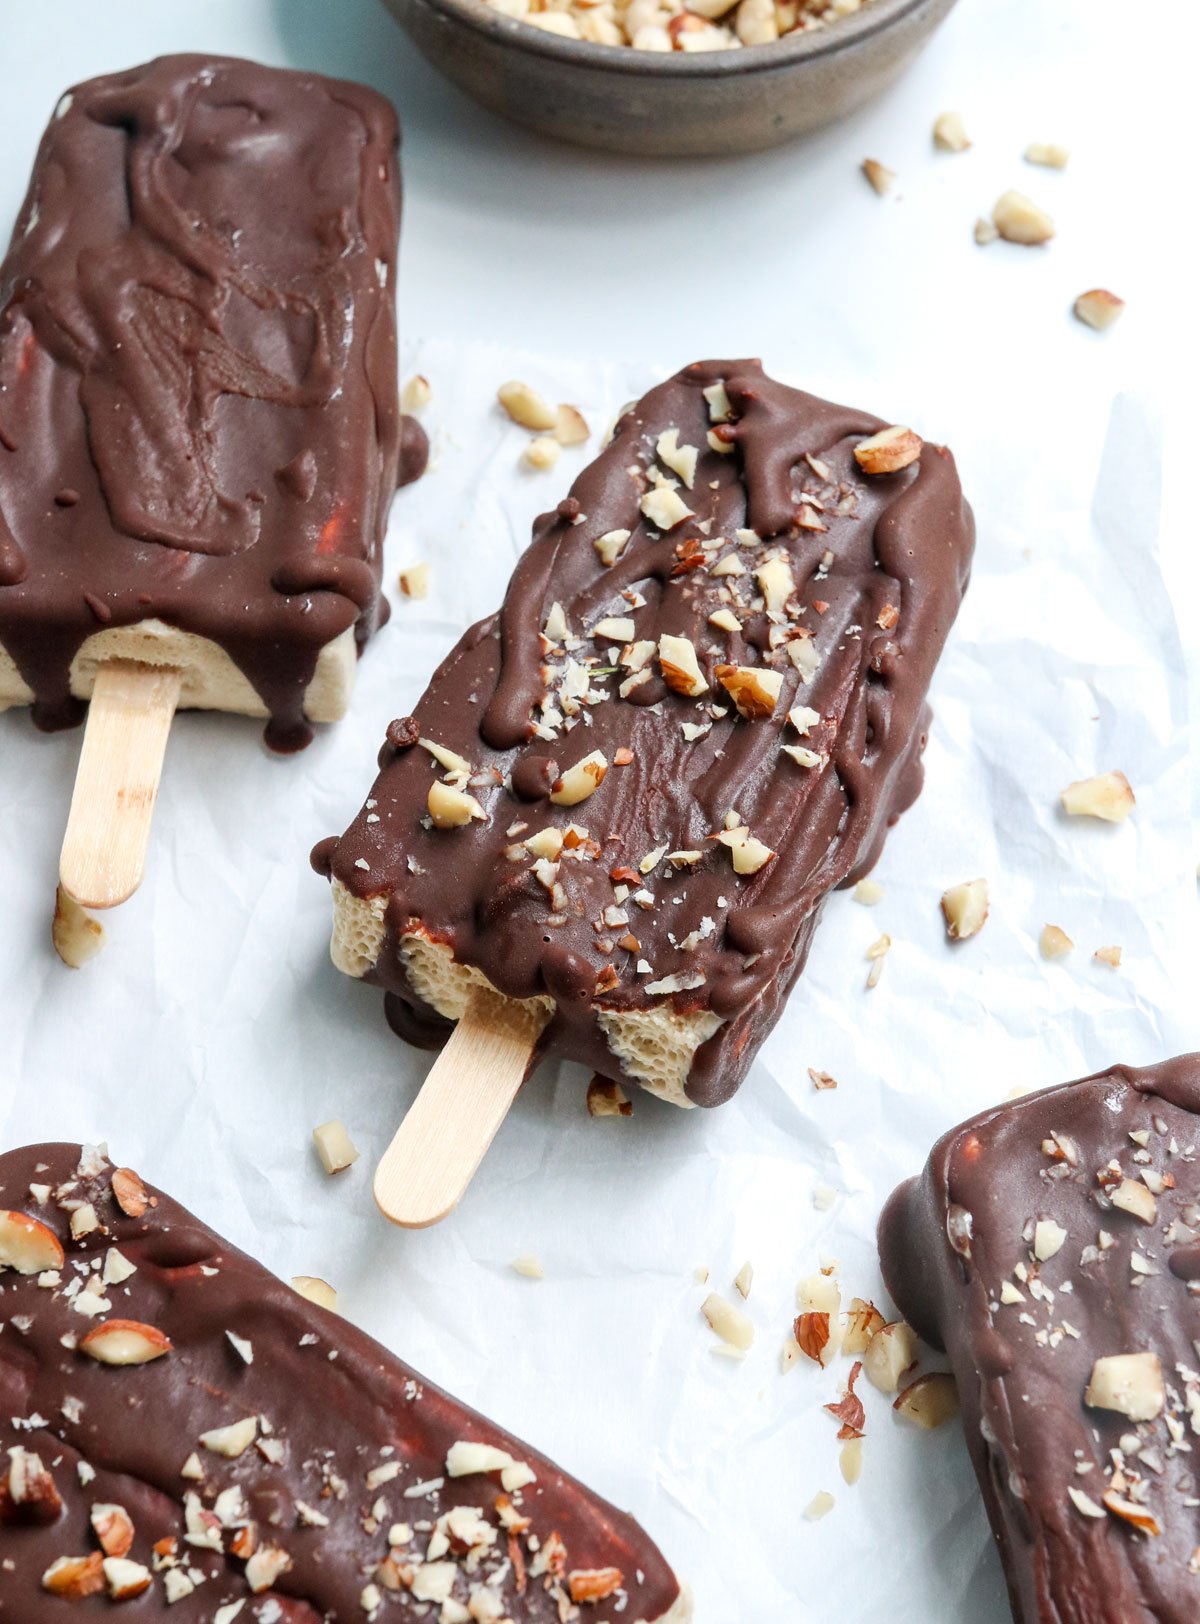
Vegan Ice Cream Bars feature a creamy cashew ice cream, coated in an easy, 3-ingredient chocolate shell. They are naturally sweetened, dairy-free, and totally delicious. Let’s make them!
Why You’ll Love Them
- They’re nutritious. Cashews are the base of these creamy ice cream bars, and since they contain both fiber and protein, this treat may leave you feeling more satisfied. Eating cashews may also help to lower insulin levels.
- No refined sugar. This ice cream and chocolate coating are both sweetened with maple syrup. Feel free to experiment with honey, if you prefer, but keep in mind that honey has a stronger flavor, so you may want to use less of it in comparison.
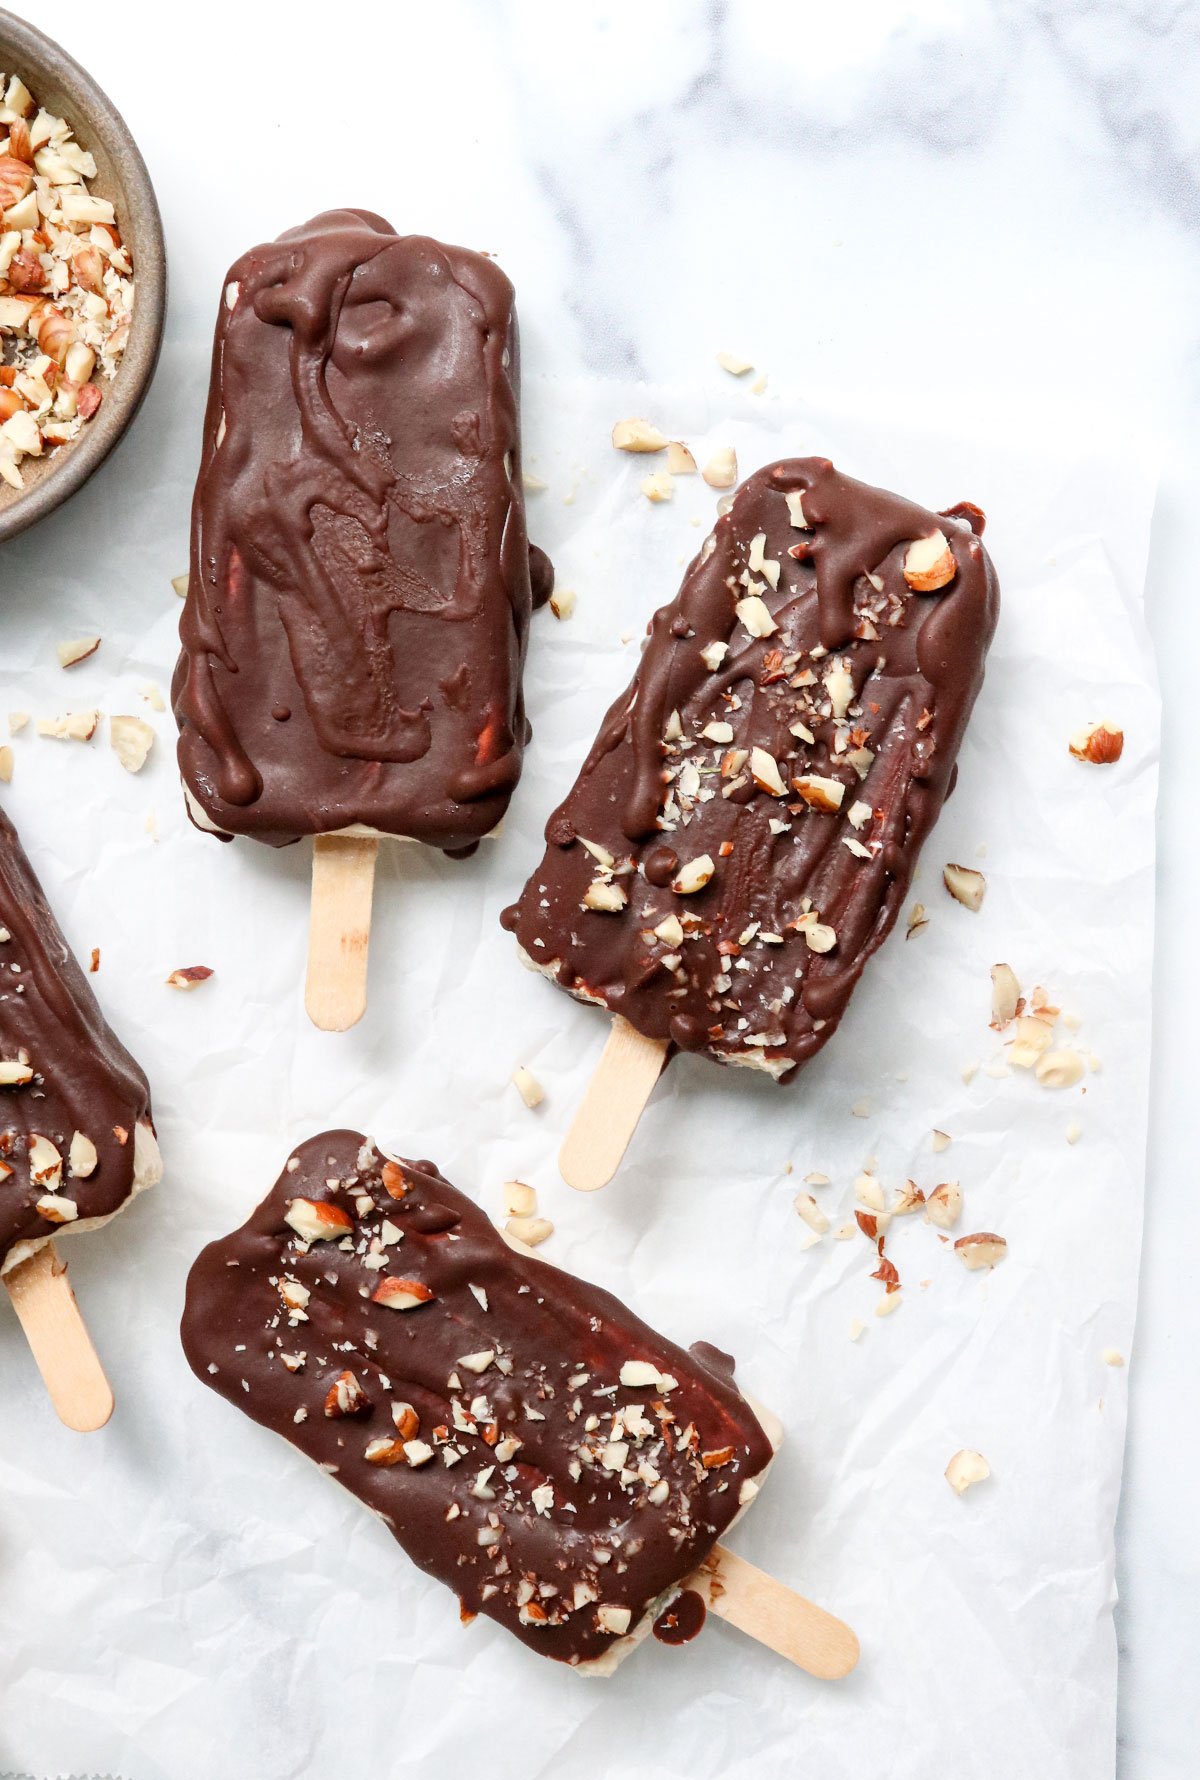
- They remind me of store-bought ice cream bars. If you love chocolate-covered ice cream bars, you’ll love these! They are creamy on the inside, with a crunchy, dark chocolate coating.
- You can control the sweetness. The chocolate shell is lightly sweet, but if you prefer a darker chocolate flavor, you can simply use less maple syrup. You can taste as you go! Feel free to make the ice cream less-sweet if you prefer, too.
You can also change the ice cream flavor in the middle. I think these would be amazing filled my vegan coffee ice cream or pistachio ice cream, for a change of pace.
How to Make the Ice Cream Bars
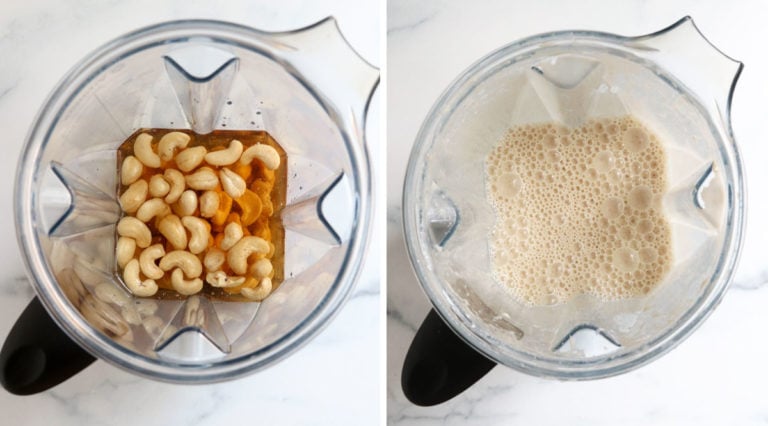
- Blend. Add the cashews, water, vanilla, and maple syrup to a blender, and blend until totally smooth and creamy.
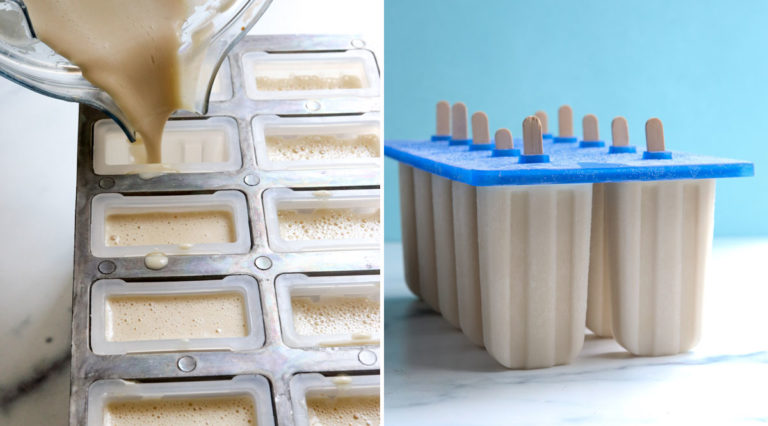
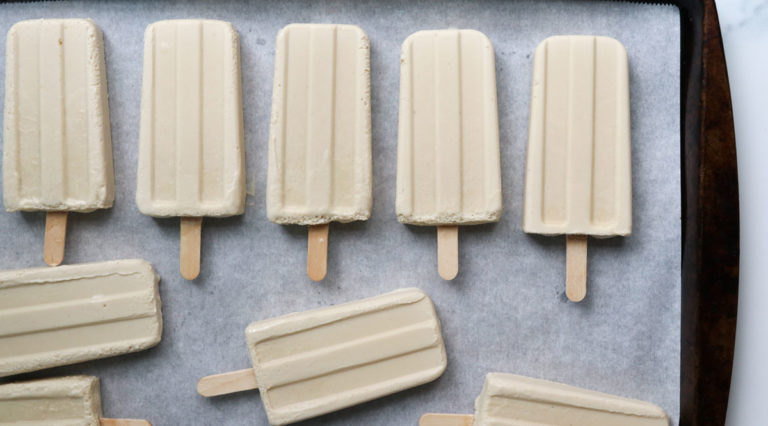
- Freeze. Pour the blended mixture into an ice pop mold and freeze until solid, about 6 hours or overnight.
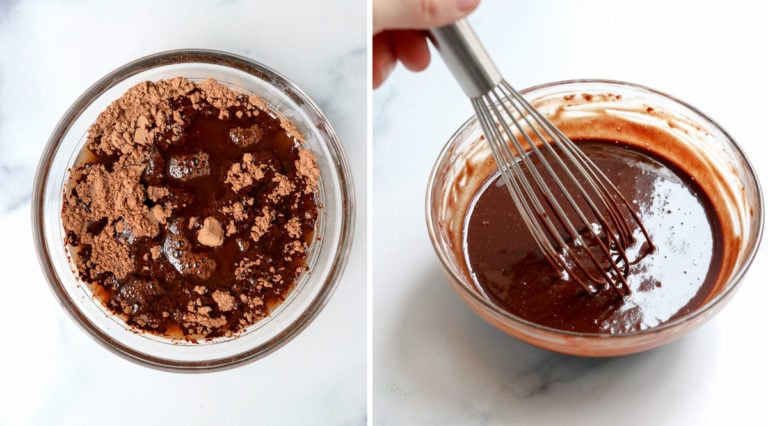
- Mix. When you’re sure the ice cream bars are firm, it’s time to mix together the chocolate coating. Add the cacao powder, maple syrup, and coconut oil to a bowl, and whisk until no clumps remain. Be sure that the maple syrup is at room temperature, so the mixture will be drippy and pour-able. (Cold maple syrup will cause the coconut oil to thicken up and seize the mixture.)
- Remove the bars. To remove the ice cream bars from the mold, try running the popsicle mold upside down under hot water briefly. This should help the edges loosen up enough for you to pull each popsicle out. Lay them down on a large baking sheet lined with parchment paper, so you’ll be able to coat them all in chocolate next.
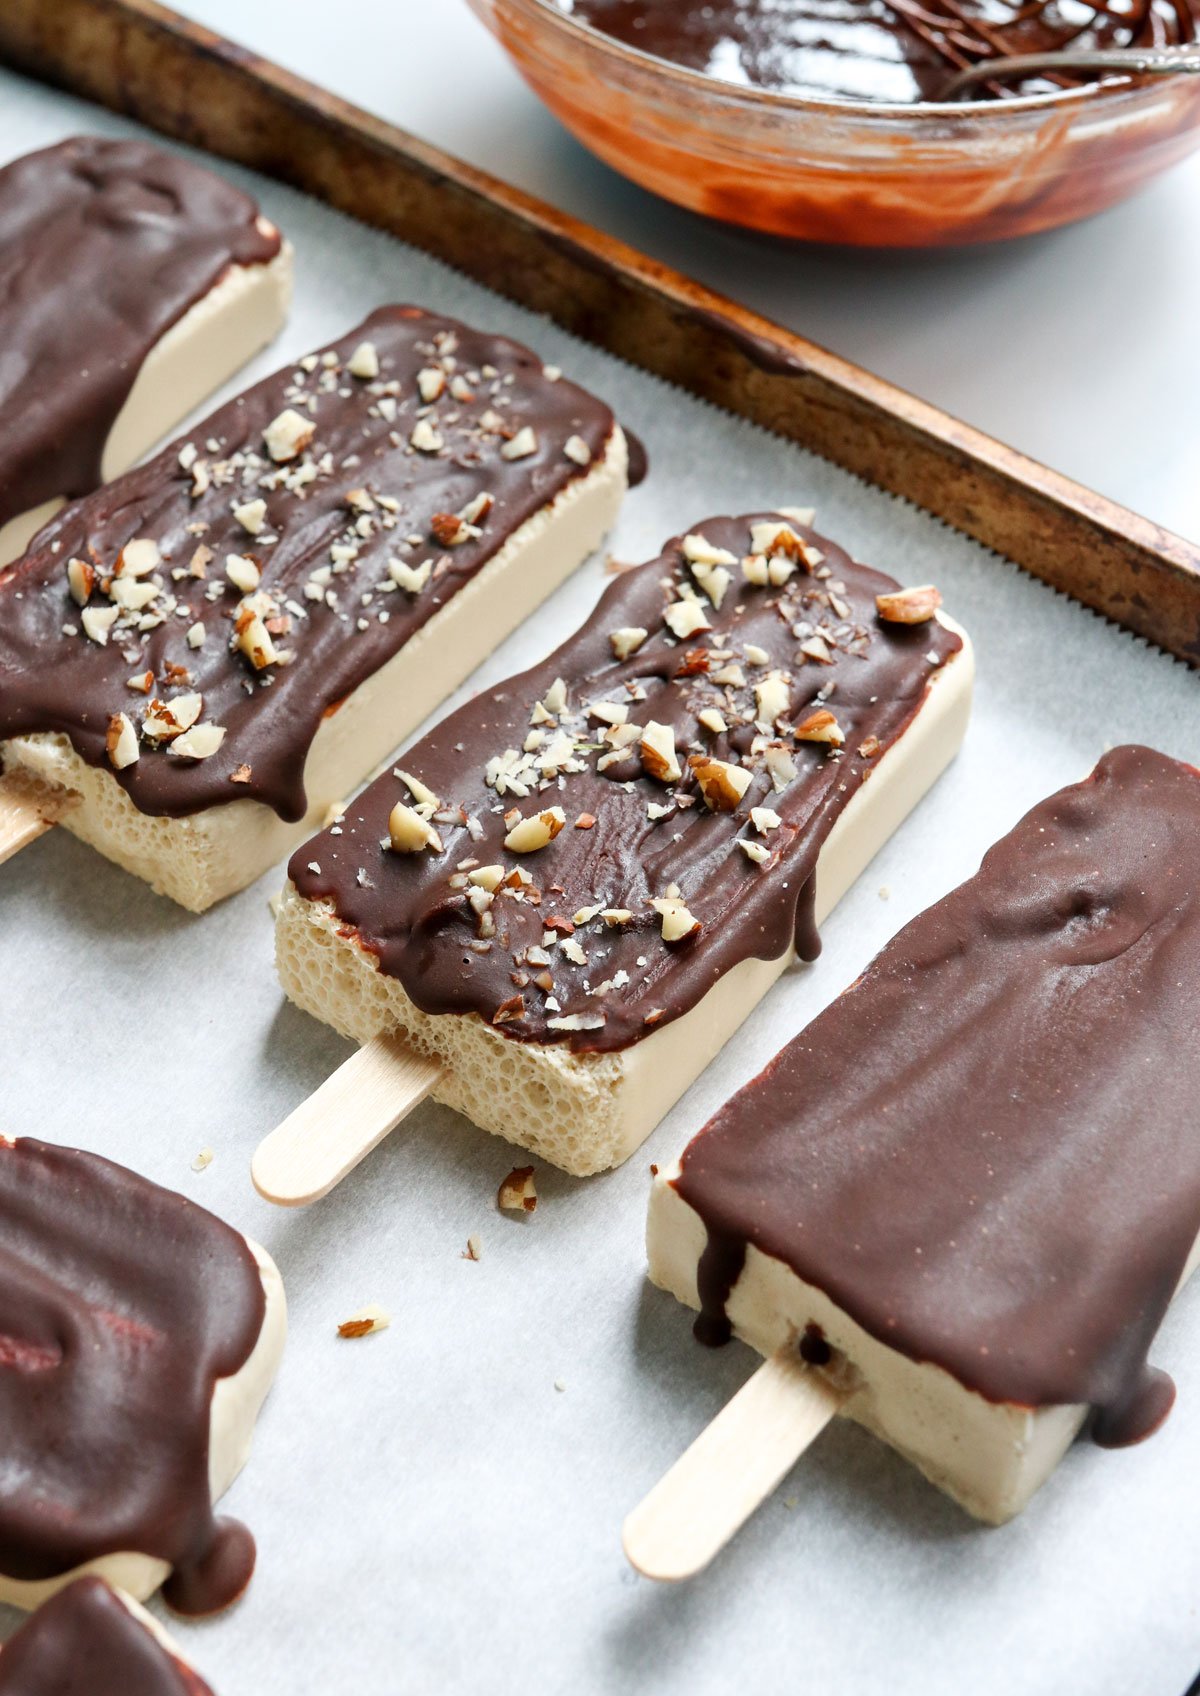
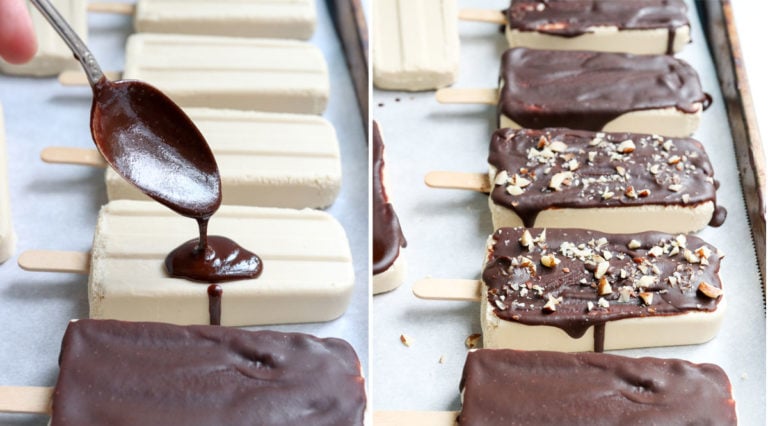
- Coat. Use a spoon to drizzle the chocolate coating on each chocolate bar, and spread it out into a thin layer quickly. The chocolate will harden fast, so this can be a bit of a messy process. Once the chocolate has hardened, you can flip the bars over and coat the other side, and along the top of the bars. Place the pan in the freezer, if needed, to help keep the bars cold as you work.
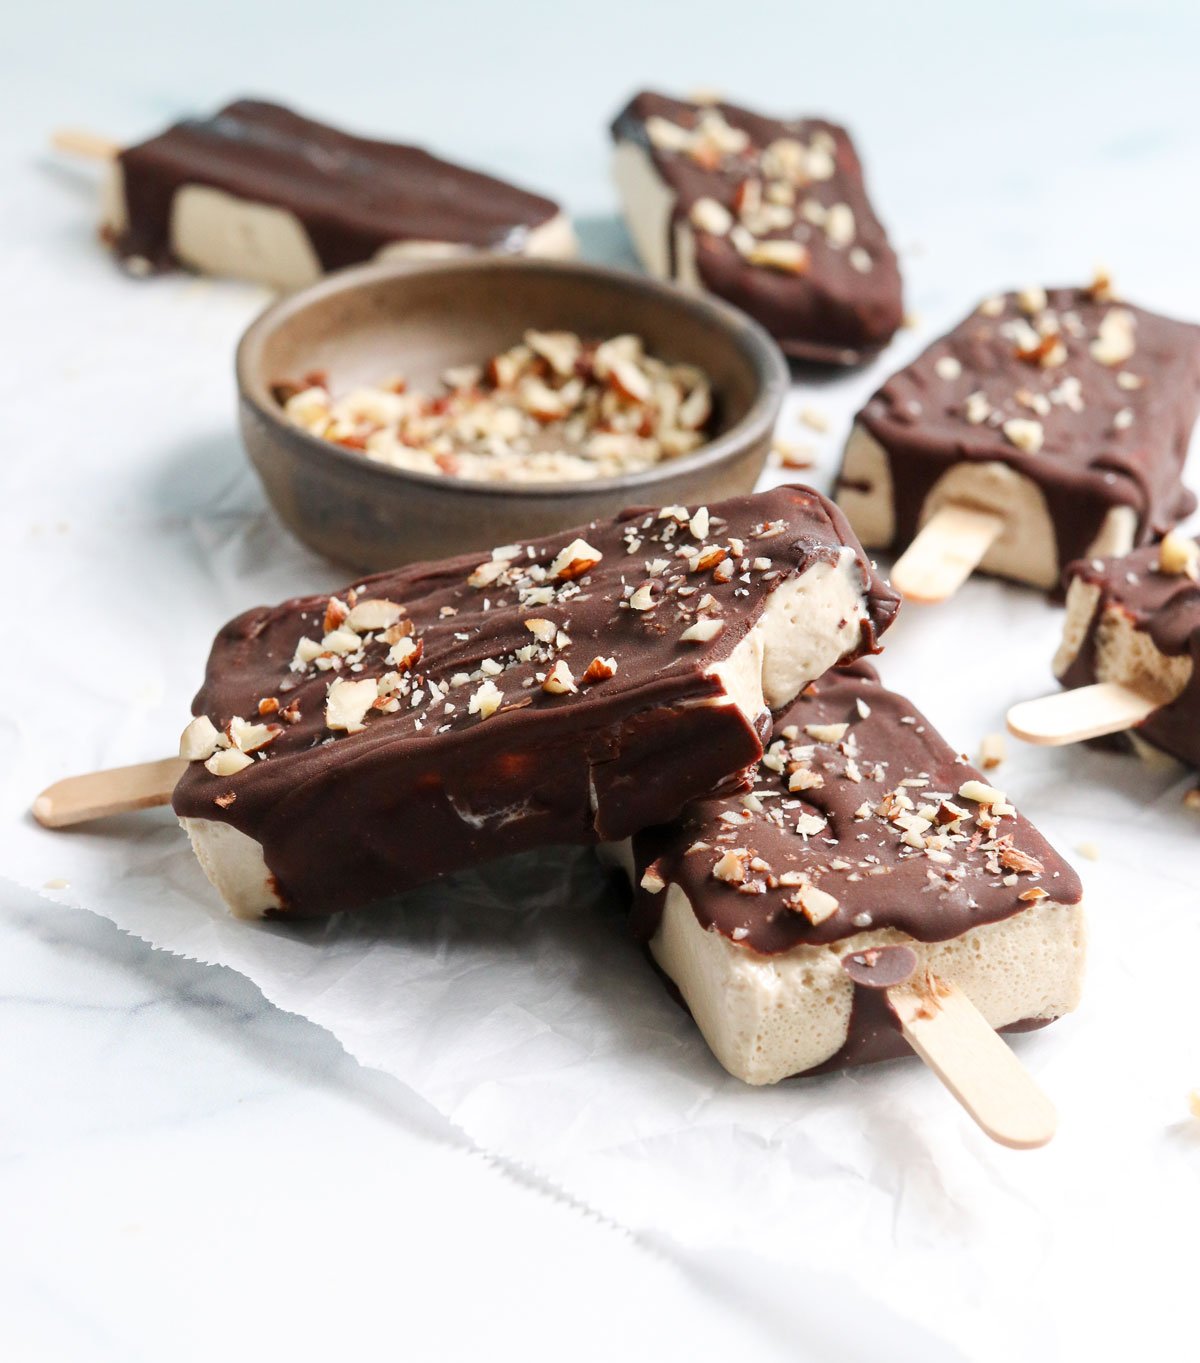
- Enjoy! Once the chocolate has hardened, these vegan ice cream bars are ready to eat.
Once the bars are coated, you can enjoy one right away, or place the pan of coated ice cream bars in the freezer to chill until you’re ready to serve them. They should keep well in an airtight container in the freezer for up to 3 months.
Don’t have a popsicle mold? Pour this ice cream mixture into a 9-by-5-inch loaf pan that has been lined with parchment paper. Freeze until firm, then slice the loaf into 8 squares.
Coat each frozen ice cream square with the chocolate coating, for a homemade “Klondike bar” instead. These are messier to eat, but still delicious.
Ingredients
Vegan Ice Cream Bars
- 1 1/2 cups raw cashews (215 grams)
- 1 1/2 cups water (355 grams; 12 ounces)
- 1/2 cup maple syrup (155 grams)
- 2 tablespoons vanilla extract (24 grams)
Chocolate Coating
- 1/3 cup raw cocoa powder (24 grams)
- 1/3 cup melted coconut oil (71 grams)
- 1/4 cup maple syrup (81 grams)
Optional Toppings
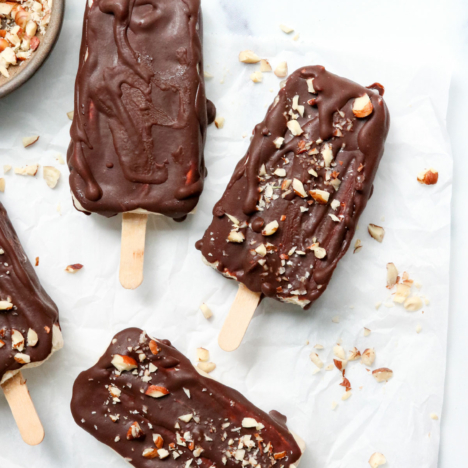
- 1/4 cup crushed nuts (like hazelnuts or almonds)
Instructions
- To prepare the ice cream bars, add the cashews, water, maple syrup, and vanilla to a blender. Blend until very smooth, with no visible cashew pieces remaining.

- Pour the blended mixture into an ice pop mold (mine makes 10 large pops, this may vary among molds), insert popsicle sticks, and freeze until solid, about 6 to 8 hours, or overnight.
- When the ice pops are firm, run the ice pop mold upside down under hot running water to help remove the ice pops. Lay each ice cream bar down on a large baking sheet lined with parchment paper, so they will be easy to coat in the chocolate later. Place the pan in the freezer while you prepare the chocolate coating.
- To prepare the chocolate coating, stir together the cacao powder, maple syrup, and coconut oil. Make sure the maple syrup is at room temperature, so the mixture will remain runny. Use a whisk to stir well, breaking up any clumps.
- Remove the ice cream bars from the freezer, and use a spoon to spread the chocolate mixture on one side of the bars. Use the spoon to spread the coating into a thin layer, so it will harden quickly. If you'd like to add crushed nuts to these bars, sprinkle some on as soon as the chocolate is added, while it's still wet. They won't stick once the chocolate has hardened. Flip the bars over and coat the other side. As soon as the chocolate is firm, the bars are ready to eat, or you can store them in an airtight container in the freezer for up to 3 months.
Video
Notes
Nutrition
Update Note: This recipe has been modified from my original healthy Klondike bar recipe, which I find messier to make and eat, since there’s no popsicle stick to hold on to. If you miss the original recipe, the ice cream filling was made with 1 cup of cashews, 1 cup water, 1/4 cup melted coconut oil, 2 tablespoons honey, 1 tablespoon maple syrup, and 1 tablespoon of vanilla extract. The chocolate coating was made with 5 tablespoons cacao powder, 5 tablespoons of melted coconut oil, and a 1/4 cup maple syrup. Follow the directions above for freezing in a loaf pan to make the bars, instead of ice pops.
If you try these Vegan Ice Cream Bars, please leave a comment below letting me know how you like them!
–
Reader Feedback: What kind of treat would you like to see next?


What can I sub for coconut oil (allergies)?
I just made these! I used a metal popsicle mold and stand. Only took like 4 seconds for pop to come out of mold. I doubled the chocolate recipe so I could use a bowl to lay pops in and coat them without spoon. The last 2 I used a spoon.Ice cream melts quickly so I put each one on sheet of parchment in freezer as I worked on them one at a time. I did strain a bunch of the pieces out after blending. I don’t have the vitamix blender. I tried a different recipe in the past and left pieces in and it was a big no no.
These pops taste delicious! There is more coconut taste but in a delightful way. I ran out of maple syrup so I did 50/50 maple and light agave syrup. Enjoy!
I want to add that I used a good brand of coconut milk with full fat. Mixed it all up evenly. Makes a difference.
I have always wanted to try to make ice cream with coconut milk! What a great recipe, looks so yummy. Going to try it in the coming week and post my feedback.
How do I keep the extra sauce/shell coating? Refrigerate?
Looks amazing!! I can’t wait to make these. Maybe I just missed it but do you have the full nutritional value breakdown like the other recipes have? Thanks!! 💗
Hello there
I made these and they didnt come out right. Also do you need to use coconut oil alreay melted because i had coconut oil in solid form and I melted it but let it cool before using. I had a standard pan but it wasn’t a loaf pan it was a regular size pan big enough where the ice cream batter should have been thicker. can you tell me exactly what kind of pan you used/ From your pictures my pan looked the same as yours. I want to make this again but I dont want this to happen again.
I love this recipe. I made it. My ice cream mixture came out very thin. I don’t know why. I used a standard pan. I need up throwing it out. I’m so disappointed.
What a GREAT recipe! This is the first time I used cashews as a base for ice cream, wow! I was impressed and so were my 2 little girls. They said “better than dairy queen!”
Thanks! This recipe is a keeper!
My son is lactose intolerant and these look great, however he is deathly allergic to coconuts. What could I use in place of coconut oil?
Thanks!
Maria
Hi Megan, I’m soaking my cashews now. Can’t wait! I just wish that people would’nt be so rude on your website trying to ride on YOUR COAT TAILS by advertising for their own sites!! They need to know, that I would never go to their site because it’s so rude how they are doing it!!! And really, to argue about details of a recipe. How childish. I love your recipes!!!! Keep up the good work and ignore people trying to ADVERTISE ON YOUR WEBSITE!!!!