This post may contain affiliate links. Please read my disclosure and privacy policy.
I’ve already created the most perfect chocolate coconut milk ice cream, so I didn’t think it could be topped by a “plain” or “vanilla” version. But this year, I figured out a combination that needs to be shared immediately.
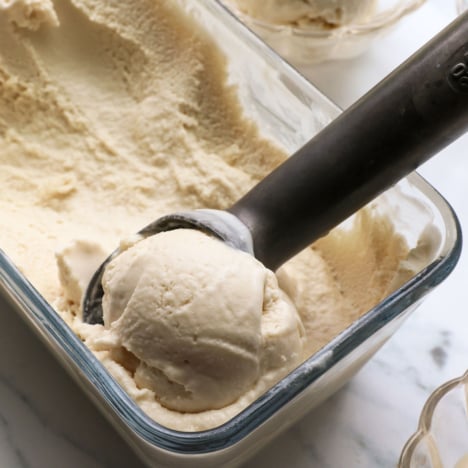
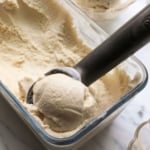
Not only is this coconut milk ice cream recipe delicious, but it’s also incredibly easy to make with just 3 pantry ingredients. My family has taste-tested a lot of dairy-free ice cream over the years, and this one tastes 100% better than anything you can buy at the store.
But what I really want to share with you is how to serve it.
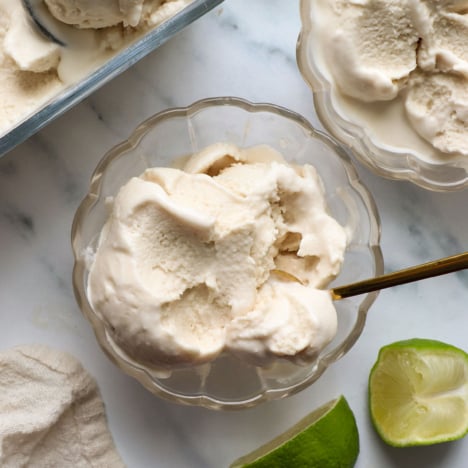
If you don’t plan to serve this over a warm brownie or with something similar, I highly recommend squeezing fresh lime juice over the top right when you serve it. The lime pairs perfectly with the rich coconut flavor, and it tastes like a creamy limeade that’s perfect for summer. I really hope you try it that way!
It would also be amazing as an Affogato (with espresso poured over the top).

Coconut Milk Ice Cream Ingredients
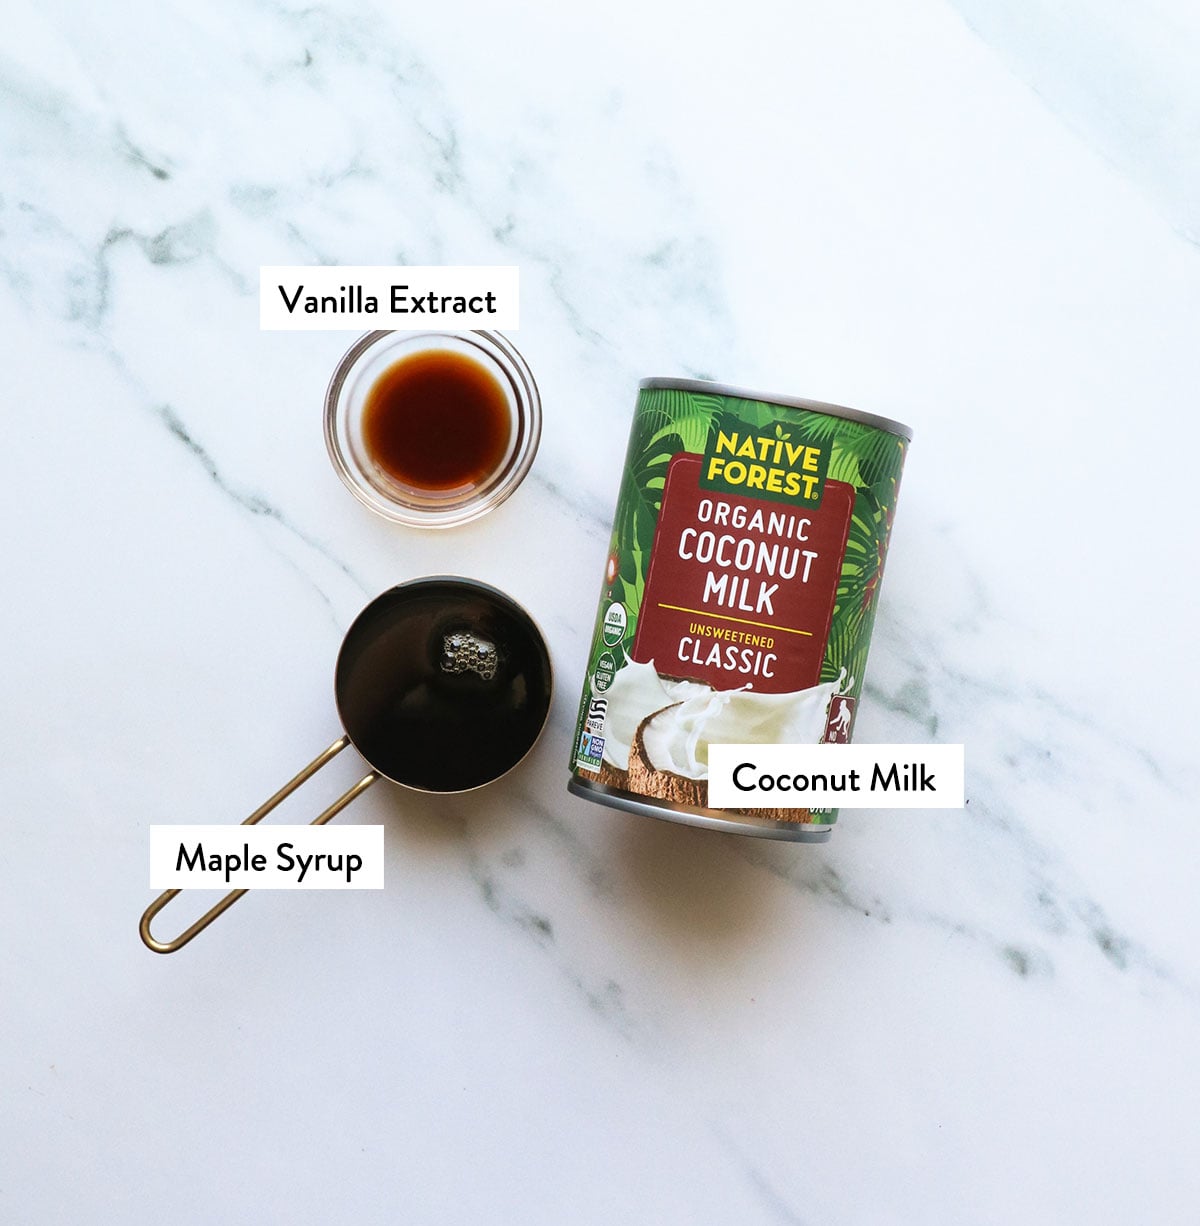
- Canned Coconut Milk. This is not the time to use lite or refrigerated coconut milk. It must be the full-fat kind to get creamy results. I love Native Forest’s classic coconut milk, which usually delivers consistent results, as well as Whole Foods’ 365 brand.
- Maple Syrup. I went back and forth on which sweetener to use for this, because I was afraid maple syrup might provide “too much” maple flavor. However, after trying this with agave nectar and honey, everyone in my family kept coming back to the maple syrup version. So, that was the clear winner for us! But you can use a different option if you prefer.
- Vanilla Extract. I love adding some vanilla to this, but the flavor will still be more “coconut” than it is “vanilla,” so just keep that in mind. You could also use vanilla bean paste if you want some flecks of vanilla bean.
How to Make Coconut Milk Ice Cream
Step 1:
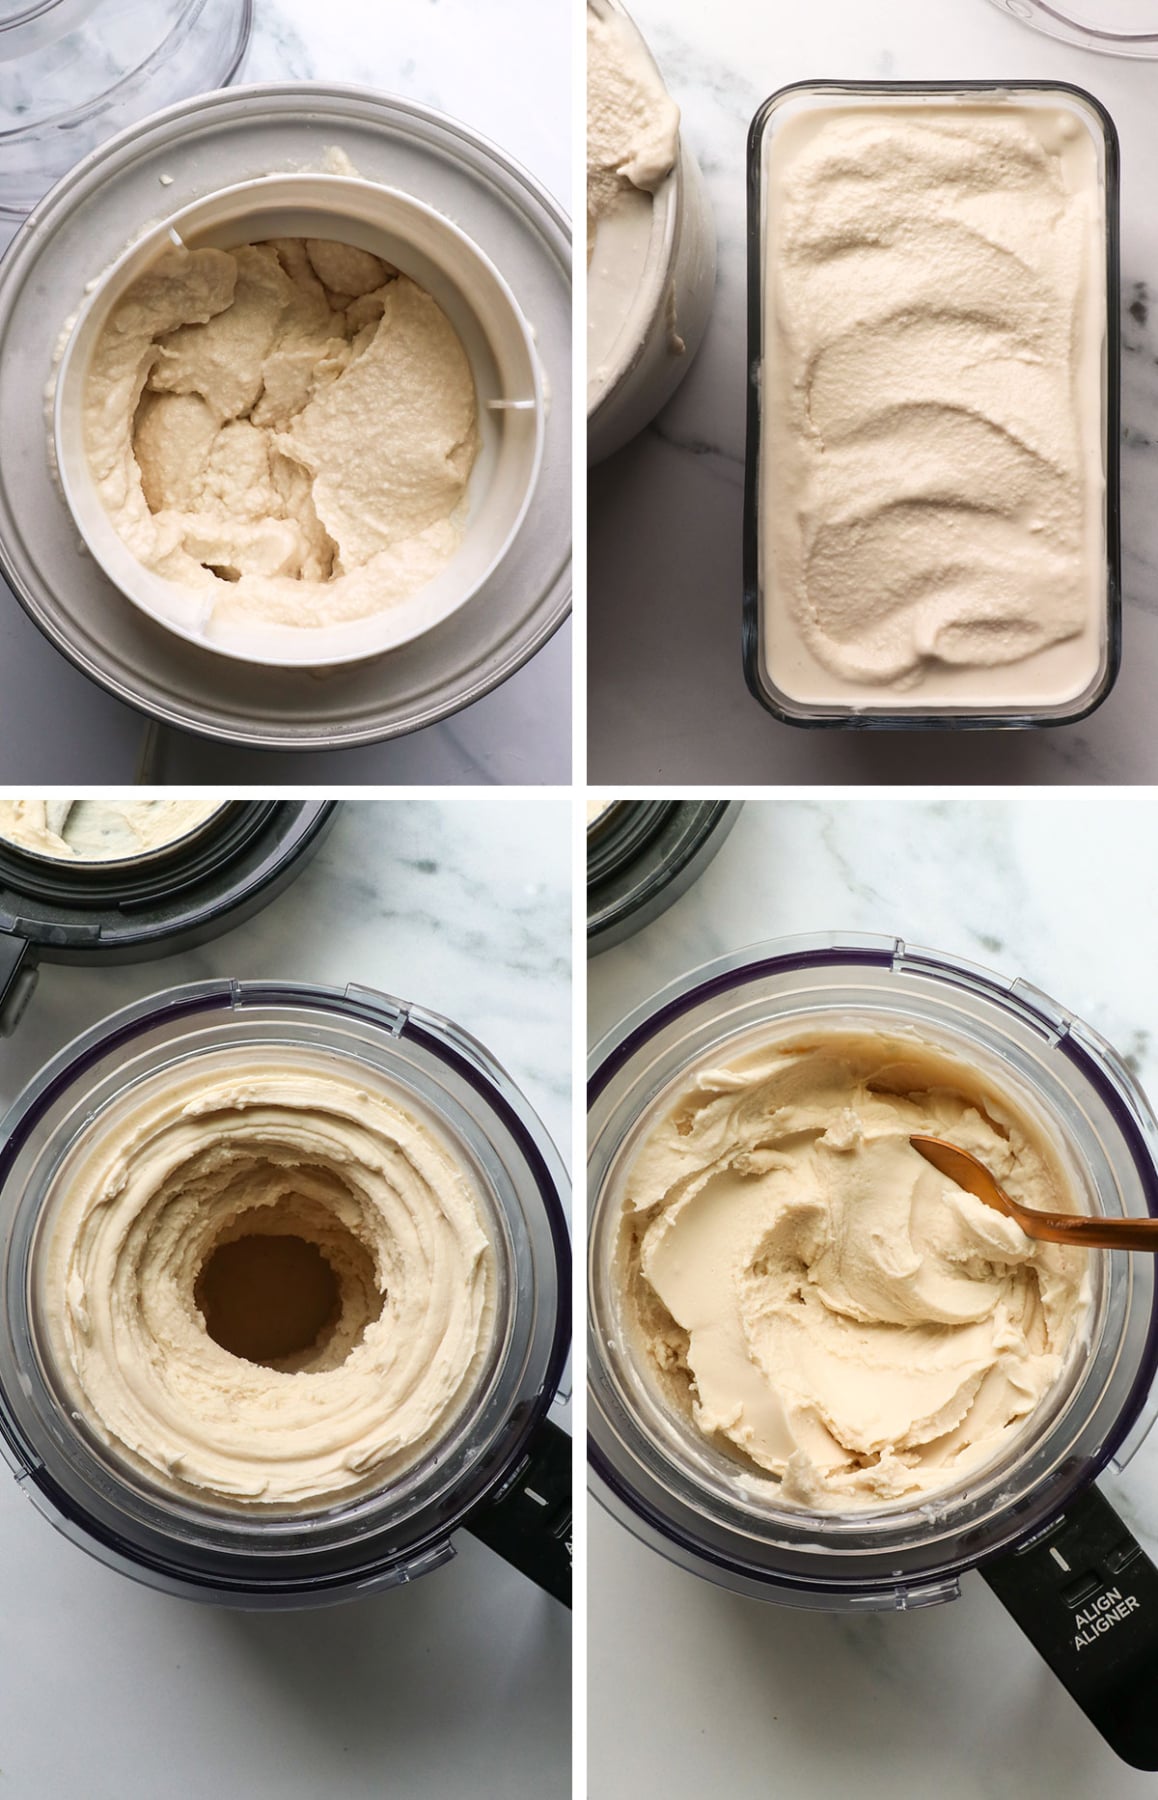
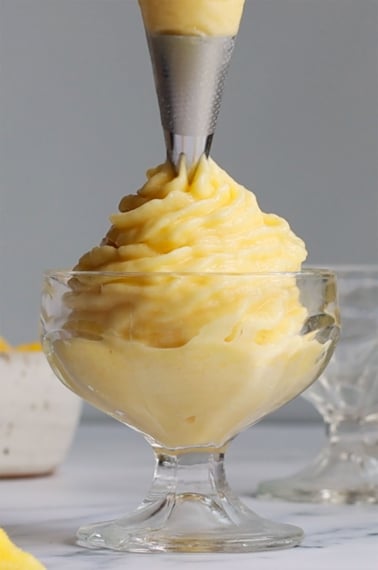
I’ve tested this recipe in a Ninja Creami and in a regular ice cream maker. If you want to make a batch of ice cream using a single can of coconut milk, using the Ninja Creami is the way to go. This batch will fit perfectly in a single pint container, without going over the “max fill” line.
If you want to make a bigger batch, I doubled this recipe to fill my 1.5-quart ice cream maker. Keep in mind that this ice cream increases in volume as it churns, so even though it doesn’t fill the bowl to the top at first, it will as it thickens up.
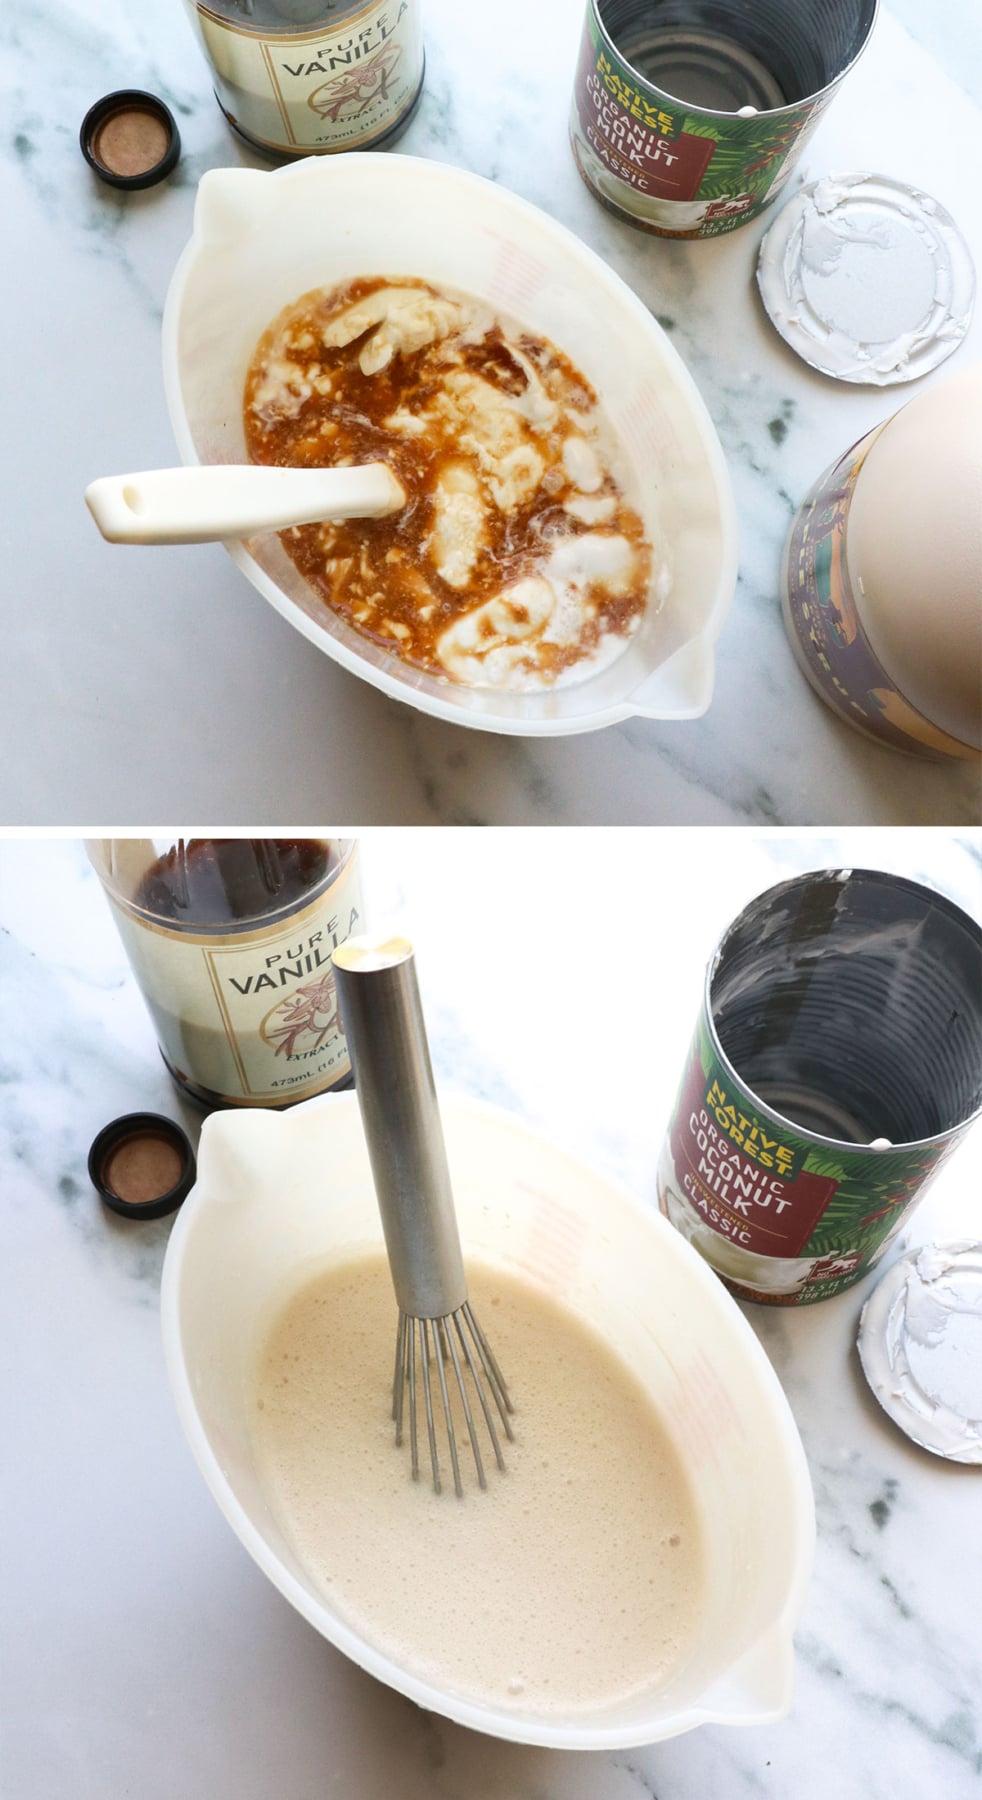
To make a single batch, combine a 13.5-ounce can of coconut milk with 1/3 cup of maple syrup and 2 teaspoons of vanilla extract. You can whisk this together in a large measuring cup, or you could blend it if you find that easier.
Want to save this for later?
Step 2:
Pour the mixture into your ice cream maker of choice. That’s either the pint container for the Ninja Creami, or the bowl to your ice cream maker that has been frozen for 24 hours in advance. If you’re using the Ninja Creami, transfer the container to a flat shelf in your freezer and wait 24 hours before processing.
To churn the ice cream right away, secure the lid on your ice cream machine and start processing. For a double-batch of ice cream, it took about 40 minutes of churning for mine to thicken up. (This could vary depending on your machine; it should also be a lot faster if you’re only making a single batch with one can.)
Ninja Creami Directions: Once the pint has been frozen for at least 24 hours, secure it in the machine and run the “ice cream” setting. The ice cream should look relatively creamy after the first spin, but it might look icy in the center. I usually run another “re-spin” cycle to make it creamier before serving. If you store any leftovers, make sure you flatten the top so you can run it in the machine again later. It will need to be processed each time, as it hardens in the freezer overnight.
Dairy-free Ice Cream Serving Tips
The ice cream will likely have a soft-serve consistency by the time you’re done. You can serve it right away like this, or transfer it to a storage container and let it firm up even more in the freezer. It should be easier to scoop in about 3 to 4 hours.
Coconut milk ice cream is delicious on its own, especially if you like coconut. But I think this particular recipe really thrives with toppings, too.
Here are my favorite topping ideas:
- Fresh lime juice (serve lime wedges on the side to squeeze over the top)
- Berries, especially freshly chopped strawberries and raspberries
- A shot of espresso (hello, affogato)
- Magic shell (I have a peanut butter version, too)
Coconut Milk Ice Cream (Ninja Creami included, too!)
Ingredients
- 13.5 ounce can coconut milk (not lite!)
- ⅓ cup pure maple syrup
- 2 teaspoons vanilla extract
- lime wedges (for serving- highly recommend!)
Instructions
- If you're using a traditional ice cream maker, make sure to freeze the bowl for 24 hours in advance. In a large measuring cup, add the coconut milk, maple syrup, and vanilla extract. Whisk well to combine. (If you're using a 1.5-quart or larger ice cream maker, you might want to double the batch.)
- Pour the coconut mixture into the bowl of your ice cream maker, then secure the lid and process until the mixture thickens. This takes about 35 to 40 minutes if you make a double-batch. (Note: If you're using your Ninja Creami machine, freeze the mixture on a flat surface for 24 hours. Then process as "ice cream" followed by two re-spins, or until it's creamy.)
- The ice cream is ready to serve right away. Or if you want it to have a firmer texture, transfer it to a container and freeze for up to 4 more hours. It becomes more scoopable that way. I highly recommend serving this ice cream with fresh lime wedges. Squeeze the lime juice over the top, and then enjoy a limeade-like flavor! It's so good.
Notes
Nutrition
More Recipes to Try
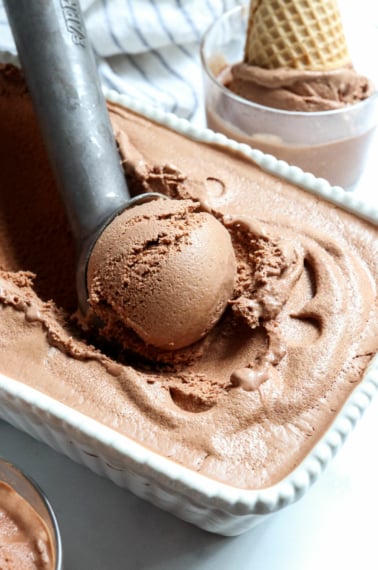
- Peanut Butter Ice Cream (Dairy-free)
- Vegan Strawberry Ice Cream
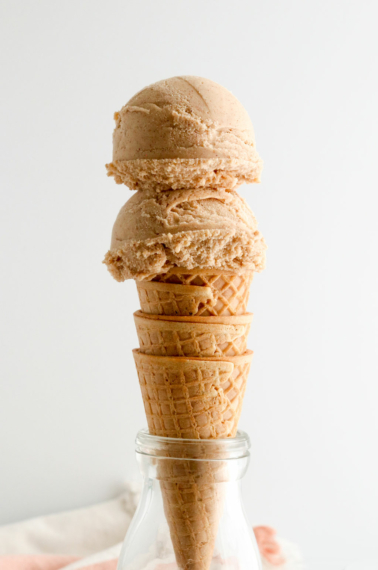
- Coffee Ice Cream (3 ingredients without coconut milk)
If you try this coconut milk ice cream recipe, please leave a comment and star rating below to let me know how you like it.


Can i include desiccated coconut in the mixture both for flavor but mostly for texture?
This has been my go to ice cream recipe for YEARS! ( I was using this from her Chocolate ice cream recipe, and just not always adding the chocolate to make the vanilla version). Every time I try a different ninja creami recipe I always come back to this. I have also tried it with agave syrup as that is cheaper and it is just as good. I make this at least 4 times a month. My husband (who isn’t super big on coconut ice cream) even loves it and doesn’t get tired of it. Its a great way to have a treat but not have all the added junk in store bought ice cream. I have made it for lots of guests over the years and everyone loves it.
I can’t wait to try the addition of lime on top!
Some additional toppings I have used:
with coconut roll cookies from costco and shredded coconut and mango on top
with strawberries on top
with honey and cinnamon
with hot honey and cinnamon
it pairs wonderfully with cookies but also with any mix ins (I have done mini m&m’s and things like that)
with raspberries and cacao nibs
with blueberries and honey
I actually know someone who bought a ninja creami after I made this for them just because they were so in love with it. Thank you for the amazing recipe!