This post may contain affiliate links. Please read my disclosure and privacy policy.
Make homemade Jello with just 2 simple ingredients! This version is sweetened with 100% juice and can be stirred together in minutes.
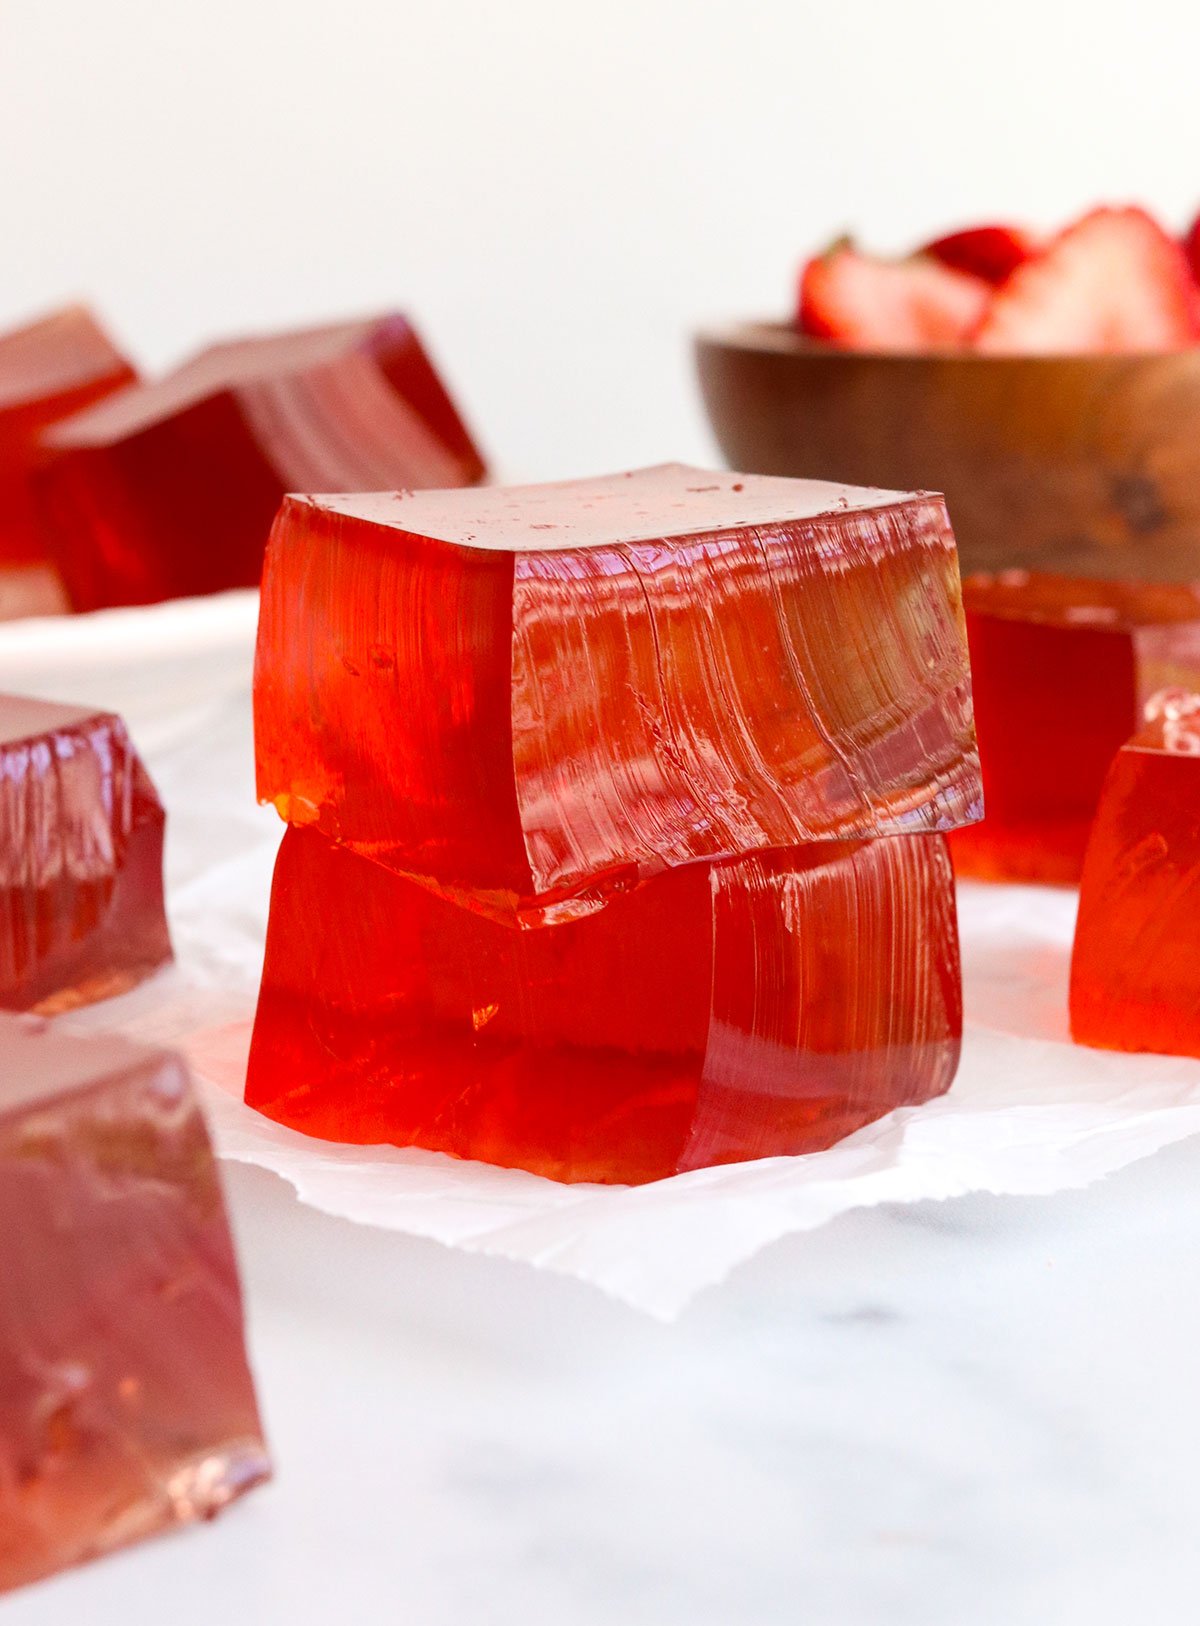
Whether you’re trying to sneak more grass fed gelatin into your day (here’s a research study I found interesting in regards to gut health), or you want to make a fun snack for kids, this jello recipe couldn’t be easier.
It makes a fun, jiggly dessert and is naturally gluten-free. If you need a vegetarian recipe, try my Vegan Jello which is made with agar agar, instead.
Ingredients You’ll Need
All you need is gelatin and fruit juice to make jello at home. I use grass-fed gelatin for potentially a higher nutrient content, but any gelatin powder will give you a jiggly Jell-O copycat.
The fruit juice you use for this recipe will determine the flavor. Grape juice or an option mixed with apple juice will give you the sweetest results.
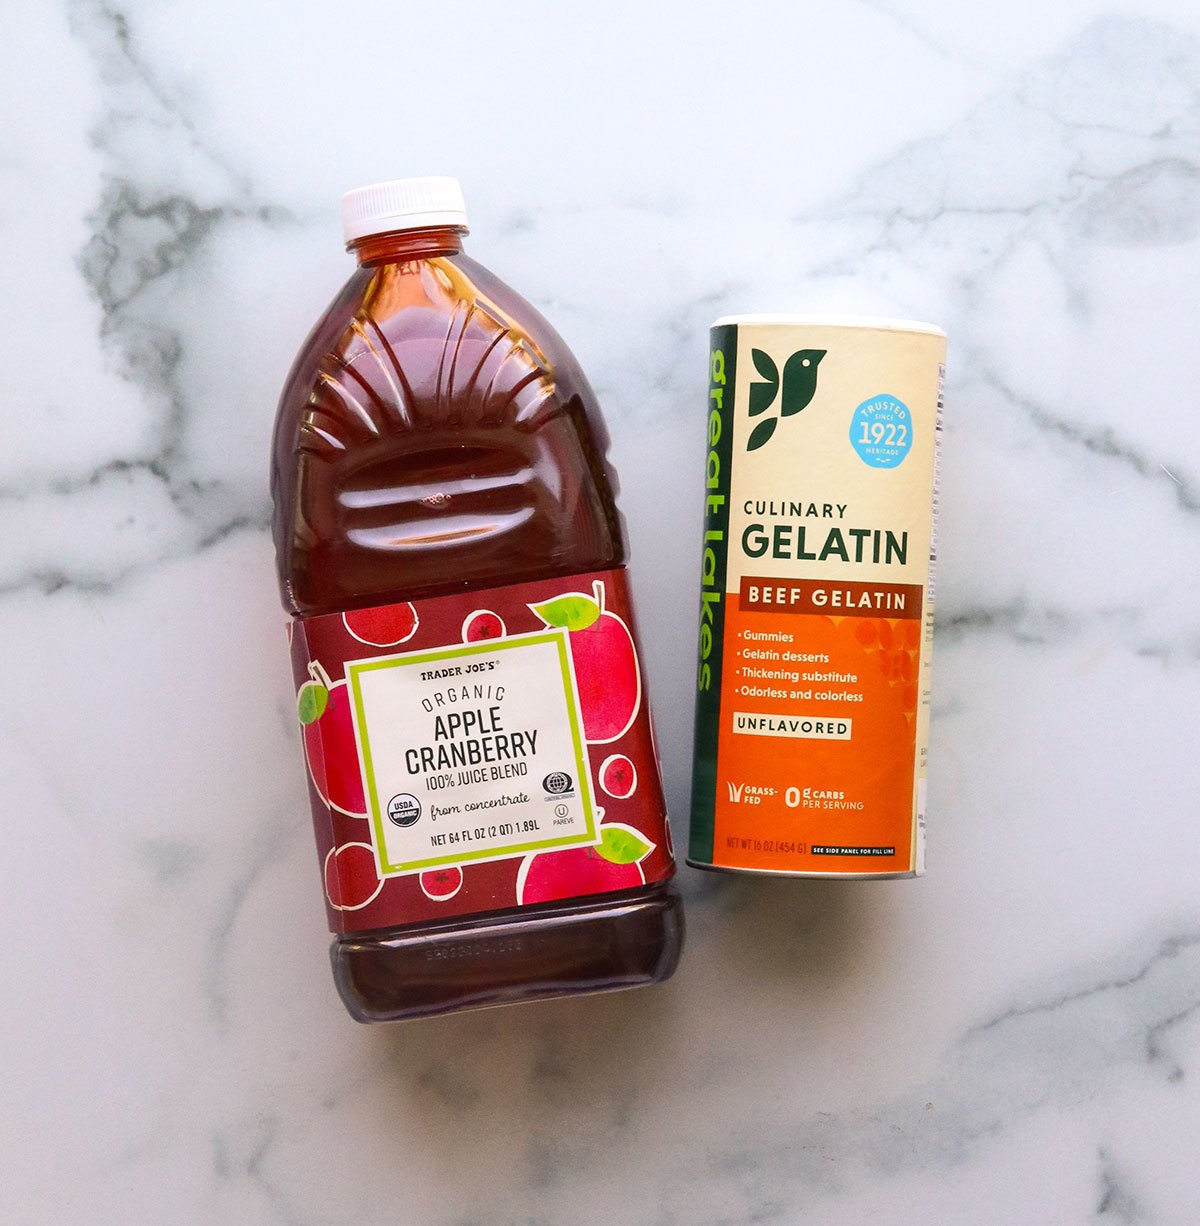
Juices that may not work for this recipe are pineapple, papaya, mango, or kiwi juices. The enzymes they contain may break down the gelatin protein, so it won’t set.
If you use pure cranberry juice or pomegranate juice, you may want to add 1 to 2 tablespoons of honey into the warm mixture for sweetness. You can taste and adjust as you go!
How to Make Homemade Jello
1. Bloom the gelatin.
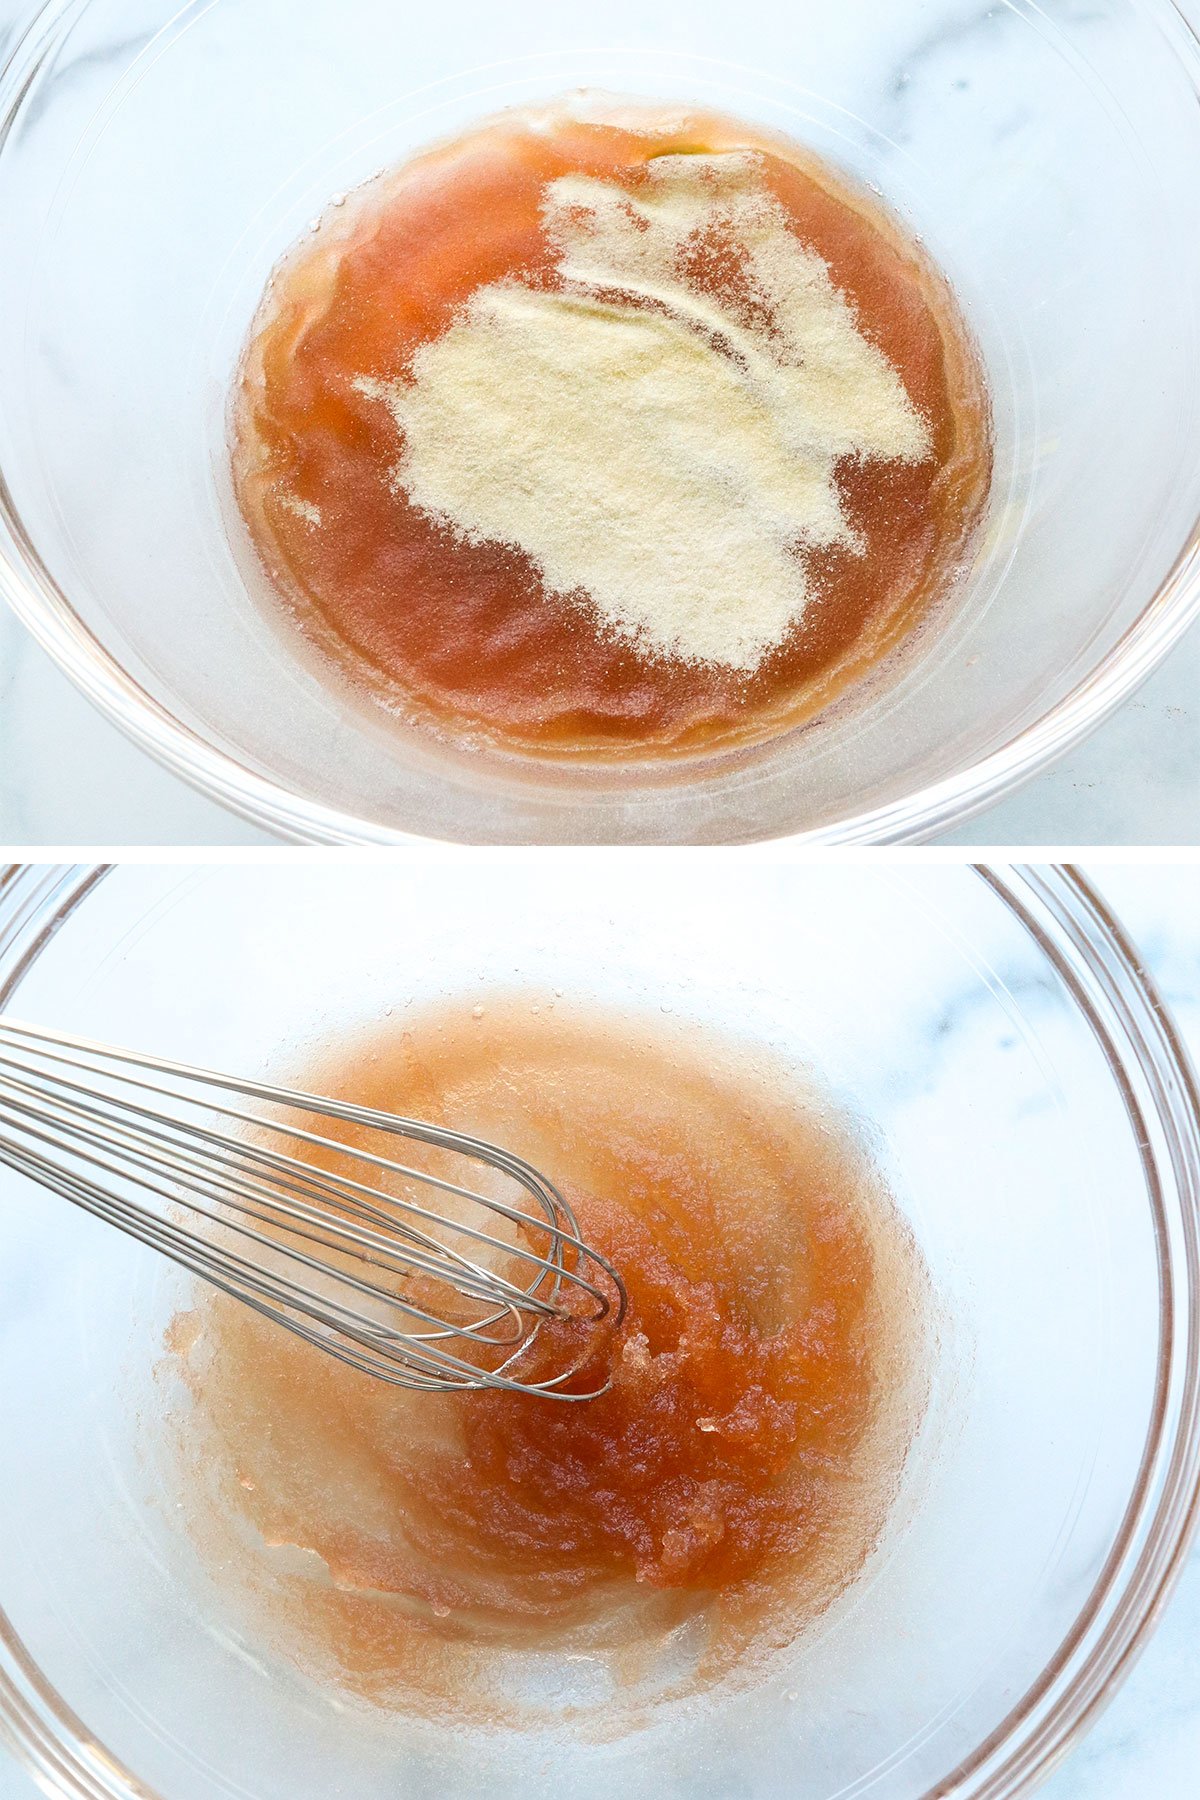
In a large bowl, add a 1/2 cup of the fruit juice and sprinkle the gelatin over the top. You’ll quickly see the mixture start to wrinkle and thicken. Whisk it briefly to make sure all of the gelatin has bloomed.
2. Stir in hot liquid.
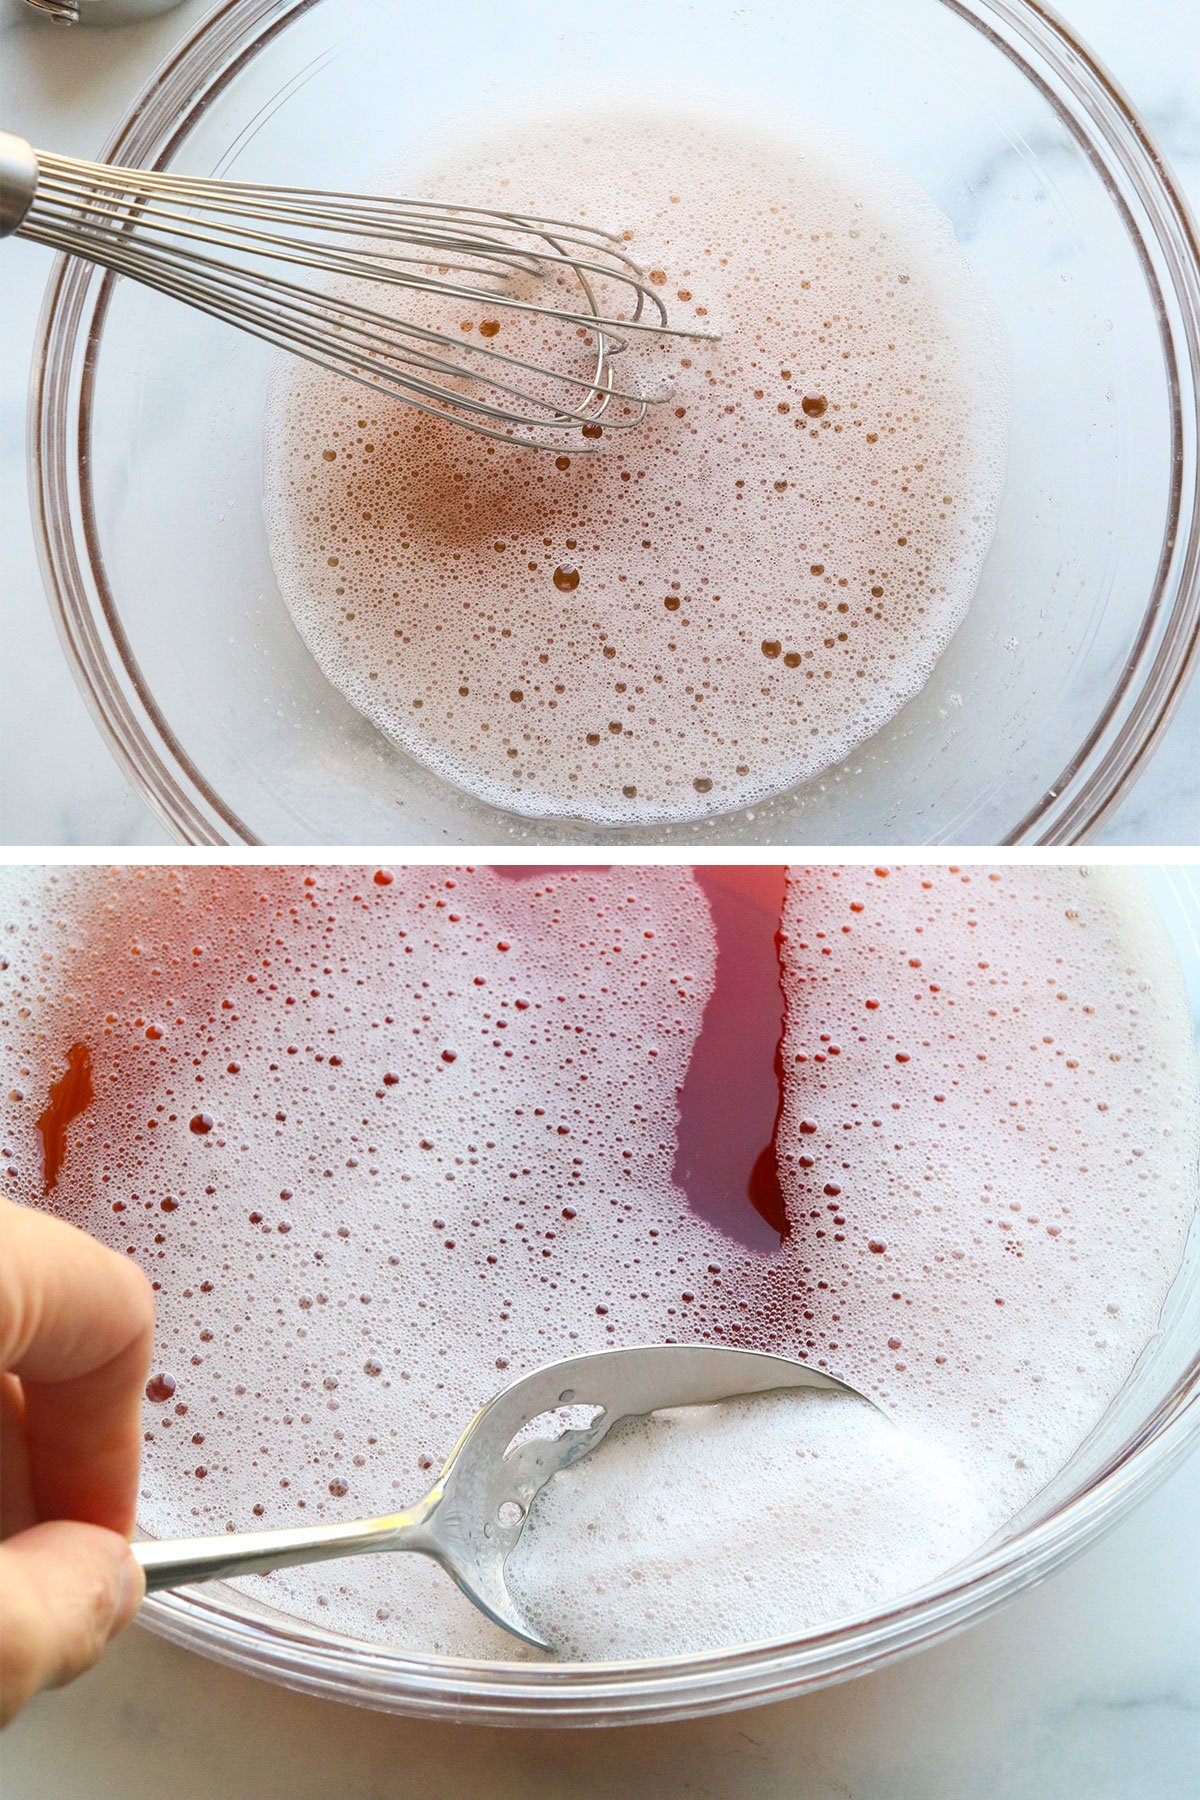
Next, add a 1/2 cup of boiled water to the bloomed gelatin. I use water because it’s easy to boil in a tea kettle. Alternatively, you can boil an extra 1/2 cup of fruit juice in a small saucepan, for a more concentrated and slightly sweeter flavor. In this case, you’d use 4 cups of fruit juice in total.
Whisk well until the mixture is liquid, with no visible chunks. You may see a bubbly foam start to form on top. Use a slotted spoon to scoop excess foam from the top. (The foam will not settle as the jello sets.)
3. Mix and chill.
Whisk the remaining 3 cups of fruit juice into the bowl. It’s okay if you see some bubbles on top of the mixture.
Prepare an 8-inch square pan by lightly spraying it with oil, then press a piece of parchment paper into the bottom. This will ensure the jello is easy to remove later. Use a slotted spoon to remove any excess bubbles on top, if you like.
Pour the liquid into the prepared pan, then place it on a flat shelf in your fridge. It will take roughly 4 hours for the jello to set, so be patient!
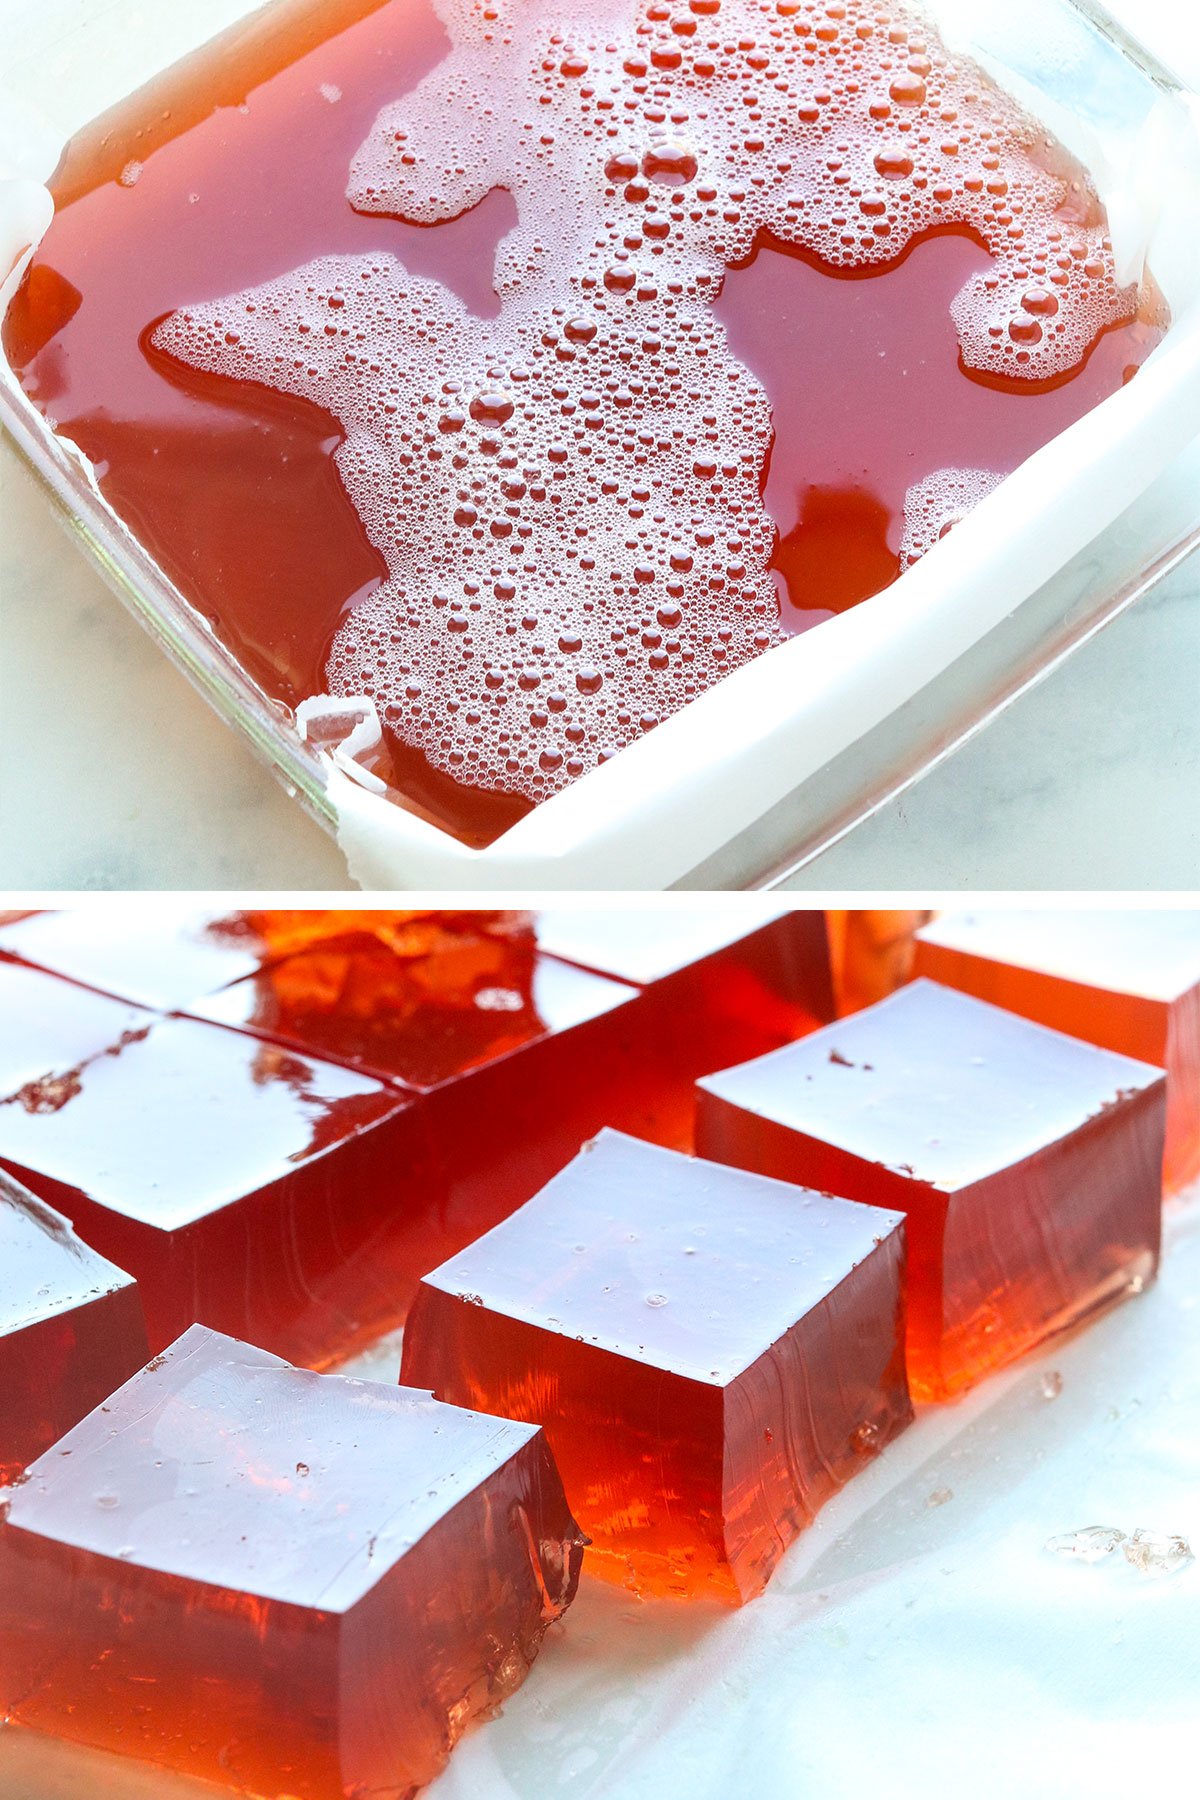
4. Slice and enjoy!
Once you can touch the top of the jello and it feels firm, it’s ready to slice into squares. You can use the parchment paper to lift the jello out of the pan or slice it directly inside the pan.
Jello is slightly fragile, so don’t be surprised if it cracks slightly as you remove it from the pan. This ratio of juice to gelatin is quite wiggly, without being too firm and without much gelatin flavor.
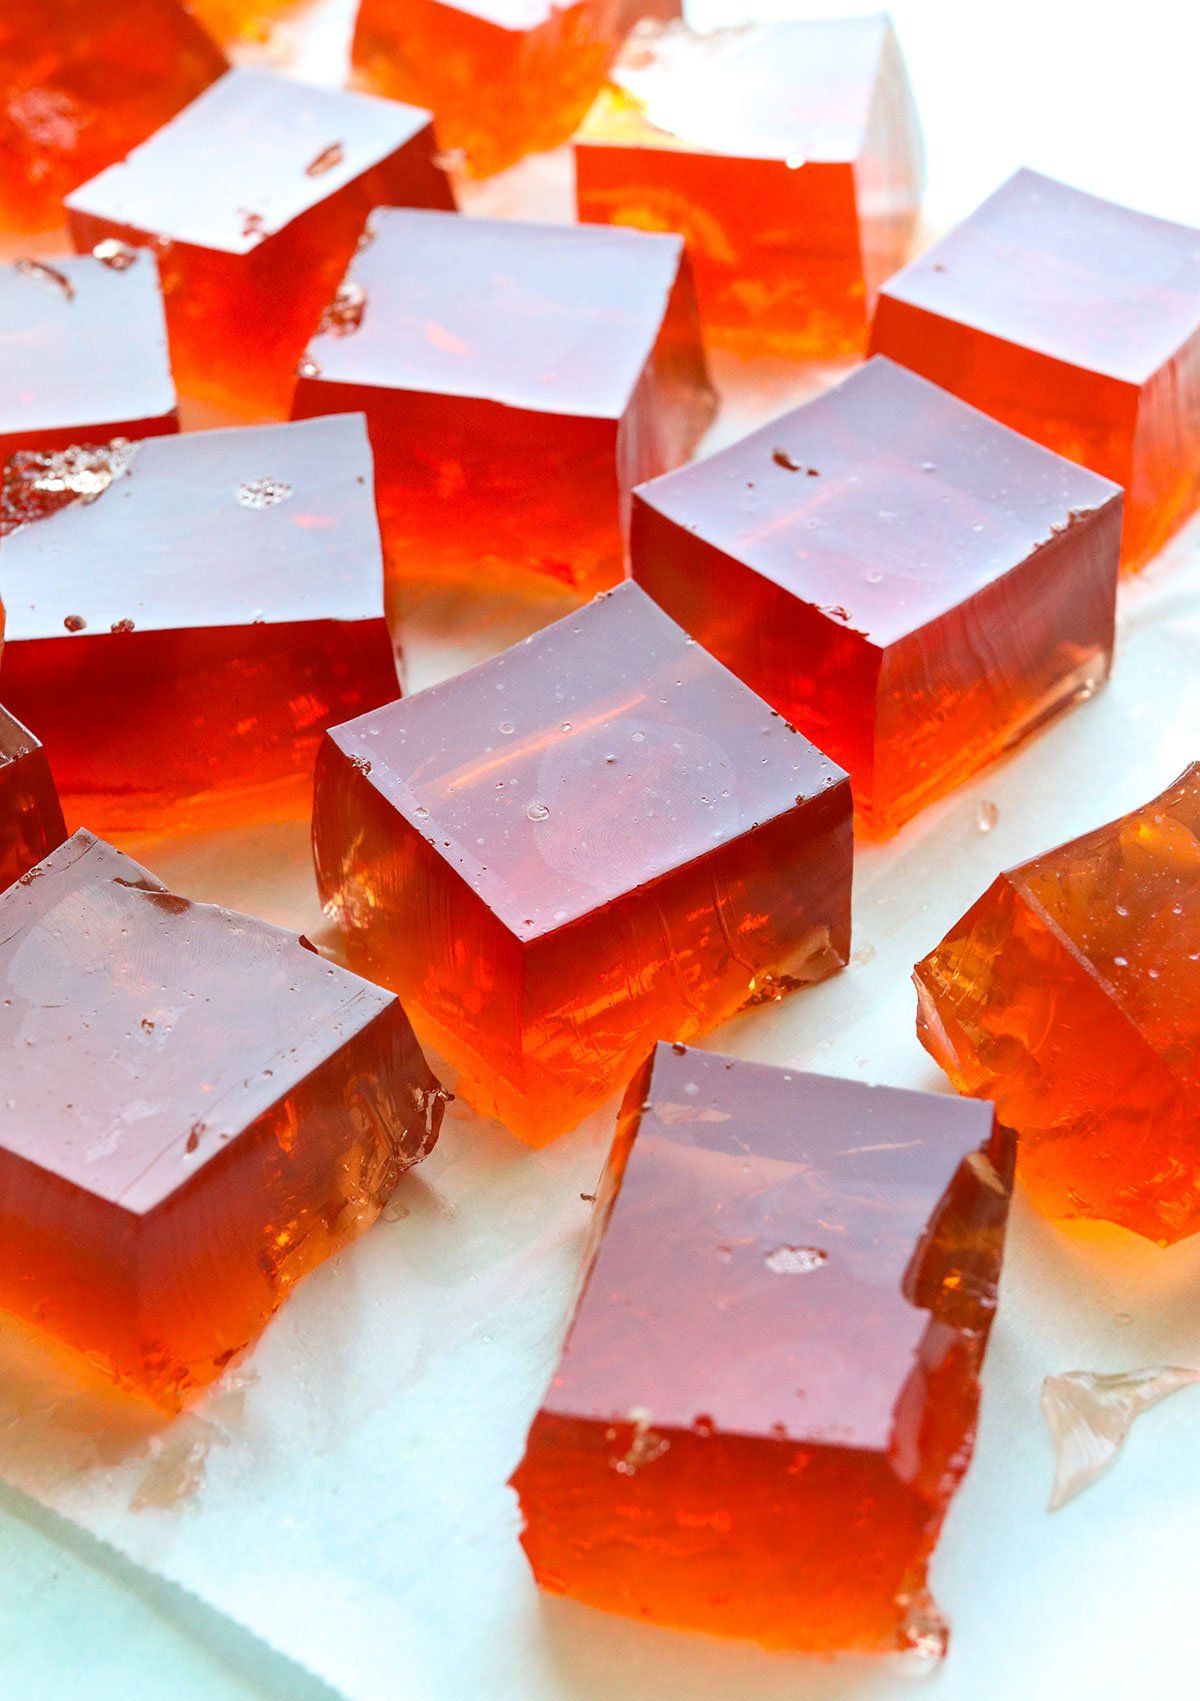
If you prefer to make a Jello “jiggler” that you can cut out with cookie cutters, try using a 1/2 cup less juice. It’s such an easy recipe to prepare, you can adjust it as you see fit each time you make it.
Leftover jello can be stored in an airtight container in the fridge for up to 2 weeks.
Looking for more easy fruit-based desserts? Try Fruit Compote, Vegan Strawberry Ice Cream, or Blueberry Crisp.
Ingredients
- 3 ½ cups 100% fruit juice (divided)
- 2 tablespoons grass-fed gelatin
- ½ cup boiled water (or use boiled fruit juice)
Instructions
- Add ½ cup fruit juice to a large bowl and sprinkle the gelatin over the top. Use a whisk to briefly mix; it should thicken quickly.
- Pour the boiled water into the bowl, and whisk until smooth. There should be no visible chunks, and bubbles will start to form on top. Whisk in the remaining 3 cups of fruit juice.
- Prepare an 8-inch square baking dish by lightly spraying it with oil, then press a piece of parchment paper into the bottom of the pan. Pour the jello liquid into the pan and use a slotted spoon to remove as many bubbles from the top as possible. (This is just for looks, so no need to be perfect about it.)
- Place the pan on a flat shelf in the fridge to chill until firm, about 4 hours. Once it feels firm to the touch in the center, you can slice it into squares and serve. Leftovers can be stored in an airtight container in the fridge for up to 2 weeks.
Notes
Nutrition
If you try this homemade jello recipe, please leave a comment and star rating below letting me know how you like it.



Would this work with the green bottle of collagen hydrolosate gelatin?
No, it has to be the gelatin that needs hot water, otherwise it won’t set.
Thank you so much. You were right. …way too easy!! Love having this new healthy sugar free alternative.
Thank you for the recipe I had a medical procedure in which they said I could eat jell-O and wanted to make a natural version .
iused guava juice and mine was not successful and didn’t set! it’s more like a mouse or pudding. Wondering if it has something to do with using the super hot water out of my filter system which we use all the time for hot tea maybe it just was not as hot as it needed to be?
If you like making gelatin for dessert, the box often recommends not adding certain kinds of fruit, including pineapple, kiwi, mango, ginger root, papaya, figs or guava. People have a hard time getting the gelatin to solidify when they add these fruits. Gelatin is made from collagen, which is a structural protein found in all animals. Collagen is found in many parts of the body and helps give animals their structure, or shape. Gelatin, which is a mixture of collagen proteins, solidifies when you cook it because its proteins form tangled mesh pockets that trap the water and other ingredients. After the gelatin cools, the proteins remained tangled. This results in your wiggly-jiggly gelatin dessert.
The fruits listed above contain proteases, which are enzymes. Enzymes help make certain chemical reactions happen. Proteases specifically act like a pair of scissors, helping reactions take place that cut other proteins up. In this activity you’ll explore whether these protease enzymes are preventing the gelatin from solidifying (by cutting the gelatin’s collagen proteins into such small pieces that they are no longer able to tangle together and create a semisolid structure). To do this you’ll inactivate these proteases by using heat.
amazing!!
Have you made the veg version and what gelatin did you use??
Note with any fresh fruit…pineapple will only work if it is canned, not fresh!!! Fresh pineapple has natural enzymes that prevent the gelatin from setting.
Love this recipe. Will definitely be trying. Any idea how long it lasts in the fridge? Thanks!
I’m useing Aspen Naturals 100% grass fed gelatin 250 bloom and it will not thicken as pictured. It’s like soft egg white peaks. How long shall I whisk? So far I’m in at 15 minutes. Thank you.
It will solidify after being put in the fridge for at least 2 hours.
Thanks a lot for this recipe!! I love gelatin desserts but hate the toxic ingredients in Jello.
I love to chill hibiscus tea, it has a sweetly sour, fruity taste and is delightful when sweetened with honey, and it has a beautiful, naturally red color. Since I’m in the habit of brewing and chilling this tea, I’m going to experiment with hibiscus gelatin, using freshly brewed, hot hibiscus tea in lieu of hot water, and an already chilled batch in lieu of cool juice. I would imagine it will blend well with any sort of berry, cherry or grape, so after experimenting with the hibiscus tea, if it works out, I’ll try mixing fruits into it later on.
If anyone else is keen to try this, I would advise you to first research the medicinal qualities of hibiscus before consuming. It has many nutritional benefits, is widely consumed in various countries and is probably fine for most folks, but also has some medicinal effects, including headache remedy, mild diuretic and might have some effect on hormones in some cases, so do not consume without first discussing with a qualified herbalist/natural health practitioner (or midwife) if you are pregnant, diabetic, or taking allopathic medications. I personally have not experienced any unpleasant side effects or drug interactions using hibiscus, but everyone is different, so it’s good to do your own research first.
In closing, you can use your own preferred sweetener with this, it need not be honey- that’s just my personal trip, I dig honey. Also keep in mind that the lovely red hibiscus tea will leave a blue stain on white stuff, so guard your doilies!
Can you make this in individual size molds?
I wanted to make a larger batch for a party. What would be the best way to do this.