This post may contain affiliate links. Please read my disclosure and privacy policy.
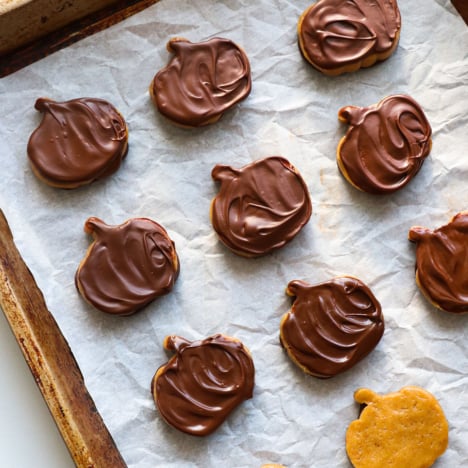
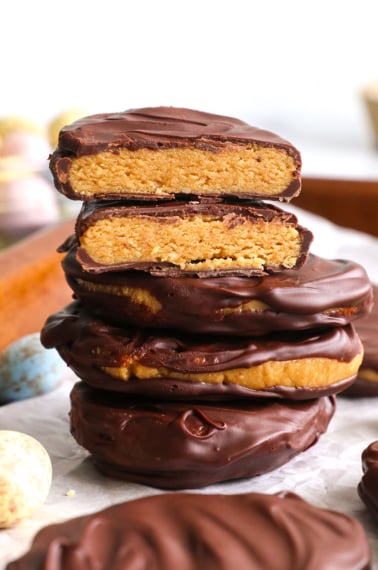
If you love Reese’s peanut butter pumpkins, you’ll love this easy homemade version. The filling is made with just 4 simple ingredients, and dare I say, they taste better than the store-bought version.
I’ve been making a version of these peanut butter cups for years. First, it was Chocolate Peanut Butter Hearts for Valentine’s Day. (Made with coconut flour.)
Then it was protein peanut butter cups, for those who want extra protein in each bite. (Made with collagen peptides.)
Feel free to visit those other recipes if you’d like to see variations on this one.
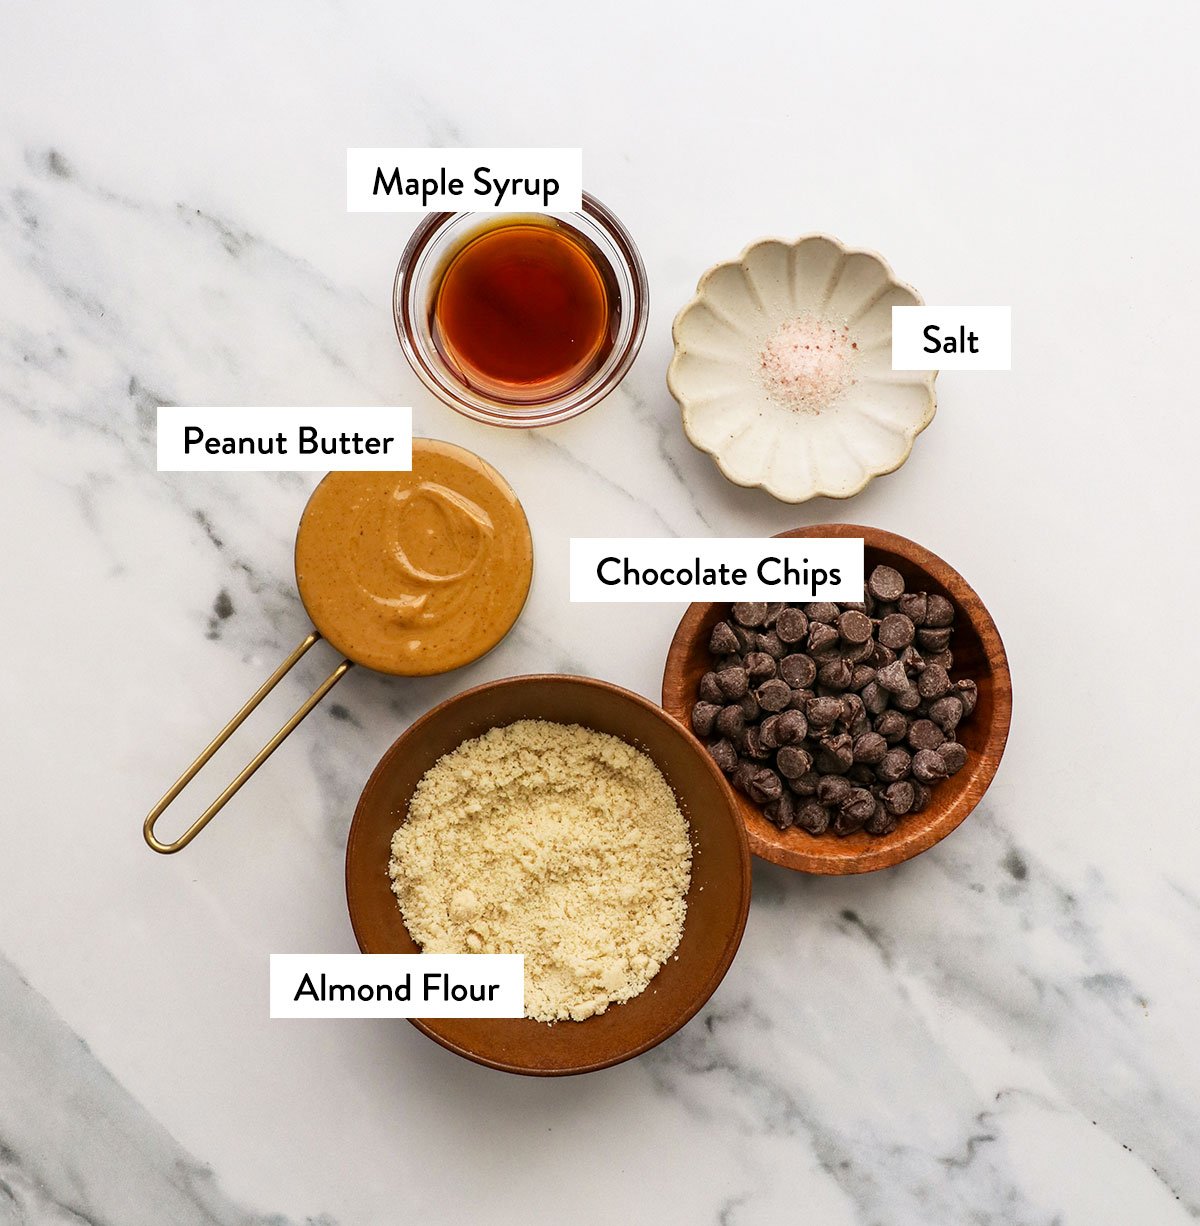
Ingredients You’ll Need
- Peanut Butter. I always use organic, natural peanut butter that needs to be stirred well when you first open the jar. (I also usually buy salted, but unsalted will work, too.)
- Almond Flour. This thickens the peanut butter layer, so it will hold its shape, similar to a Reese’s peanut butter cup. You can use coconut flour or collagen peptides instead, but be sure to read the recipe notes for the measurements, as they can change depending on the ingredient.
- Maple Syrup. This adds a touch of sweetness to the filling.
- Salt. A crucial ingredient for sweet recipes. The filling needs to taste somewhat “salty” to balance out the sweet chocolate coating.
- Chocolate Chips. Use your favorite semi-sweet or dark chocolate chips for the outer coating.
How to Make Chocolate Peanut Butter Pumpkins
Step 1:
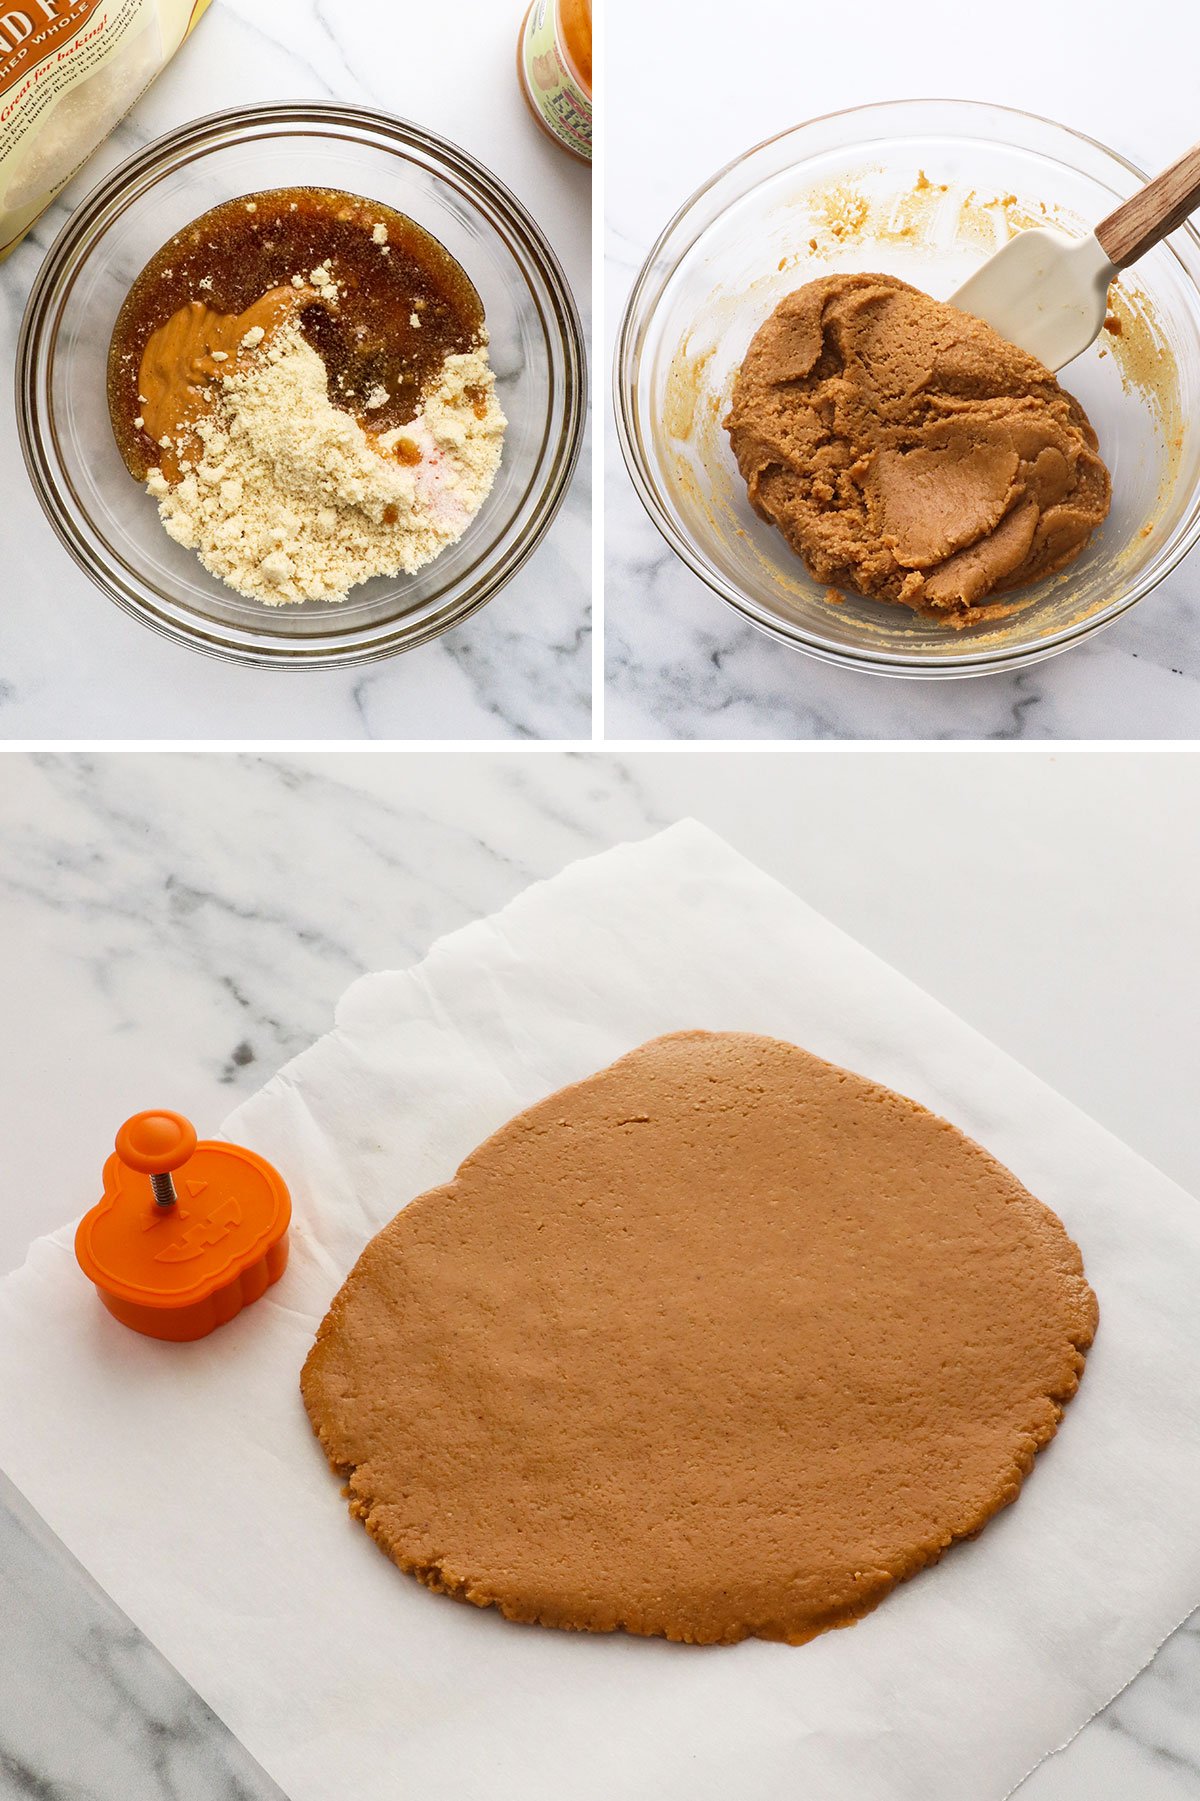
In a small mixing bowl, combine the peanut butter, almond flour, maple syrup, and salt. Stir well until the mixture becomes thicker and more uniform. It should resemble a Play-Doh consistency.
Transfer the dough to the center of a piece of parchment paper. Flatten it with your hands until it’s approximately 1/4-inch thick, or use a rolling pin to roll it out. (Cover the top with parchment paper to prevent sticking, if needed.)
Transfer the flattened peanut butter dough to the fridge to chill for 10 minutes. This can help it hold its shape.
Step 2:
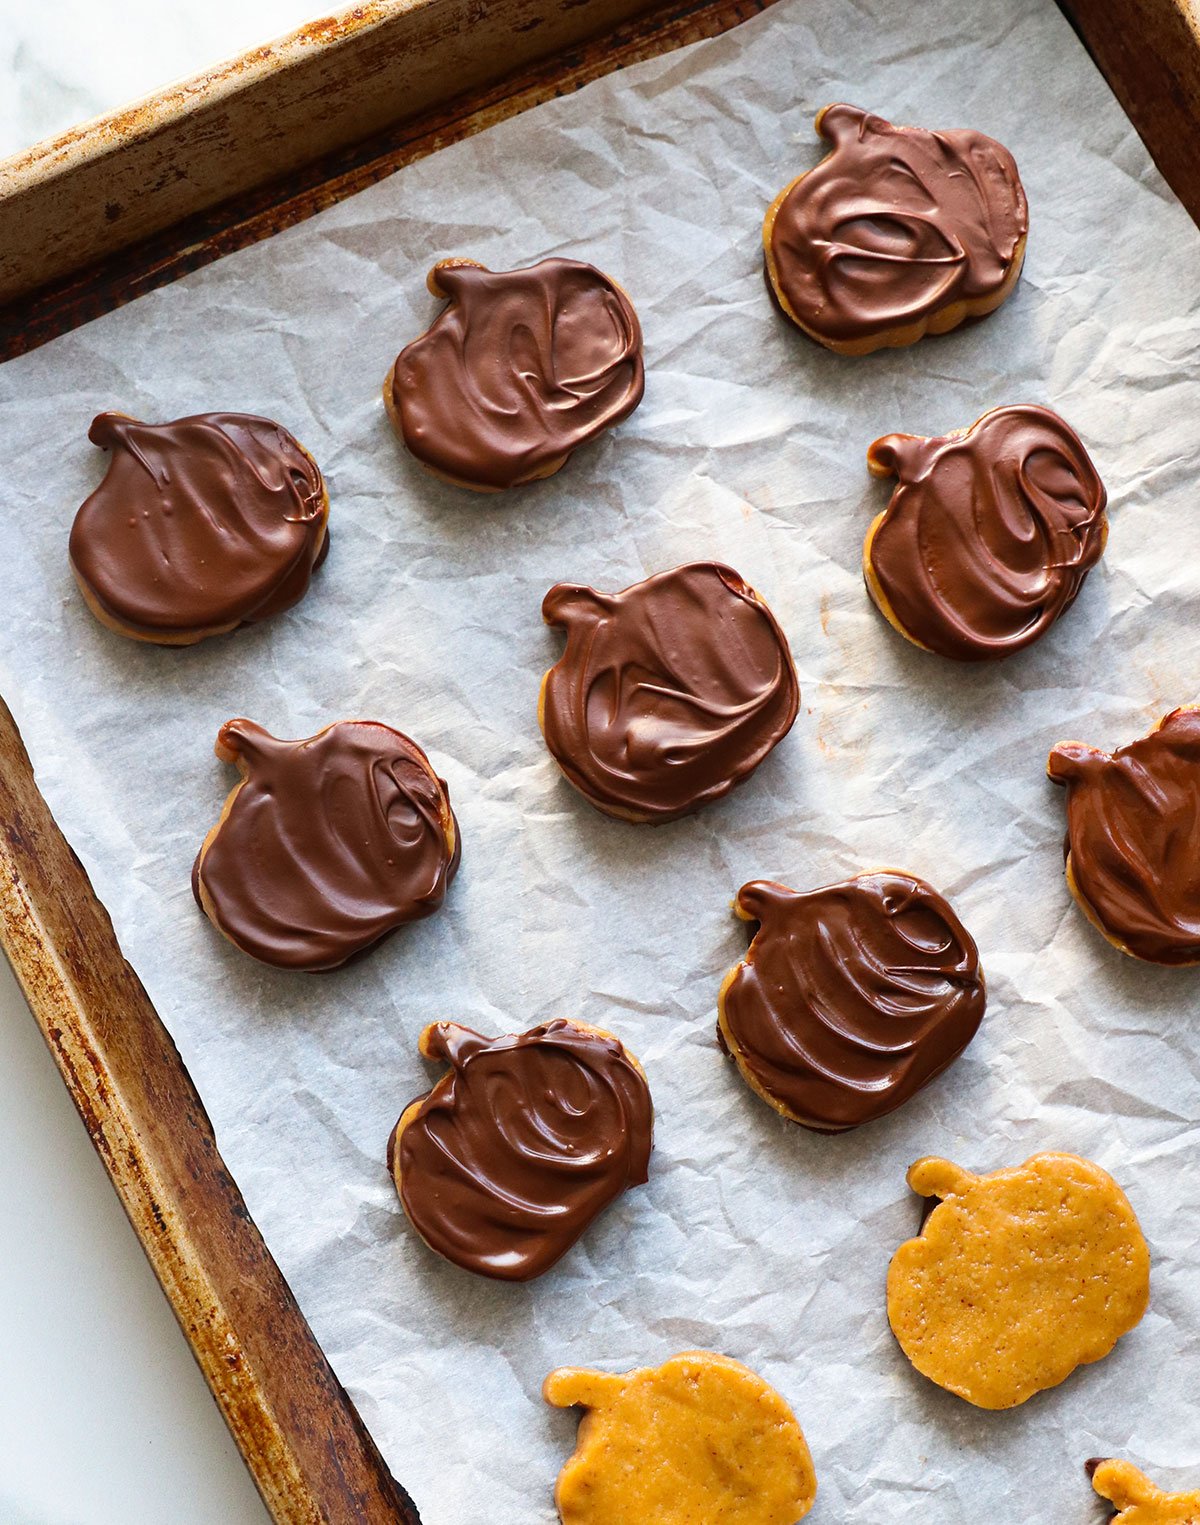
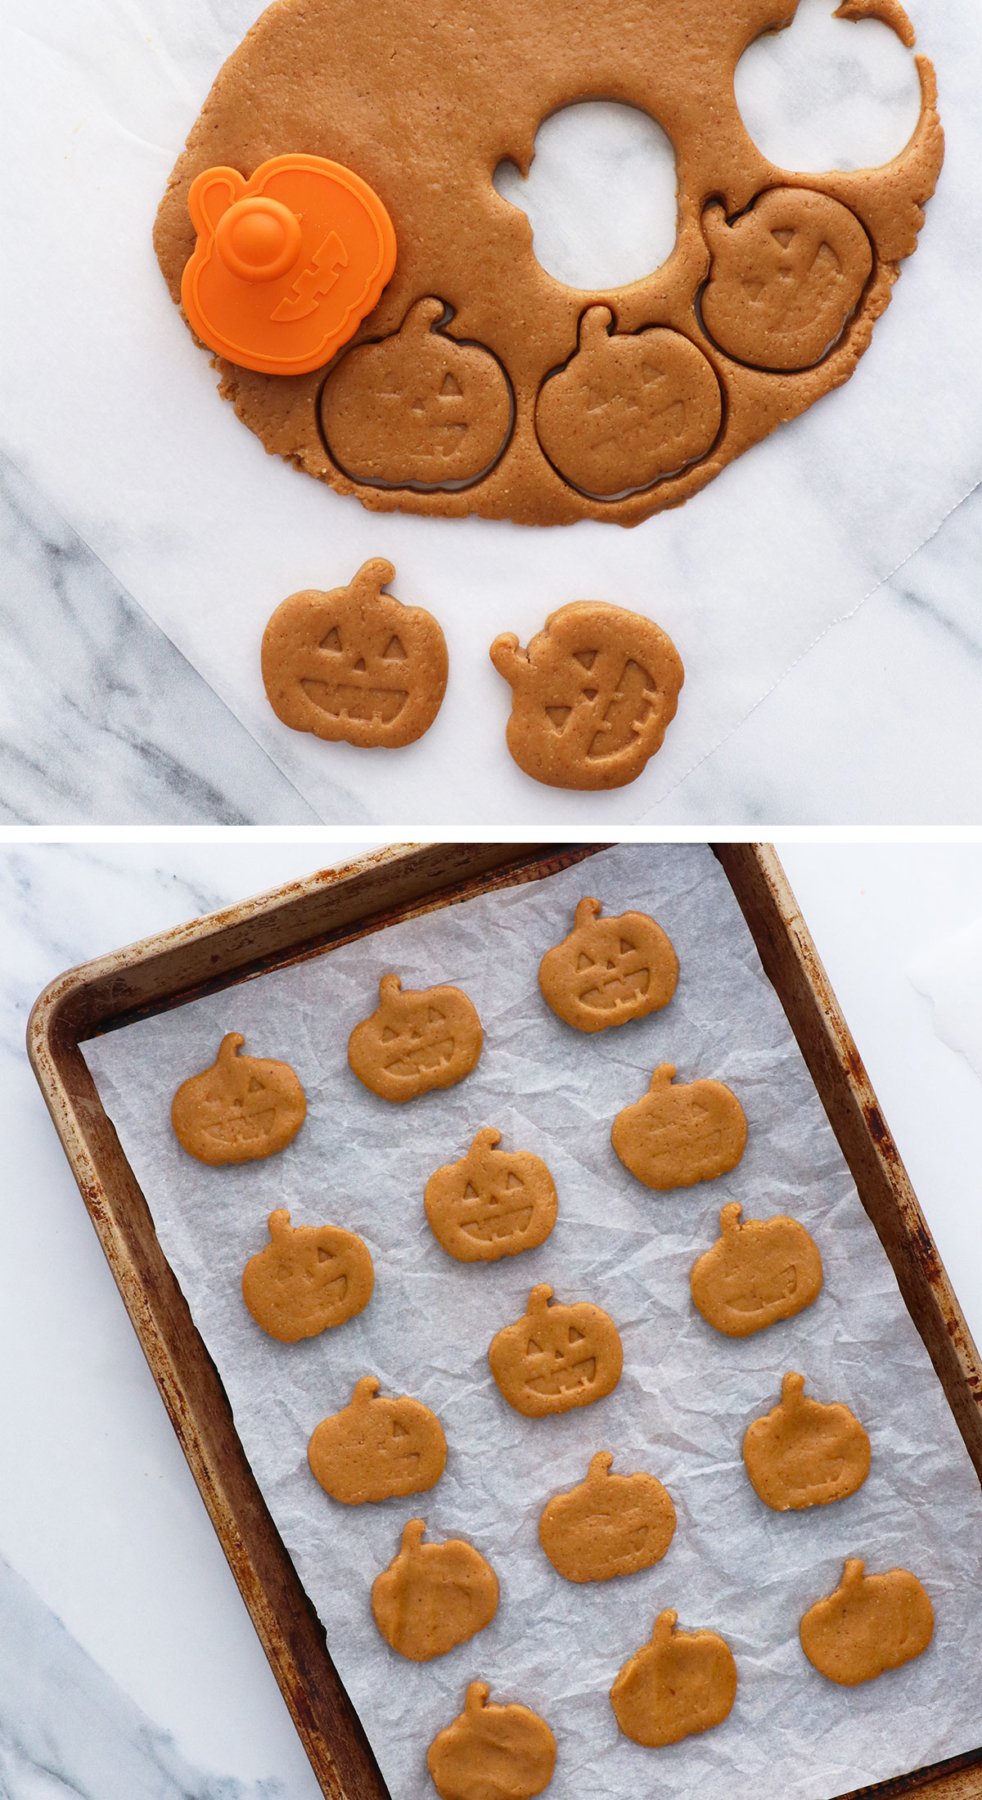
Use a small pumpkin cookie cutter to cut out pumpkin shapes from the chilled peanut butter dough. (Here’s an affiliate link to the set that mine comes with.) Once you’ve cut out as many pumpkins as you can, roll the leftover dough into a ball and flatten it again to cut out more shapes.
I usually get at least 15 to 18 pumpkins from this batch, but you could end up with more or fewer, depending on the size of your cookie cutter.
Arrange the pumpkins on a parchment-lined sheet pan and place the pan in the freezer. The colder they are, the easier they will be to decorate with chocolate. Wait at least 20 minutes for them to chill.
Step 3:
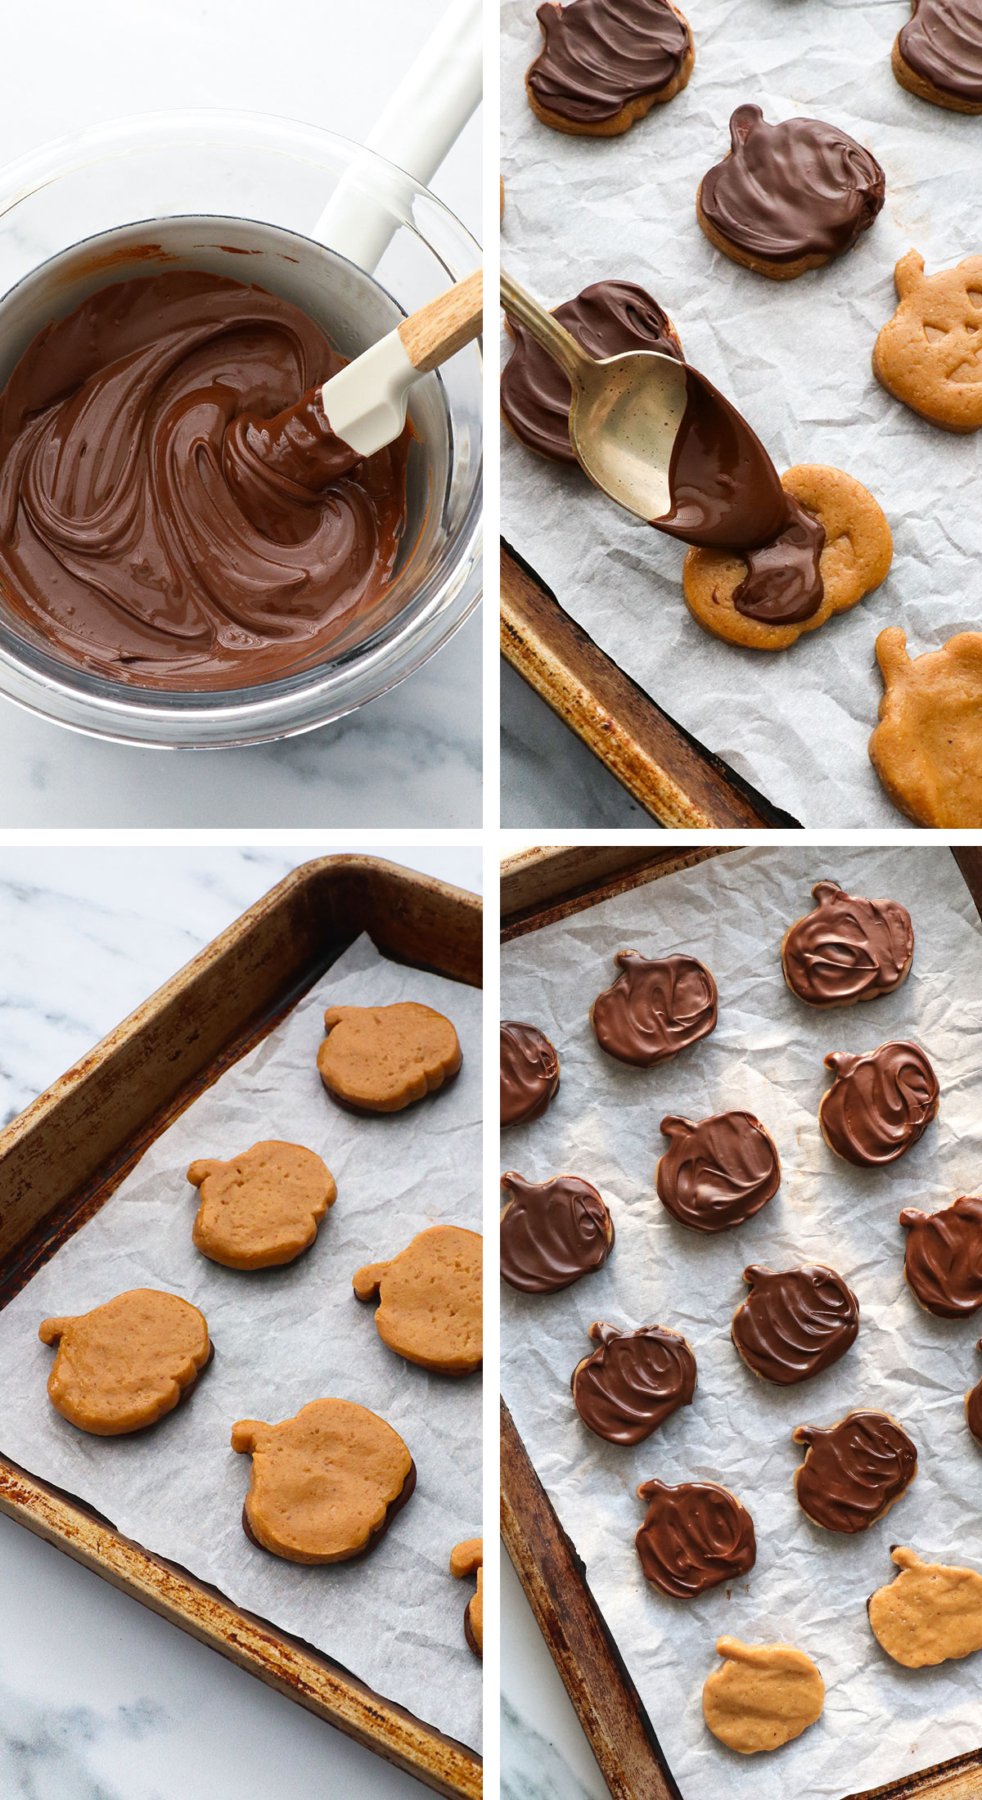
When the pumpkins feel firm to the touch in the freezer, melt the chocolate chips. I like to do this in a double boiler because the hot water will keep the melted chocolate warm while you work. (And you won’t risk burning it in a microwave.)
How to Make a Double Boiler: Fill a small saucepan with 1 inch of water. Bring it to a boil on the stovetop over high heat. When the water is boiling, arrange a heatproof bowl snugly over the saucepan. Add the chocolate chips to the bowl and let them sit for a few minutes. When the chocolate chips look glossy, start stirring them. Continue stirring until the chocolate is smooth and melted.
Remove the pan of pumpkins from the freezer and spoon some of the melted chocolate over each one. The chocolate should start to firm up quickly as you work, since the pumpkins are cold.
If the pumpkins start to warm up as you work, return the pan to the freezer to help the chocolate set quickly. (This should take no more than 5 minutes.) Then flip the pumpkins over and coat the other side, so both sides get coated in chocolate. Return the pumpkins to the freezer so the chocolate can set.
Serving and Storage Tips
As soon as the chocolate is firm to the touch, these peanut butter pumpkins are ready to enjoy. I recommend keeping them chilled for a firmer texture, but you can store them in the fridge or freezer.
The fridge will keep them slightly softer, while the freezer will make them crunchy. Keep them in an airtight container to preserve their flavor for up to a month.
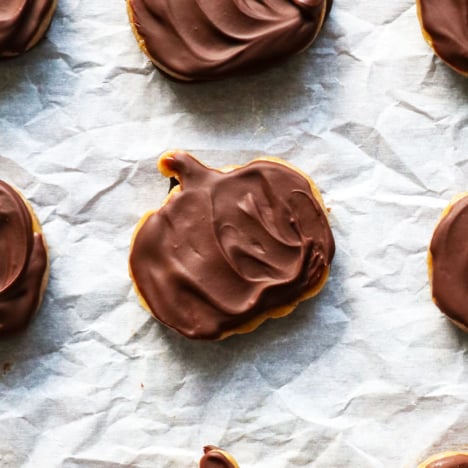
Chocolate Peanut Butter Pumpkins
Ingredients
- ½ cup natural peanut butter
- ¼ cup blanched almond flour
- 2 tablespoons maple syrup
- ¼ teaspoon fine sea salt
- ½ cup dark chocolate chips
Instructions
- To prepare the peanut butter filling, add the peanut butter, almond flour, maple syrup, and salt to a small mixing bowl. Stir well until the mixture thickens.
- Transfer the peanut butter filling to a large piece of parchment paper. Flatten it with your hands, or use a rolling pin to roll it to about a ¼-inch thickness. (Place a piece of parchment on top of the peanut butter to prevent sticking, if needed.) Place this in the freezer to chill for 5-10 minutes. It will make cutting out later easier.
- Remove the peanut butter filling from the freezer and use a small cookie cutter to cut out pumpkin shapes. (Or any shape you like.) Transfer the cut-outs to a parchment-lined baking sheet that will fit in your freezer. Repeat the process until you've made 18 pumpkin shapes. The amount may vary based on the size of your cookie cutter. Squish the peanut butter mixture together and roll it out flat again, to make as many shapes as possible. Place the pan in the freezer so the pumpkin shapes can firm up, for at least 10 minutes.
- To make a double boiler, fill a small saucepan with 1 inch of water. Bring it to a boil on the stovetop, then place a heat-safe bowl snugly over the top. Add the chocolate chips and wait a few minutes. When they look glossy, stir them until they are smoothly melted. Remove the pumpkins from the freezer and spoon the melted chocolate over each one. Then flip them over and coat the other side. The chocolate should start to firm up quickly when it touches the cold pumpkins, but return the pan to the freezer if needed, to help the chocolate set.
- These are ready to serve as soon as they are firm. I recommend serving them chilled, as they can soften when they come to room temperature. Store these in an airtight container in the fridge or freezer for up to 1 month. (Though, you may eat them all before then.)
Notes
Nutrition
More Candy Recipes to Try
- Amazing Crunch Bars
- Healthy Snickers Bars
- Date Snickers
- Homemade Butterfingers
- Crispy Peanut Butter Balls (date-sweetened!)
If you try this recipe, please leave a comment and star rating below to let me know how you like it.


Very easy to make, simple ingredients, delicious. I made a whole tray and my boyfriend almost ate all of them in one go…
Oh my gosh these were the best little treats. My kids absolutely loved them too.
Thank you!!!!