This post may contain affiliate links. Please read my disclosure and privacy policy.
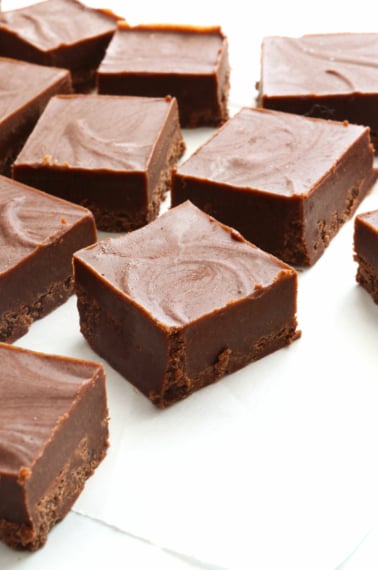
My favorite candies have always been the chocolate-coated variety, with a bit of a salty element– like Snickers, Twix, and Reese’s.
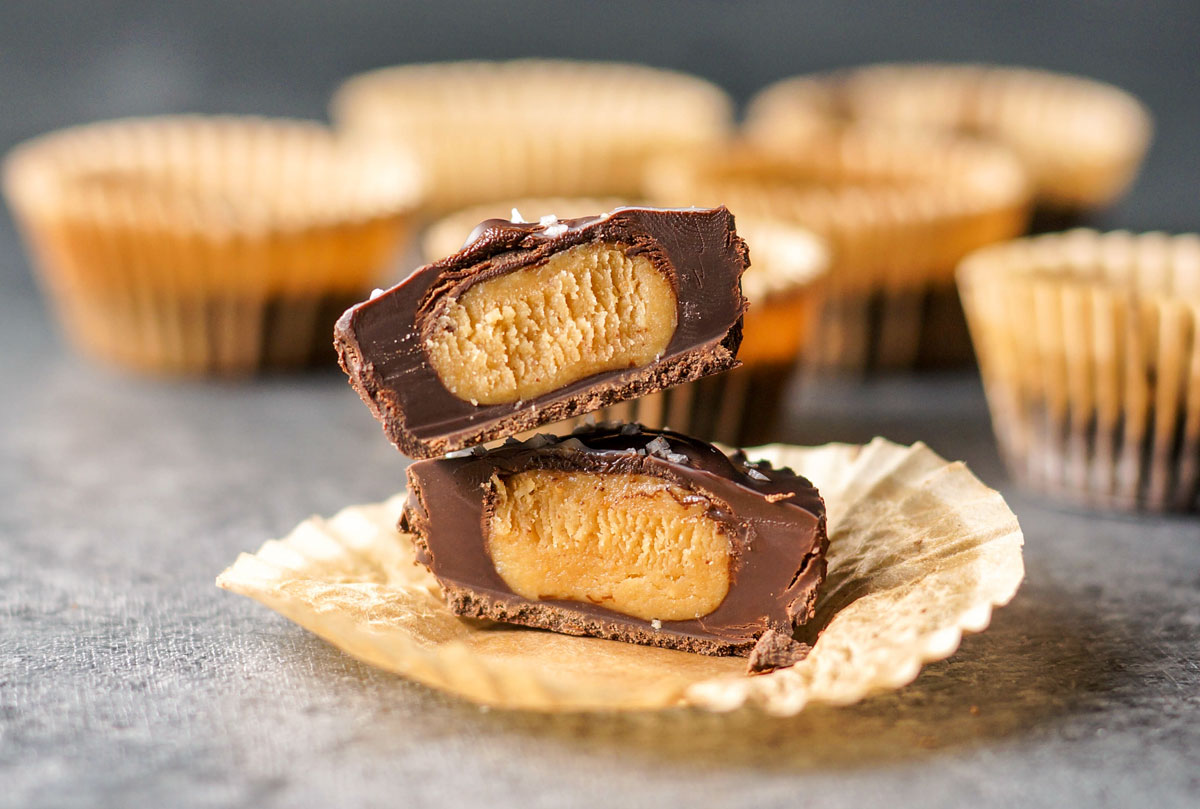
You may recall that I actually made some Healthy Almond Butter Cups several years ago, but Austin and I have always agreed that the mini peanut butter cups are far superior to the full-size cups. I think it has something to do with the peanut butter-to-chocolate ratio. So, this year I decided to try my hand at making a mini homemade version.
What I love about making my own peanut butter cups is that you get to control everything, from how dark the chocolate is to how much peanut butter filling goes into each cup. You can even find dark chocolate that is sweetened with coconut sugar now, to completely eliminate the refined sugar element. Don’t care for peanut butter? Use almond butter, cashew butter, or sunflower butter if you prefer. It’s hard to mess these up!
—
Mini Vegan Peanut Butter Cups
Makes 16 pieces
Ingredients:
16 mini paper liners
Chocolate Coating:
1 1/2 cups dark chocolate chips (about 7 ounces)
Peanut Butter Filling:
1/2 cup all-natural organic peanut butter
2 tablespoons maple syrup
1 tablespoon coconut flour
1/4 teaspoon fine sea salt
Coarse sea salt, for topping (if desired)
Directions:
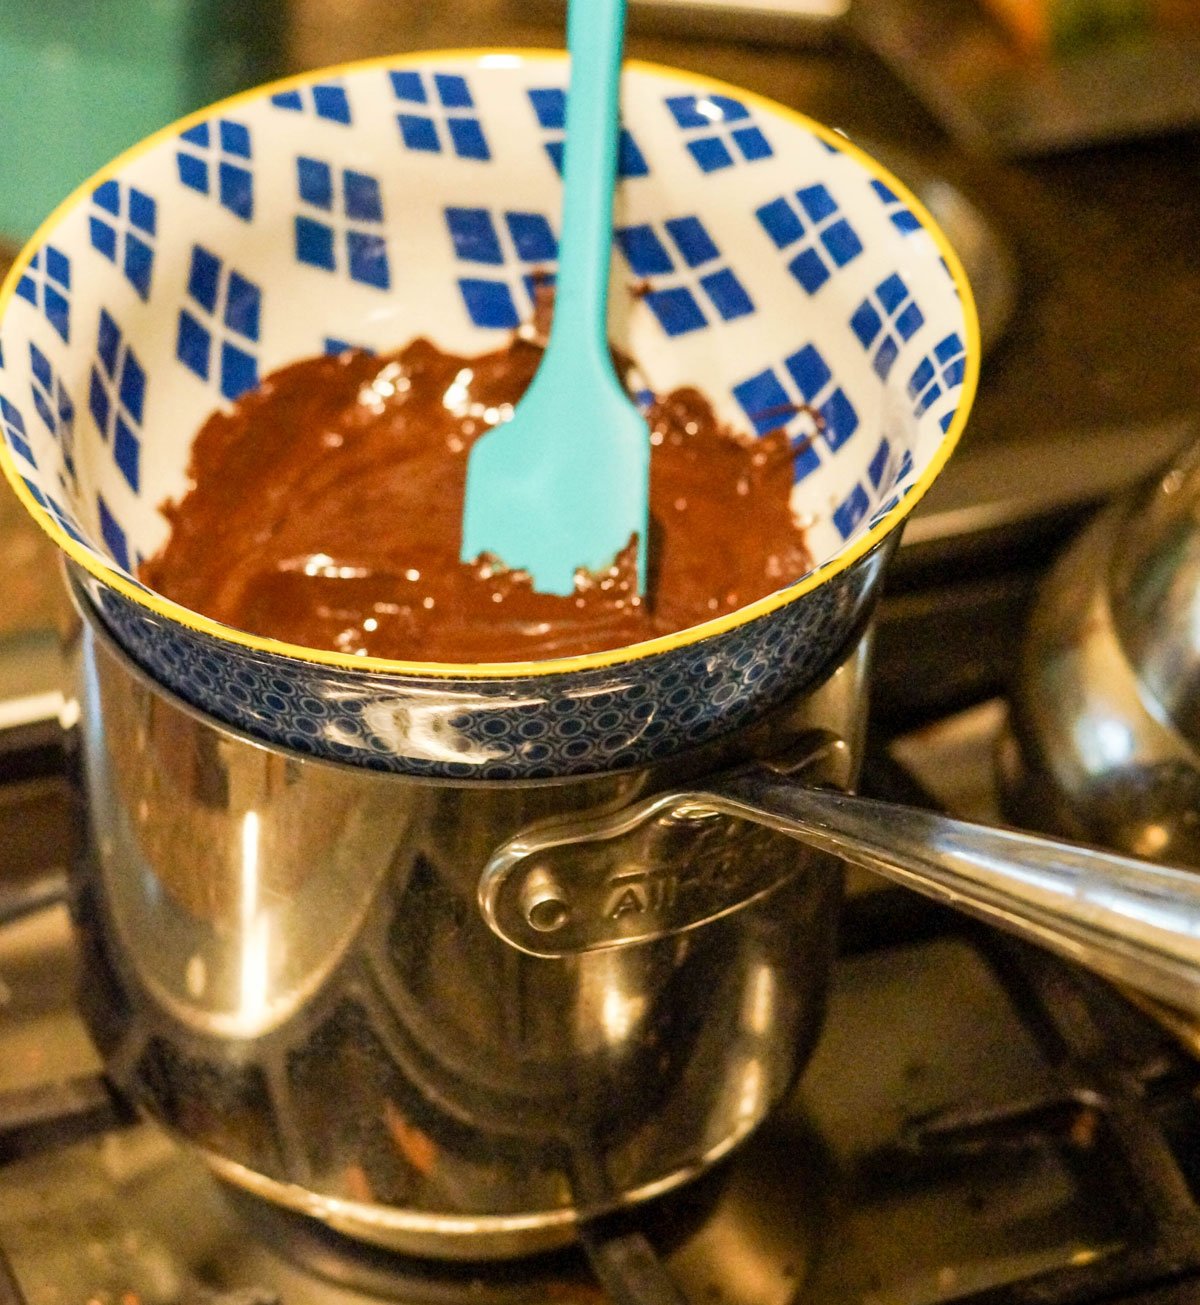
Line a mini muffin pan with the 16 paper liners and set it aside. Melt half of the dark chocolate (about 3/4 cup dark chocolate chips) over a double boiler. I simply arrange an heat-safe bowl over my 2-quart sauce pan that has been filled with about an inch of water, and then bring that to a boil.
Once the chocolate is melted, use a teaspoon to scoop the chocolate into the bottom of each mini muffin liner, then set the pan aside again.
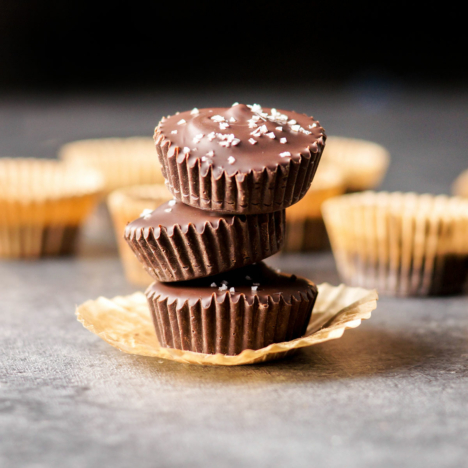
To prepare the peanut butter filling, stir together all of the ingredients in a medium bowl, until the mixture is thick. Use a teaspoon to measure out the filling, then roll it between your hands to form a ball. I like to gently press each ball between my fingers so that the top and bottom are slightly flattened, that way the peanut butter cups won’t look too round. (See the picture below.)
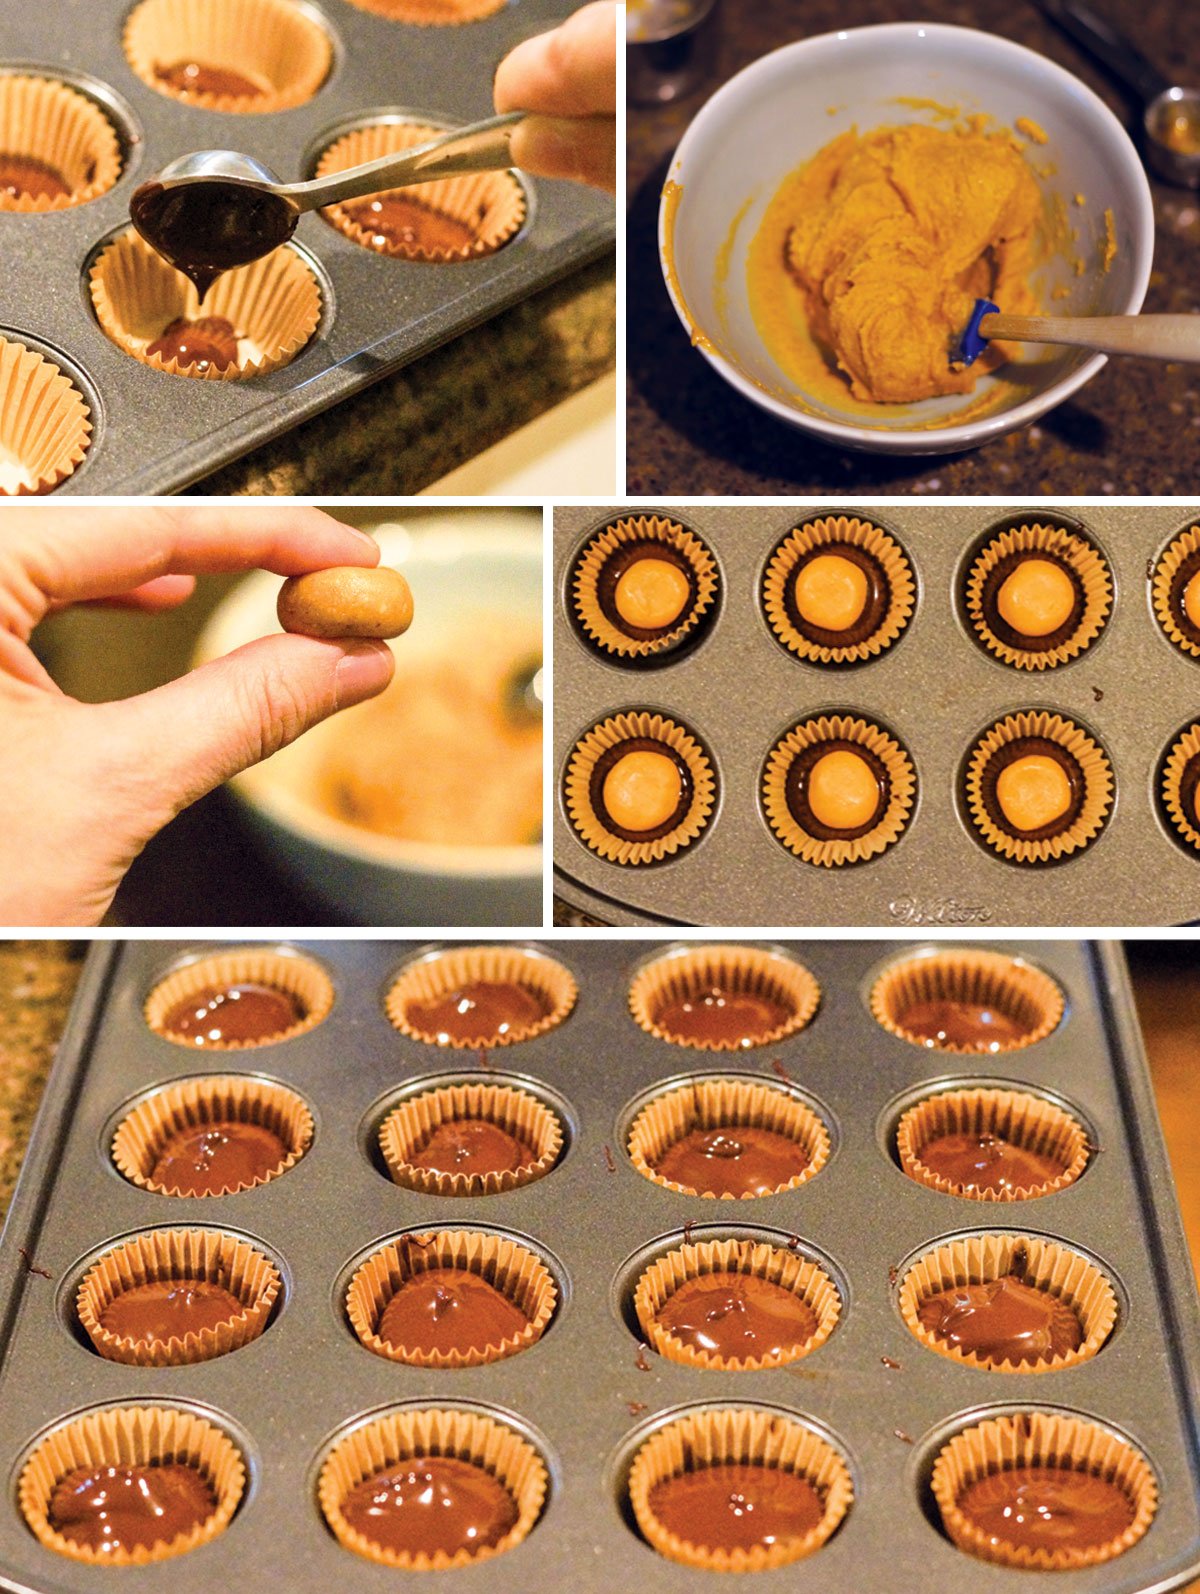
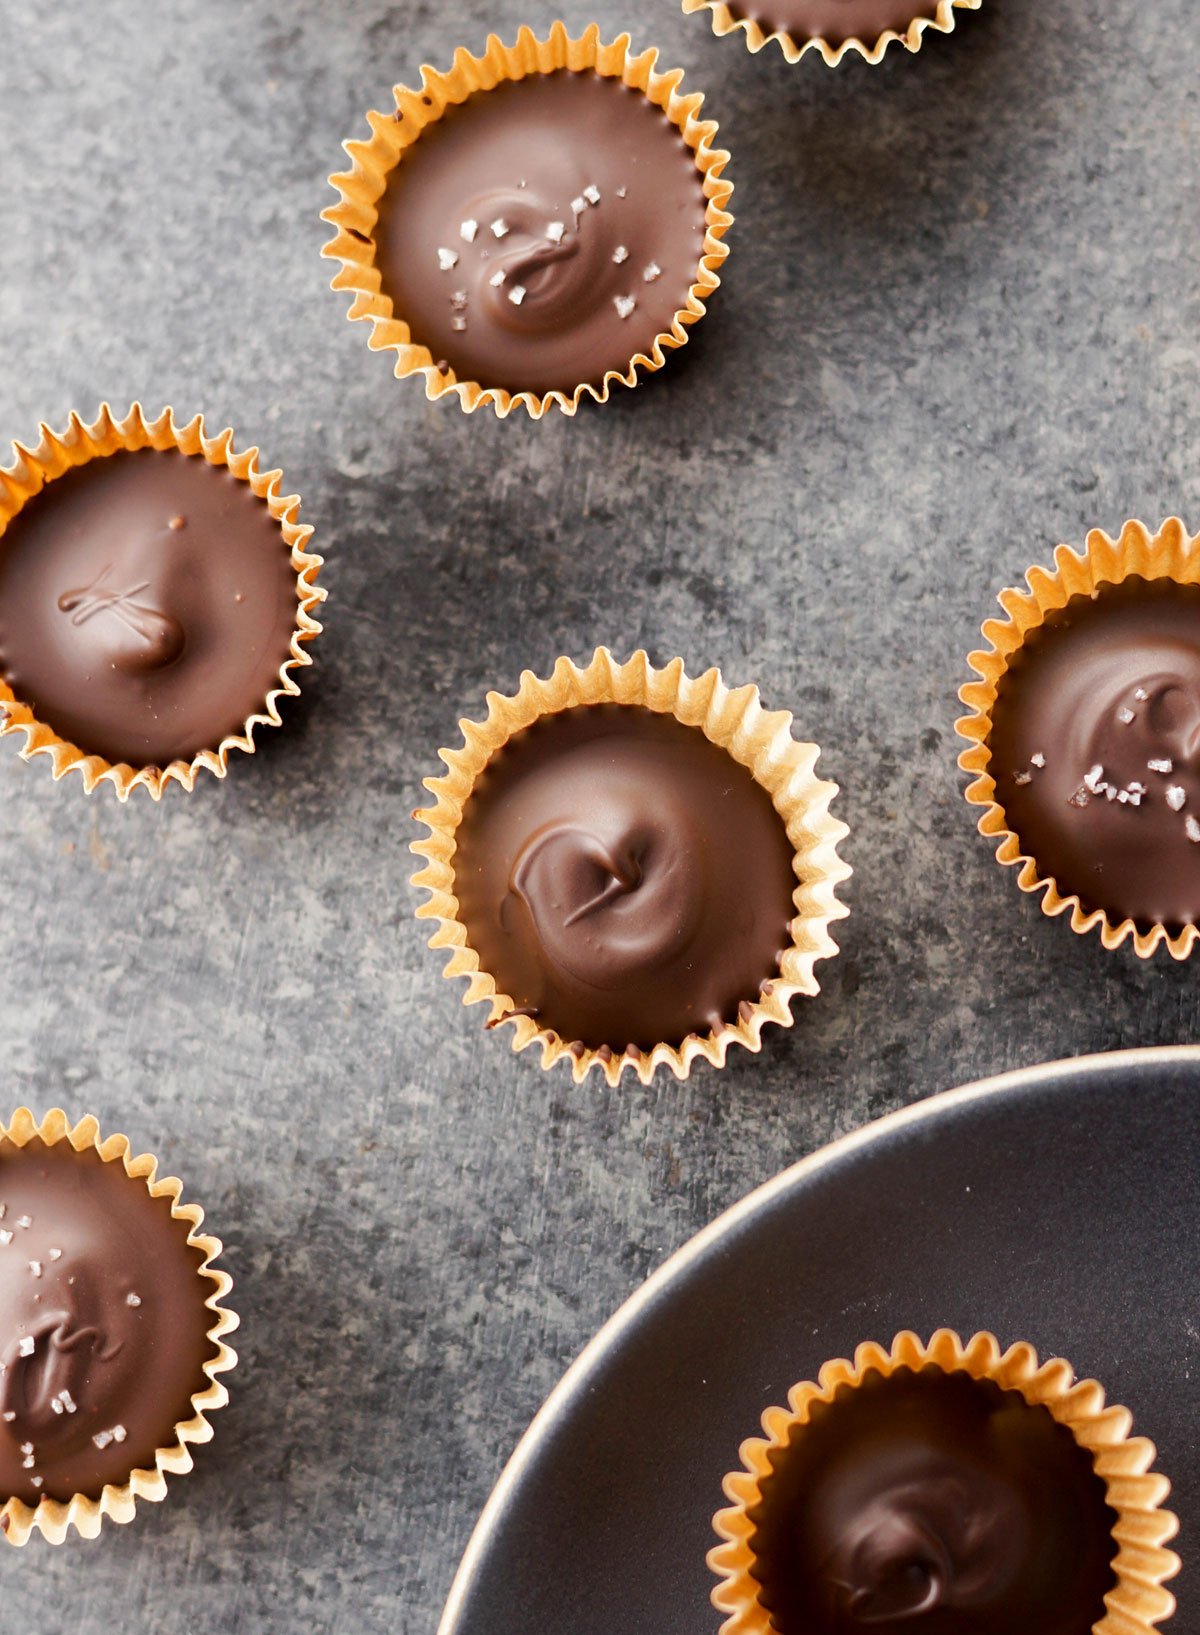
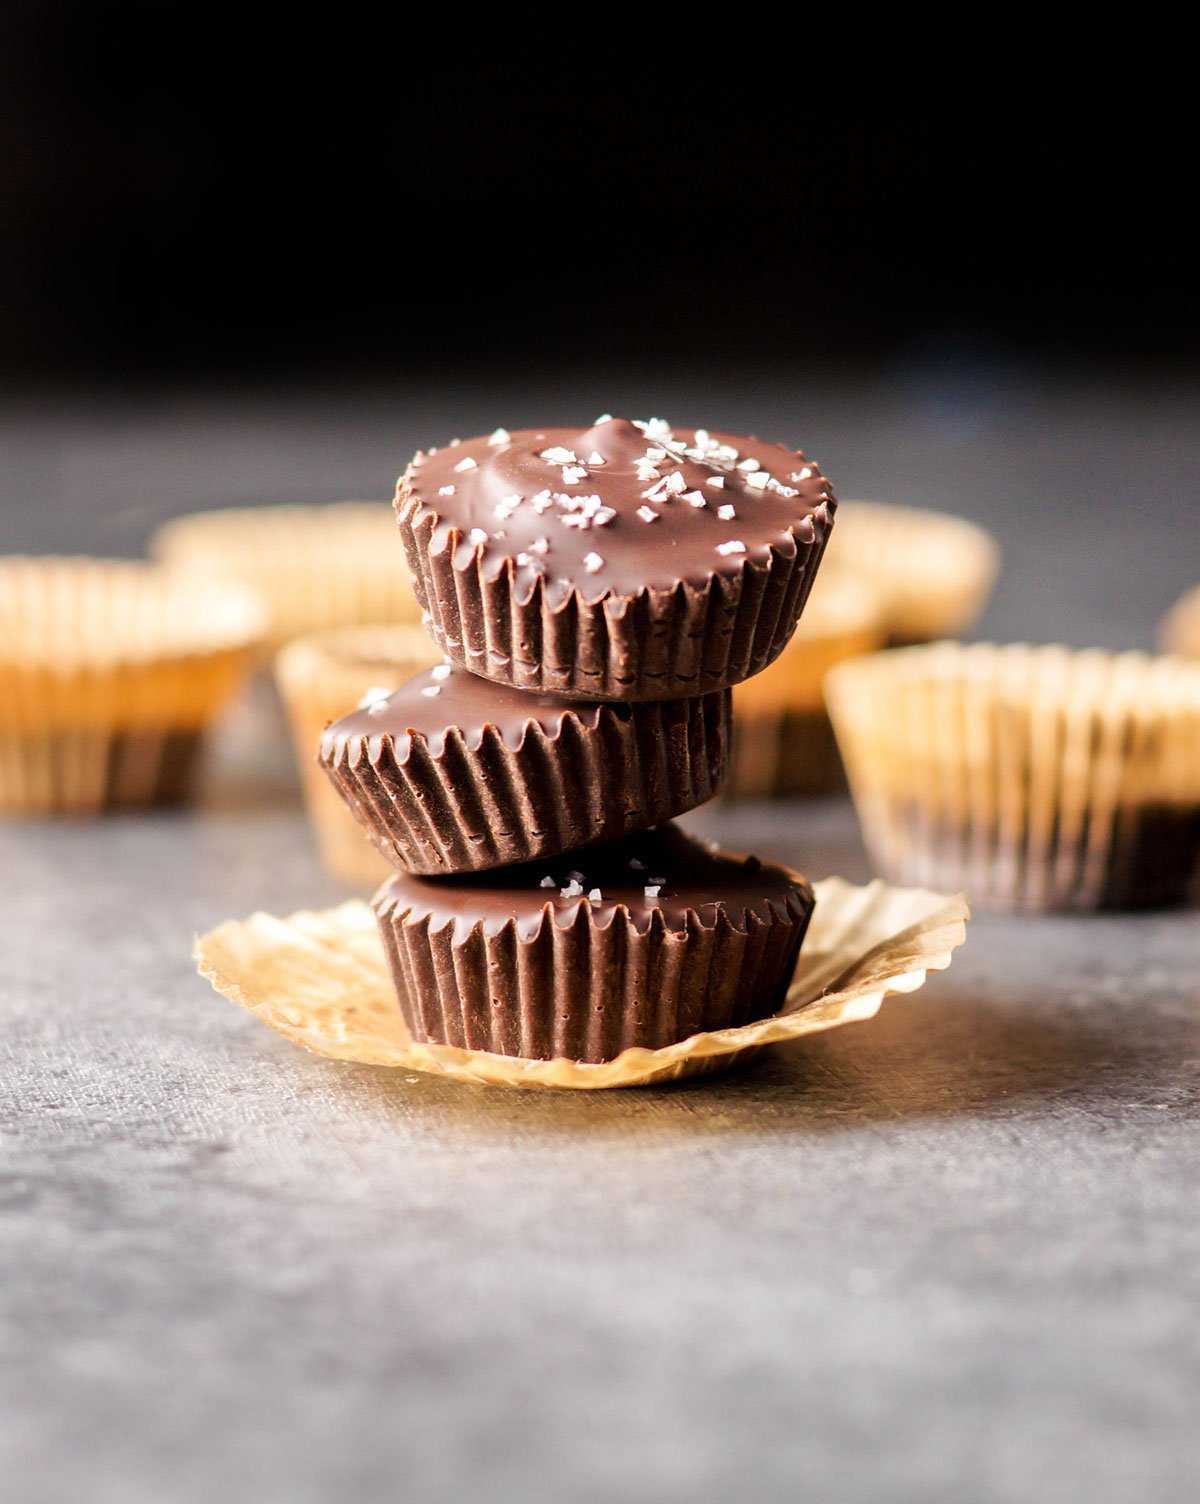
Press the peanut butter filling into each muffin cup, then melt the remaining dark chocolate to spoon over the top. You want the tops to be flat, just like a Reese’s peanut butter cup, so you might need a little bit more than a teaspoon to fill out the tops. While the chocolate is still melted, sprinkle the tops with coarse sea salt, if desired. (I highly recommend it!)
Allow the cups to cool at room temperature, or put them in the fridge to speed up the process. Because this recipe calls for natural peanut butter, which is normally stored in the fridge, I’d recommend storing these in the fridge if you don’t plan on serving them all within two days. They should keep for a month or more when stored in an airtight container in the fridge– unless you eat them all before then!
Ingredients
16 mini paper liners
Chocolate Coating:
- 1 1/2 cups dark chocolate chips (about 7 ounces)
Peanut Butter Filling:
- 1/2 cup all-natural organic peanut butter
- 2 tablespoons maple syrup
- 1 tablespoon coconut flour
- 1/4 teaspoon fine sea salt
Coarse sea salt, for topping (if desired)
Instructions
- Line a mini muffin pan with the 16 paper liners and set it aside. Melt half of the dark chocolate (about 3/4 cup dark chocolate chips) over a double boiler. I simply arrange an heat-safe bowl over my 2-quart sauce pan that has been filled with about an inch of water, and then bring that to a boil.
- Once the chocolate is melted, use a teaspoon to scoop the chocolate into the bottom of each mini muffin liner, then set the pan aside again.
- To prepare the peanut butter filling, stir together all of the ingredients in a medium bowl, until the mixture is thick. Use a teaspoon to measure out the filling, then roll it between your hands to form a ball. I like to gently press each ball between my fingers so that the top and bottom are slightly flattened, that way the peanut butter cups won't look too round.
- Press the peanut butter filling into each muffin cup, then melt the remaining dark chocolate to spoon over the top. You want the tops to be flat, just like a Reese's peanut butter cup, so you might need a little bit more than a teaspoon to fill out the tops. While the chocolate is still melted, sprinkle the tops with coarse sea salt, if desired. (I highly recommend it!)
- Allow the cups to cool at room temperature, or put them in the fridge to speed up the process. Because this recipe calls for natural peanut butter, which is normally stored in the fridge, I'd recommend storing these in the fridge if you don't plan on serving them all within two days. They should keep for a month or more when stored in an airtight container in the fridge-- unless you eat them all before then!
Video
Nutrition
Per Serving: Calories: 113, Fat: 8g, Carbohydrates:10g, Fiber: 1g, Protein: 3g
Note: If you’d prefer to make your own chocolate coating, rather than using store-bought chocolate, I’d recommend using my recipe for Healthy Chocolate Bark. I hope this recipe will make your Halloween a little tastier this year!
—
Reader Feedback: What’s your favorite Halloween candy?


So delicious and so easy!! This recipe takes chocolate peanut butter cups to new heights!
I make these for my daughter and she absolutely loves them. I am vegan of course so I use cruelty free chocolate
These were amazing! I measured each layer by teaspoon, and I ended up with 21 instead of 16…no complaints here! For any reviewers who are concerned about a coconut taste, there was none. The coconut flour seemed to give the PB/syrup blend just enough thickness and chewiness for a mouthfeel that wasn’t sticky or globby.
Delicious, and I loved that they weren’t loaded with sugar! I’ll be making these holiday treats. Thanks for a great recipe Megan!
I really want to make this recipe but I don’t have coconut flour. Are there any substitutes that you know of that I can use and these will still taste amazing?
Hi! What’s an option to replace coconut flour? I can’t stomach the taste of it. Almond flour just makes everything taste like almonds. Maybe chickpea flour?
These came out GREAT! Not sure if my measuring was a little off though because this ended up making 24 for me. Sea salt on top is definitely the move, also added some cacao nibs for texture which I highly recommend! Thanks for the recipe!
Wow, Megan!!! These are AMAZING!!! We made them yesterday and between my husband and 3 boys (and me!!) they were gone by today, so my 4 year old requested we make them again! They are just perfect and I love that my kiddos are going crazy for a healthier dessert. The coconut flour in the pb mixture is genius. For the chocolate I melt unsweetened chocolate and then sweeten it to taste with pure maple syrup. So good!
So delicious 😋 I made them with organic green leaf stevia powder in its purest form (in not addicting like the white processed stevia)
Thank you for the deliciousness😋