This post may contain affiliate links. Please read my disclosure and privacy policy.
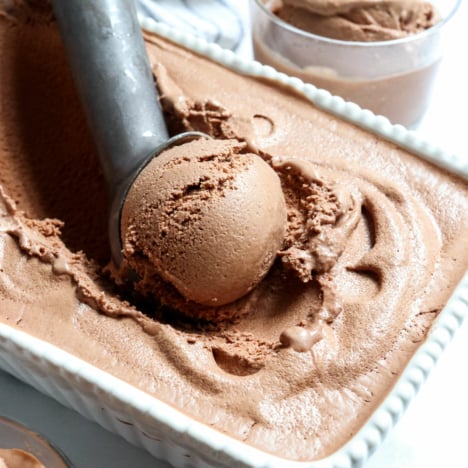
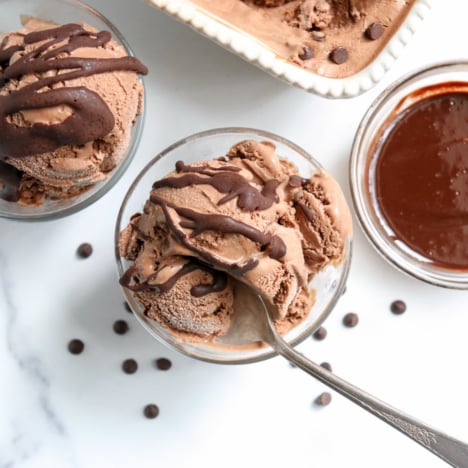
This coconut milk ice cream recipe is magical. Even if you’re not the biggest fan of coconut desserts, this one has such a rich chocolate flavor that it’s not immediately obvious that it’s made with coconut milk. (My 9-year-old daughter doesn’t like coconut, and loves this ice cream.)
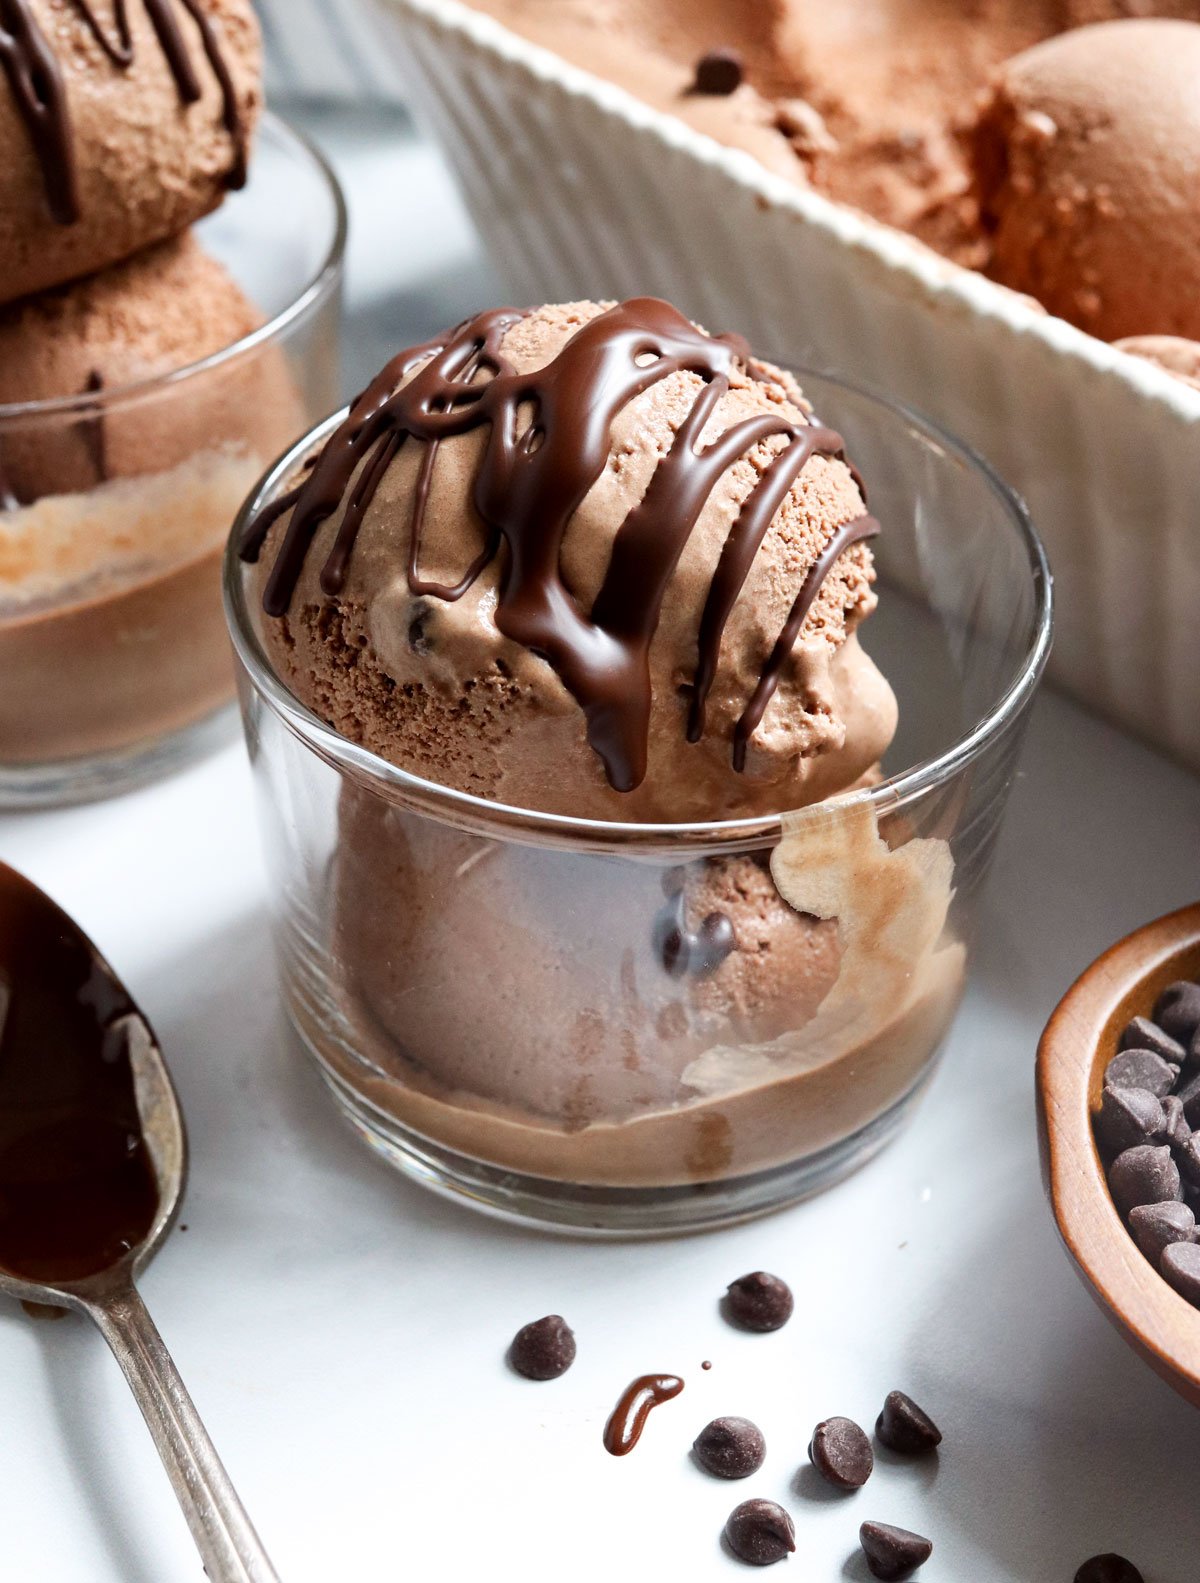
It tastes remarkably similar to “real” ice cream made with heavy cream, so it’s hard to believe that it’s dairy-free and naturally sweetened. Nearly a hundred glowing reviews below agree!
I’ve tweaked this recipe over the years to make it as easy and delicious as possible, so be sure to try it as written before you make any modifications. It’s also a great excuse to keep an ice cream maker on hand. (Or if you have a Ninja Creami, that will work, too.)
⭐⭐⭐⭐⭐ Featured Review
“Best dairy-free chocolate ice cream recipe I’ve tried! It’s delicious, and doesn’t get hard as a rock in the freezer.” -Leslie
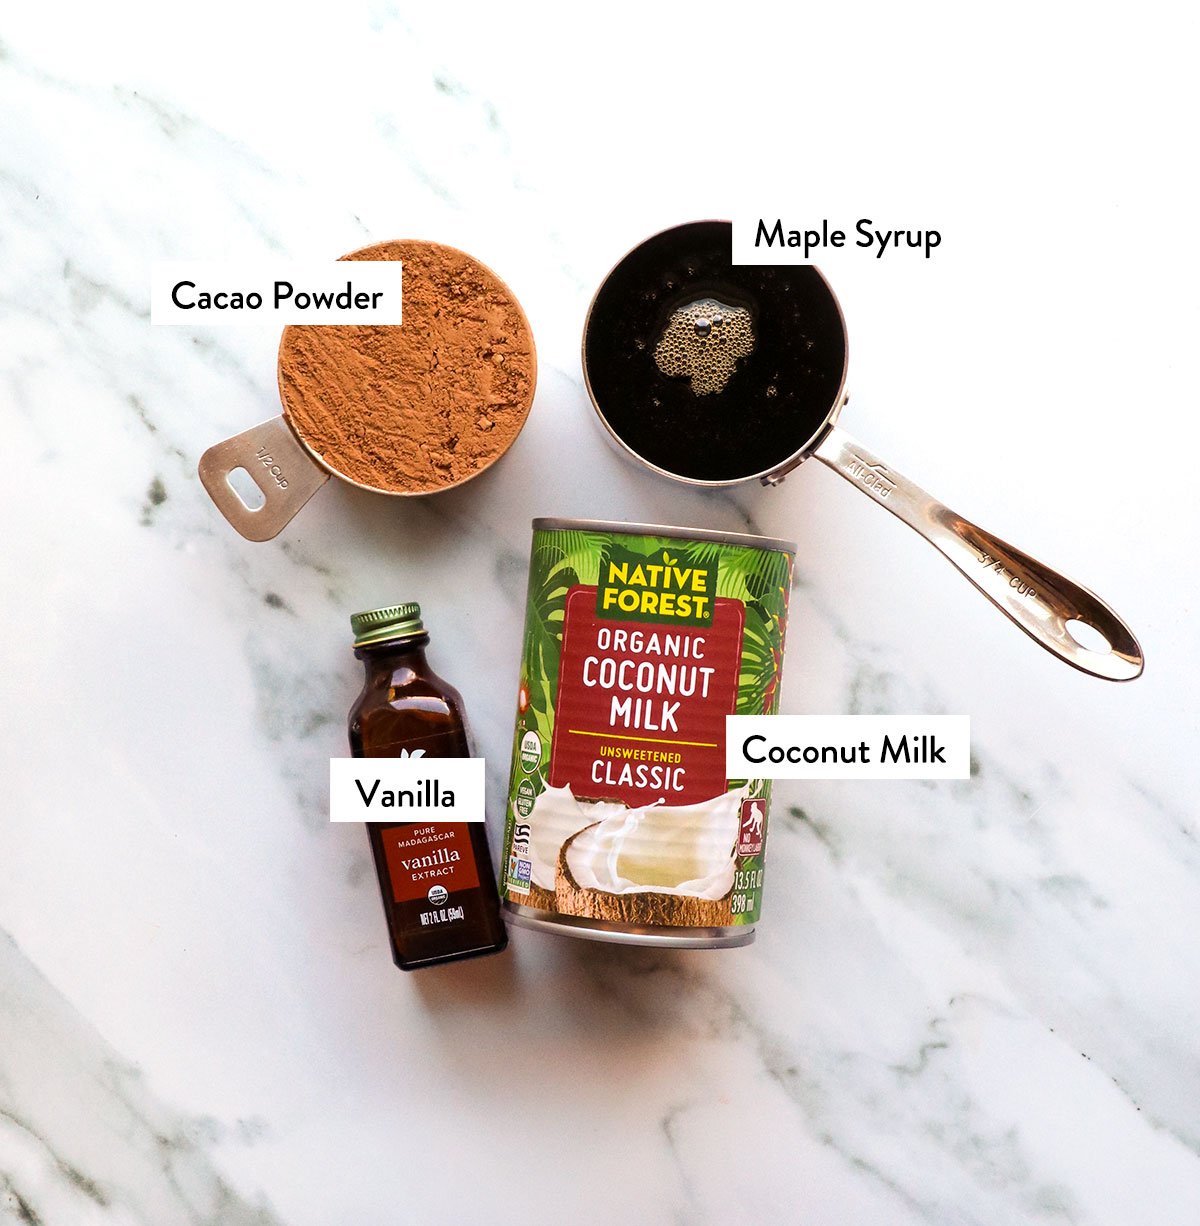
Coconut Milk Ice Cream Ingredients
- Coconut Milk. Use full-fat canned coconut milk. Don’t use the kind you’d buy in the refrigerated section, or a can of “lite” coconut milk, or you won’t get a creamy texture. You’ll get creamier results if you use coconut milk made with guar gum, FYI.
- Cacao Powder. I tested this recipe with raw cacao powder, but I think dutch-processed cocoa powder will work similarly.
- Maple syrup. This natural sweetener pairs really well with chocolate-flavored desserts, making this ice cream vegan-friendly. The syrup also plays a vital role in preventing an icy texture in ice cream, so don’t reduce the amount and expect a similar result.
- Vanilla extract. This boosts the overall flavor, but is optional.
Feel free to add any extra flavorings you like, such as peppermint or almond extract, too. I’d start with just a 1/4 teaspoon at a time, and add more to your liking.
How to Make Coconut Milk Ice Cream
Step 1:
Make sure you have frozen the bowl of your ice cream maker 24 hours in advance if your machine requires it.
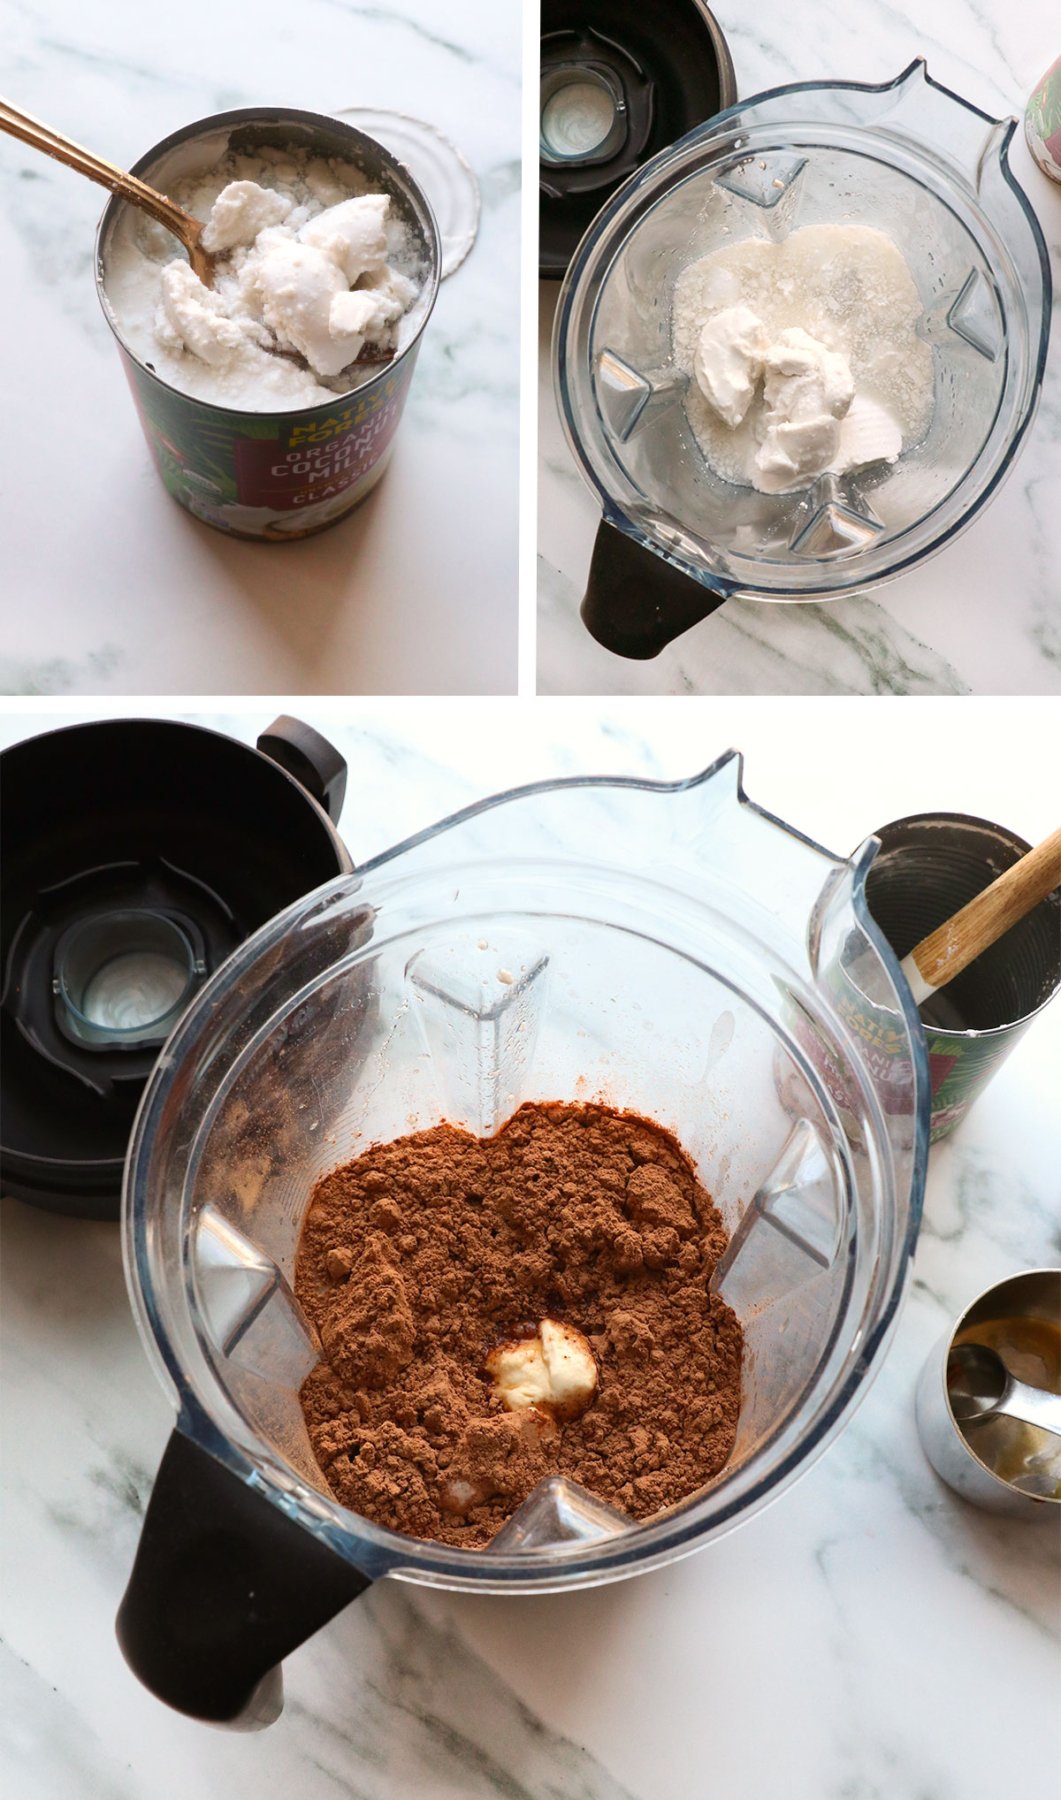
Then open a can of coconut milk and add all of the contents to a high-speed blender. If your kitchen is cold, the coconut milk will likely be separated in the can. That’s okay; just add it all into the blender.
Then add the cacao powder, vanilla extract, and maple syrup. Secure the lid and blend until smooth.
Note: If you don’t have a blender, you can whisk the ingredients together in a bowl until no clumps remain. Just make sure the coconut milk is completely smooth, as it can often separate in the can, and that it is totally creamy for the best ice cream results.
Want to save this for later?
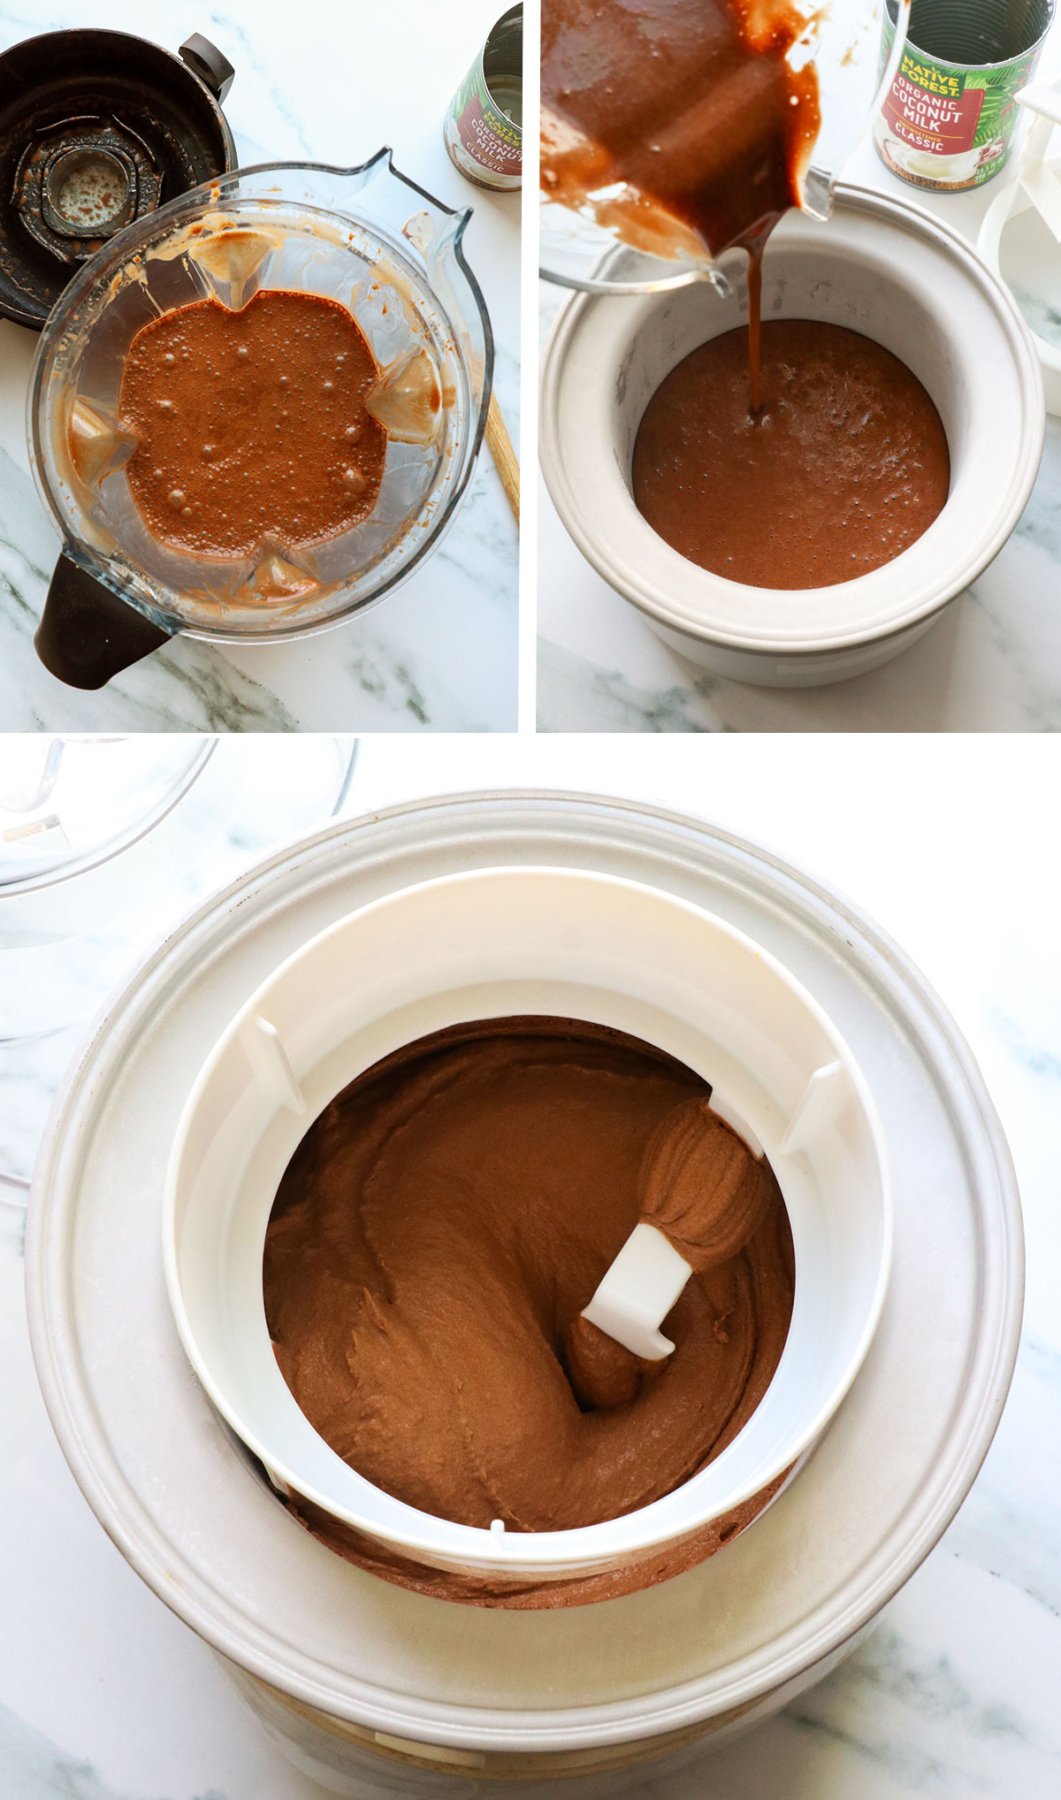
Step 2:
Once the mixture is smooth, pour it into an ice cream maker and let it run for 30 to 35 minutes, until thick and creamy. Yes, it really does take over 30 minutes to thicken up, so be patient.
I use this Cuisinart Ice Cream Machine (affiliate link) and have owned it for over 16 years. It still works great!
Note: If you want to run your ice cream maker for a shorter time, you could chill the chocolate mixture in the fridge first. For example, if you want to make this ahead of time, you could chill the blended mixture overnight and then process it in the ice cream machine the next day. That would shave off some of the processing time.
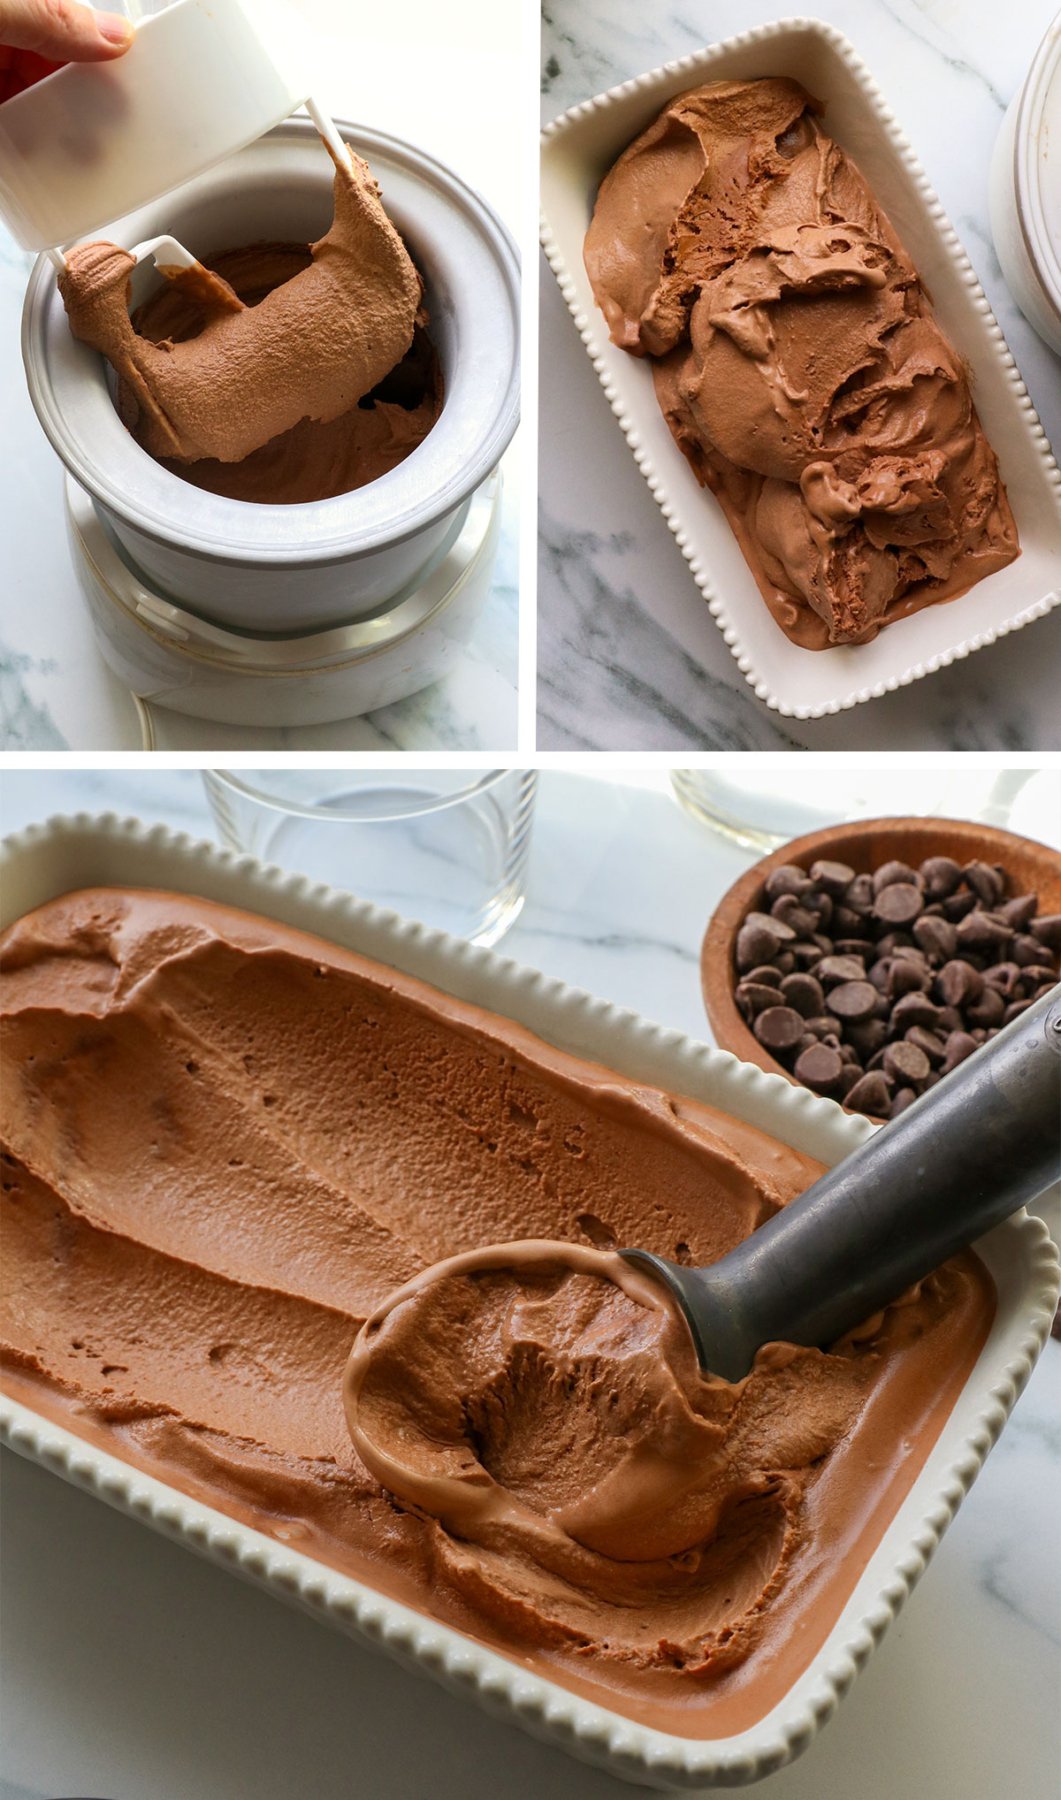
Step 3:
Once the mixture is thick, you can serve it right away for a soft-serve-like texture.
If you prefer a firmer texture, like a tub of ice cream you’d buy at the store, transfer it to a storage container and freeze for 4 to 6 hours, or overnight. This ice cream remains surprisingly scoopable, even when it’s fully frozen.
Storage Tip: Keep the ice cream tightly covered in an airtight container in the freezer for the best flavor. I think it’s the easiest to scoop in the first 24-48 hours, but if it becomes too firm, you can let it thaw on the counter for 10 minutes and then try scooping again.
Chocolate Coconut Milk Ice Cream
Ingredients
- 1 (13.5 oz.) can full-fat coconut milk (see notes)
- ½ cup cacao powder
- ¾ cup pure maple syrup
- 1 teaspoon vanilla extract
Instructions
- Be sure to freeze the bowl of your ice cream machine at least 24 hours in advance, if your ice cream maker requires it. In a blender, combine the coconut milk, cacao powder, maple syrup, and vanilla, and blend until smooth.
- Pour the mixture into the frozen bowl of your ice cream maker, and process until thick and creamy, about 30 to 35 minutes.
- Serve right away for a soft-serve consistency, or transfer the ice cream to an airtight container and store it in the freezer for 4 to 6 hours for a firmer, scoopable consistency. Leftover ice cream will keep well in an airtight container in the freezer for up to 3 months.
Notes
Nutrition
More Recipes To Try
If you try this ice cream recipe, please leave a comment and star rating below to let me know how you like it. I appreciate your feedback!


Do you have a recipe for ice cream that uses monk fruit and/or whole leaf powdered stevia as the sweetener and have it still taste good and come out creamy? I haven’t found one yet.
No, unfortunately my body doesn’t respond well to stevia or zero calorie sweeteners, so I don’t work with them. Maybe try my friend Carloyn’s website, All Day I Dream About Food? She does keto recipes!
Smooth, creamy and simple to make. I subbed 1/2 c date syrup in lieu of maple syrup. I made it in my Ninja Creami. Next time I will blend it in a blender first instead of whisk.
I should have commented on this recipe long ago…… I literally make this at least once a week….sometimes I omit the cacao for a vanilla batch of ice cream. I make it in my ninja creami. it is the PERFECT recipe. THANK YOU VERY MUCH!
This is fantastic! Chocolatety, rich and decadent!! I love it and I am lactose intolerant so it really satisfies my craving for ice cream!! That is saying a lot since I live 45 minutes from the BLUEBELL factory and grew up on that!
I’m so glad you enjoyed this dairy-free ice cream, Teresa! Thanks for taking the time to let me know. (I loved Bluebell ice cream, too!)