This post may contain affiliate links. Please read my disclosure and privacy policy.
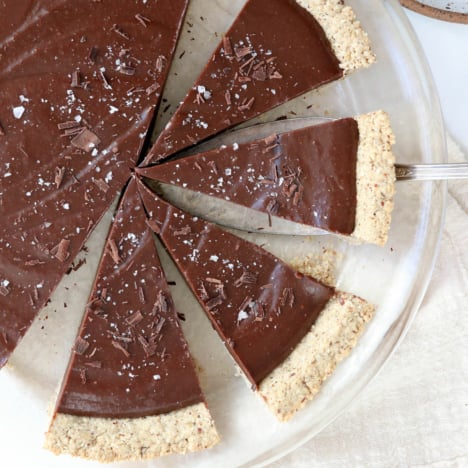
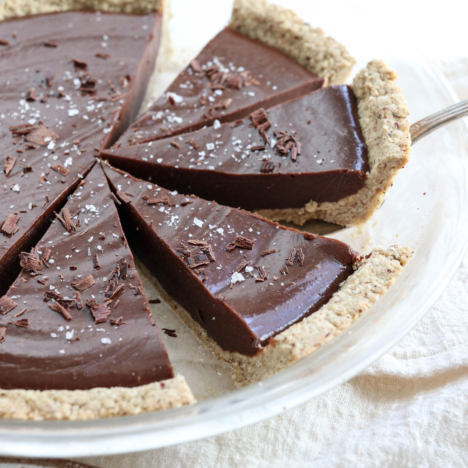
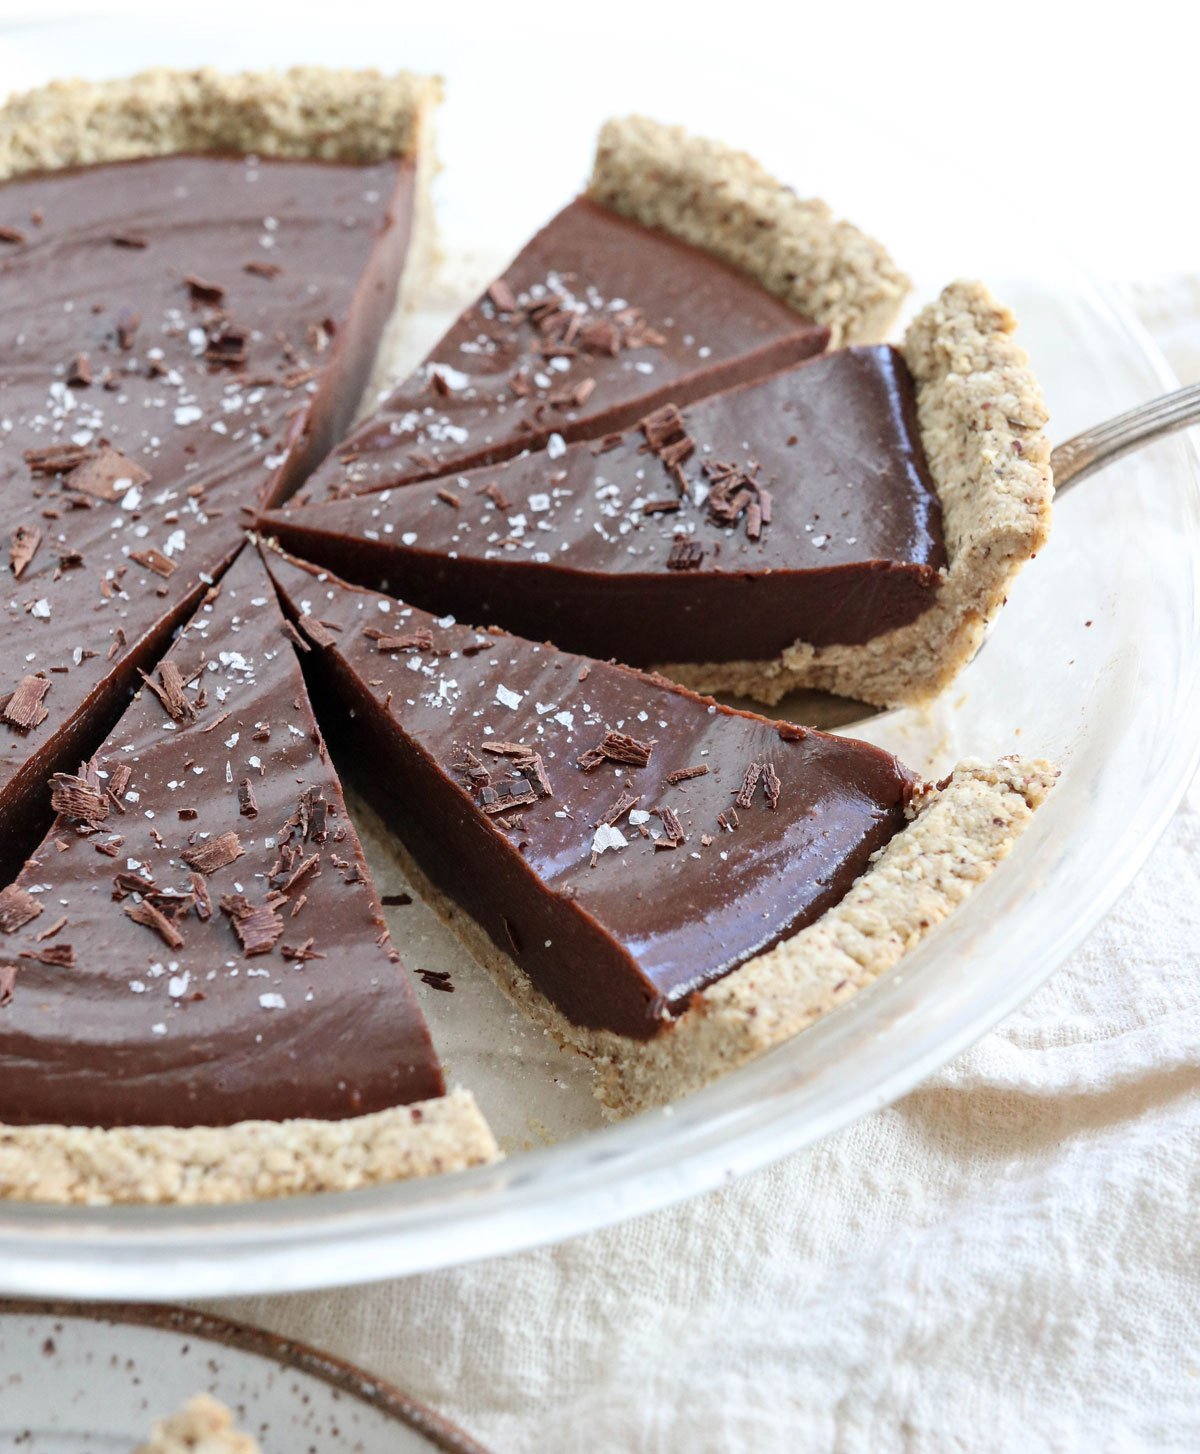
The Vegan Chocolate Tart is a decadent dessert, that’s perfect for impressing guests. It has a crisp, hazelnut-studded crust, and a rich chocolate filling that you can make in your blender!
Traditional chocolate tarts are made with heavy cream, eggs, and refined flour, but this version is much more nutrient-dense. It comes from my friend Angela’s The Oh She Glows Cookbook, and she’s been kind enough to let me share it here with you today!
How to Make the Tart Crust
This vegan tart crust is made with hazelnuts, and when it’s paired with the rich chocolate filling, it almost tastes like Nutella.
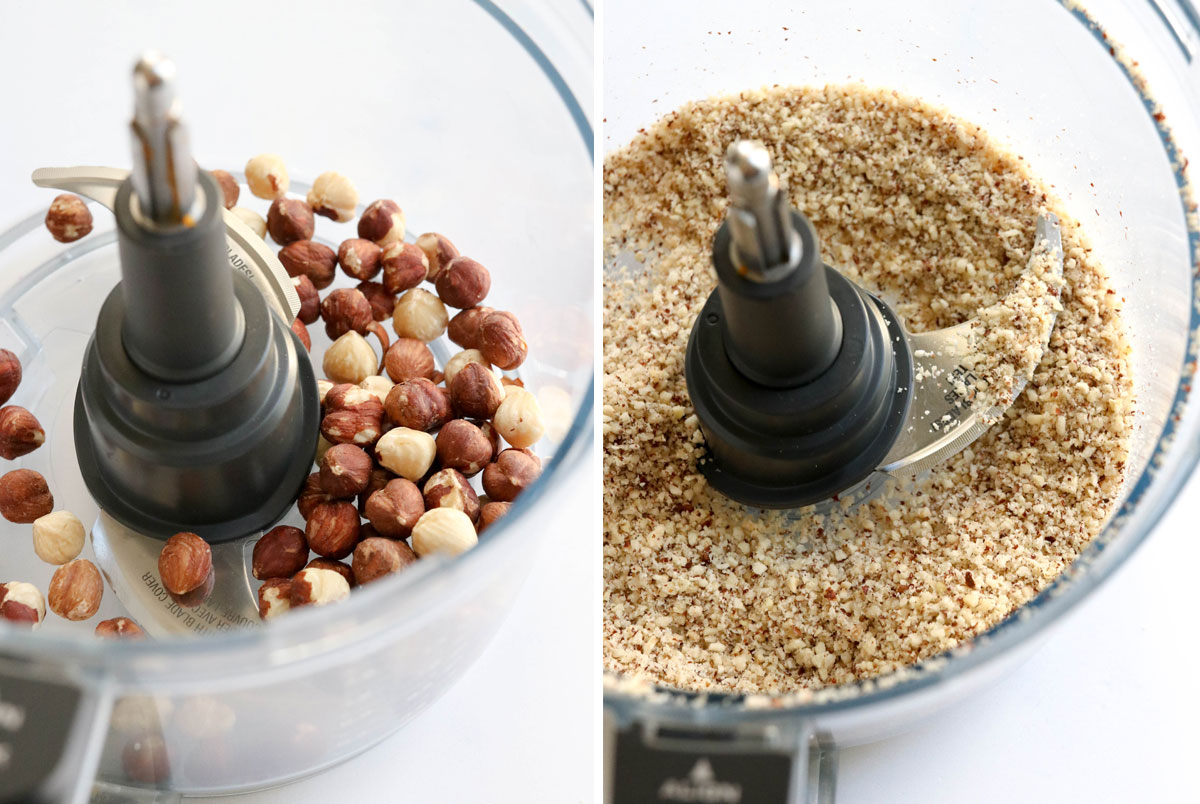
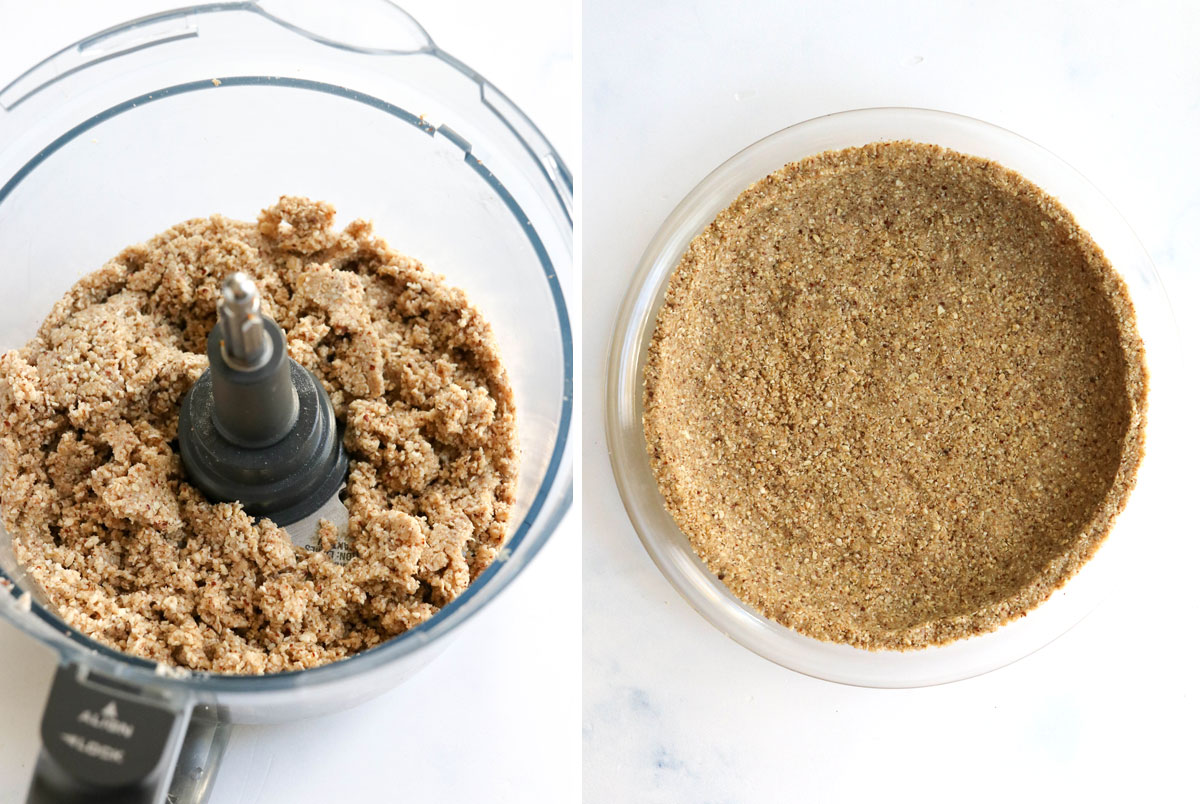
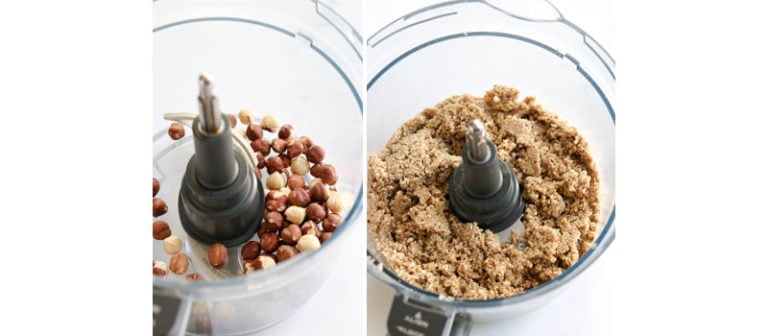
To prepare it, you’ll first need to pulse the hazelnuts into a coarse meal.
Next, you’ll add in the rest of the crust ingredients, including rolled oats, maple syrup, and coconut oil, and process them together until the dough sticks together.
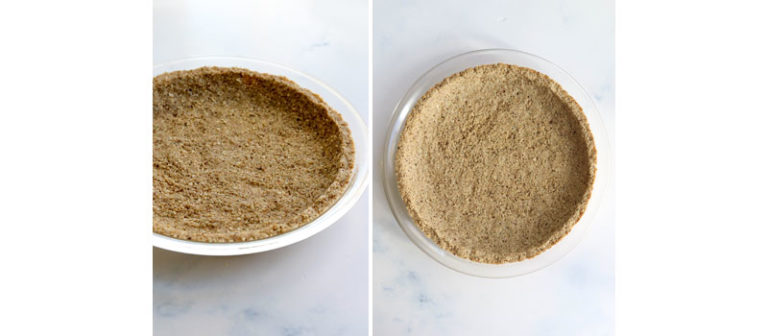
Press the crust into a 9-inch pie plate, then bake until lightly golden.
Tip: If you would prefer a crust that doesn’t require a food processor, try my Almond Flour Pie Crust. It has a lightly crisp, buttery texture that would also be perfect for this Vegan Chocolate Tart.
How to Make the Dairy-Free Chocolate Filling
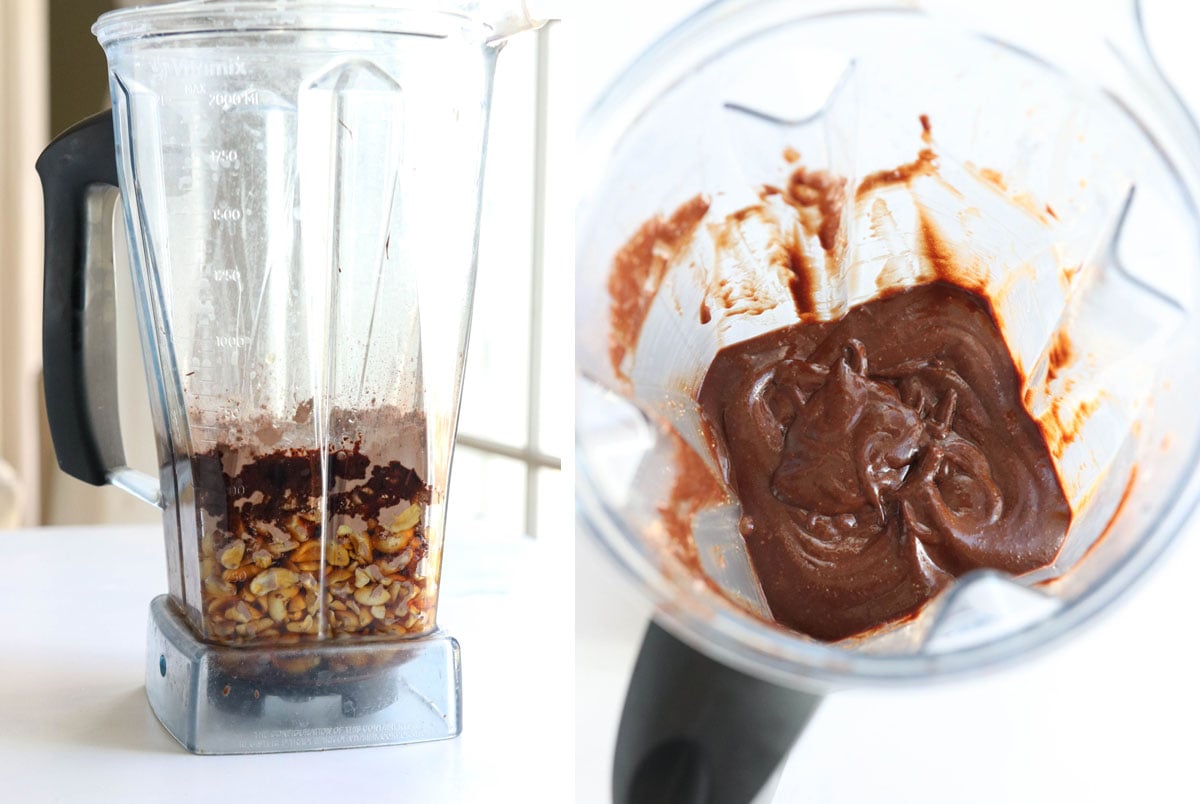
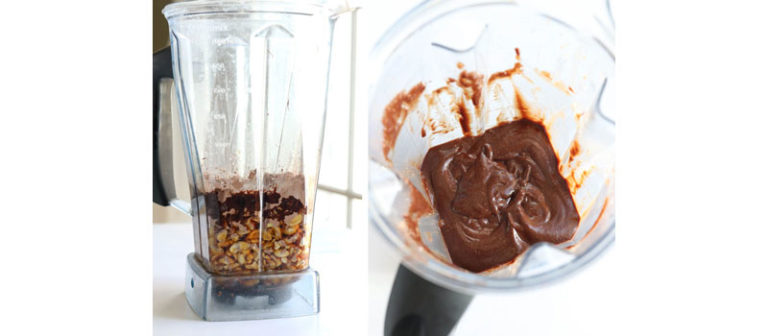
The chocolate filling is easy to prepare; all you need is a blender! If you don’t have a high-speed blender, I definitely recommend soaking your cashews for 2 hours prior to making this recipe.
It will help them soften up, and blend more smoothly.
If you’re using a high-speed blender, you can get away with not soaking the cashews, but you will definitely need to add an extra splash of water to help everything blend smoothly. It’s a very thick batter, so be patient and stop and scrape the blender, as needed.
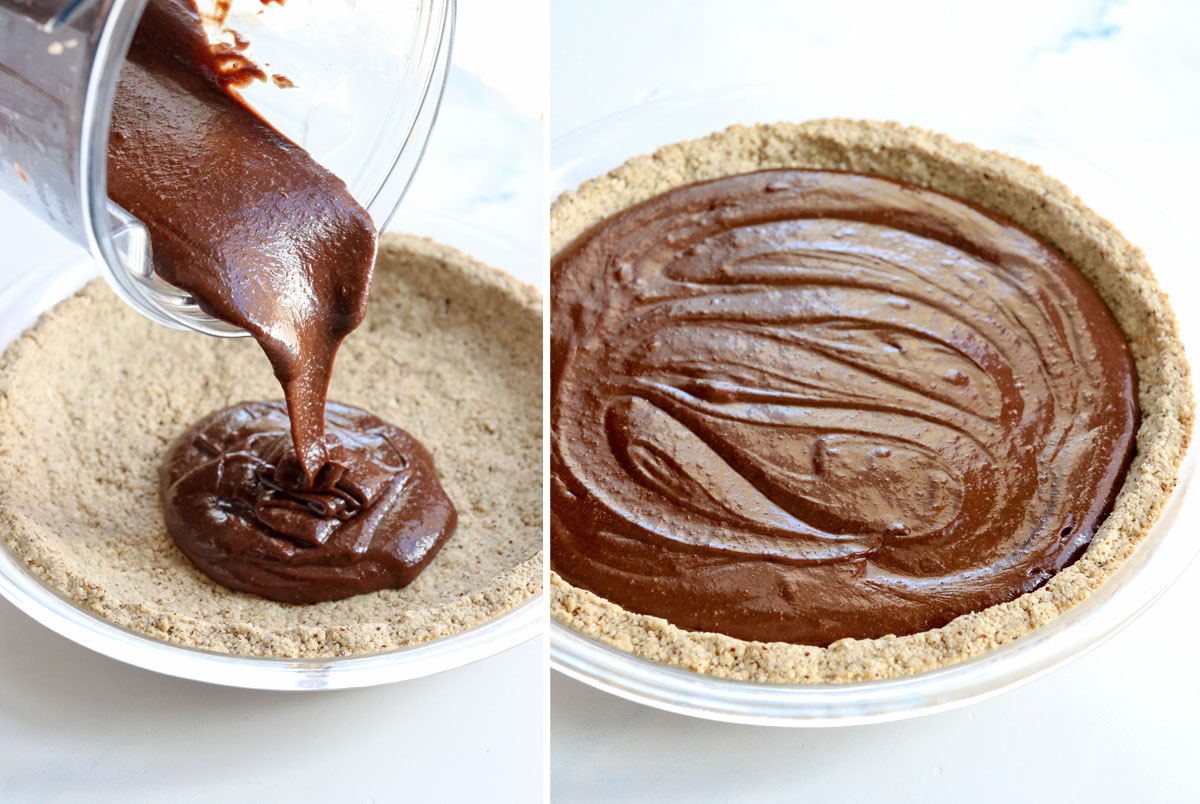
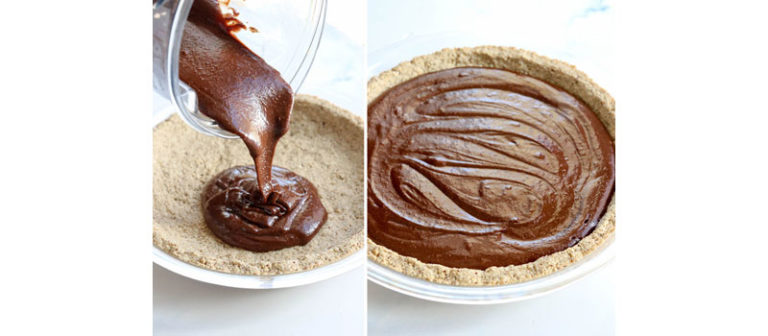
Pour the chocolate filling into the cooled crust, and then let it chill until firm.
I like to place the chocolate tart on a flat surface in my freezer for 1 hour, then transfer it to the fridge to finish chilling. (Mine was ready in just 1 more hour of chilling, but it could take longer– allow up to 4 hours for it to fully firm up.)
Slice and serve with coconut whipped cream and chocolate shavings, for an extra-fancy presentation. I also love a sprinkle of coarse sea salt on top, for a sweet and salty flavor.
Ingredients
Hazelnut Crust:
- 3/4 cup raw hazelnuts (103 grams)
- 1/4 cup coconut oil (51 grams)
- 3 tablespoons maple syrup (56 grams)
- 1/4 teaspoon fine sea salt (2 grams)
- 1/2 cup gluten-free oat flour (59 grams)
- 1 cup gluten-free rolled oats (109 grams)
Chocolate Filling:
- 1 1/2 cups cashews , soaked (225 grams)
- 3/4 cup maple syrup (245 grams)
- 1/2 cup coconut oil (101 grams)
- 1/3 cup cocoa powder (28 grams)
- 1/3 cup dark chocolate chips , melted (55 grams)
- 2 teaspoons pure vanilla extract (9 grams)
- 1/2 teaspoon fine-grain sea salt (4 grams)
Instructions
- Preheat the oven to 350ºF and have a 9-inch pie plate ready. To make the crust, process the hazelnuts until coarsely ground in a food processor. Add in the oil, maple syrup, salt, oat flour, and oats, and process again until the dough comes together. The dough should stick together slightly when pressed between your fingers. If it's too dry, try adding 1 teaspoon water or processing it a bit longer.
- Transfer the dough to the base of the pie dish. Starting from the middle, press the mixture firmly and evenly into the dish, moving outward and upward along the side of the pie dish. The harder you press the crumbs into the dish, the better the crust will hold together. Bake uncovered until lightly golden, about 15 to 20 minutes at 350ºF.
- To make the filling, drain and rinse the cashews. In a high-speed blender, combine the soaked cashews, maple syrup, oil, cocoa powder, melted chocolate, vanilla, and salt. Blend on high until the filling is completely smooth. It can take a few minutes of blending to get it smooth, depending on your blender. If the blender needs more liquid to get it going, add a tablespoon or more of water, as needed, to help it along.
- Pour the filling into the prepared crust, scooping every last bit out of the container. Smooth out the top evenly. Place the pie dish on a flat surface in the freezer, uncovered. Freeze for 1-2 hours, and then cover the dish and transfer it to the fridge until ready to serve.
- Slice and serve the pie chilled, with your favorite garnishes, like coconut whipped cream and shaved chocolate. I find that it's easier to cut into this pie when served from the fridge, but keep in mind that it will become softer if it's left at room temperature for too long. Store leftovers in an airtight container in the fridge for up to 1 week, or in the freezer for up to 3 months.
Video
Notes
Nutrition
If you try this Vegan Chocolate Tart, please leave a comment below letting me know how you like it! And if you make any modifications, I’d love to hear about those, too. We can all benefit from your experience.
–
Reader Feedback: Have you tried this no-bake dessert yet? Let me know how you like it in the comments below!






The Vegan Chocolate Tart is delicious. I had an eighth of the pie for breakfast–it has more protein and fiber than my usual bowl of Oat Bran. : ) I substituted pecans for the Hazelnuts in the crust.
I want to make your cinnamon breakfast rolls but all the psyllium I’ve found is a powder. There is a $24 bag of whole psyllium husks online but that is a little much.
I have made this recipe a couple times in just the last week for 2 different groups of people. The hazelnut chocolate tart was loved by all, even those who aren’t vegan! Thanks so much for the recipe, will definitely be making this again 🙂
I was a bit wary because I many so many substitutions but it turned out SO GOOD!! Tastes just like my fav (unhealthy) chocolate tart I get on my birthday. In the crust, I used almonds instead of hazelnuts. And in the filling, I replaced the cashews with coconut milk and the maple syrup with dates 🙂
I just did this lovely chocolate tart for lunch today and I love it! It’s so yummy! My family really appreciated it too! 🤗 Thank you for this easy recipe!
Can I use cashew butter instead of cashews?