This post may contain affiliate links. Please read my disclosure and privacy policy.

I wasn’t sure that these gluten-free pretzels would ever make it to the website, because every time I made the classic shape and tried to cook them… they would fall apart in the water bath. It was so frustrating, because they tasted so good!
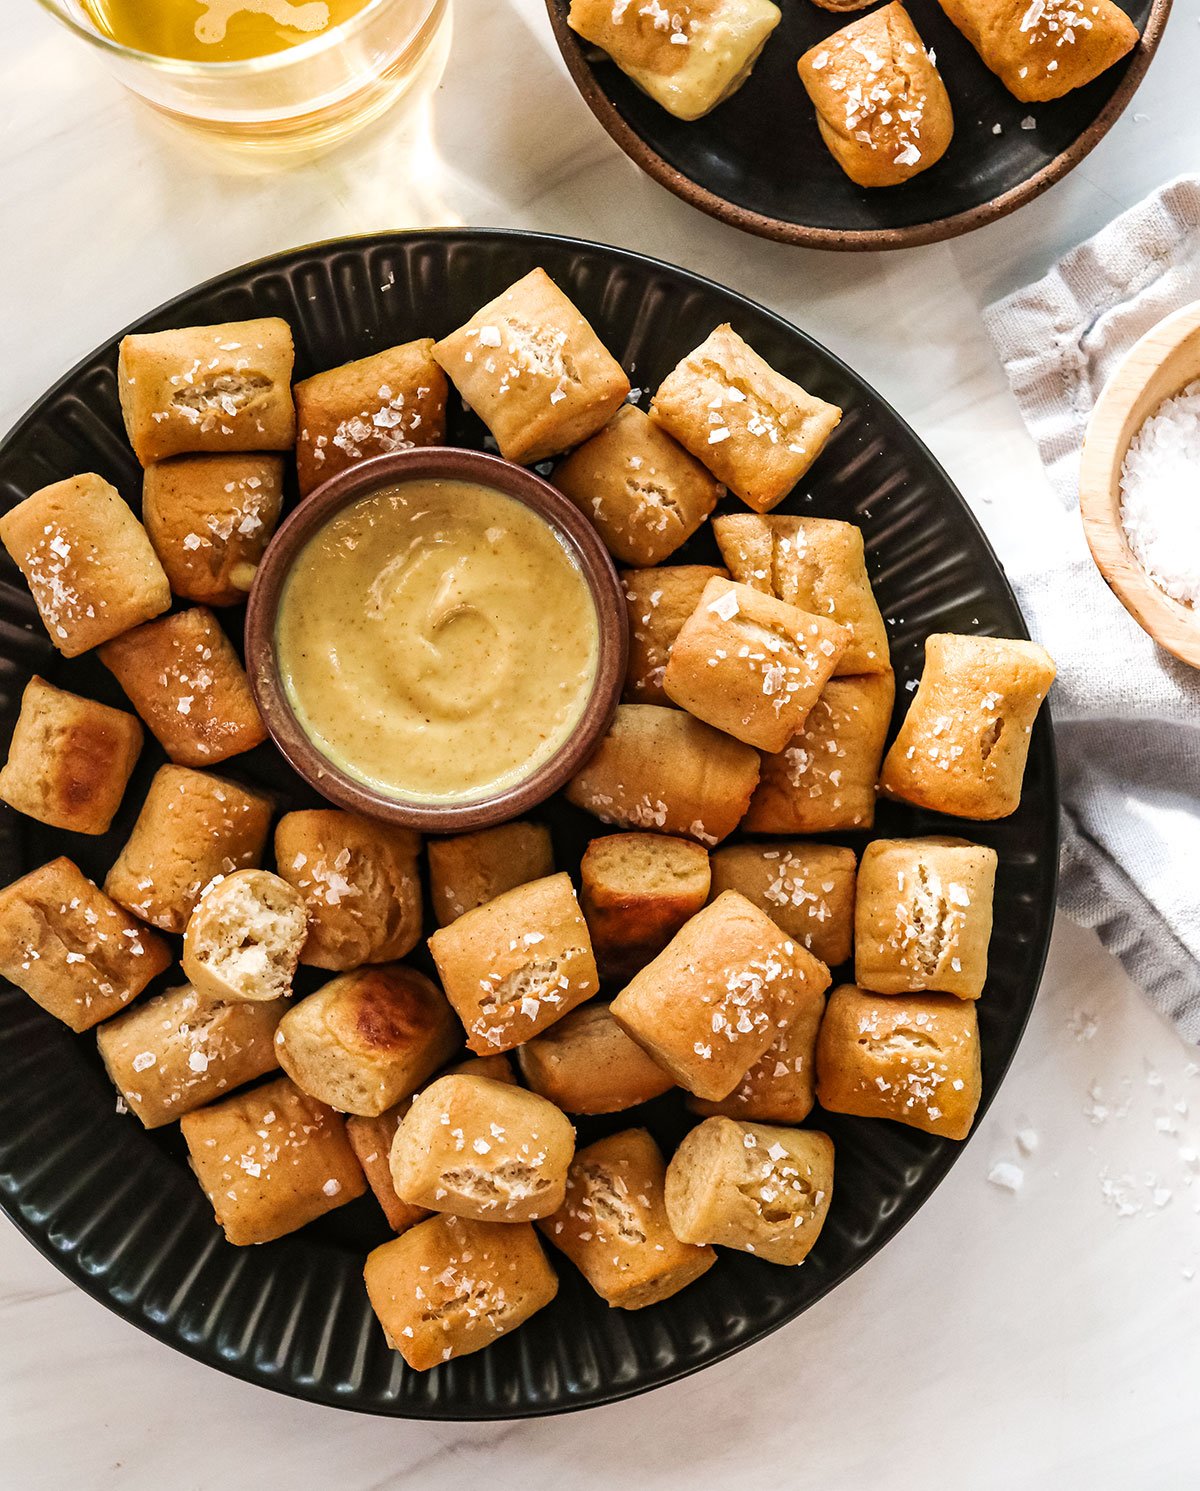
Then I realized I was making things too hard on myself. Nobody cares if your pretzels are folded into the perfect shape. In fact, I think pretzel bites are more fun!
Once I figured that out, things became a lot easier. You can roll the dough into a log, cut it into chunks, and then these pretzels are ready to cook in no time. As an added bonus, I think they are easier to share as an appetizer this way!
⭐⭐⭐⭐⭐ Featured Review
“WOW!! These are so good. We made them for the Super Bowl and we didn’t want to share them… but we did 😉 easy recipe, simple ingredients, 100% awesome!” – Erin
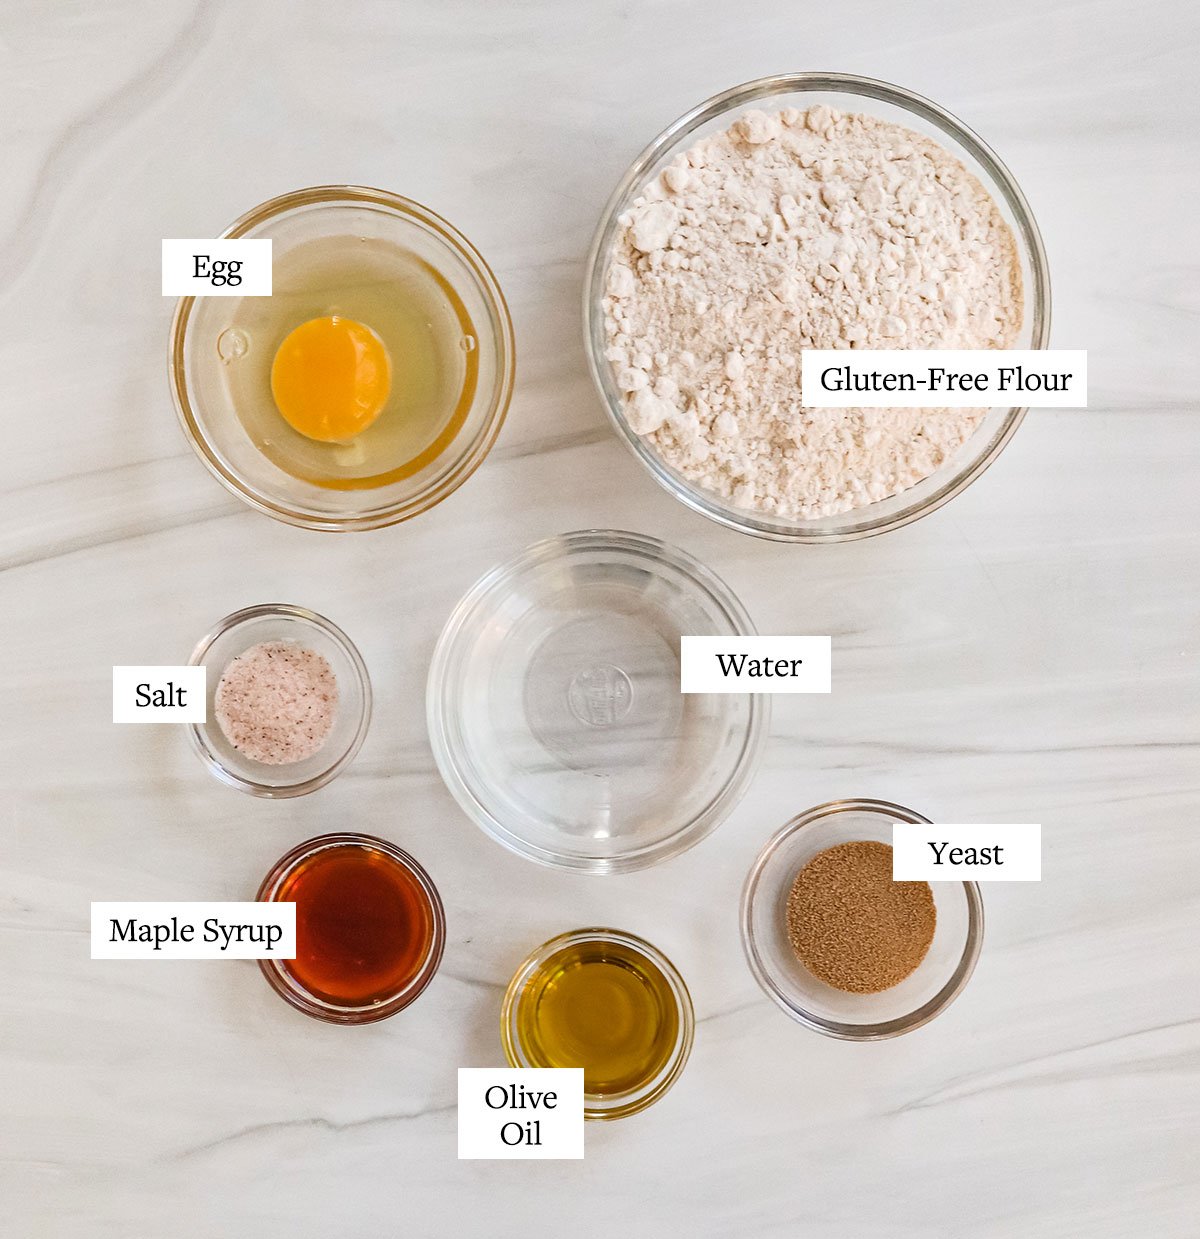
Gluten-Free Pretzel Ingredients
- Gluten-Free Flour. I’ve tested this recipe with King Arthur’s Gluten-free 1:1 blend and Bob’s Red Mill 1:1 blend, both of which include xanthan gum for good results. I don’t recommend using Trader Joe’s 1:1 GF flour blend, as it does not turn out the same. (It produced much more dry and unappealing results!)
- Yeast. This is a traditional ingredient in pretzels, and yes, it’s naturally gluten-free!
- Maple Syrup. This natural sweetener helps activate the yeast.
- Egg. This binder helps give the pretzels the perfect, fluffy interior. If you use an egg substitute, the center will likely be gummy.
- Olive Oil. Just a touch of oil helps improve the texture of these pretzels.
- Salt. I use fine sea salt for the dough, and keep flaky salt on hand for a topping, too.
How to Make Gluten-Free Pretzels
Step 1:
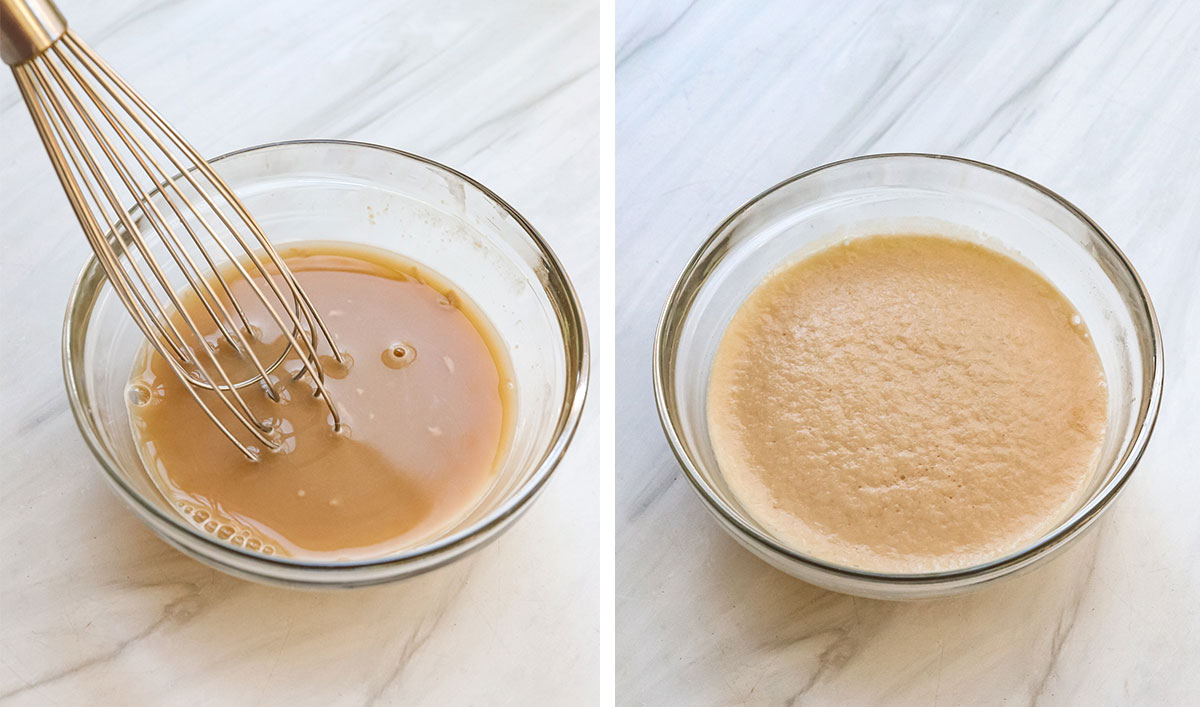
Fill a small bowl with very hot tap water and let it sit for 1 minute. This will warm up the bowl. Dump out the water, then to the warm bowl add the packet of yeast, the maple syrup, and a 1/4 cup of warm (not hot) water. Mix well, and set it aside for 5 minutes to activate the yeast.
The mixture should develop a foam layer on top, letting you know that the yeast is good. If you don’t see any sort of bubbles on top, you may want to try another packet of yeast for the best results.
You can also use Instant Yeast for this recipe, and skip the activating process. Just be sure to add the water and maple syrup directly into the dough, so you’ll get the same liquid ratio.
Step 2:
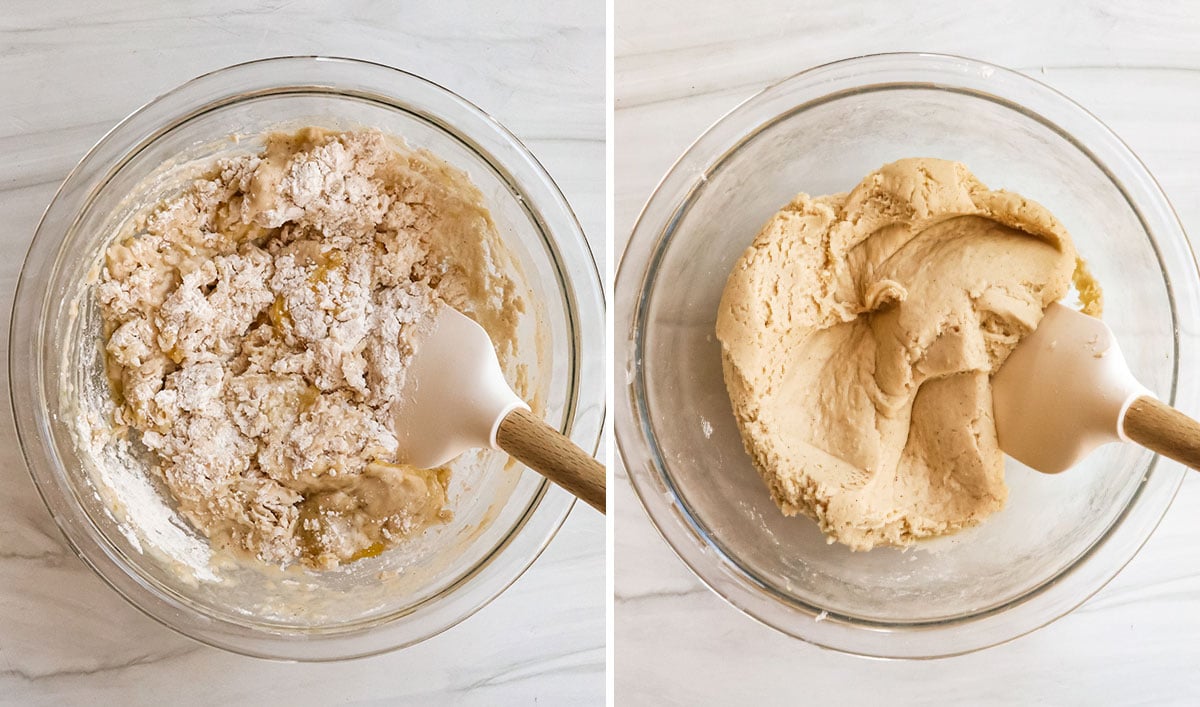
In a large mixing bowl or stand mixer, combine the gluten-free flour, egg, oil, salt, water, and yeast mixture. Stir well, until the dough sticks together and looks uniform.
Set it aside to rest for 10 minutes. Gluten-free dough doesn’t rise the same way a pretzel dough made with white flour would, so there’s no need to let it proof for too long.
Want to save this for later?
Step 3:
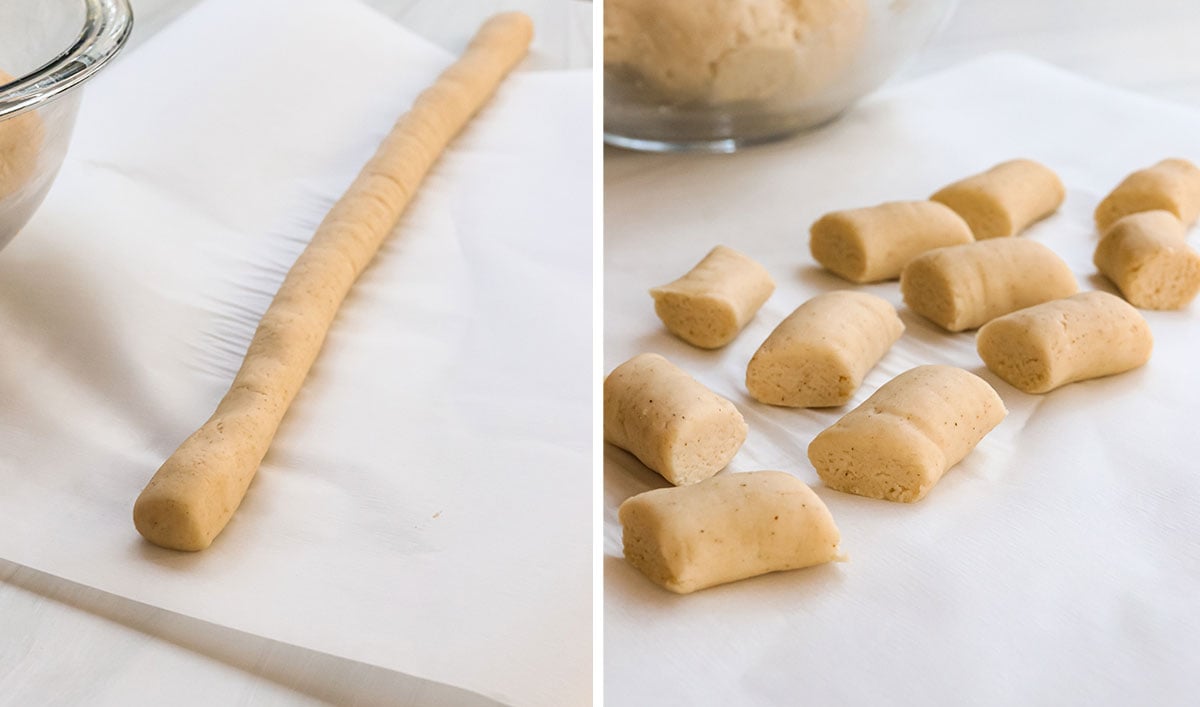
Divide the dough into 4 equal pieces, and roll one of them between your hands to form a ball. Place a piece of parchment paper down on the counter to prevent sticking, or you can use a lightly floured surface.
Use both hands to carefully roll the dough into a long rope, about a 1/2-inch thick and 12 to 14 inches long. Use a knife to cut the rope into 1 1/2-inch pieces, making several pretzel bites. (I usually get about 10 pieces per rope.)
Set those aside, and repeat the process with the remaining dough. You should get roughly 40 pretzel bites from this batch.
Step 4:
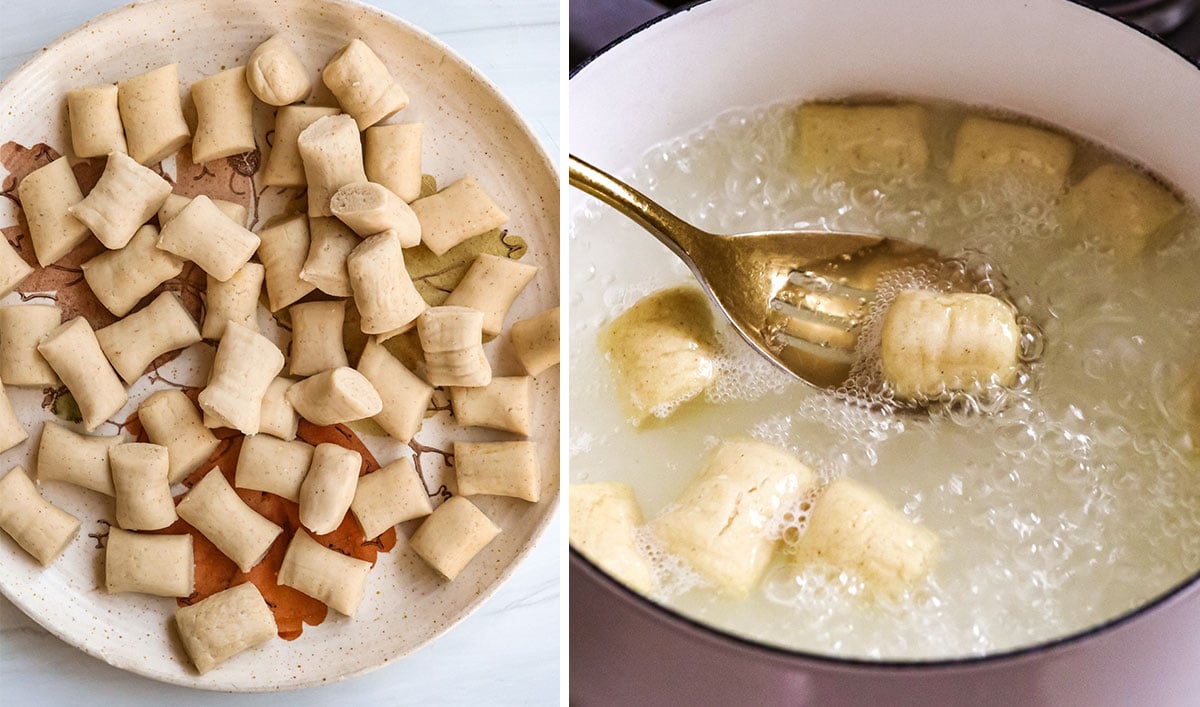
Fill a small saucepan with roughly 6 cups water, and bring it to a rolling boil. Add in 2 teaspoon of baking soda, which will bubble when you add it in. (We use this instead of lye to make an alkaline solution.)
Carefully drop several of the pretzel bites into the boiling water. Try to drop the pretzels in as close to the surface as possible, so you won’t get splashed with hot water during the process. I usually cook 6 to 8 pieces at a time.
When the pretzels float to the top, about 30 to 60 seconds, use a slotted spoon to remove them from the water and transfer them to a large baking sheet lined with parchment paper.
Repeat with the remaining pretzel bites, until all of them have been boiled. This step will ensure they become nice and golden, like classic pretzels.
Step 5:
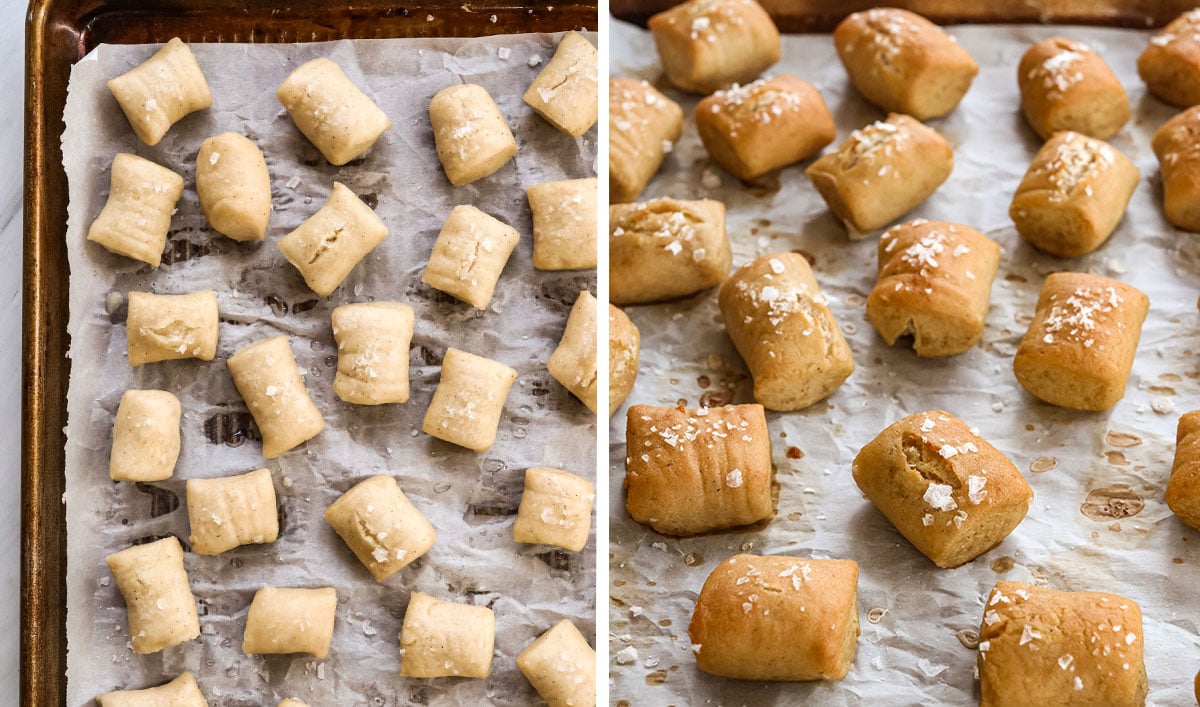
Once all of the pretzels have been transferred to the pan, sprinkle them generously with coarse sea salt (or a flaky sea salt like Maldon brand). Bake in an oven preheated to 400ºF for 12 to 15 minutes, or until they are golden brown.
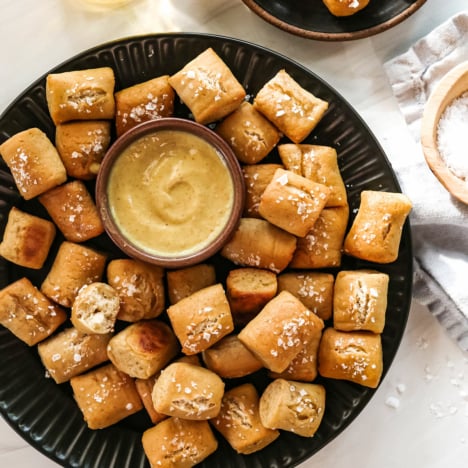
Let the pretzels cool for at least 5 minutes, and then they are ready to serve with your favorite dip, like a nacho cheese sauce or honey mustard. (Recipe below!)
Gluten-Free Pretzels
Ingredients
- 1 package active dry yeast
- 1 tablespoon maple syrup
- ¼ cup warm water , plus more for mixing
- 1 ½ cups gluten-free 1:1 flour (like Bob's Red Mill)
- 1 large egg
- 1 tablespoon olive oil
- ¾ teaspoon fine sea salt
- 2 teaspoons baking soda
- flaky salt (optional topping)
Instructions
- To proof the yeast, fill a small bowl with very hot tap water and set it aside for 1 minute. This will warm the bowl, to help activate the yeast. Pour the water out, then add the packet of yeast to the empty warm bowl. Add in the maple syrup and a ¼ cup of warm water, then mix well. Let the yeast rest for 5 minutes, and watch for a foam to develop on top. This means your yeast is active! (If it doesn't develop any bubbles, you might want to try another packet.)
- In the meantime, preheat the oven to 400ºF and line a large baking sheet with parchment paper. In a large bowl, combine the flour, egg, olive oil, and salt. When the yeast is done proofing, add that in, too, along with an additional 3 tablespoons of warm water. Stir the batter well, and add another tablespoon of water, the dough is looking too dry. Let the pretzel dough rest for 10 minutes. It won't rise much, due to the nature of gluten-free baking.
- When the batter is done resting, divide it into 4 equal parts. Roll one of those parts between your hands to form a ball, then set it down on a piece of parchment paper on your counter, to help prevent sticking. (You can also use a lightly floured surface, instead.) Roll the ball into a long rope, about a ½-inch thick, and 12 to 14 inches long. Use a knife to cut the rope into pieces about 1 to 1 ½-inches long, making roughly 10 to 12 pieces. Set those aside and repeat with the remaining dough. You should get at least 40 pieces in total from this batch.
- In a small saucepan, bring 5 to 6 cups of water to a boil over high heat. Add in 2 teaspoons of baking soda, which will bubble when you add them. Carefully drop several of the pretzels bites into the boiling water. (Drop them as close to the surface as possible, so they don't splash you!) The pretzels should start to float to the surface in 30-60 seconds. Use a slotted spoon to remove them once that happens, and repeat with the remaining batch.
- Place the boiled pretzel bites on the large baking sheet lined with parchment paper (a half sheet should hold them all) and sprinkle the tops generously with flaky salt. Bake at 400ºF for 12 to 15 minutes, or until the tops are golden brown. Let the pretzels cool briefly, and then they are ready to serve.
- Homemade pretzels are best the first day you make them, but you can store leftovers in an airtight container in the fridge for up to 1 week.
Notes
Nutrition
More Recipes to Try
- Gluten-Free Cinnamon Rolls (The best ever!)
- Vegan Gluten-Free Banana Bread
- Gluten-Free and Vegan Chocolate Cake
- Coconut Flour Banana Bread
- Almond Flour Pancakes
If you try these homemade gluten-free soft pretzels, please leave a comment and star rating below, letting me know how you like them.


Yum they taste too good and don’t have to rise.
Hi Megan
Thanks for this great recipe!
I will be trying this. We’re big fans of pretzels.
I am assuming the xantham gum that is in these flours is necessary if we use a different flour (with similar ingredients)?
Have you tried the recipe with psyllium husk instead of xantham gum? I’ve found psyllium husk makes a more pliable dough and I’ve transitioned to psyllium when possible. Just curious. Thanks!
Hi Jan! I haven’t tried this recipe with a GF flour blend that doesn’t have the xanthan gum yet. But you know I love using psyllium husk in my GF cinnamon rolls, so I bet that would work here, too! Let me know if you experiment with it.
Megan! Thanks so much! These are fantastic! Yummy. 😍😊
Second Detoxinista review in 2 days – these were perfect. And I was able to shape them into the (almost) classic pretzel shape. Hit the spot!
Thank you, Laura! I’m so glad you enjoyed the gluten-free pretzels, and I really appreciate your taking the time to leave a review. 🙂
Can you use almond or cassava flour? I’m going paleo right now. Thank you!!
WOW!! These are so good. We made them for the Super Bowl and we didn’t want to share them… but we did 😉 easy recipe, simple ingredients, 100% awesome!
Can i substitute the flour with 80% spelt flour?
Spelt flour is not gluten-free, so I’m not sure how it will work in this recipe, but gluten tends to make recipes more forgiving! Let me know if you experiment with it.
These came out sooo good!! Tastes like a pretzel, but gluten-free. and easy to make too!! thanks so much for the amazing recipe. 🙂
Wow! These are amazing!! Recipe was really easy to follow and they come out just like the picture. The texture is perfect, slightly hard outer and soft inside. I did half salt only and made a melted butter/cinnamon sugar dip for the rest. Family LOVED them! Will definitely save and make again. Also, I don’t usually like recipes with homemade dough but this one really was so easy to work with. Baked for 14 mins and perfectly golden! Thank you for another good one!
Oh my goodness, the melted butter/cinnamon sugar dip sounds delicious, too. Thanks for letting me know that the recipe worked well for you!