This post may contain affiliate links. Please read my disclosure and privacy policy.

This Ninja Creami Banana Ice Cream is made with no added sugar for a healthy dessert. It’s so creamy that it’s hard to believe it’s dairy-free!
If you’re already familiar with banana ice cream, making it in your Ninja Creami is like making it in reverse. Instead of using frozen bananas, you’ll use fresh ones!
This vegan ice cream is made with 4 simple ingredients without relying on a pudding mix. For maximum sweetness, make sure your bananas are ripe and have plenty of brown spots on their skin.
Ingredients You’ll Need
The combination of ripe bananas and peanut butter gives this recipe an ultra-creamy texture.
You can omit the peanut butter if you need a nut-free recipe, but the texture is better when you include it. (Almond butter, cashew butter, or sunflower seed butter can be swapped.)

This recipe combines four simple ingredients: a splash of vanilla extract, your favorite milk, and no added sugar. If you desire a sweeter flavor, you can sweeten it with a tablespoon of maple syrup or honey.
It’s easy to taste the mixture and adjust as you go!
Milk note
I tested this recipe with almond milk, which has a watery consistency. You can use coconut milk for a creamier dairy-free option or use heavy cream if you don’t need dairy-free ice cream.
How to Make Banana Ice Cream in the Ninja Creami
Add the ripe bananas, peanut butter, almond milk, and vanilla extract to a blender. Secure the lid and blend until smooth. There should be no visible chunks of banana. (Alternatively, you could use an immersion blender and blend this directly in the pint container.)
Pour the mixture into a Ninja Creami pint container. The amount should not go past the max fill line. Secure the lid and place the container in the freezer for at least 24 hours.

Once the mixture has been frozen solid, you can use it with your Ninja Creami Ice Cream Maker.
Remove the lid from the pint container and place it in the outer bowl of the Ninja Creami. Secure the lid with the mixing blade attached, then click the container into the machine.
Since this ice cream is primarily made from fruit, use the Sorbet setting for the first blend.
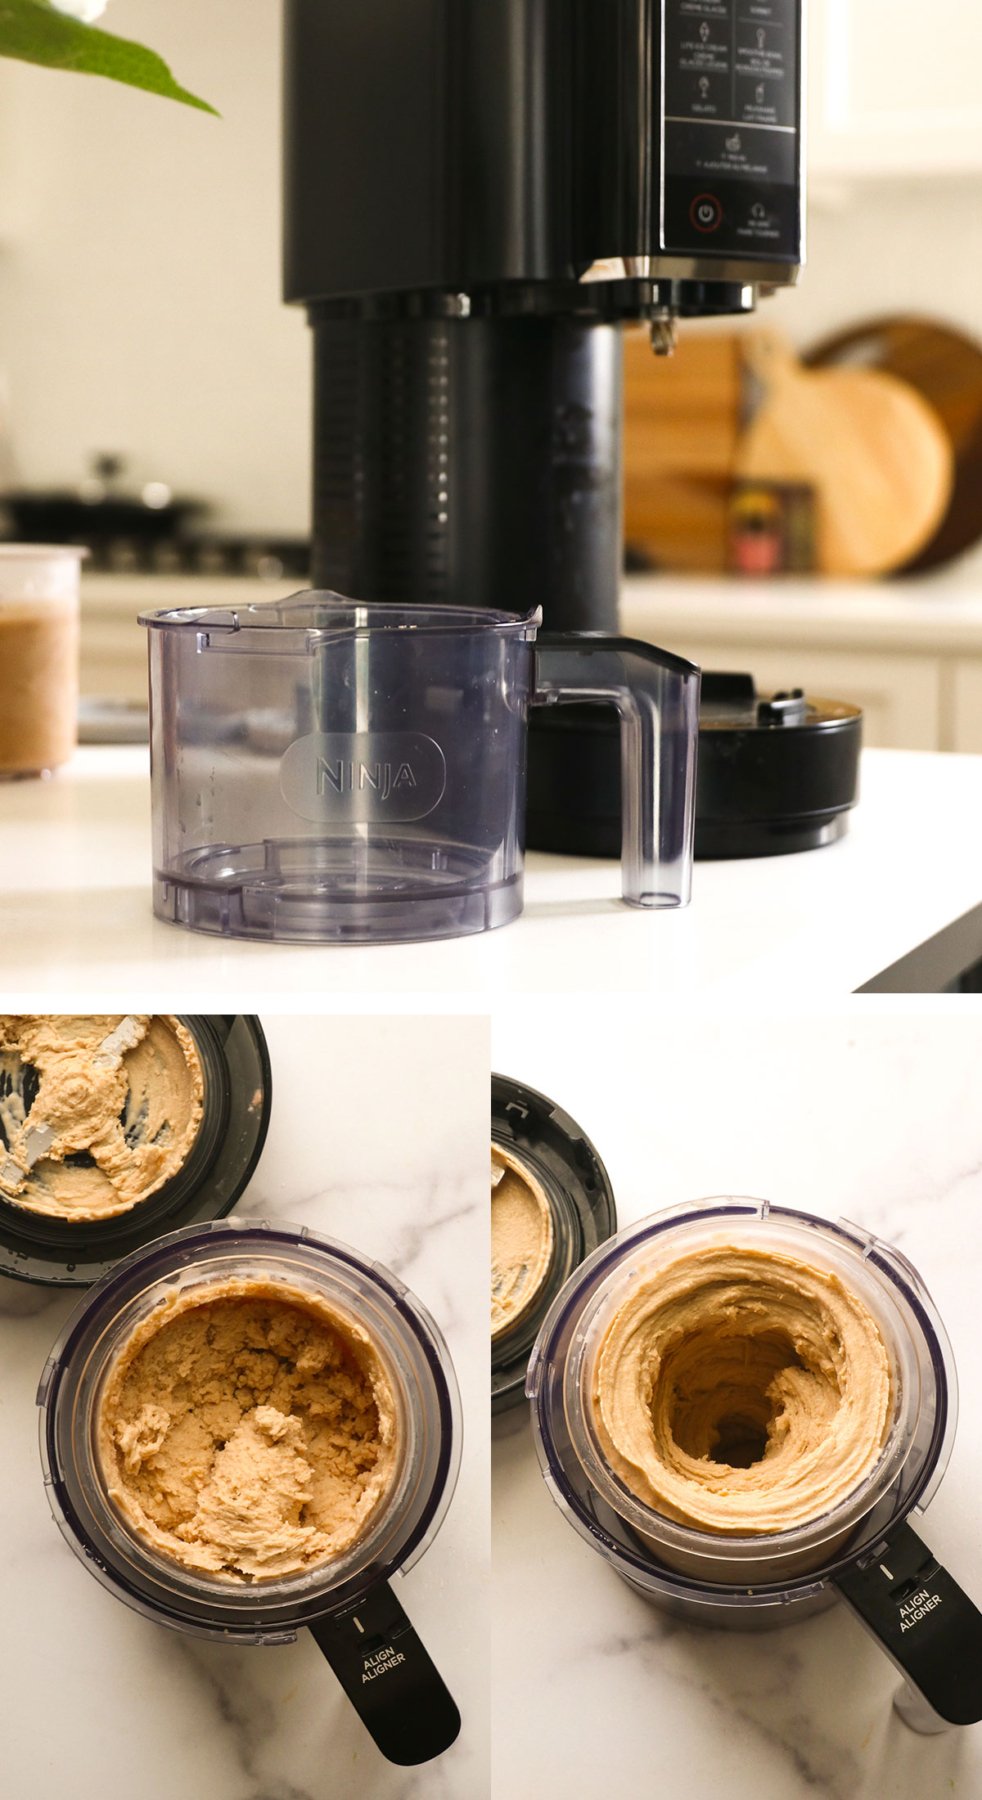
Once it’s complete, it should be somewhat creamy. However, it will have a better texture if you run it on the re-spin cycle. (This is a great time to add your favorite mix-ins, such as chopped walnuts or other nuts, chocolate chips, or fresh fruit.)
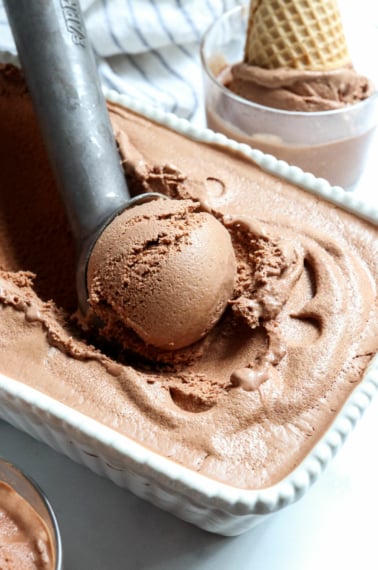
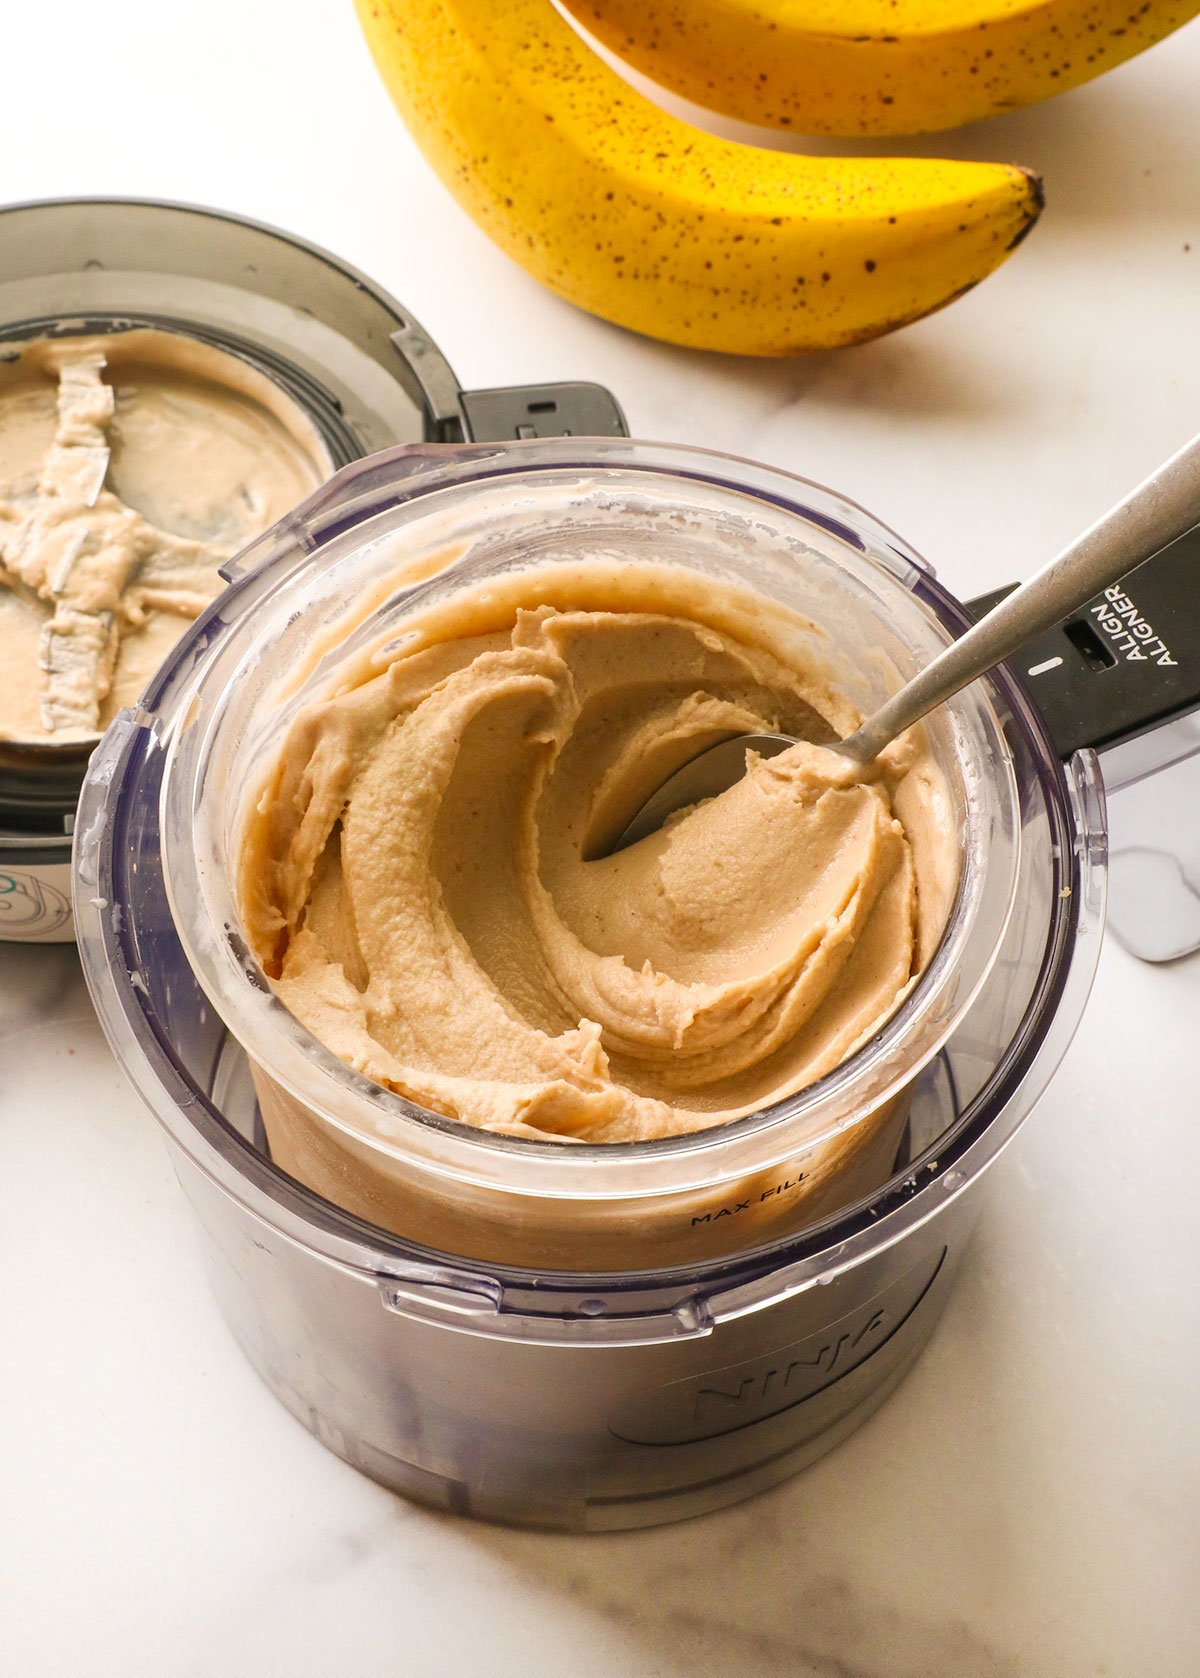
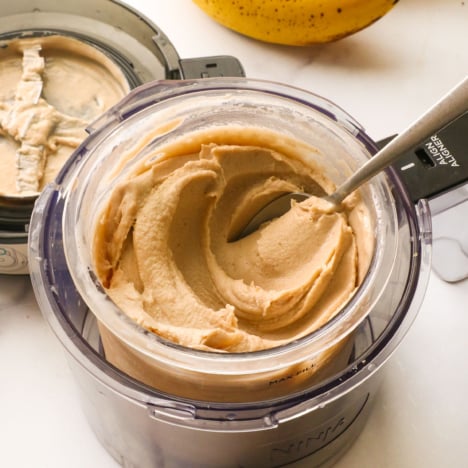
After one re-spin, check on the consistency of the ice cream. It should be creamy and scoopable. If it’s not, run another re-spin cycle. When the ice cream has a hole through the center (see the photo on the right above), that’s a good sign.
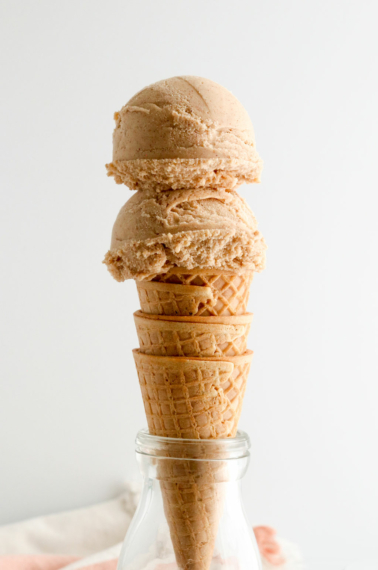
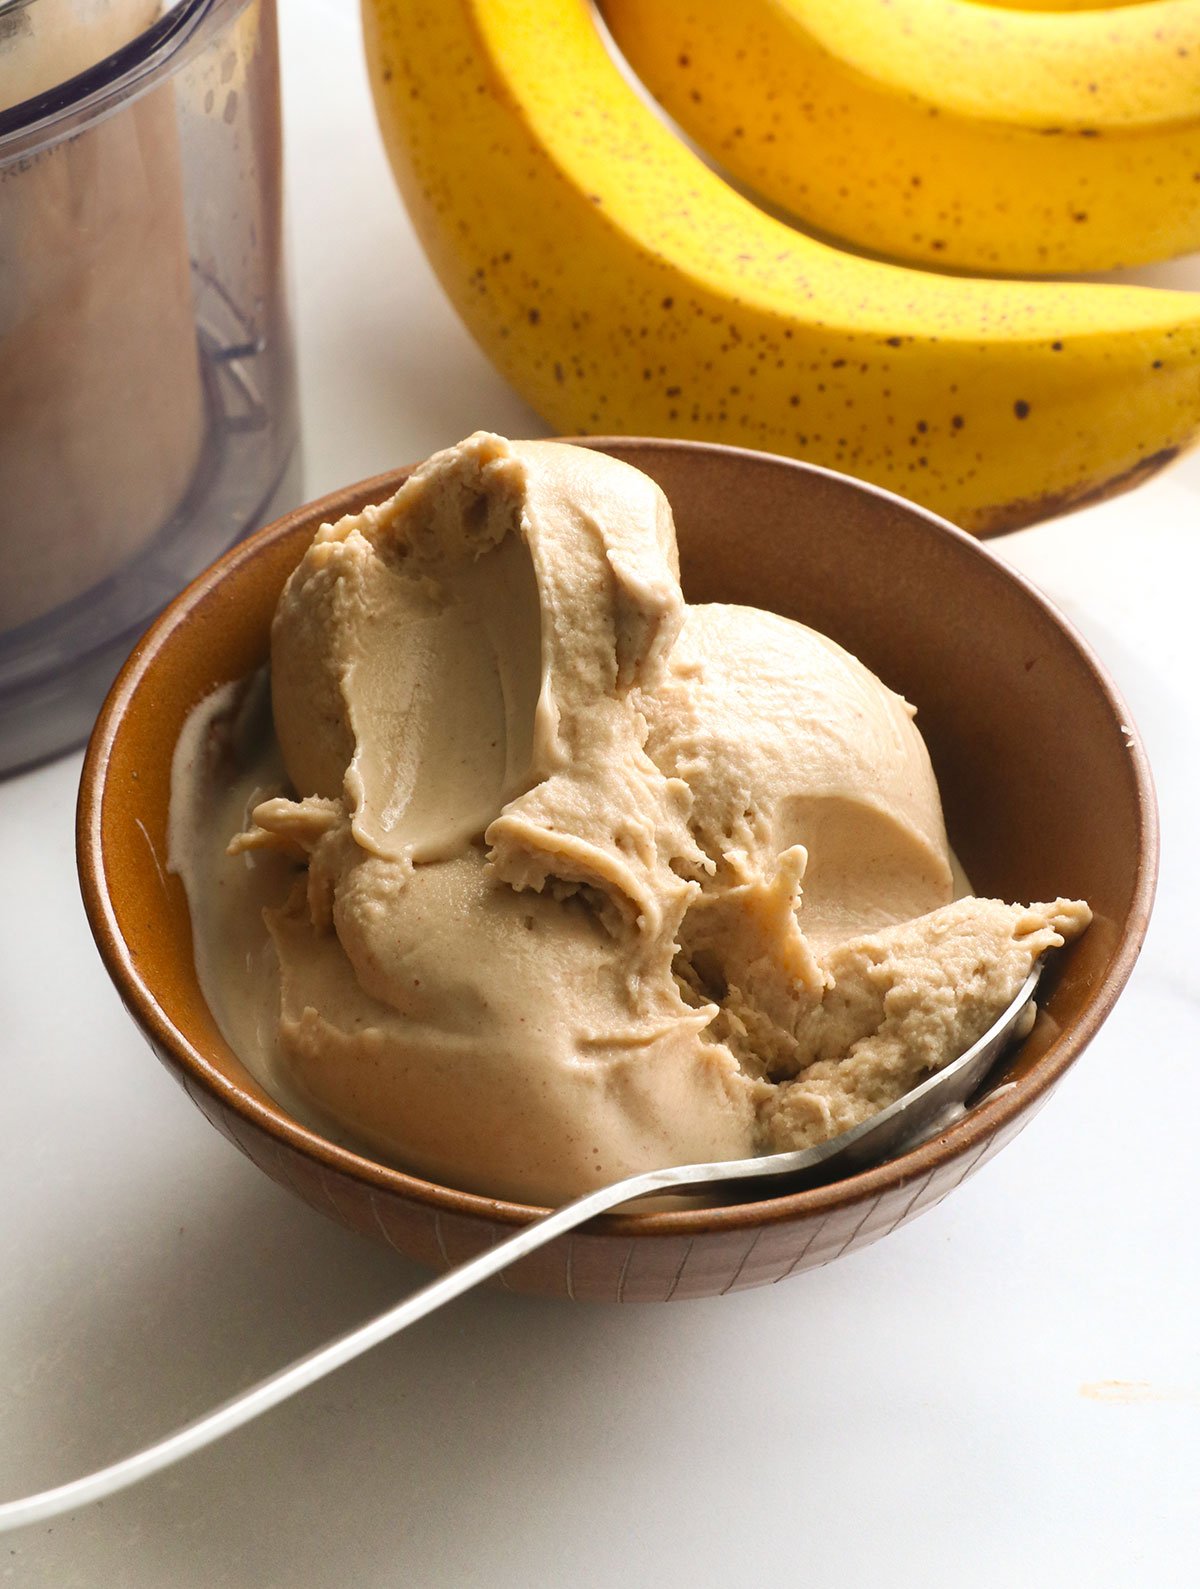
As soon as the ice cream reaches a texture you love, it’s ready to serve. It has a mild banana flavor and ultra-creamy texture. Top with a homemade magic shell for a decadent treat!
Leftovers can be stored in an airtight container in the freezer for up to 3 months. You may want to run the re-spin cycle on the Ninja Creami for a softer texture each time you serve it.
Looking for more Ninja creami recipes? I’ll post more soon, but you can process almost any ice cream recipe in the Ninja Creami after waiting for it to freeze for 24 hours.
Ingredients
- 3 ripe bananas
- 3 tablespoons peanut butter
- ½ cup milk of choice
- ½ teaspoon vanilla extract
Instructions
- Remove the peel from the bananas and add them to a high-speed blender, along with the peanut butter, milk, and vanilla extract. Secure the lid and blend until very smooth; there should be no visible chunks.
- Pour the blended mixture into a Ninja creami pint container. The mixture should not go higher than the "max fill" line. Secure the lid and place the pint container on a flat shelf in your freezer. Let it freeze for 24 hours or more.
- Once the mixture is frozen solid, you can spin it in your Ninja Creami whenever you're ready. (You can freeze this for at least 1 month, so feel free to prep it as early as you'd like to.)
- Remove the lid from the pint container and place it into the outer container with the handle. Click the lid, with the blender blade attached, into place. Then secure the outer bowl in the Ninja Creami machine. (You should hear a click when it is correctly placed.) Press the Sorbet button to start the first cycle.
- When the cycle is complete, the banana ice cream most likely won't look creamy yet. Secure it back into the machine and run a re-spin cycle. This should make it much creamier! (You'll know it's good when there's a hole in the center of the ice cream.) If it's still not as creamy as you'd like, you can run a re-spin cycle a second time.
- Serve this creamy banana ice cream right away with any toppings you love. Turn it into a sundae with homemade magic shell and crunchy peanuts on top.
Notes
Nutrition
If you try this Ninja Creami Banana Ice Cream recipe, please leave a comment and star rating below, letting me know how you like it.