This post may contain affiliate links. Please read my disclosure and privacy policy.

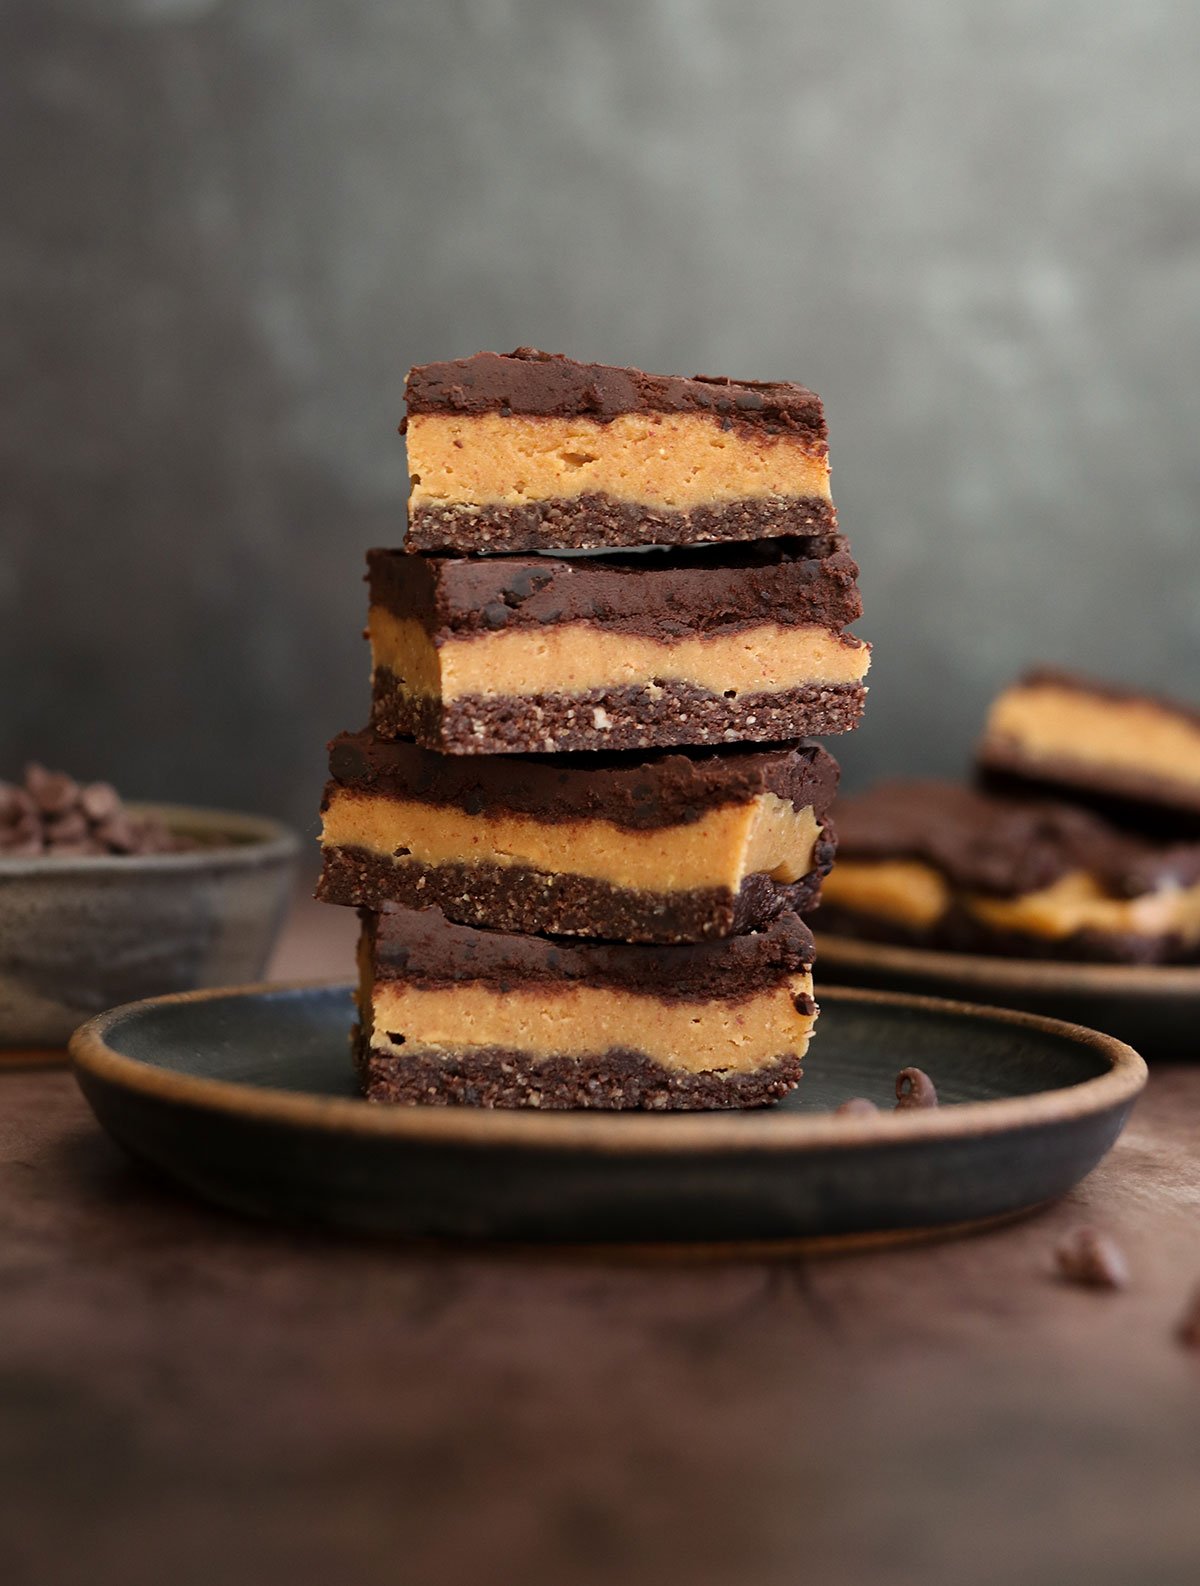
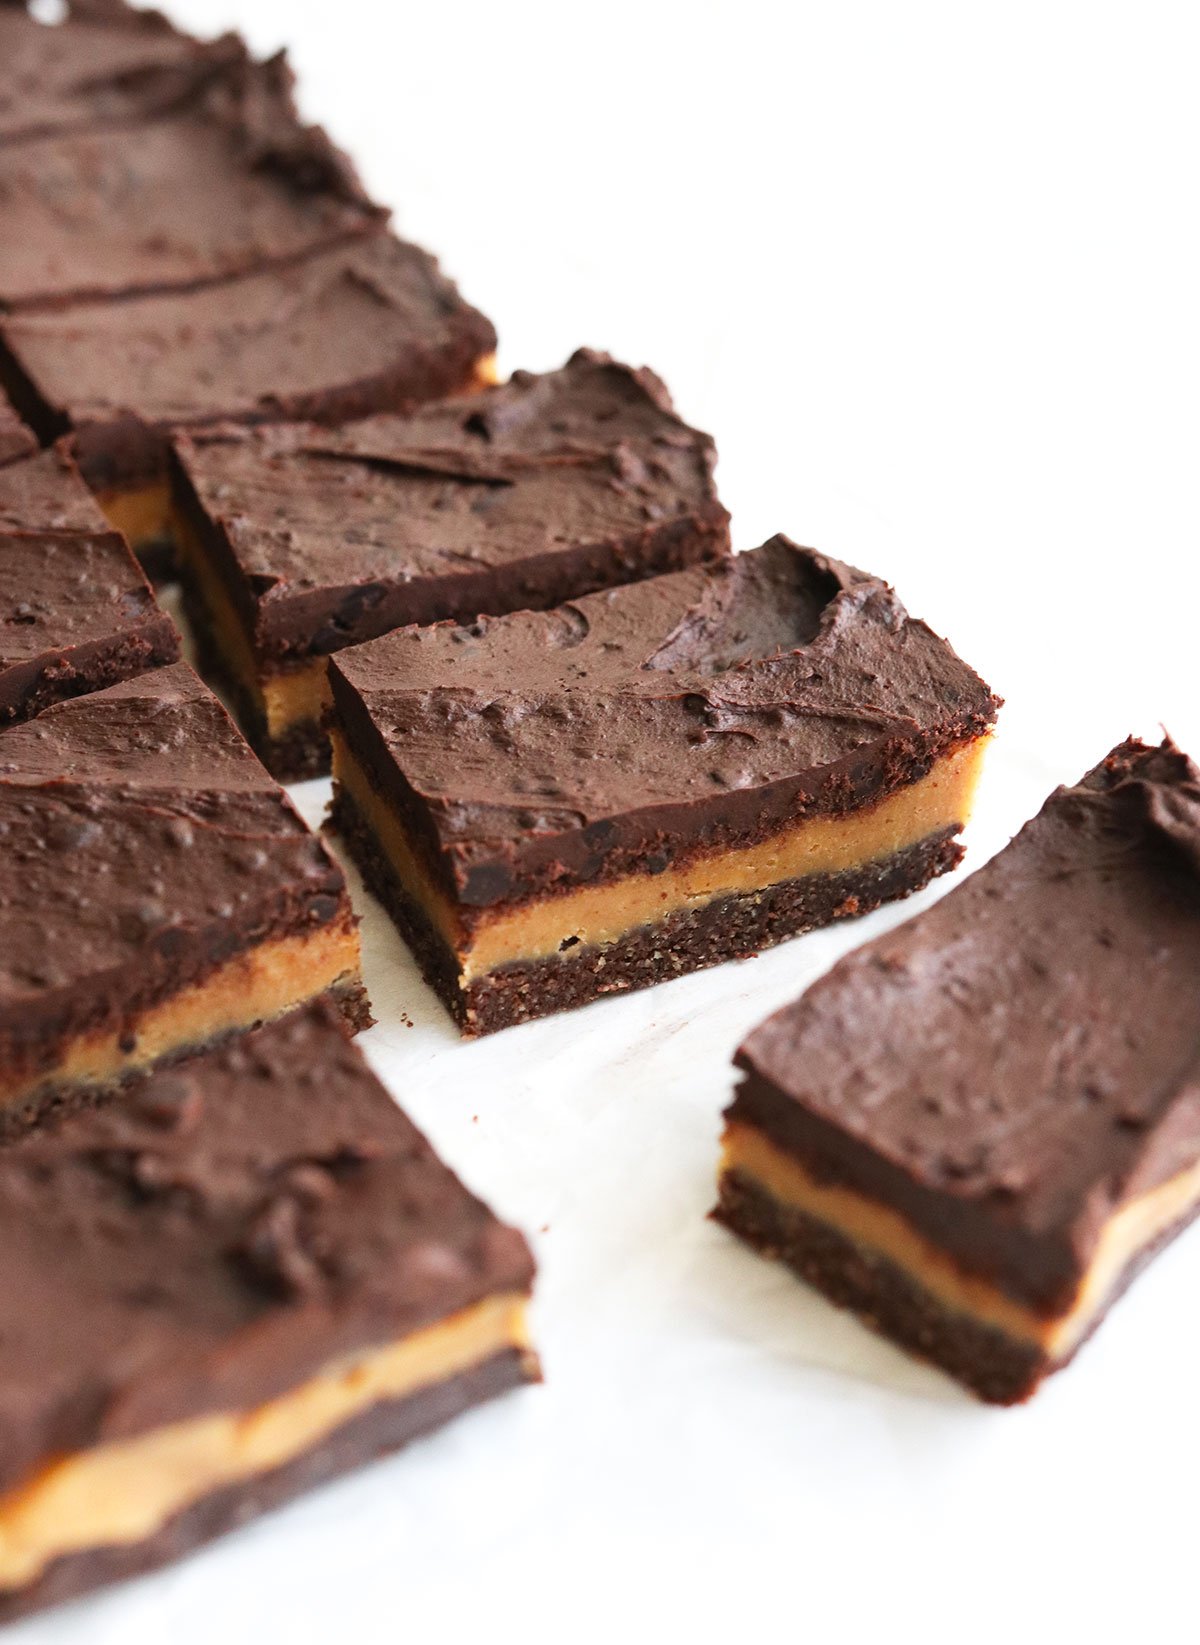
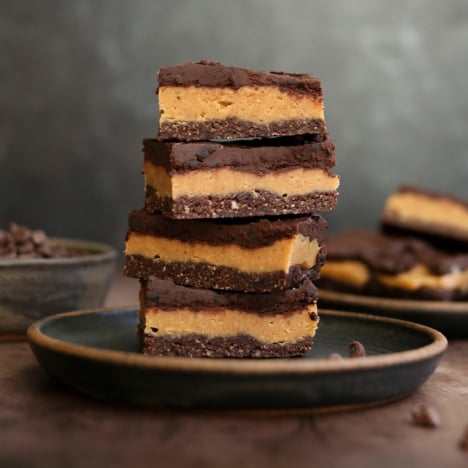
If you love peanut butter chocolate desserts, you’re in the right place. These chocolate peanut butter bars feature 3 delicious layers— a chocolate crust, a creamy peanut butter filling, and a melt-in-your-mouth chocolate topping. There’s no refined sugar required, and each layer can be stirred together in minutes.
These bars are naturally gluten-free and dairy-free, and they taste much more decadent than you might expect. (Over 50 reviews below agree!)
Before you get started, keep in mind that these bars need to be served chilled. They are not the type of dessert you want to bring to a potluck, as they can’t sit at room temperature for too long. They will soften up too much! So, keep these stashed in your fridge or freezer and serve them chilled for the best texture.
⭐⭐⭐⭐⭐ Featured Review
“Best desert ever! Definitely worth 5 stars, every time I make these friends and family ask for the recipe it’s a big hit!! Thank you!”
-Stefany
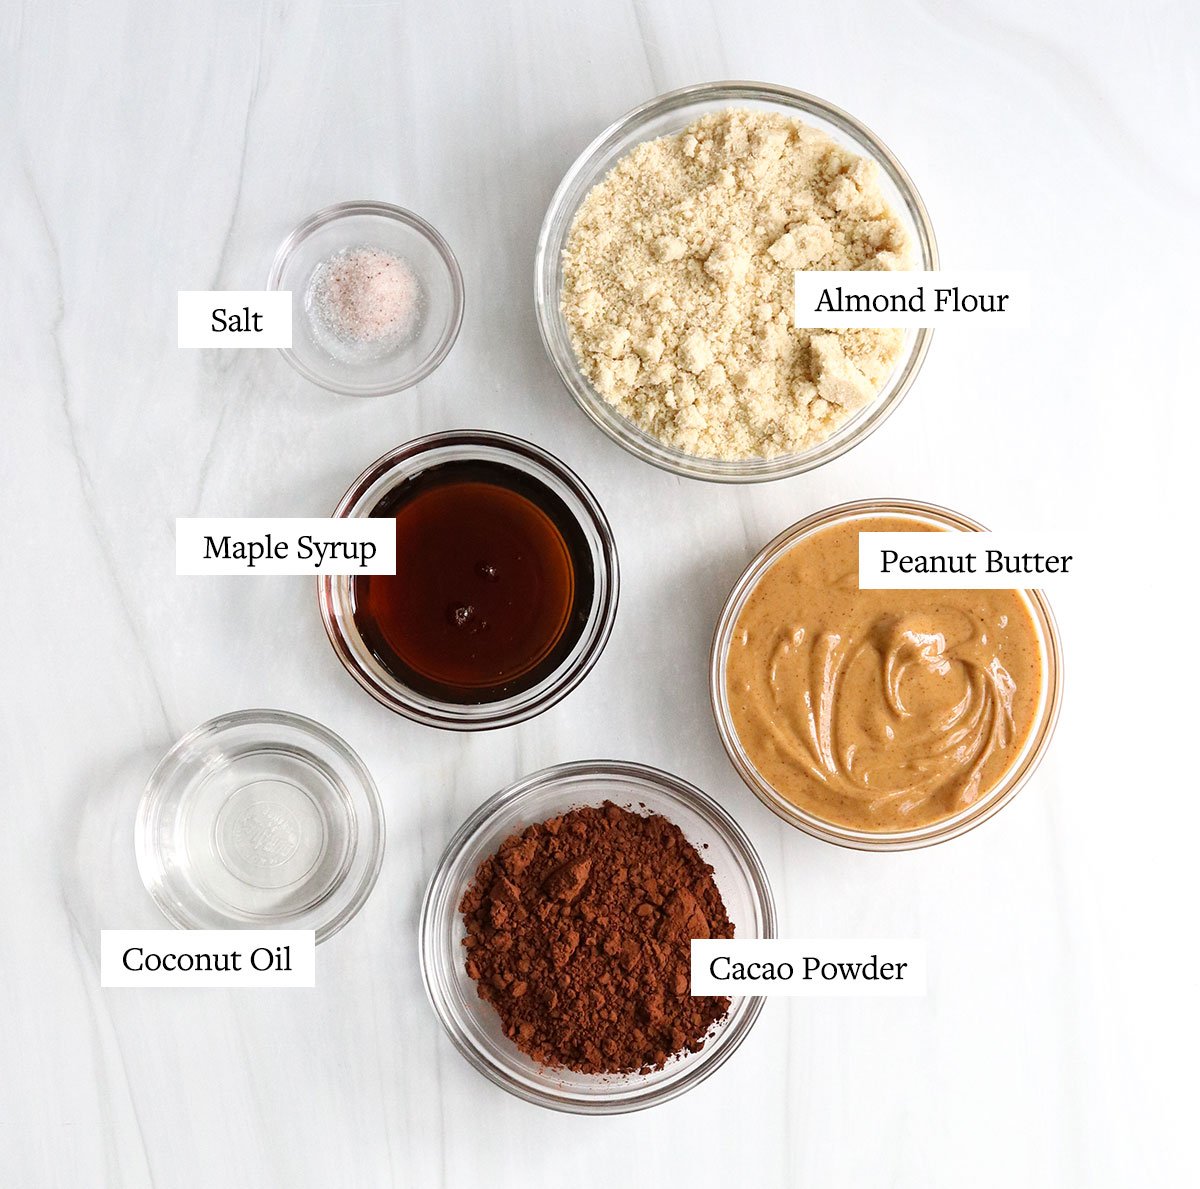
Peanut Butter Chocolate Bar Ingredients
- Blanched Almond Flour. This grain-free flour, which is simply finely ground almonds, is the base of the chocolate crust for these bars. If you keep almond meal on hand (which has brown flecks from almond skin) that should work, too.
- Peanut Butter. Use all-natural peanut butter that needs to be stirred when you first open the jar for maximum peanut flavor. I like to use salted peanut butter, but you can also use a different nut or seed butter, such as almond butter or homemade tahini.
- Maple Syrup. This natural sweetener pairs well with chocolate desserts. I haven’t tested this recipe with another sweetener, so experiment at your own risk. (Luckily, you can taste as you go since there’s no baking required.)
- Cacao Powder. I always keep raw cacao powder in my pantry, as it’s less-processed than cocoa powder. But either option should work in this recipe.
- Coconut Oil. This ingredient is crucial for the bars firming up. Use refined or expeller pressed coconut oil if you’d like the bars to have zero coconut flavor. If you reduce the coconut oil in this recipe, the bars won’t be firm, so just keep that in mind.
- Salt. The best desserts are balanced with salt, so don’t skip this!
How to Make Chocolate Peanut Butter Bars
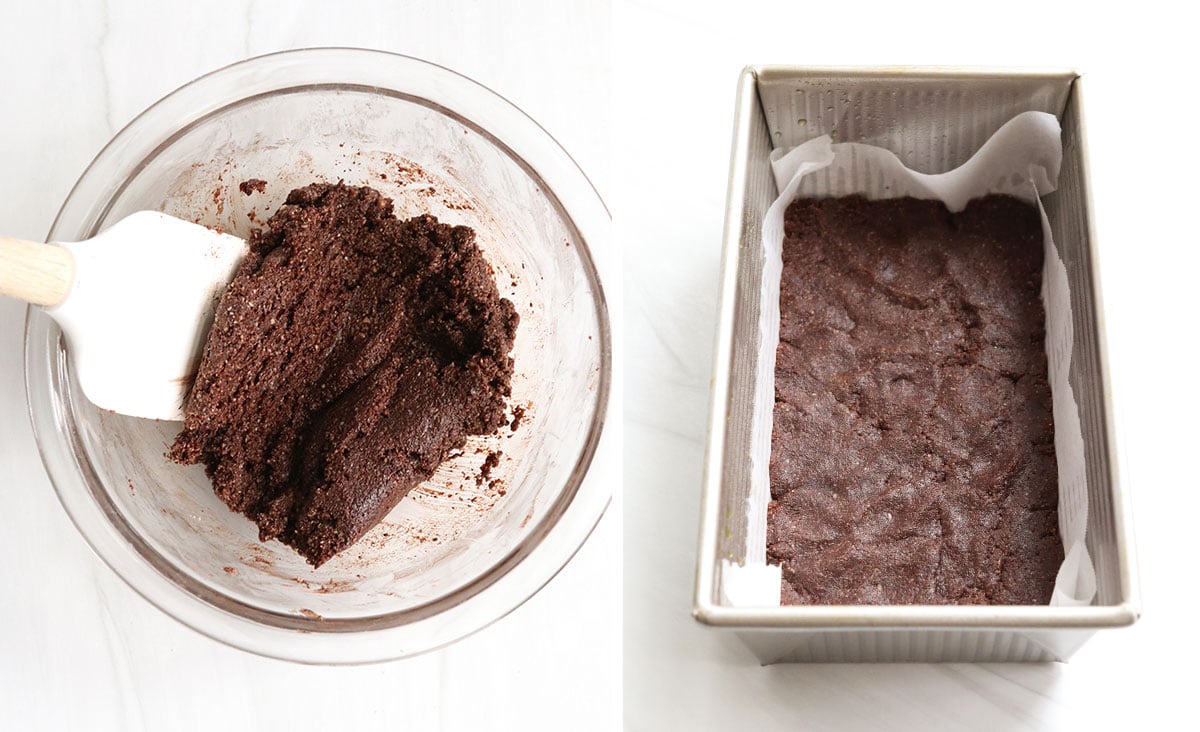
Step 1:
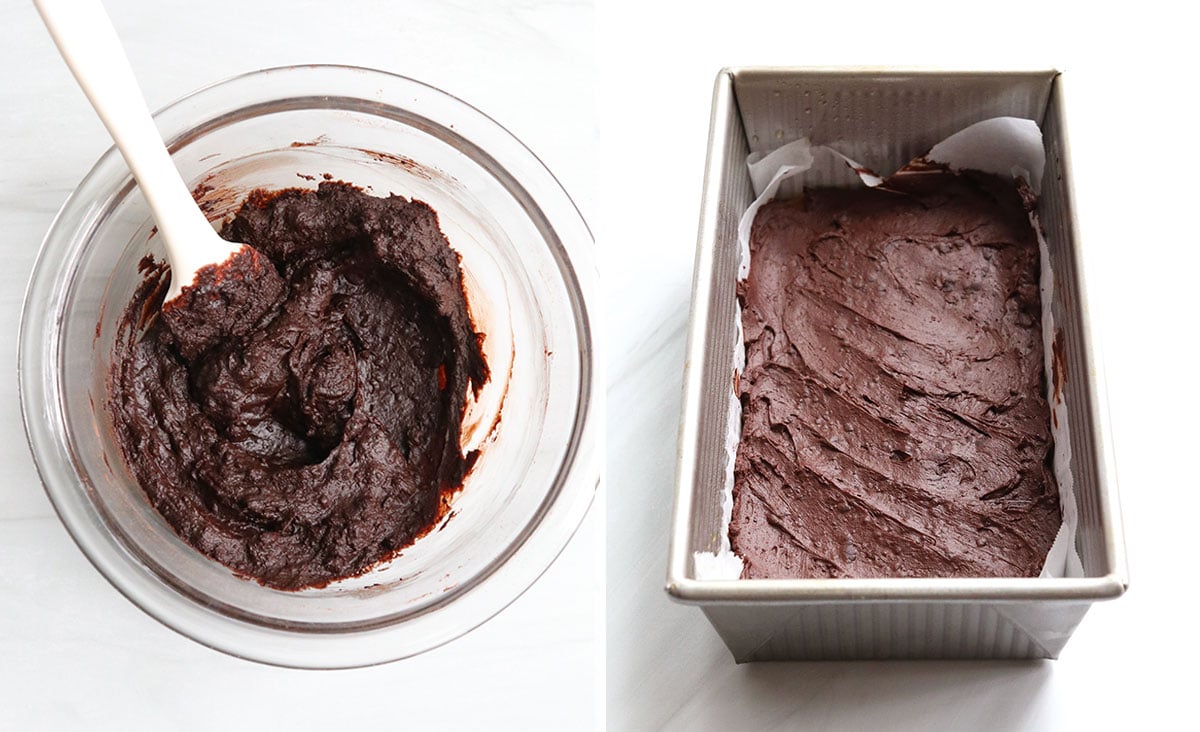
In a medium bowl, stir together the almond meal, cocoa powder, maple syrup, and coconut oil until a thick, uniform mixture is formed.
Line a 9-by-5-inch loaf pan (or similar size baking pan) with parchment paper, then press the crust evenly into the bottom of the pan. Place it in the freezer to set while you make the next layer.
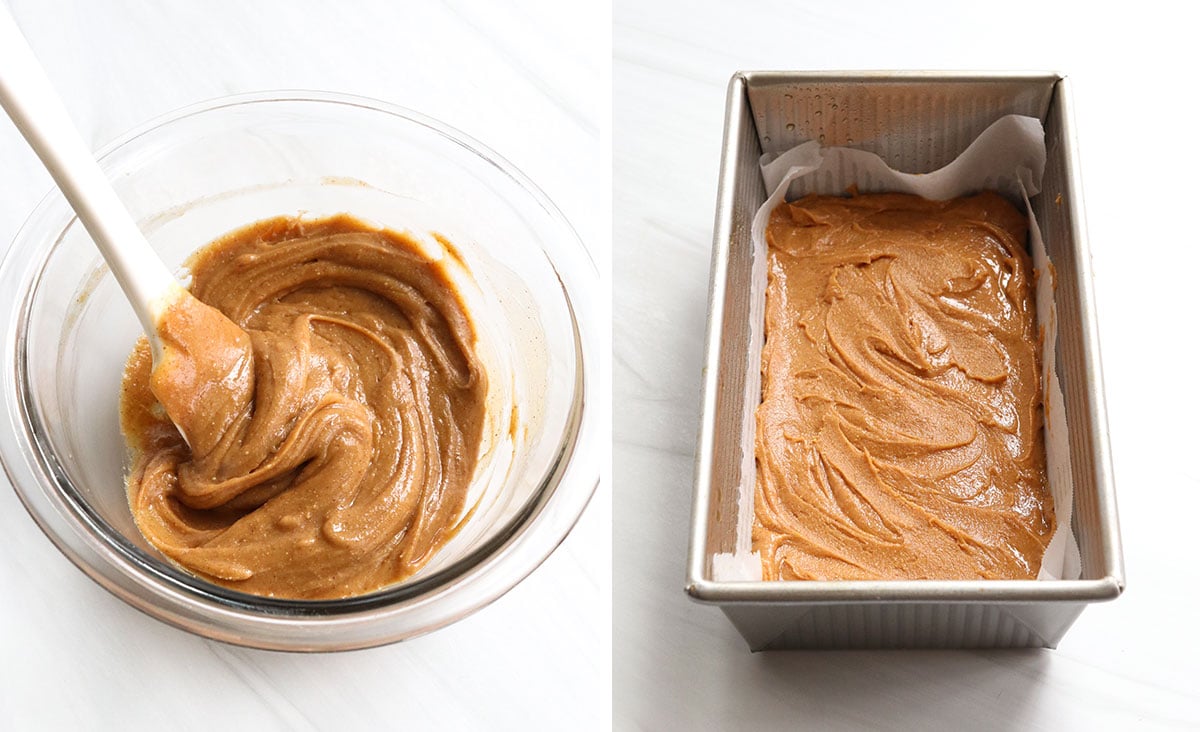
Step 2:
In the same bowl, stir together the peanut butter, maple syrup, coconut oil, and a pinch of salt.
Want to save this for later?
Remove the chocolate crust from the freezer and spread the peanut butter mixture over the crust evenly, smoothing the top with a spatula. Return it to the freezer while you make the last layer.
Step 3:
In the same mixing bowl, combine the coconut oil, cacao powder, and maple syrup. Make sure the maple syrup is at room temperature, otherwise it may cause the mixture to thicken. (This can also happen in a cold kitchen, which happened while I was taking photos!)
Remove the loaf pan from the freezer, and spread the chocolate on top of the peanut butter layer. Return the pan to the freezer and let the bars set until they are firm, at least 1 hour.
Serving Tips
When the peanut butter chocolate bars are frozen, use the parchment paper to remove them from the pan. Use a sharp knife to slice the bars into squares, and then they are ready to eat.
These bars will soften and melt if you leave them at room temperature for too long, so be sure to store them in an airtight container and keep them chilled in the fridge or freezer. They should be served chilled for the best texture. (They are softer from the fridge, and firmer from the freezer—pick the texture you prefer!)
Storage Tip: Chocolate peanut butter bars will keep well in the fridge for up to 2 weeks, or you can freeze them for up to 3 months.
Chocolate Peanut Butter Bars Recipe
Ingredients
Chocolate Crust:
- ¾ cup blanched almond flour (or almond meal)
- 2 tablespoons cocoa powder
- 2 tablespoons pure maple syrup (at room temperature)
- 1 tablespoon melted coconut oil
- Pinch of sea salt
Peanut Butter Filling:
- ½ cup creamy all-natural peanut butter
- 2 tablespoons pure maple syrup (at room temperature)
- 1 tablespoon melted coconut oil
- ¼ teaspoon fine sea salt
Chocolate Topping:
- ¼ cup cocoa powder
- ¼ cup melted coconut oil
- 3 tablespoons pure maple syrup (at room temperature)
Instructions
- Line a 9-inch x 5-inch loaf pan with parchment paper and set it aside. (Tip: Spray the pan lightly with oil to help the parchment paper stay in place.)
- In a medium bowl, stir together all of the chocolate crust ingredients until the dough sticks together. Press the dough evenly into the bottom of the lined loaf pan, and place it in the freezer to set.
- To prepare the peanut butter filling, stir together the peanut butter, maple syrup, coconut oil, and salt. Remove the crust from the freezer, and add the peanut butter filling on top. Smooth with a spatula, then return the pan to the fridge.
- To make the chocolate topping, combine the cocoa powder, melted coconut oil, and maple syrup, whisking well to break up any clumps. (Make sure the maple syrup is at room temperature, so the topping doesn't thicken up.) Once the mixture has become a smooth chocolate sauce, pour it over the peanut butter layer, smooth the top with a spatula, and return the pan to the freezer to set until firm, about 1 hour.
- To serve, remove the pan from the freezer and grab the edges of parchment paper to easily lift the solid bar from the pan. Use a sharp knife to slice the bars into small pieces. (You can get anywhere from 15 to 20 pieces from this batch.)
- These bars will melt if they sit at room temperature for too long, so be sure to serve them chilled. I like to transfer them to the fridge, so they aren't too hard to bite into. (They also have more flavor when served from the fridge, instead of the freezer.) You can store these in an airtight container for up to 2 weeks in the fridge, or up to 3 months in the freezer.
Video
Notes
Nutrition
More Recipes to Try
- Vegan Peanut Butter Cup Pie
- Dairy-Free Peanut Butter Ice Cream
- Peanut Butter Chickpea Flour Cookies
- Protein Peanut Butter Cups
- How to Make Peanut Butter
- Chocolate Peanut Butter Hearts
If you try these no bake peanut butter bars, please leave a comment and star rating below letting me know how you like them.


Absolutely divine, I made these soooo many times at this point. One of my fave recipes. I double all the ingredients because I like them a bit thicker (and looks more like the pictures that way too)