This post may contain affiliate links. Please read my disclosure and privacy policy.

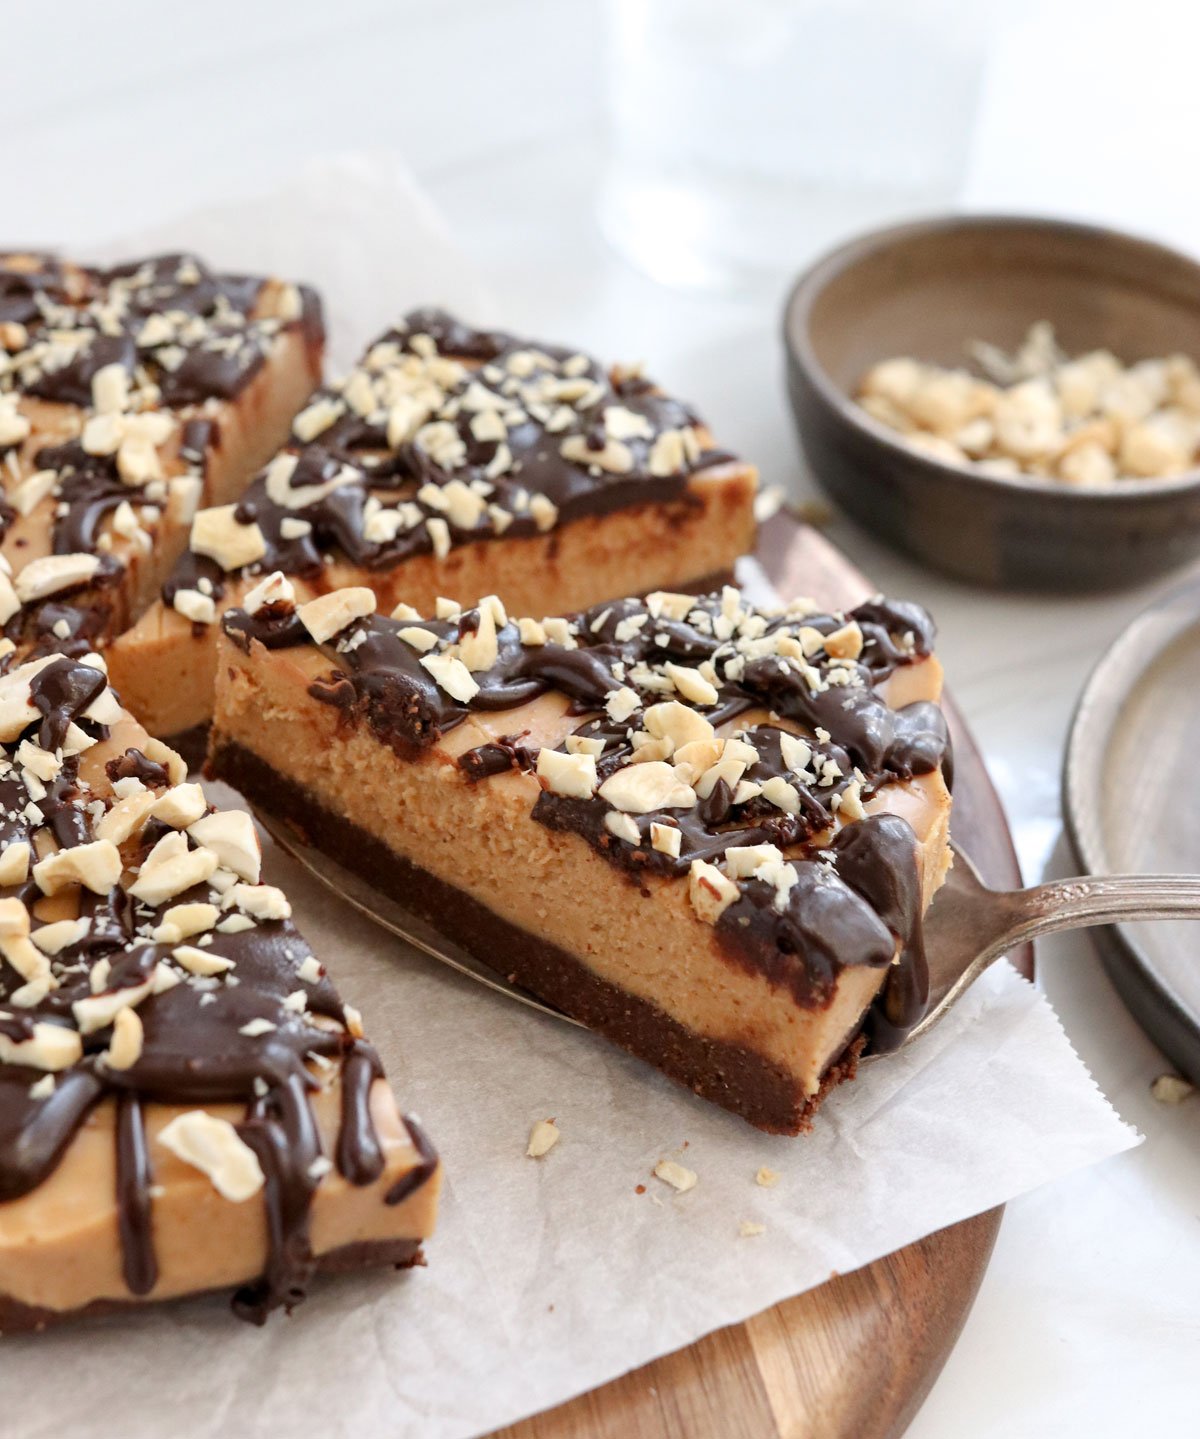
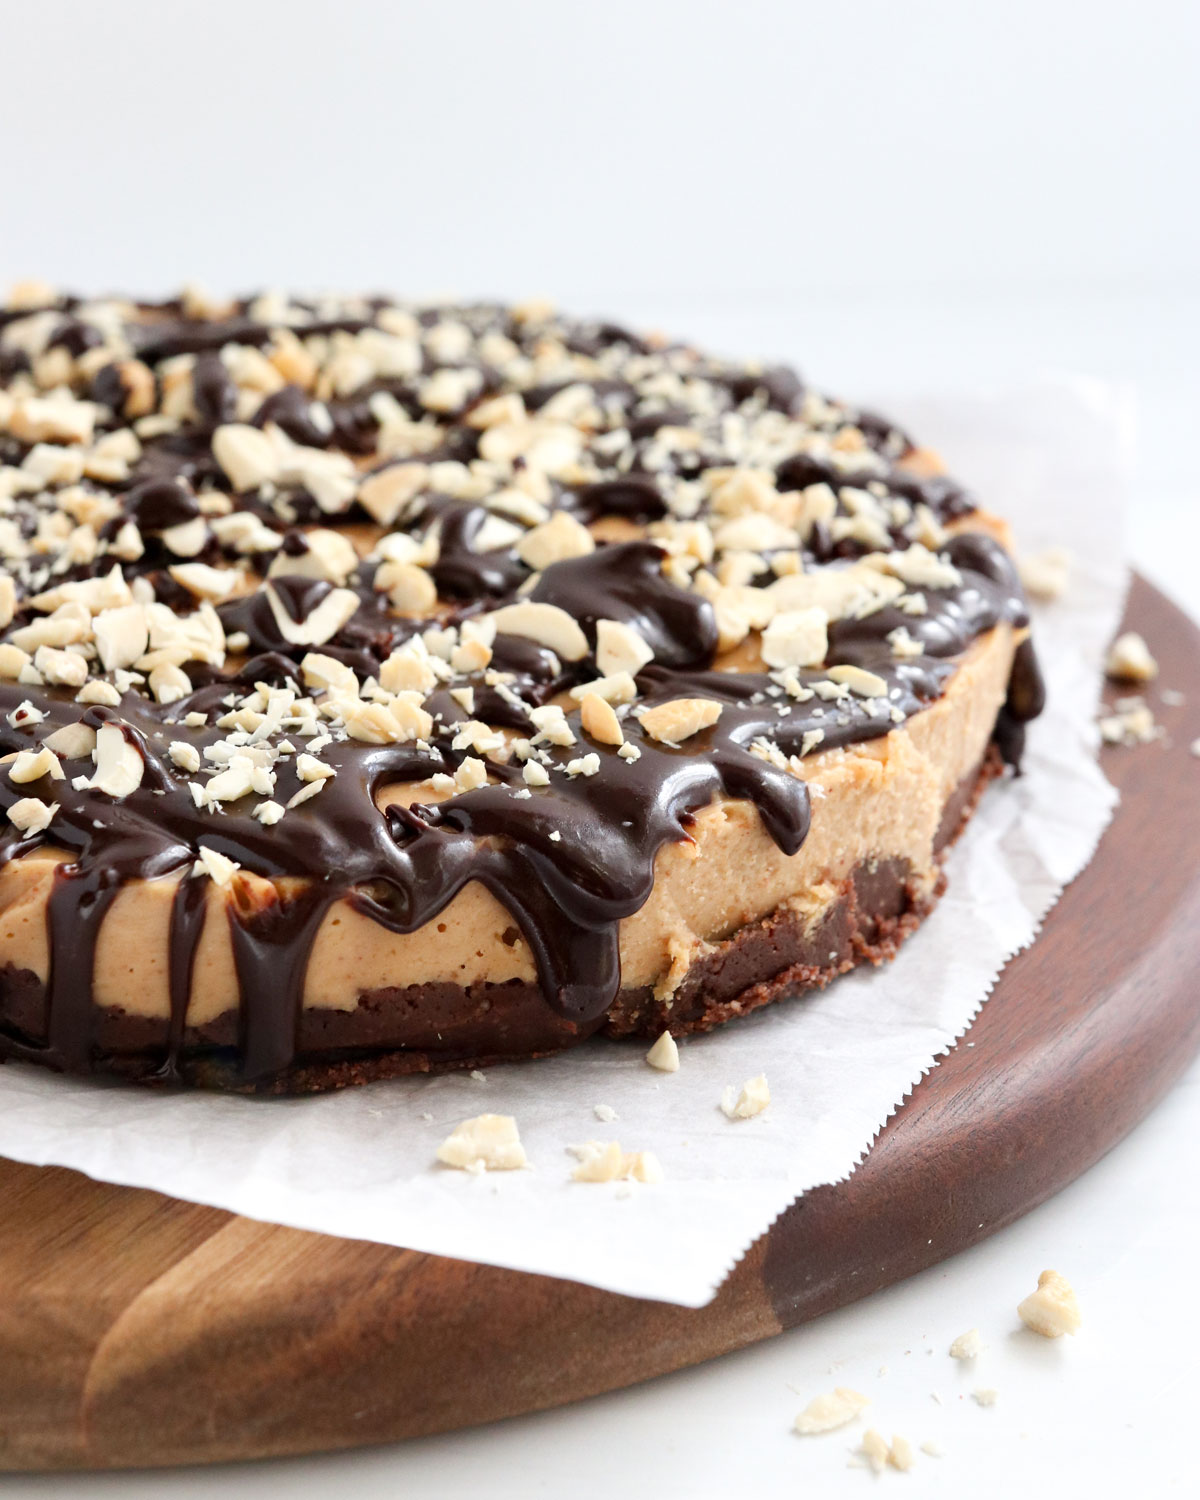
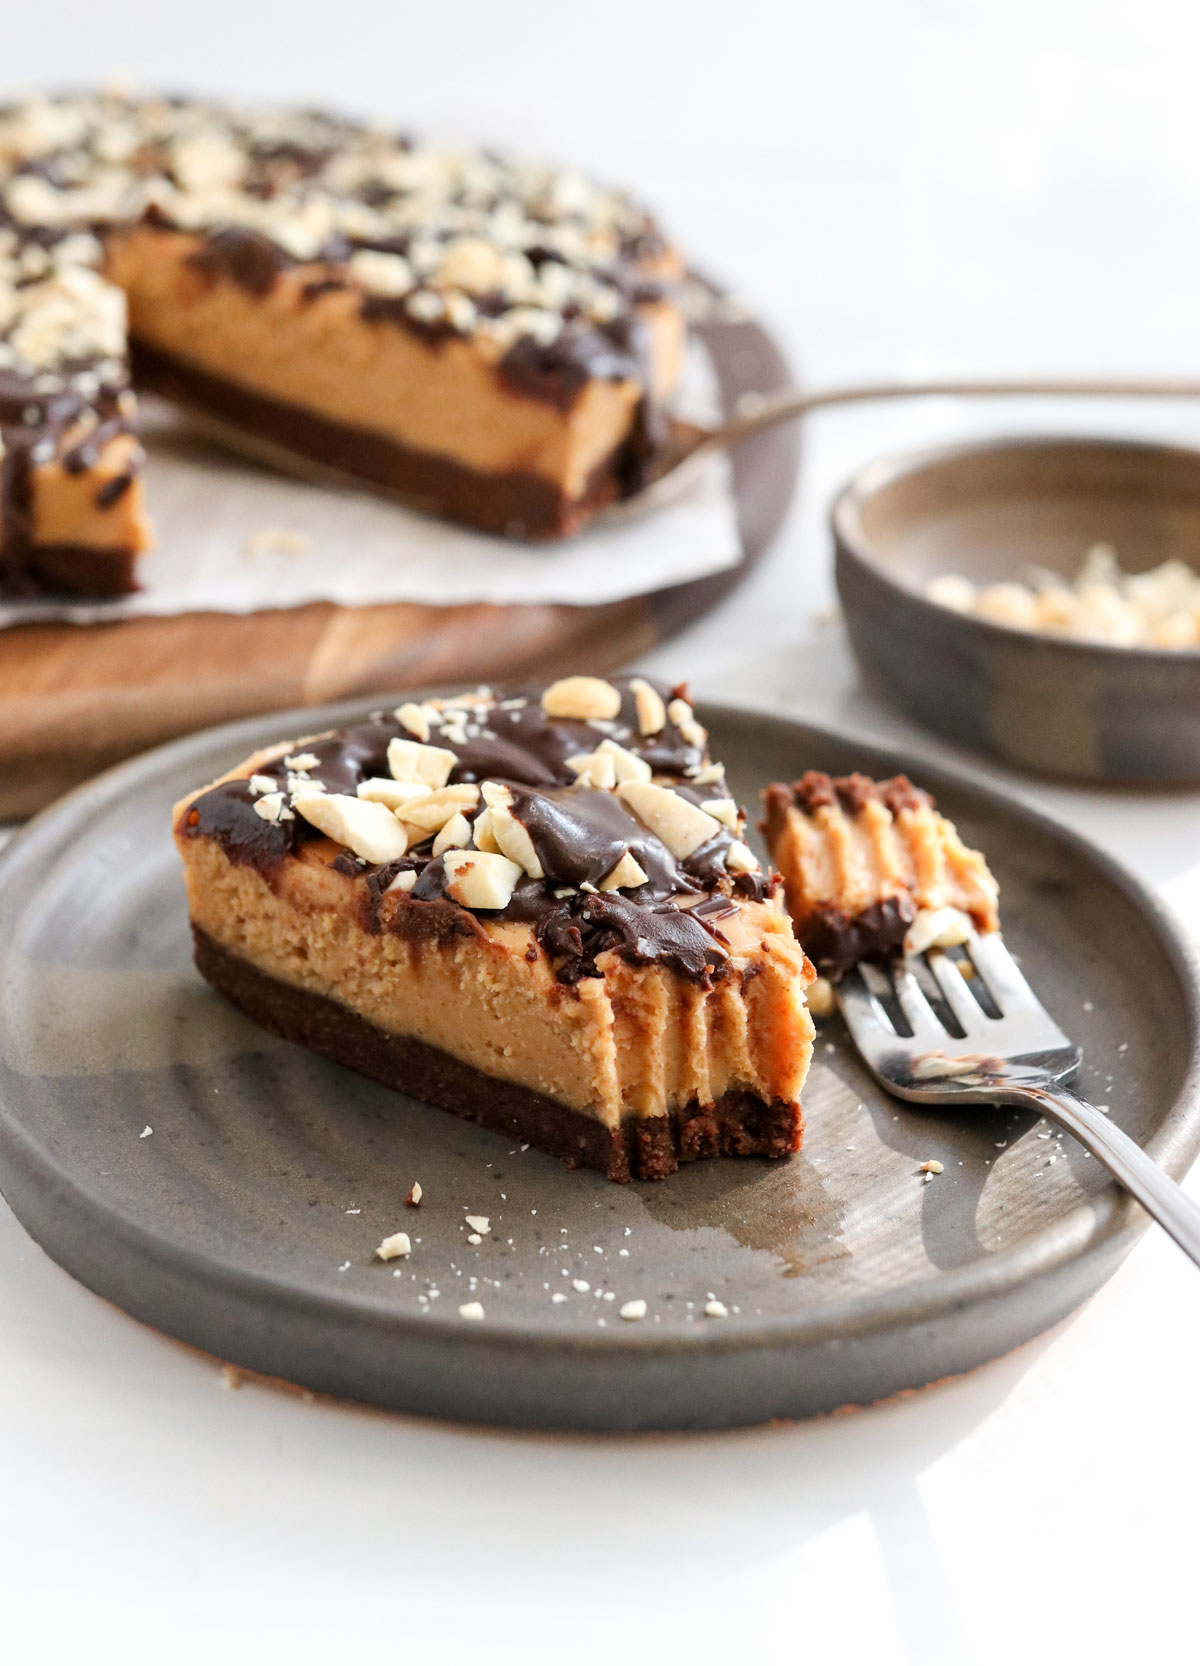
This Vegan Peanut Butter Pie tastes like a chocolate peanut butter cup! There’s no baking required, so all you have to do is assemble the layers and then let it chill until firm. The hardest part is waiting to eat it!
Why You’ll Love It
This creamy peanut butter pie is:
- No-bake
- Gluten-free
- Dairy-free
- Soy-free
- Egg-free
- and totally delicious!
It’s also a great dessert to make for a holiday gathering, because it won’t take up any oven space. Keep in mind that it will melt if you leave it out at room temperature for too long, so I recommend storing it in the freezer until about 10 to 15 minutes before serving.
Ingredients You’ll Need
What’s in a vegan peanut butter pie?
- Peanut butter
- Coconut oil (see tips below)
- Maple syrup
- Salt
- Cacao powder
- Almond flour (for the crust)
That’s seriously all you need, for all 3 layers! The coconut oil is key for making this pie firm-up when chilled, because coconut oil is solid when cold.
Pro Tip: If you don’t want a coconut-flavored dessert, be sure to shop for “refined” coconut oil, which is also called expeller-pressed coconut oil. This type of coconut oil has ZERO coconut flavor, so your dessert will only taste like peanut butter and chocolate!
How to Make It
Before you get started, make sure your ingredients are at room temperature, and not cold from the fridge. If you store your maple syrup in the fridge, it’s a good idea to measure out what you need, then let it sit out for at least an hour before getting started.
1. Make the crust. Stir together the almond flour, cacao powder, maple syrup, coconut oil, and salt. It should stick together into a big ball when you’re done stirring it.
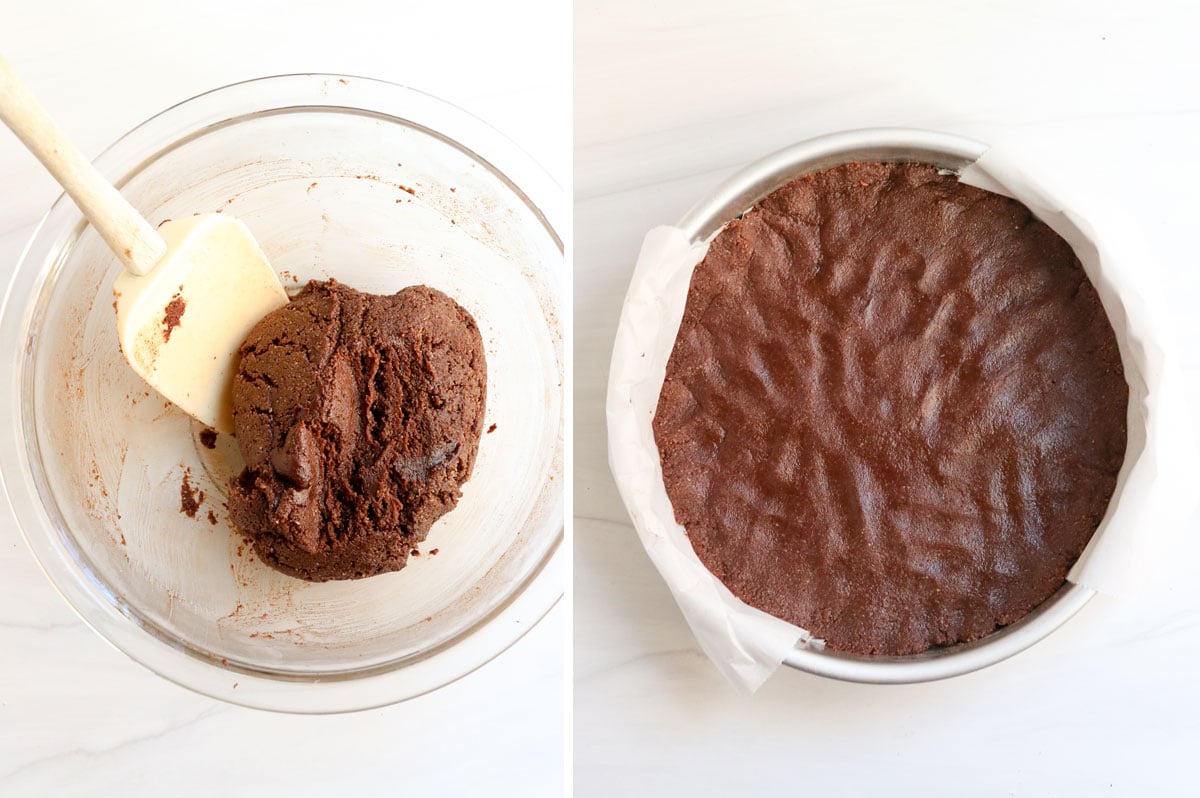
Line an 8-inch baking pan (or springform pan) with parchment paper, so the pie will release easily later. Press the chocolate crust into the bottom of the pan evenly, then place it in the freezer to set while you make the filling.
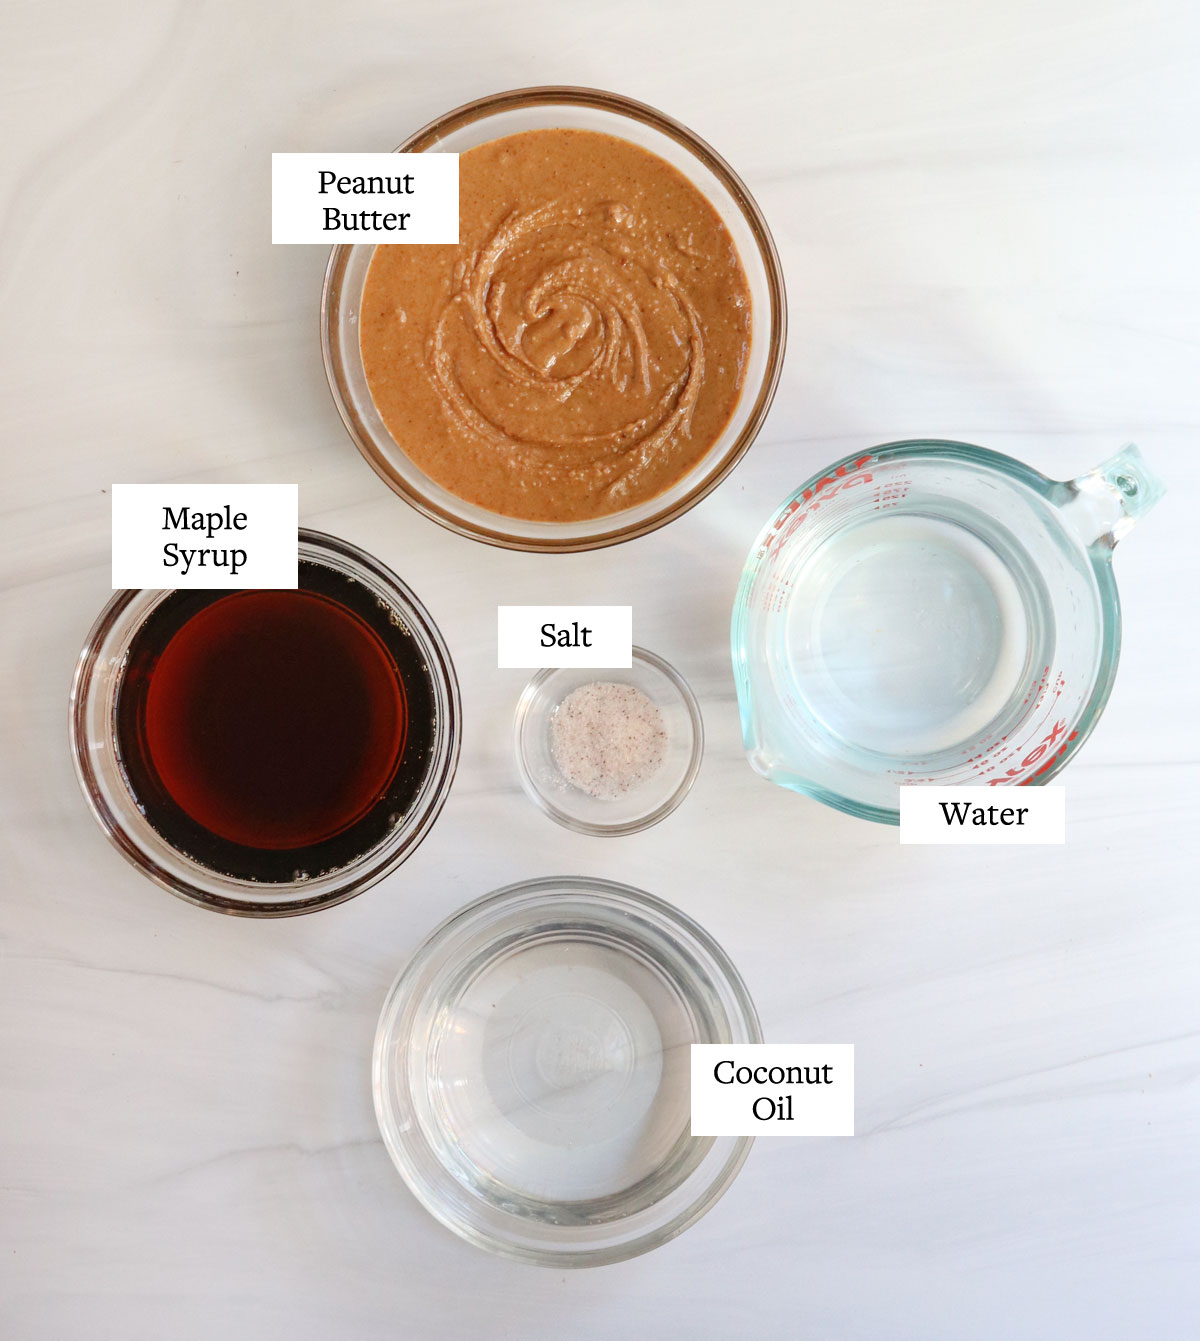
2. Prepare the filling. Add the peanut butter, maple syrup, coconut oil, water, and salt to a blender and blend until smooth. (I tried simply whisking this mixture together, but using a blender makes a huge difference here. It turns silky smooth!)
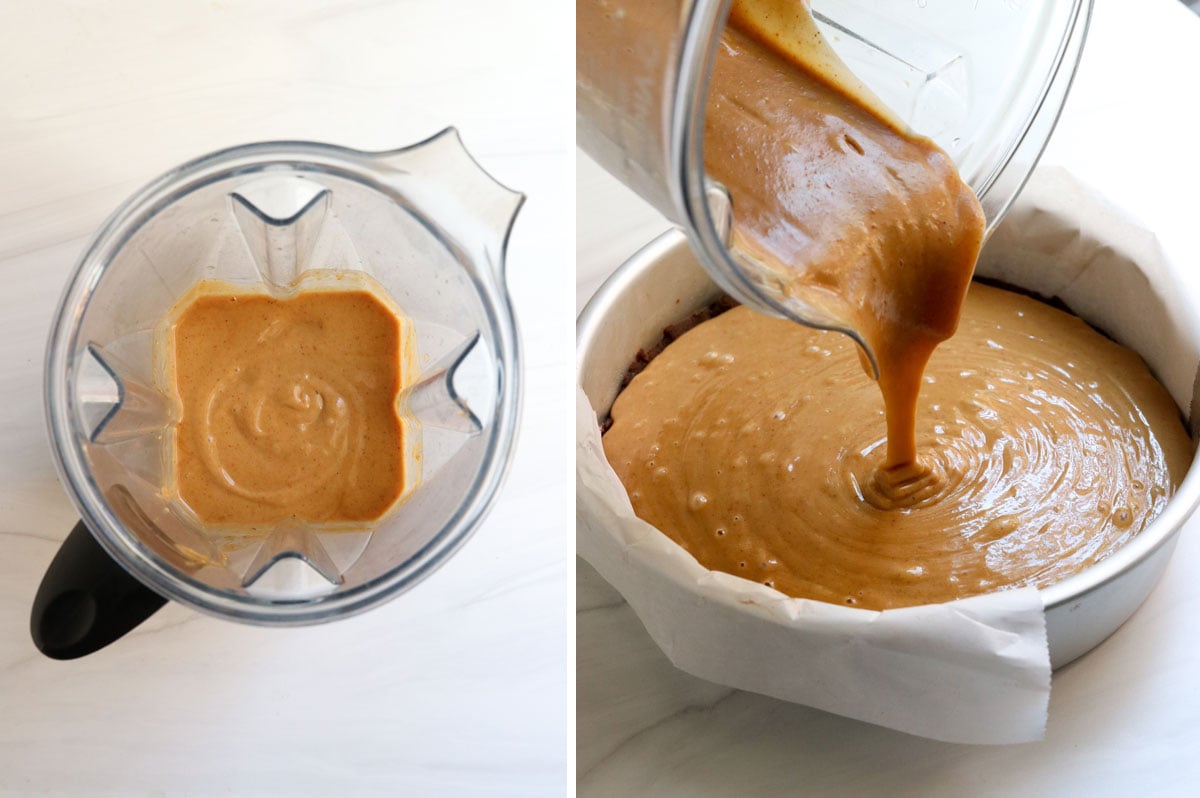
Pour the filling into the prepared pie crust, and place the pan back in the freezer. Make sure it’s sitting on a flat surface, so the pie will set evenly.
3. Make the chocolate topping. You can make this topping right away and swirl it into the peanut butter layer, or you can wait until the peanut butter layer is totally frozen, and add it as a topping.
I usually wait and add it as a topping, with a few crushed peanuts on top, but the choice is totally up to you! You can see an example of the swirling option here, if you’d like to give it a try.
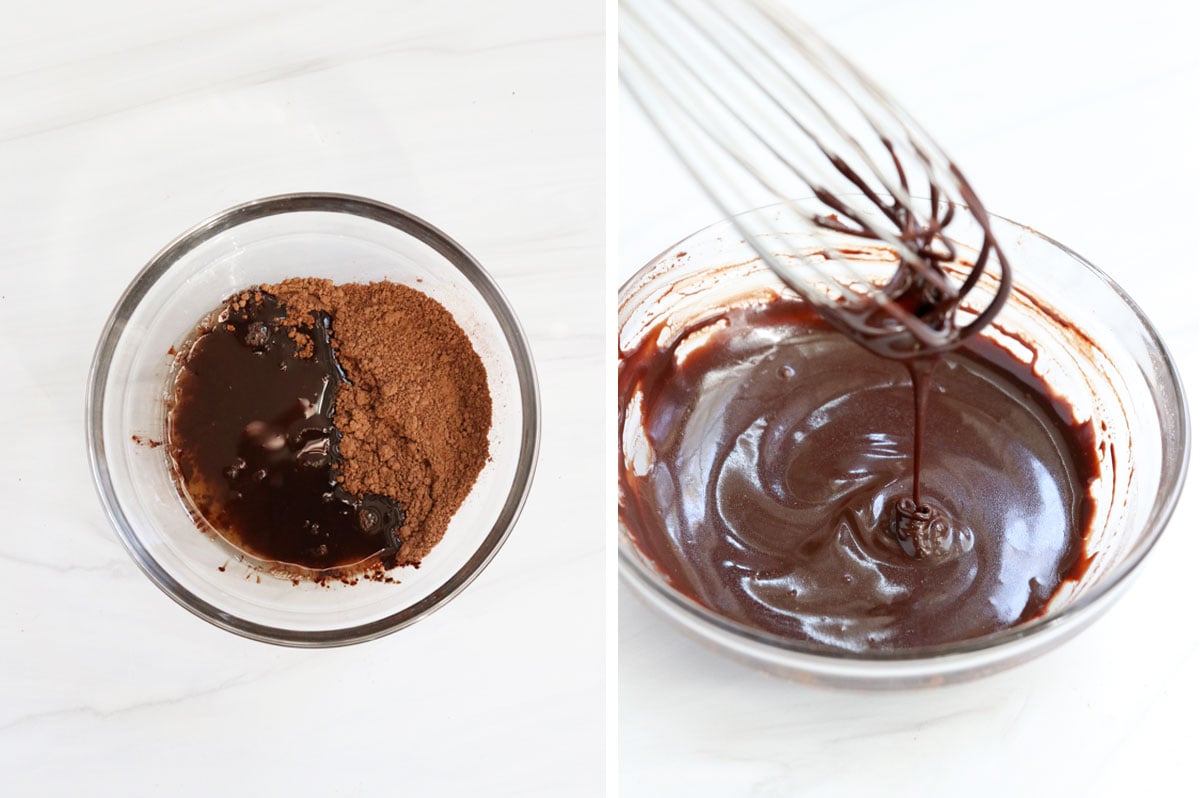
To make the chocolate topping, make sure all 3 ingredients are NOT cold, and the coconut oil should be melted, in its liquid state. Use a whisk to stir them all together, until the chocolate looks smooth and silky.
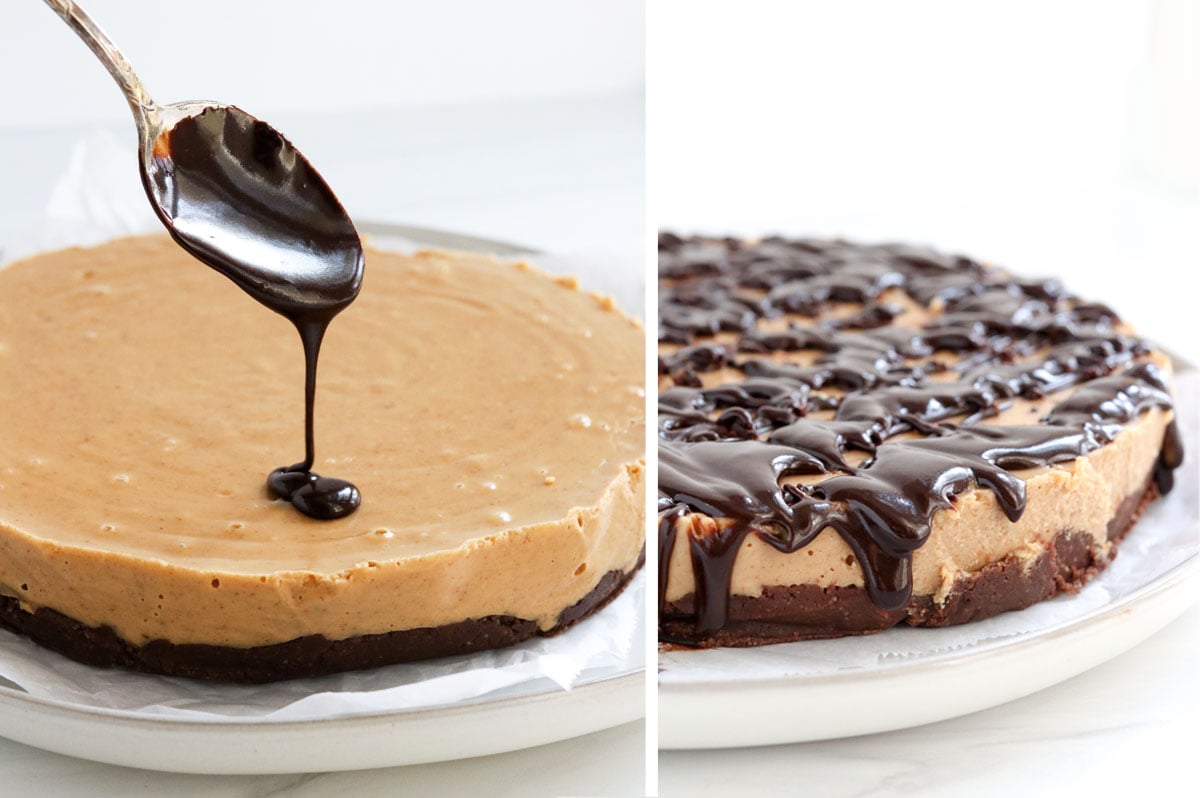
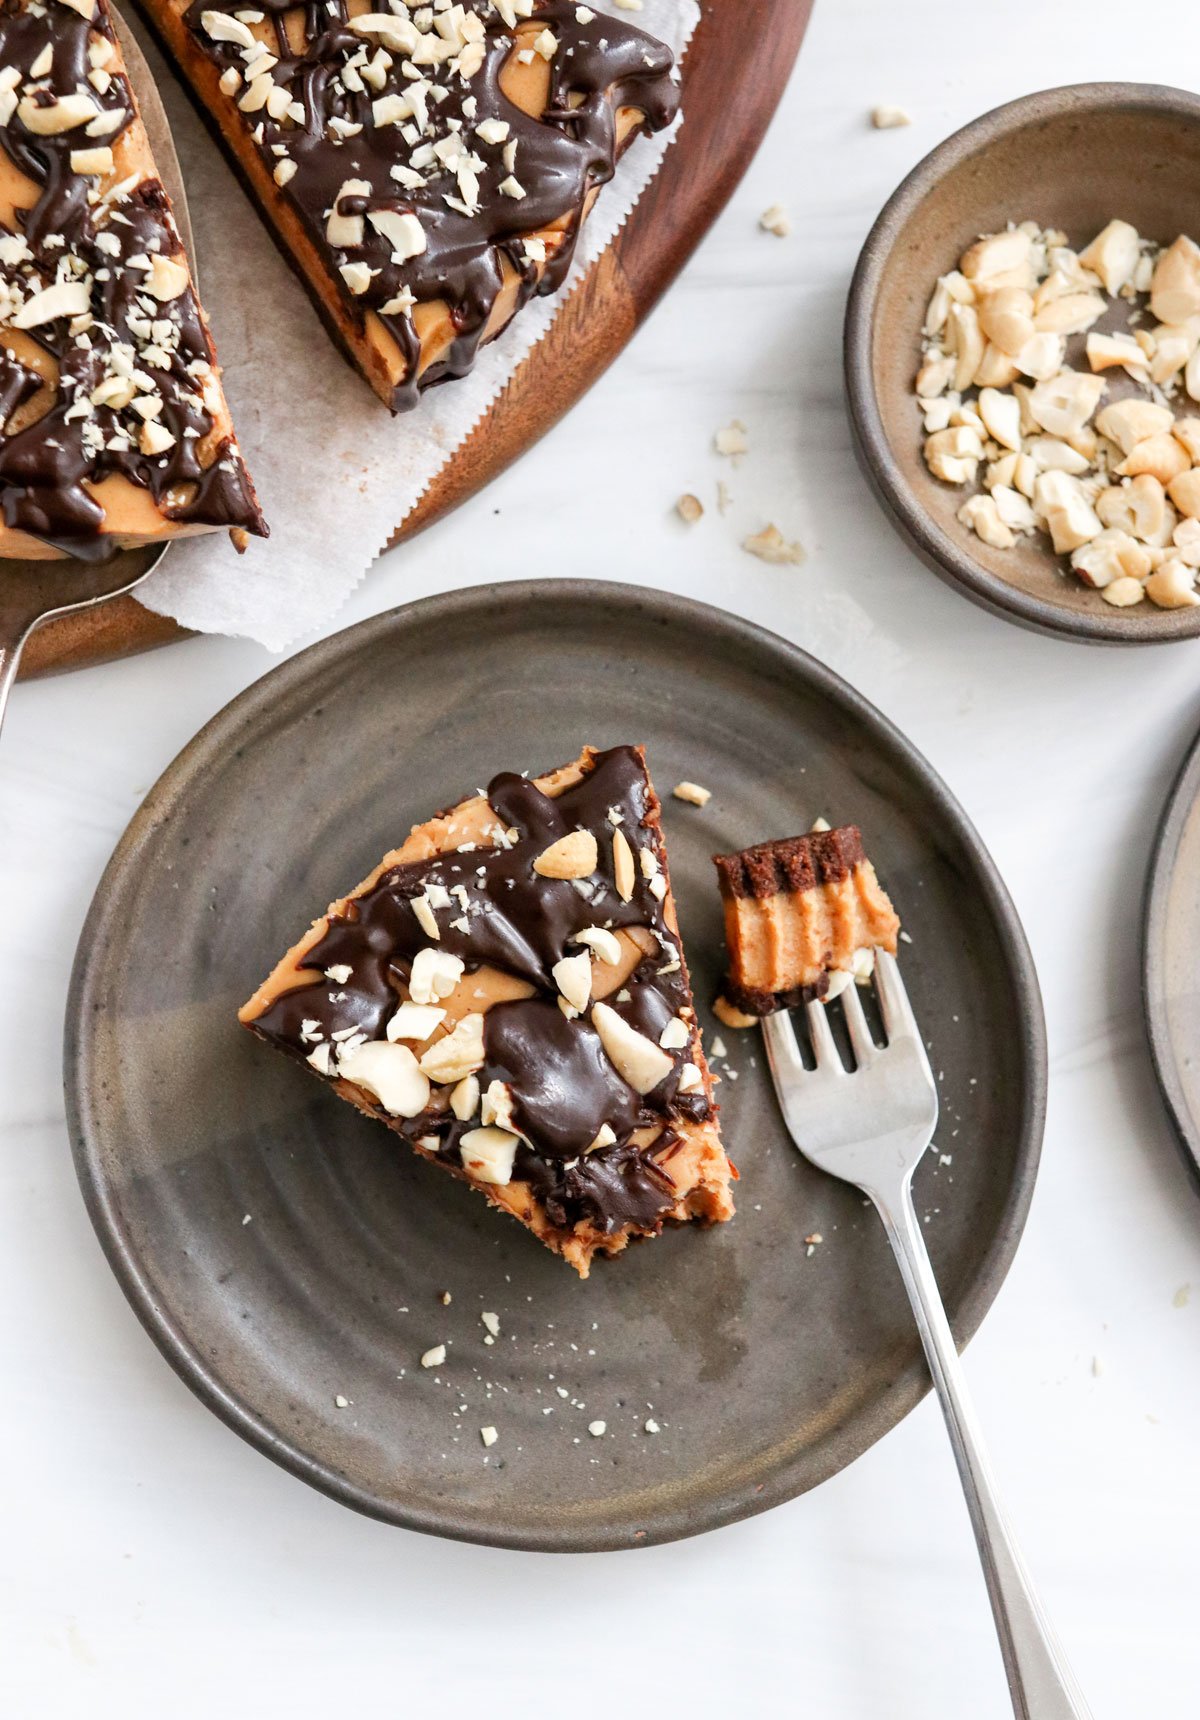
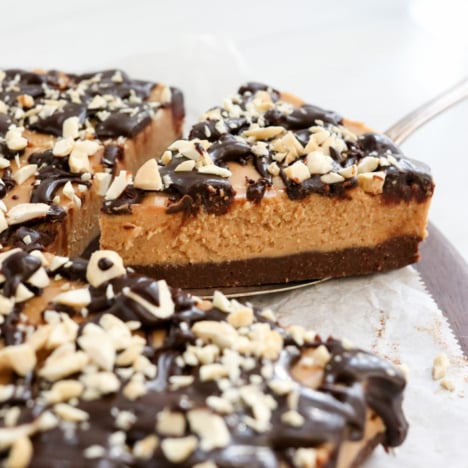
4. Decorate. Drizzle the chocolate topping over the top, then add a few crushed peanuts on top, if you’d like. (I add them to help cover up my mediocre decorating skills, but they also add a nice crunch.)
Slice and serve chilled, for the best texture.
Store this vegan peanut butter pie in the freezer for the most firm texture, and keep it tightly covered to preserve the flavor. It will keep well for up to 3 months frozen in an airtight container.
Expert Tips & Common Questions
Can I omit the coconut oil? The coconut oil is important for the texture of this pie. It won’t firm up without some sort of fat that is solid when chilled. You could most likely use a vegan butter as a swap, or real butter if you don’t need a vegan recipe.
If you’re trying to avoid a coconut flavor, use refined or expeller pressed coconut oil, which will add no coconut taste to the final pie.
Can I use a different nut butter? Of course! Almond butter, sunflower seed butter, or cashew butter should work well in its place. Just keep in mind that the flavor will change, depending on which nut or seed butter that you use.
Can I make a full pie crust? Sure! If you don’t want a pie crust that is only on the bottom, you could try adding cocoa powder and a little extra sweetener to my oat flour pie crust or almond flour pie crust recipes.
Adding a full crust will make this pie more calorie-rich, so I don’t think it’s necessary, but I love to hear how you experiment with it.
Ingredients
Chocolate Crust
- 1 1/2 cups almond flour
- 1/4 cup cocoa powder
- 1/4 cup maple syrup (at room temperature)
- 3 tablespoons melted coconut oil
- Pinch of salt
Peanut Butter Pie Filling
- 1 cup all-natural peanut butter
- 3/4 cup water
- 1/2 cup melted coconut oil
- 1/2 cup maple syrup (at room temperature)
- 1/4 teaspoon sea salt
Chocolate Topping
- 3 tablespoons melted coconut oil
- 3 tablespoons maple syrup (at room temperature)
- 3 tablespoons cocoa powder
- chopped nuts , for topping (optional)
Instructions
- Spray an 8-inch pan lightly with oil, then press a piece of parchment paper inside. (Alternatively, you can grease a springform pan.) To prepare the crust, combine the almond flour, cocao powder, maple syrup, coconut oil and salt, and stir well, until it sticks together.
- Press the crust evenly into the bottom of the prepared pan, then place it in the freezer to firm up as you prepare the filling.
- To prepare the Peanut Butter Pie filling, add the peanut butter, maple syrup, coconut oil, water, and salt to a blender, and blend until very smooth. Alternatively, you can use an electric hand mixer to beat this well. (Mixing by hand, even with a whisk, will not give you the same results.)
- Remove the pan from the freezer and pour the peanut butter filling on top of the chocolate crust. Return the pan to the freezer, making sure it's sitting on a flat surface, so the pie will set evenly.
- When the peanut butter filling has set, which can take roughly 3 to 4 hours, prepare the chocolate topping. In a small bowl, combine the coconut oil, cocao powder, and maple syrup, and whisk well until it's very smooth, with a drippy consistency.
- Once the peanut butter filling is firm to the touch, use the parchment paper to remove the peanut butter pie from the pan. Drizzle the chocolate topping over the top, and watch it harden quickly as it rests on the frozen pie. Slice and serve right away, with a few chopped peanuts on top, if you like.
- This peanut butter pie will store well in an airtight container for up to 3 months in the freezer. Serve chilled for the best texture.
Video
Notes
Nutrition
If you try this Vegan Peanut Butter Pie, please leave a star rating and comment below letting me know how you like it!
—
Reader Feedback: What’s your favorite holiday dessert?


I’m avoiding sugar overall, so I think I’ll try this with SF maple syrup…and maybe a pecan meal crust with butter and coconut oil…sounds delish! Nancy…the way I understand it…almond flour is made with skinless almonds, and meal is made with the skins on. I’ve read that they can be interchanged..the meal just has tiny brown specks in it and isn’t as finely ground as almond flour 🙂
If you use real maple syrup it doesn’t have sugar cane in it, if you are using a sugar free version I assume it will be a flavored syrup full of junk to replace the taste. You just need to get a real maple syrup not one of the flavored types. Just make sure you check a lot of sugar free things have replacements that are chemicals so although I also avoid sugar I think it can sometimes be a better alternative to flavored chlorine molecules. PS Its sooooo delicious!!
This looks yummy and pretty easy too. Can i substitute honey for maple syrup?
Perfect – I was just making a peanut butter and beetroot concoction myself so it must be the season for peanut butter:)
Our family LOVES any peanut butter chocolate combination so. Can’t wait to try this. Can i use honeyville unblanched almond flour for the almond meal? Or do I need to go get almond meal?
Do you use unsweetened cocoa powder or sweetened? Can you share which cocoa powder you prefer? Thanks!
When you say “almond meal” … do you mean when it is moist or in flour form after it is dehydrated.
Almond meal is just ground almonds, not almond ´pulp´which you get after making almond milk as all the oils have been taken out so it’s a lot drier. If you soak and dehydrate to activate your almonds then I would guess making it after you have dehydrated them, might just be a little drier.
Hi Megan,
Any word on when your cookbook will be coming out? Or is it out already? I have been out of the loop for awhile and am looking forward to it!
It’s coming out next year– the wait is killing me! It’s actually already available on Amazon for pre-order, but they don’t have a cover image for it yet… so I’ll make an announcement once it actually looks like a real book for sale. 😉
I am making this now but the filling is like a liquid. Did you by any chance mean 1/4 cup of water instead of 3/4 cup? Thanks!
Nope, I definitely used 3/4 cup water. It should be liquid enough to pour into the crust out of the blender– as long as it looks smooth and the oil has emulsified into everything else, it should turn out fine. The filling firms up once it’s chilled.
Thanks for your response! I ended up freaking out and throwing out the first batch of filling. I remade it with 1/4C of water which, for some reason, looked more like the picture, as it was something that I could spread. In any case, it turned out wonderfully! Thank you for another amazing recipe! Next time I will try it with the 3/4C water.
Can anything possibly be better than peanut butter and chocolate?! This looks so yummy I’m going to have to make it tomorrow! Thanks for the recipe!
I made this today and it is delicious!! It’s in my freezer right now but I’ve been tasting it as I’ve been going along. I can’t wait until I can taste the layers together with the topping. Thanks for the wonderful recipe!!
I just made this. it’s in the freezer setting! I tried the filling and crust separately and it tasted great! I can’t wait to try the final product! My husband (a HUGE peanut butter lover) is gonna fall on his knees when he tries this! I only used parchment paper on the bottom of the pan so the sides come out nice and pretty!