
This post may contain affiliate links. Please read my disclosure and privacy policy.

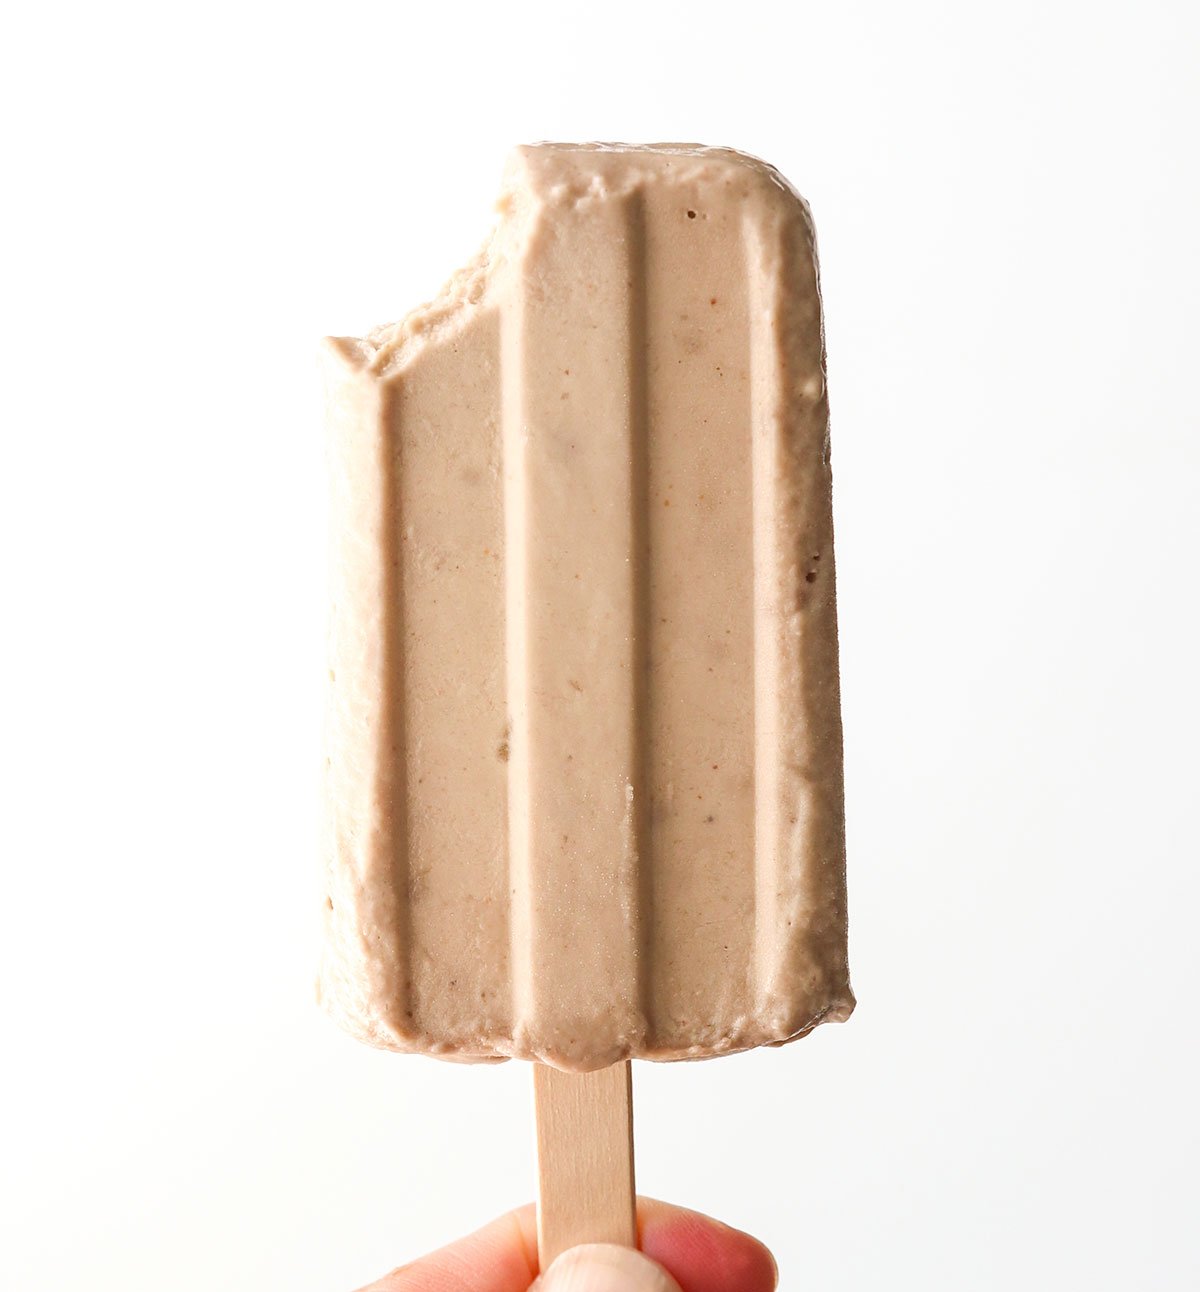
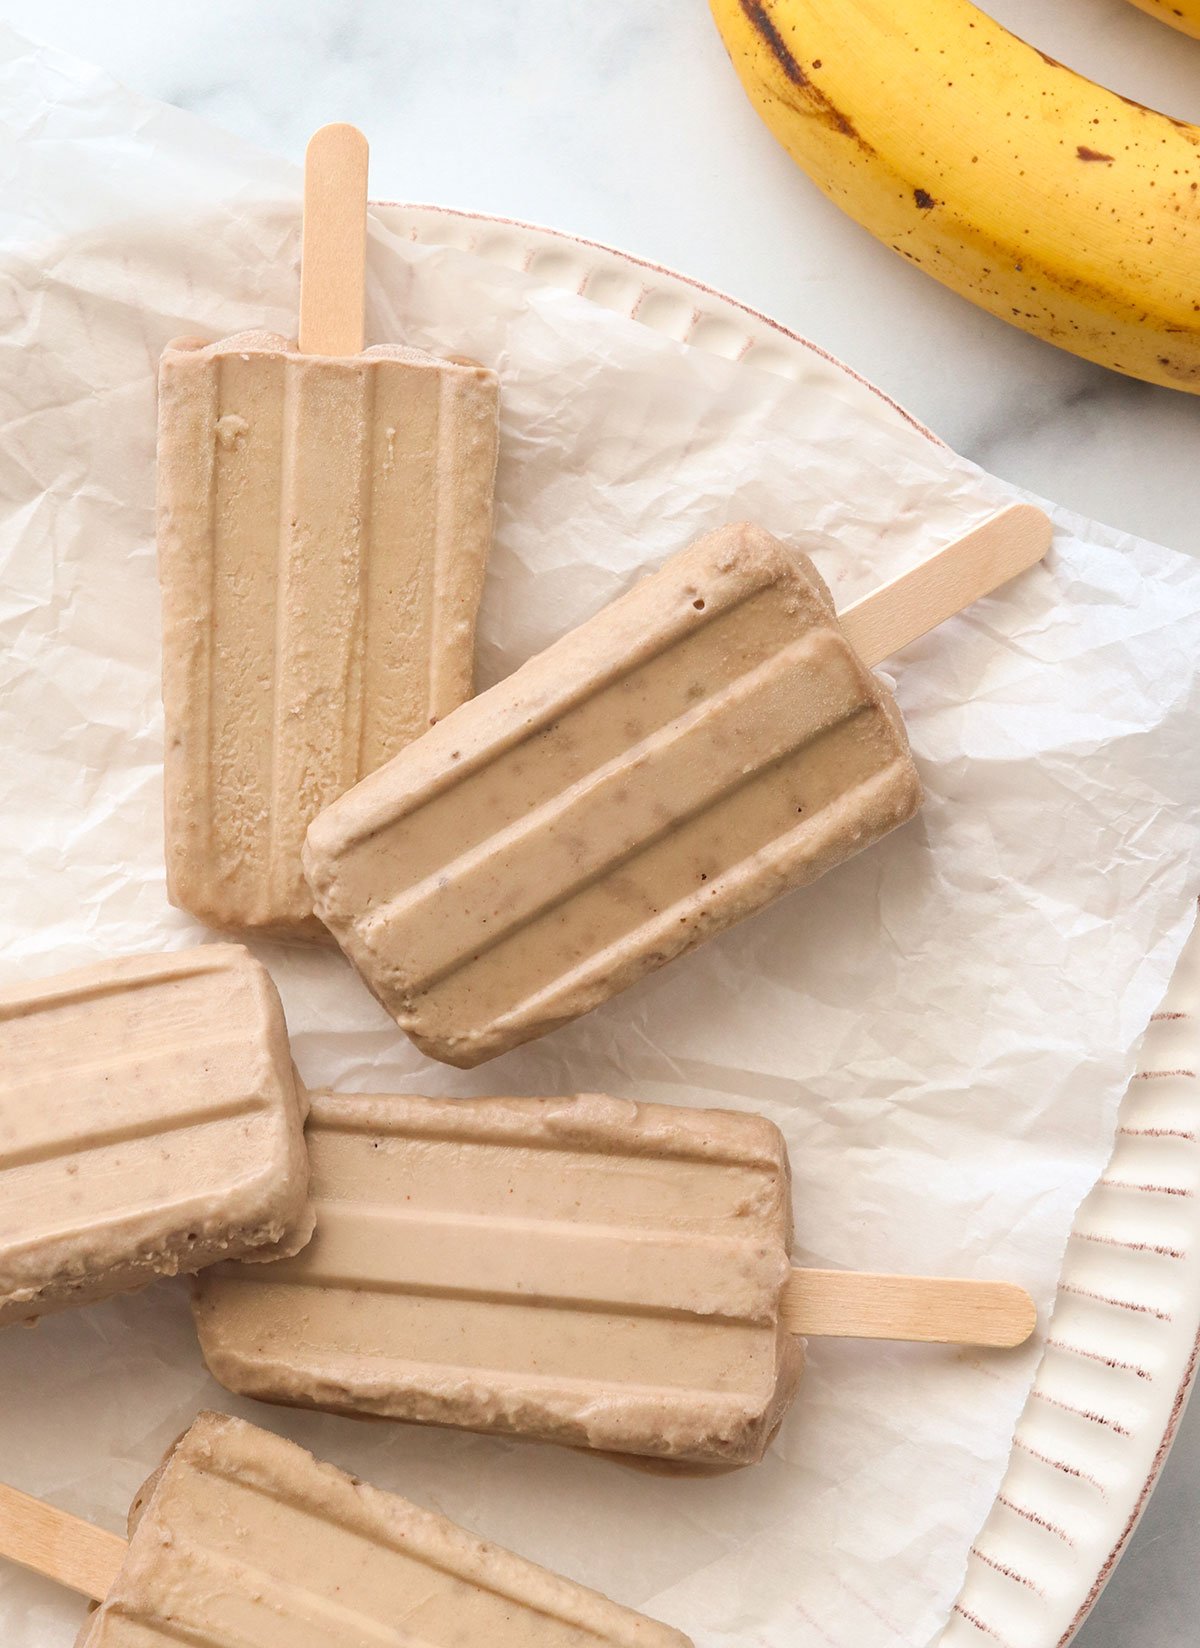
In case you didn’t know, freezing bananas gives them a creamy, ice-cream-like texture. Because of this, frozen bananas can turn into all sorts of healthy desserts.
I started making these banana popsicles when my son was a toddler, wanting to offer a refined-sugar-free treat. But my kids still ask for these all the time, even now that they’re older!
⭐⭐⭐⭐⭐ Featured Review
“Omg! These were the best peanut butter popsicles ever! I ended up using 1 cup of almond milk to get my bananas to blend as they were frozen. I was afraid all that milk would make them icy, but they were creamy and delicious! You would never know they were not made with ice cream. And I love the fact that this uses simple ingedients I always have on hand. Thank you for the recipe!” – Colleen
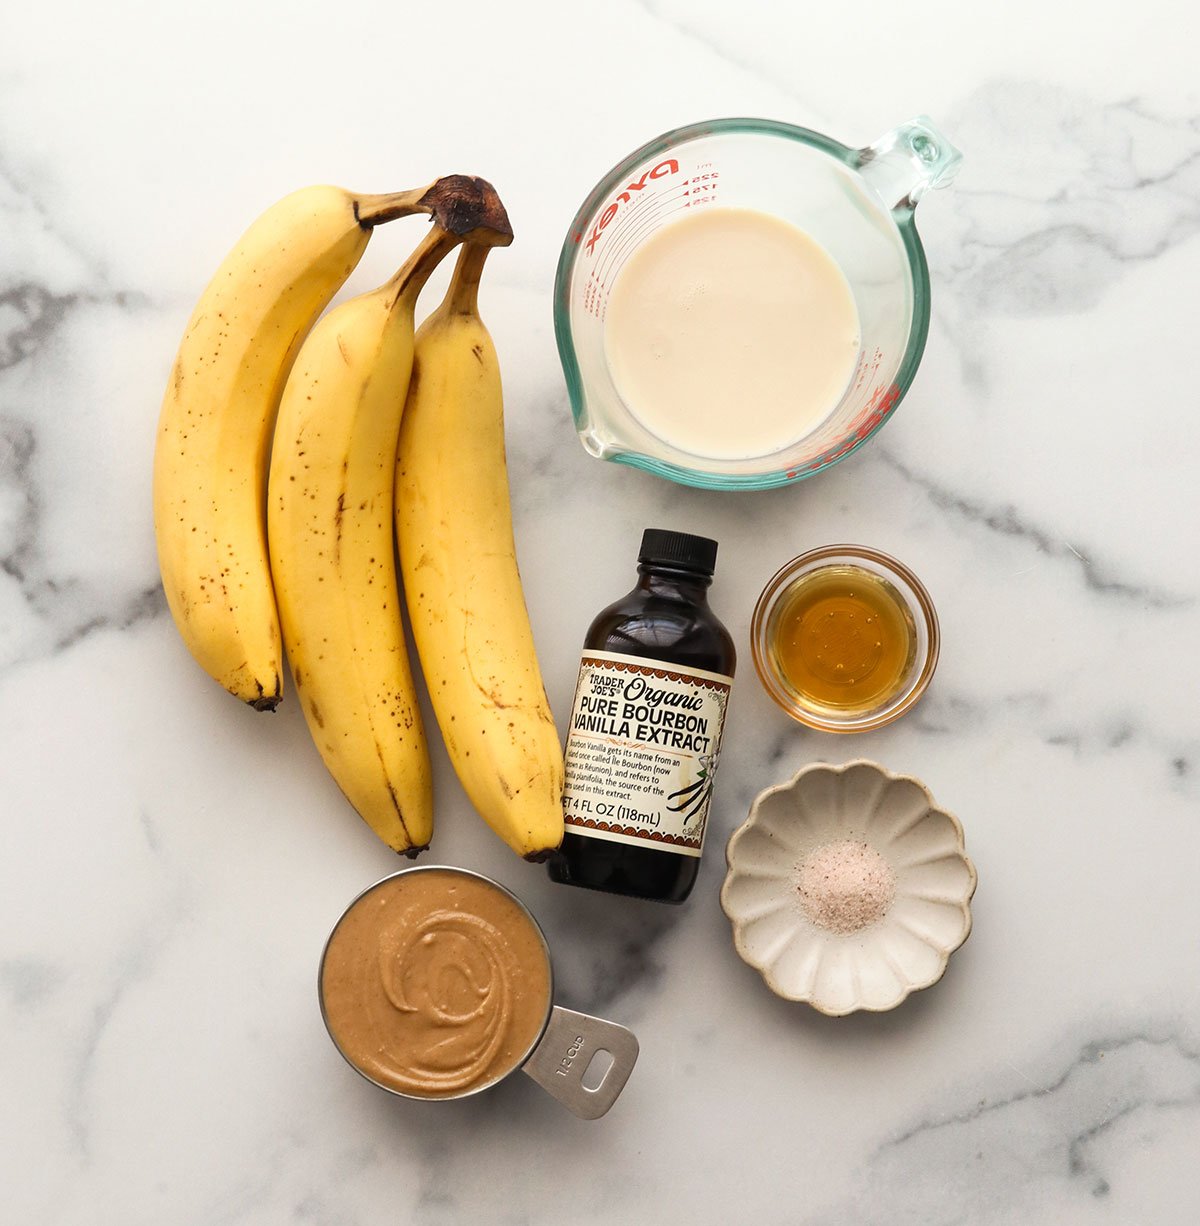
Ingredients You’ll Need
Here’s what you need for the best banana popsicles:
- bananas. Ensure they’re ripe, with spots on their skin, for the sweetest flavor. They don’t have to be overripe, however, like you’d want for banana bread.
- almond milk. I use this to keep the recipe dairy-free, but any other milk (or just water) will work, too.
- peanut butter. Peanut butter and banana both create a creamy texture that mimics ice cream. If you’re not a peanut fan, you could use almond butter or cashew butter for a similar texture.
- honey. A little added sweetness helps these popsicles taste like ice cream. Sweetness mellows when frozen, so even if your bananas taste sweet now, they might not taste very sweet after you freeze them. Use maple syrup or agave nectar for a vegan option.
- vanilla & salt. These are flavor boosters! You could probably get away with not adding vanilla if you run out, but don’t skip the salt. I always use fine sea salt (Real Salt brand) which tastes different than white table salt. You can taste the mixture and adjust as you go.
If you want to stir in some sprinkles, or top with a drizzle of melted chocolate, this recipe is easy to customize once you get the hang of it.
How to Make Banana Popsicles
Step 1:
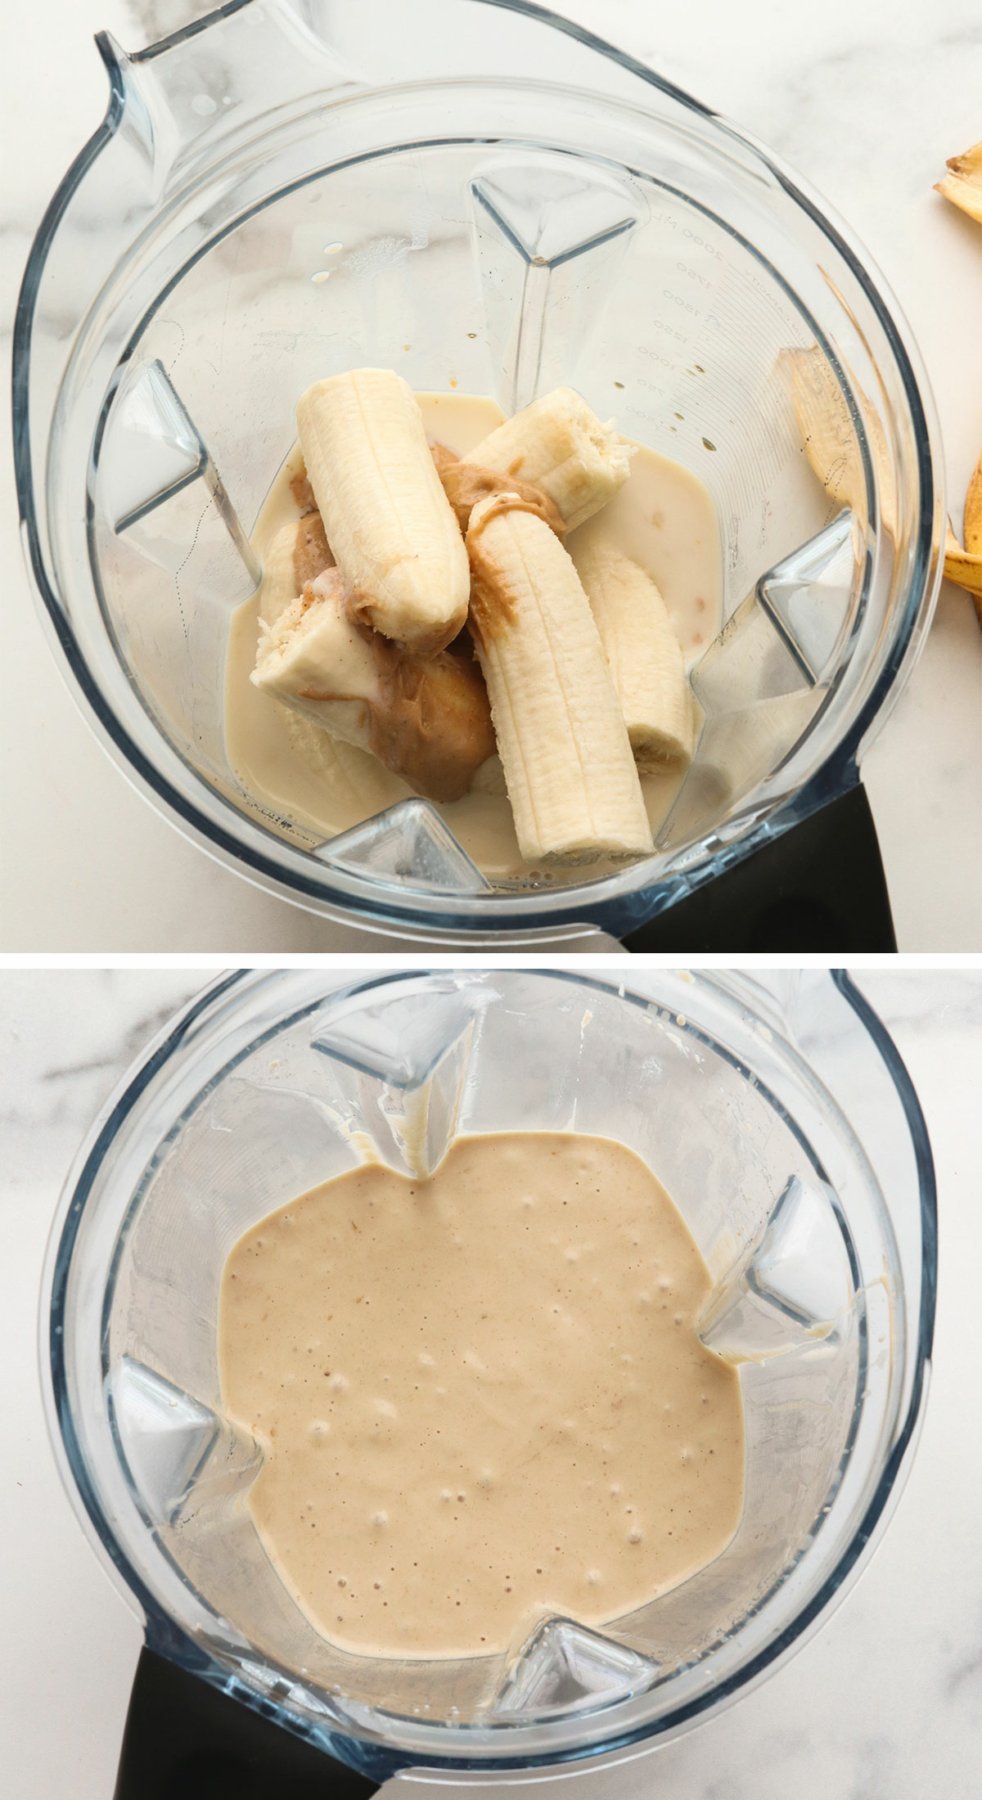
In a high-speed blender, combine the milk, bananas, peanut butter, honey, vanilla extract, and salt. Secure the lid and blend until smooth.
Stir the mixture to make sure you didn’t miss any banana chunks.
Step 2:
Want to save this for later?
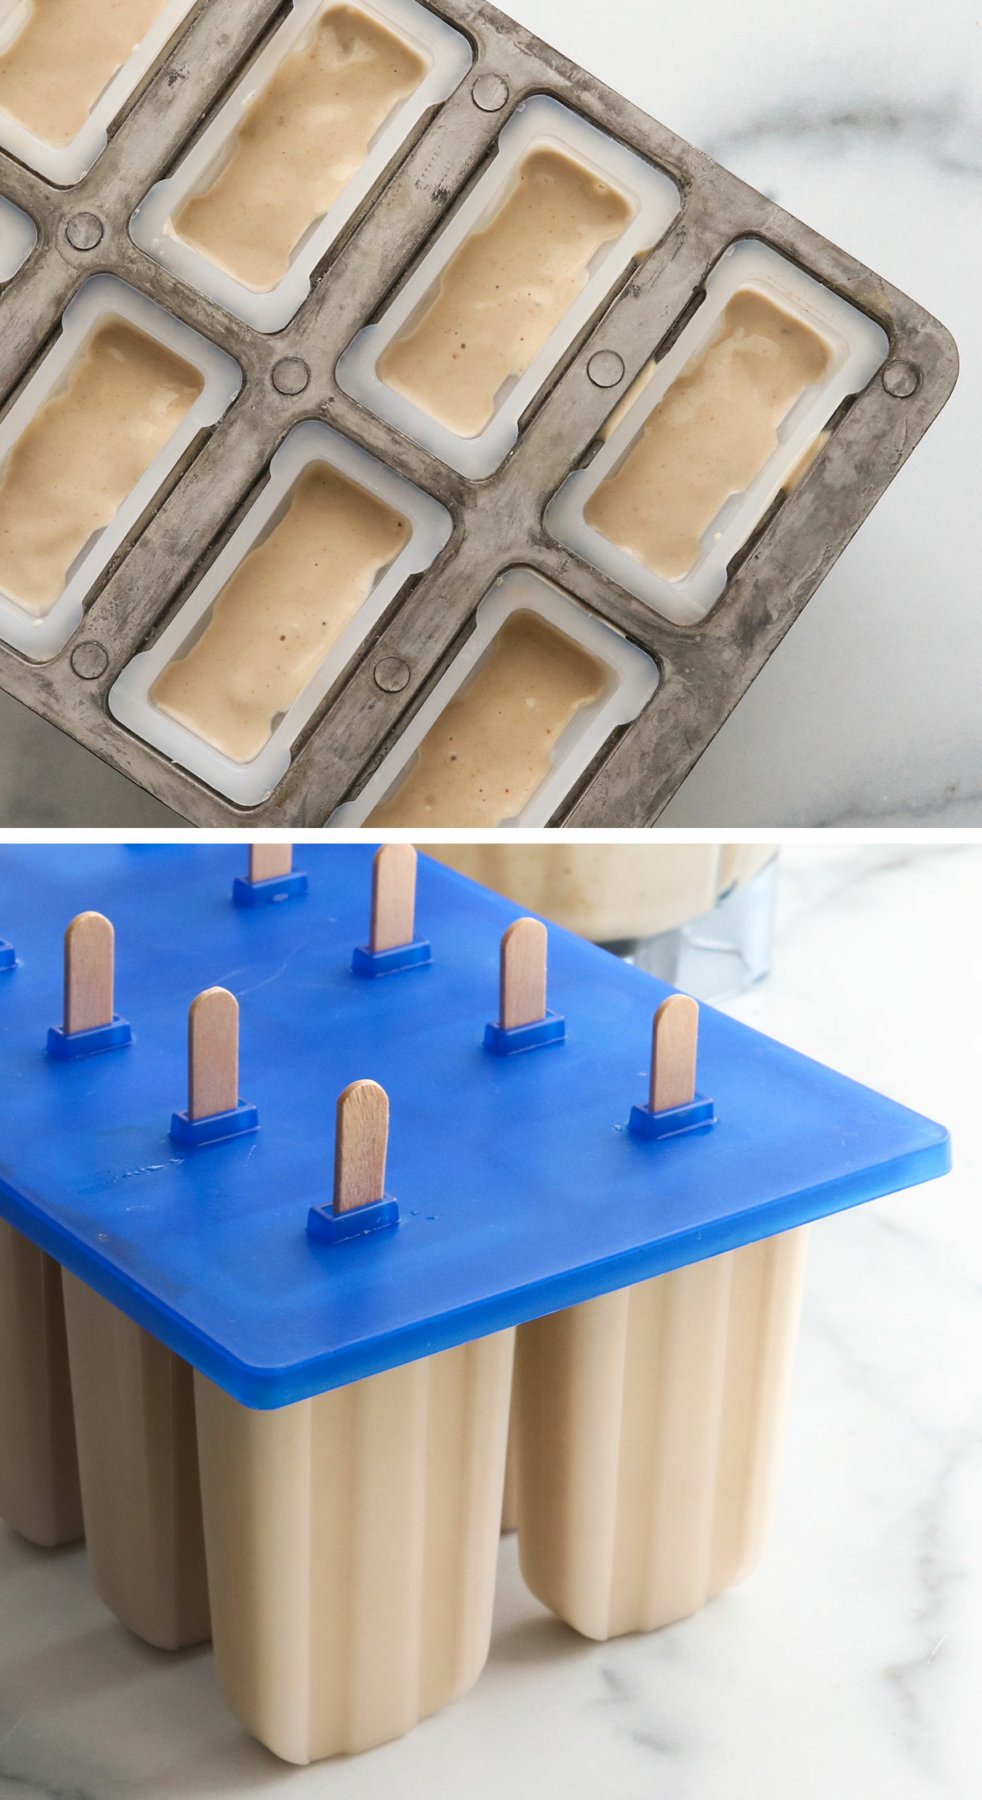
Once the banana mixture is smooth, pour it into your favorite popsicle molds (affiliate link). Depending on the size of your bananas and your mold, you should get about 10 ice pops from this recipe.
Insert the popsicle sticks, if necessary, then place the mold on a flat shelf in your freezer.
Popsicles usually need to chill for 4 to 6 hours, so it’s ideal if you can make these the night before you plan on serving them.
Step 3:
To release the frozen popsicles, run the bottom of your popsicle mold under warm running water for 20 to 40 seconds. This should be enough to loosen the popsicles.
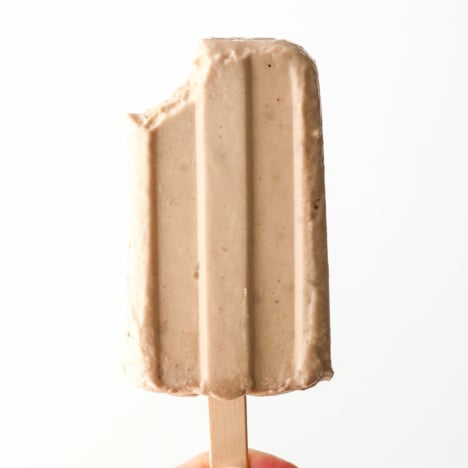
Enjoy right away for a creamy texture similar to ice cream!
storage Tip
The remaining popsicles can be kept in their mold in the freezer for up to 3 months. Or, remove them from the mold and store them in an airtight container to preserve their flavor.
Here’s what I use

Ingredients
- 3 large bananas (or 4 small ones)
- ½ cup natural peanut butter
- 1 cup milk of choice
- 1 tablespoon honey
- ½ teaspoon vanilla extract
- ¼ teaspoon fine sea salt (see notes)
Instructions
- Peel the bananas and add them to the blender, along with the peanut butter, milk, honey, vanilla, and salt. Secure the lid and blend until very smooth. Stir the mixture to make sure no banana chunks were missed during the blending process.
- Pour the batter into your popsicle mold. (affiliate link) The number of popsicles you end up making may vary, depending on the size of your molds. Place a popsicle stick in the middle of each mold, and freeze for at least 4 hours, or until solid.
- To remove the frozen popsicles, run the bottom side of the popsicle molds under hot running water for 20 seconds. They should pop right out! Store in a sealed container in the freezer until ready to serve.
Notes
Nutrition
More Recipes to Try
If you enjoy these homemade popsicles, please leave a comment and a star rating below to let me know how you like them.







This looks fantastic. I’m on it today!
These look delicious!! I will be making these as soon as we are done eating up the mixed fruit pops I just made tonight.
Do you have a recipe for these mixed-fruit pops? They sound delicious.
These look & sound really yummy! Thank you for sharing!
These looks so yummy! I absolutely love peanut butter and bananas together! 🙂
Can’t wait to try this one!
THANK YOU for the “getting the pops out” trick. I had no idea how it’s done!
Sounds fabulous! As someone who has been dealing with cancer, I will substitute the almond butter for the peanut butter. I have read that peanuts carry a mold that can produce carcinogenic aflaoxins that enter the liver and block a very important tumor-suppressor gene. I will also substitute stevia for the honey as sugars feed cancer. I have several ripe bananas right now and I will try out this recipe with them. Thank you for your ingenuity in the kitchen.
Haysie- Your note caught my eye. First, I love that you are on top of how food is impacting your body’s ability to fight cancer! I wish more people were making the sugar choice you are making. Second, are you familiar with Hopefulls? The company was inspired by a cancer patient’s food journey and is based around frozen “meal” pops. I thought you might enjoy their recipes, though some you may wish to adapt since they aren’t strictly for cancer situations. You can find them here: http://www.thehopefullcompany.com/ Praying for your health! Katie
Ok, now I need to figure out where I can get an ice pop mold!
I ordered mine on Amazon: http://amzn.to/19jG7su
We got ours at Meijer store. The grocery store had them too.
I got an ice pop mold for $1.50 at Daiso, a Japanese dollar store. There are only four molds, so I had to reduce the amounts of ingredients by simply splitting it in half. I haven’t made them yet, but decided to do two pops with the regular recipe, and adding cocoa powder to the last two. I can’t wait to try them!
These look great! I can’t wait to try them.
yum!!!