This post may contain affiliate links. Please read my disclosure and privacy policy.
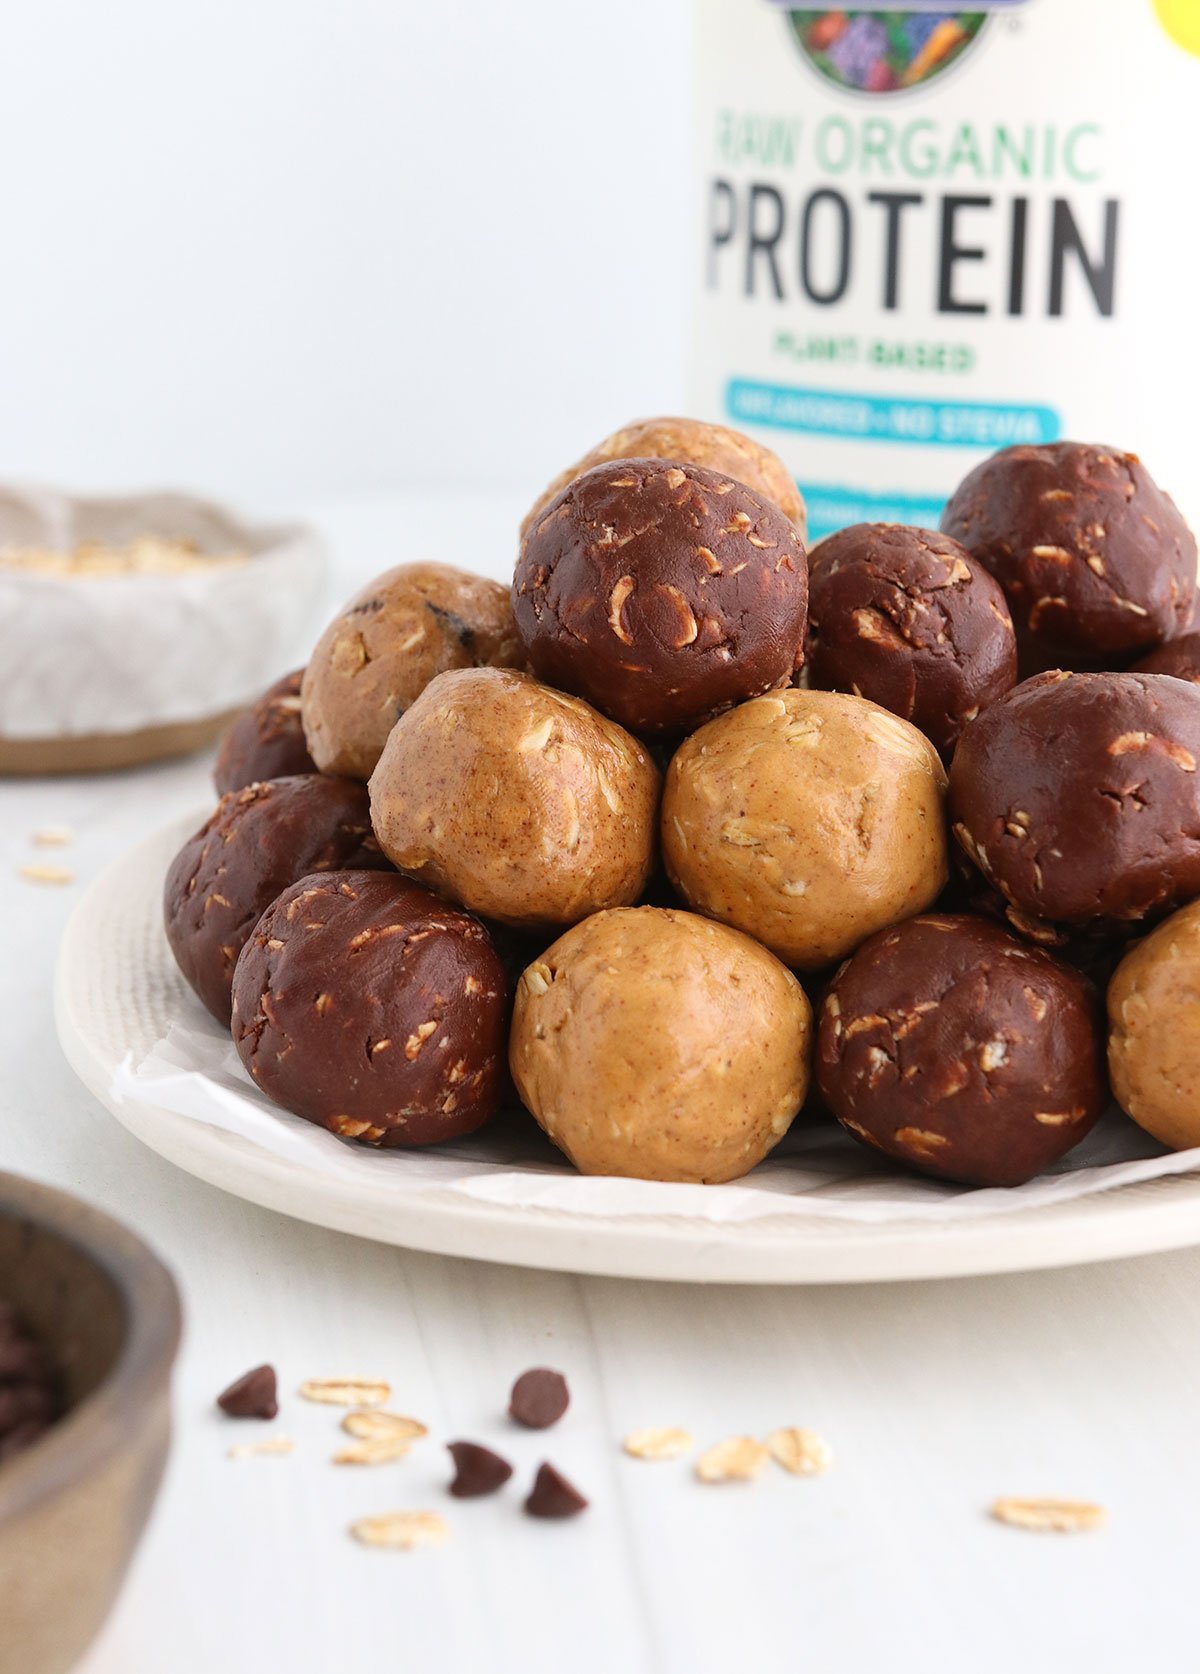
Protein Balls are a delicious way to sneak more protein into your life. You can stir them together in less than 10 minutes, for a healthy snack idea!
Why You’ll Love Them
They taste great. These bite-sized energy bites taste like cookie dough, and are naturally sweetened to help you avoid an energy crash later. They are perfect for meal prep!
They are easy to make. Unlike date energy balls, which require a food processor, this protein ball recipe is easy to stir together in one bowl. (It makes clean-up easier, too.)
They’re filling. With 6 grams of protein in each ball, along with healthy fats and fiber, these bite-sized treats will help keep you feeling satisfied between meals, or after your workout.
They are easy to customize. There are 3 easy flavors to try below, but you can also get creative with this recipe. Try adding in dried cranberries and a little orange zest for a holiday flavor, or add in some chia seeds for a little crunch. You can also add in a few mini chocolate chips, or some shredded coconut, if you prefer. The variations are endless!
Ingredients You’ll Need
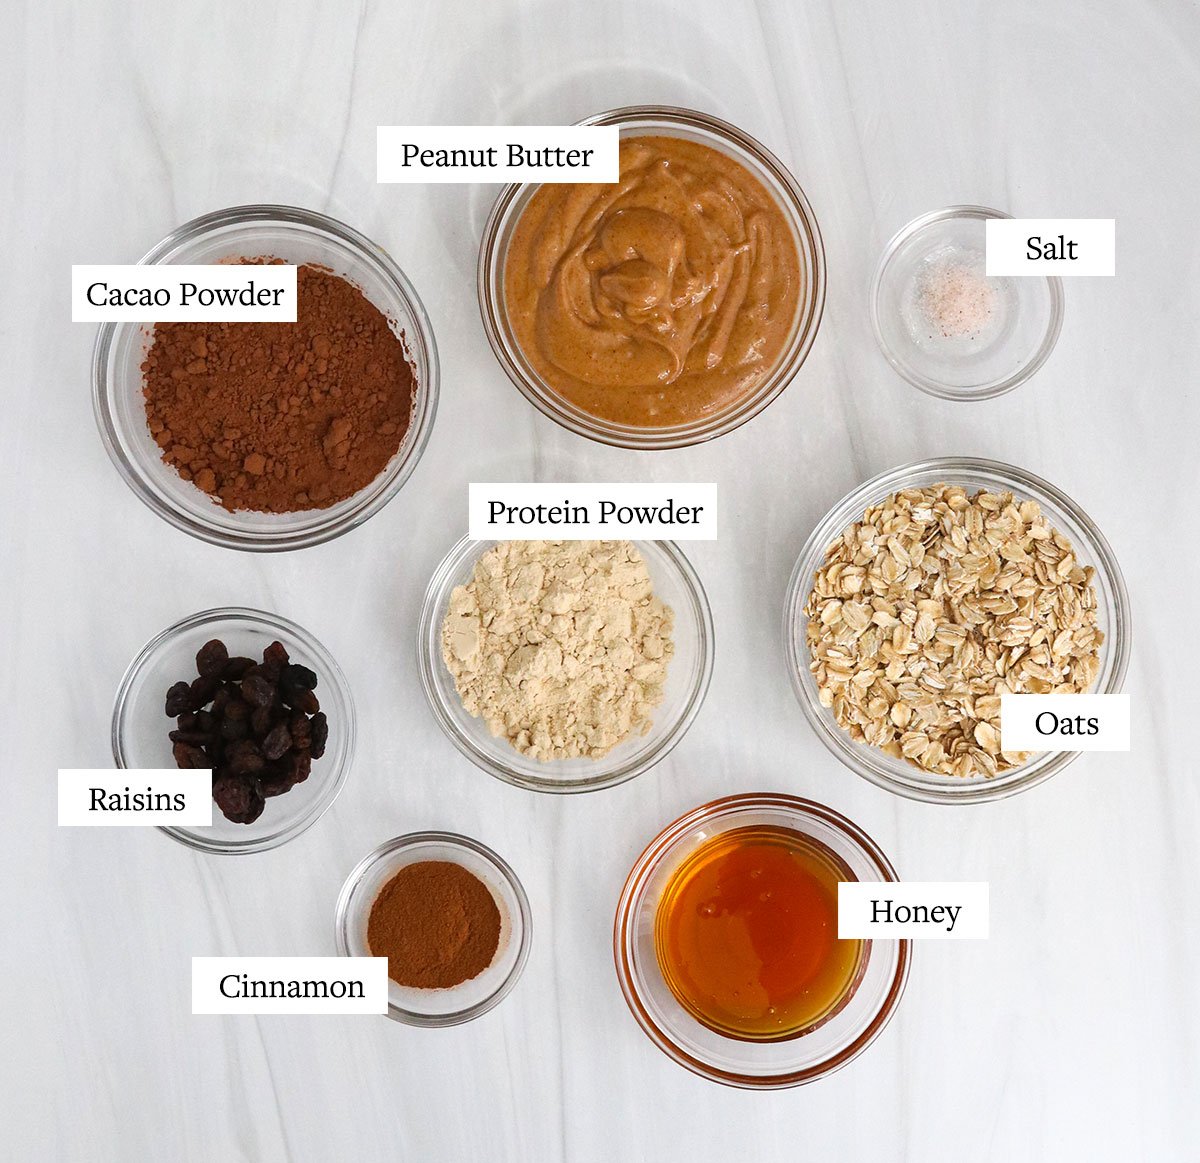
I tested this recipe with Garden of Life Organic Vegan Protein Powder (< affiliate link), which is not particularly delicious on its own. If you are starting out with a protein powder that is already sweetened, you most likely won’t need as much added sweetness from the honey or maple syrup that the recipe below calls for.
Feel free to add a splash of water, instead, of help the dough come together.
If you need a nut-free recipe, you can replace the peanut butter or almond butter with sunflower seed butter, or tahini, instead. Or, if you want to use another nut butter, feel free!
How to Make Protein Balls
1. Mix the dough.
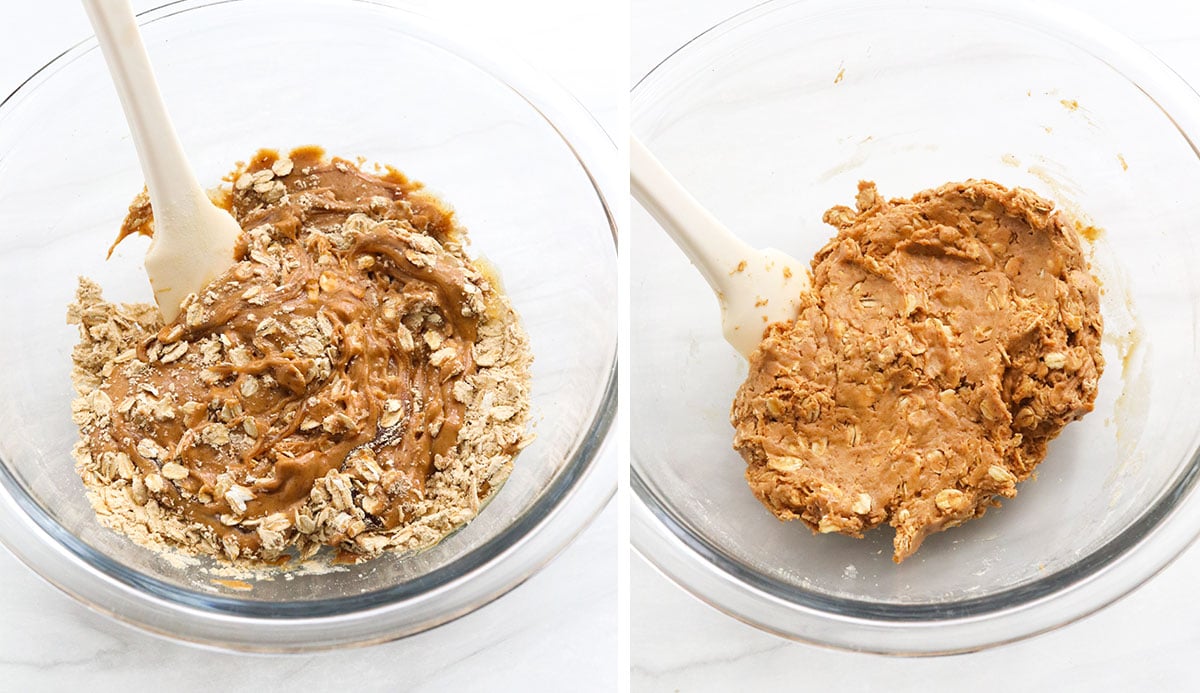
In a large mixing bowl, combine the peanut butter, rolled oats, protein powder, honey, and salt. (If you’re making another flavor, you may end up adding ground cinnamon & raisins, or cacoa powder, too.)
Mix well with a spatula, until the dough is thick and looks relatively uniform.
2. Scoop.
Use a tablespoon or 1-ounce cookie scoop to scoop the mixture, then roll it between your hands to form balls.
Place the balls on a plate or baking sheet lined with parchment paper. Repeat the rolling process, until all of the dough has been rolled into balls. Place them in the fridge to firm up for at least 1 hour. (Although it’s also fine if you want to eat one right away!)
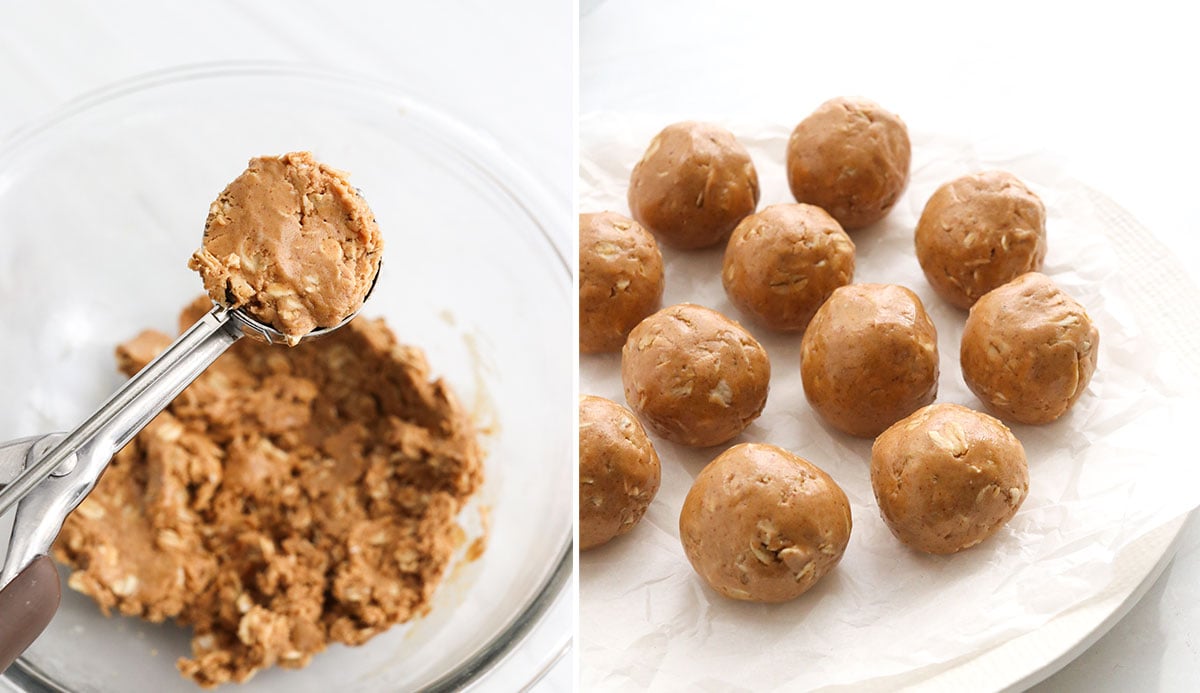
3. Enjoy!
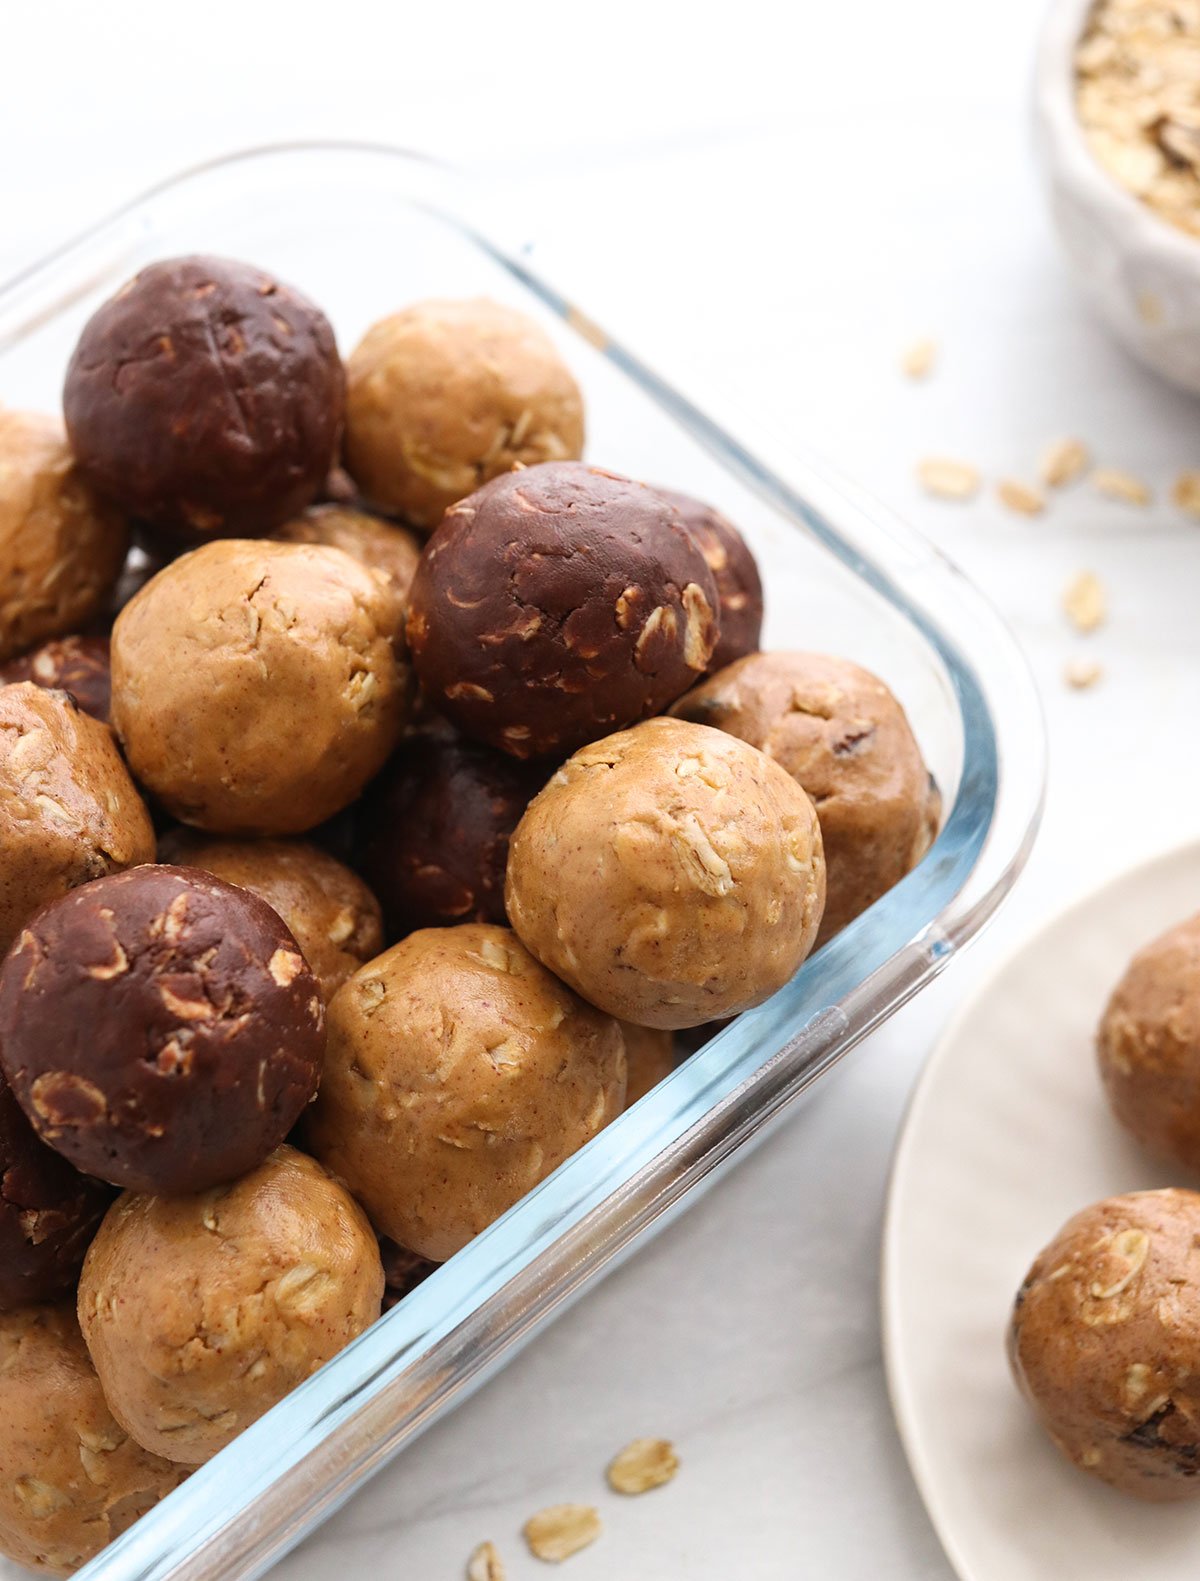
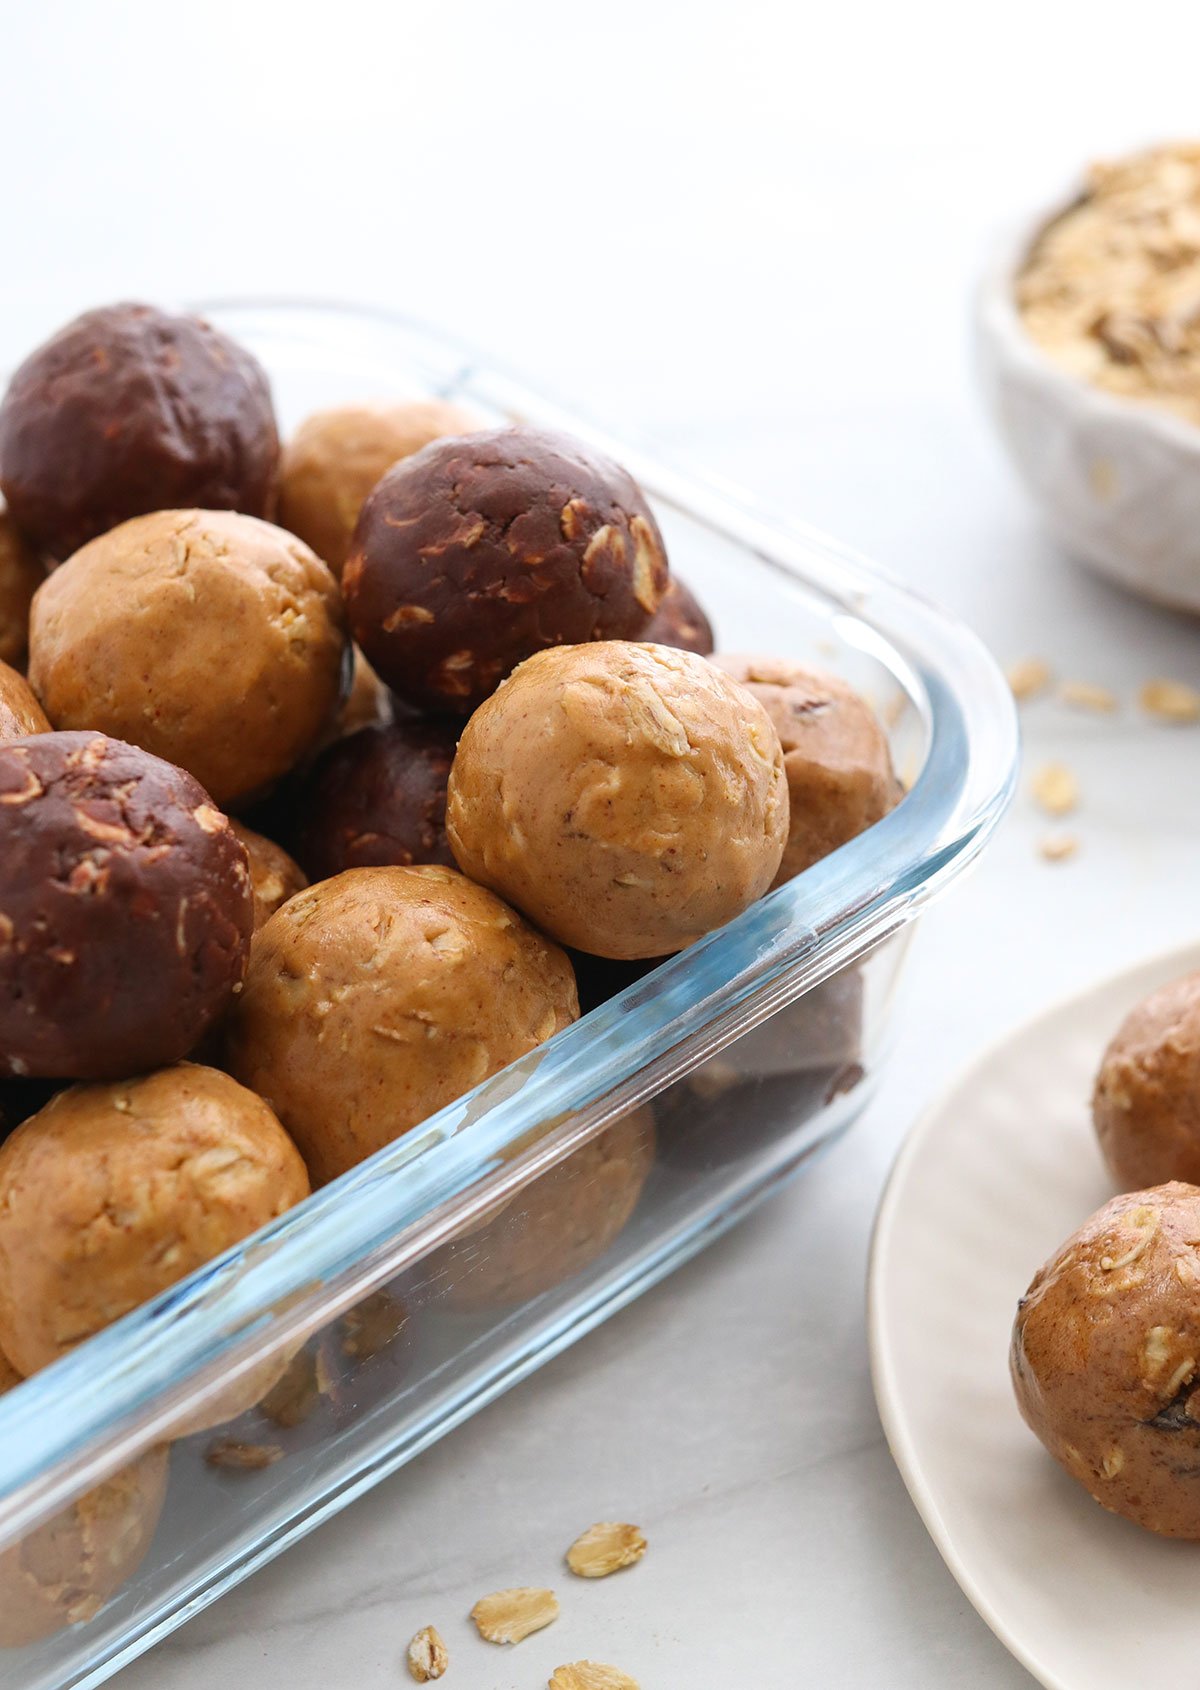
Once the balls have been chilled, they should be less sticky and easy to store in an airtight container. You can stash a few in your bag to take on-the-go, but they will last the longest if you keep the rest stored in the fridge.
They taste like dessert!
Frequently Asked Questions
You can keep them chilled for up to 2 weeks, or you can store them in the freezer for up to 3 months, if you’d like to make a larger batch.
This recipe is gluten-free when you use certified gluten-free oats and make sure the label on your protein powder says its gluten-free.
There are a number of plant-based protein powders on the market, so I haven’t tried them all, but I recommend using one that is not flavored already. If you don’t need a vegan or dairy-free recipe, you can use whey protein powder, or check out my other Peanut Butter Protein Balls recipe, if you want a version that doesn’t use protein powder at all.
The oats help add bulk to this recipe, but feel free to experiment with adding in ground flax seed or almond flour, if you need a grain-free option.
Looking for more healthy snacks? Try Granola Bars, Banana Snack Cake, or Frozen Banana Bites.
Ingredients
Peanut Butter Protein Balls
- ½ cup peanut butter
- ½ cup old-fashioned rolled oats
- 3 tablespoons unflavored protein powder
- 3 tablespoons honey
- ⅛ teaspoon fine sea salt
Cinnamon Raisin Protein Balls
- ½ cup almond butter
- ½ cup old-fashioned rolled oats
- 3 tablespoons unflavored protein powder
- 2 tablespoons honey
- ¾ teaspoon ground cinnamon
- ⅛ teaspoon fine sea salt
- 3 tablespoons raisins
Chocolate Protein Balls
- ½ cup nut butter
- ¼ cup cacao powder
- ¼ cup maple syrup
- 2 tablespoons unflavored protein powder
- ½ cup old-fashioned rolled oats
- ⅛ teaspoon fine sea salt
Instructions
- In a large mixing bowl, combine the ingredients for the flavor of protein ball you want to make, including the oats, nut butter, protein powder, sweetener, and salt. Use a spatula to mix well, until the dough looks thick and relatively uniform.
- Use a tablespoon or 1-ounce cookie scoop to scoop the dough, and then roll it between your hands to form a ball. Place the ball on a parchment lined plate or baking sheet, and repeat the process to make the rest of the balls. You should get roughly 12 to 14 balls for each flavor listed above, but this recipe can be doubled or tripled if you need to make more.
- Place the balls in the fridge to firm up for at least 1 hour (this will help make them less sticky), then transfer them to an airtight container and keep them stored in the fridge. They should last up to 2 weeks when chilled.
Notes
Nutrition
If you try this protein ball recipe, please leave a comment and star rating below letting me know how you like it.





Made all 3 quickly and had all the ingredients. Used date syrup in place of honey for the chocolate balls. Very convenient to have these on hand.
These are so good. I literally have to make these every week. My high school daughter takes them.to school, and all the guys love them.as they are always looking for more protein. They are definitely popular with teenagers!
Thank you again for another simple and delicious recipe!! I made the PB and Chocolate versions of the balls. The PB version followed almost to a T (I used vanilla protein powder), and for the Chocolate version, I used tahini for nut butter and subbed shelled hemp hearts for the oats. I used OWYN vanilla plant-based protein powder. I don’t care for the powder by itself, but it tastes great in this recipe.
I’ve been using your recipes for years and will do better at leaving reviews! You are literally my first recipe site to visit! Thank you!
Thank you so much, Katie! I really appreciate it. I’m glad you’re enjoying the recipes!!
Have you tried these without the oats?
I made the chocolate protein balls with plain collagen powder. I doubled the recipe using almond butter and a half cup of protein, and 1/3 cup maple syrup and added water to get to 1/2 cup total. Yum! Thank you as always for the wonderful, healthy recipes!
Made these in 5 minutes. Didn’t have protein powder for peanut butter balls so I used cacao powder instead. A quick and delicious snack.
These are so good and super easy to make. I’ve made the PB and chocolate ones and both are great (I do like the PB ones the best). I haven’t tried the cinnamon and raisin ones, so I can’t speak to them.
These look so, so good! Can they be frozen?
These are the best!!!I used dates to sweeten them instead of honey and they came out amazing lightly sweetened.