This post may contain affiliate links. Please read my disclosure and privacy policy.
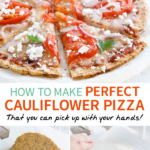
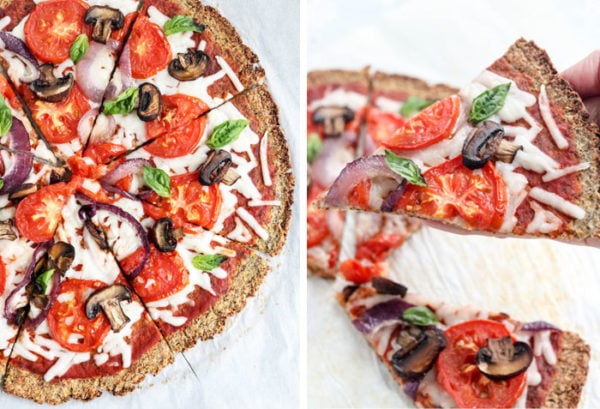
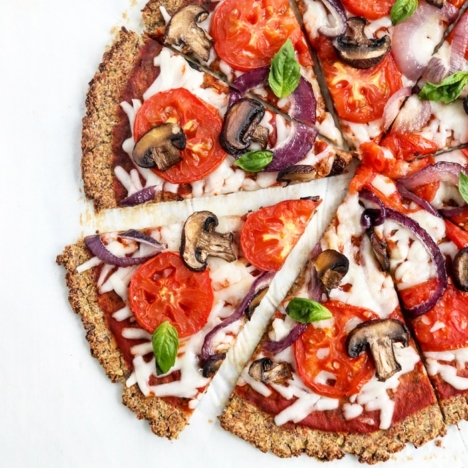
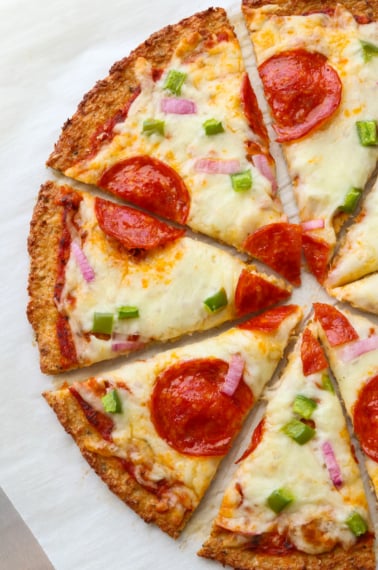
This Vegan Cauliflower Pizza Crust is egg-free and dairy-free, and has the BEST taste and texture. I love that you can hold it with your hands, like a real slice of pizza!
Unlike my original cauliflower pizza crust, this recipe uses ground flax as a binder instead of eggs. Flax eggs are made by simply stirring together freshly ground seeds and water to make a gluey, egg-like replacement, but since cauliflower is already loaded with so much moisture, we’re using much less water in this recipe to account for that. This gives you a drier pizza crust that you can hold with your hands.
How to Make Vegan Cauliflower Pizza Crust
This crust is made with just a handful of all-natural ingredients. All you need is some cauliflower (bonus if it’s already “riced” for you), ground flax, almond flour, and seasonings. The key to getting a dry vegan cauliflower pizza crust that you can hold with your hands is to wring-out all of the moisture first.
To do this, you’ll need to cook the cauliflower first. You can steam it or dry roast it, if you’re using fresh cauliflower.
Frozen Cauliflower Rice for an EASY Vegan Pizza Crust
Alternatively, you can buy frozen cauliflower and let it thaw in your fridge overnight. This is my preferred method, because there’s no extra cooking involved. If you use frozen florets, you’ll need to process them in a food processor (affiliate link) first, but many stores are starting to carry frozen cauliflower rice, which makes this recipe even easier!
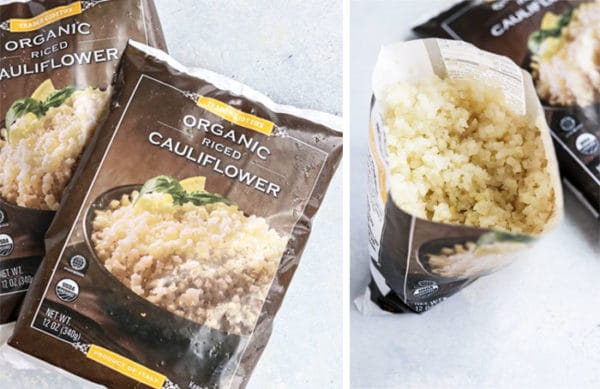
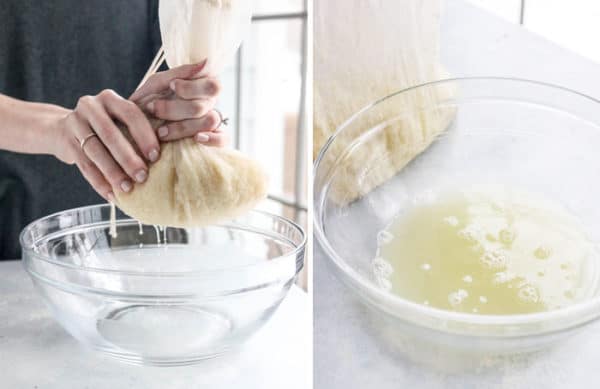
If you can find frozen cauliflower rice, simply thaw it in the fridge the night before (or you can heat it up if you’re in a hurry), then transfer it to a towel or nut milk bag (affiliate link) and squeeze it until you can’t get any more liquid out. I usually end up with at least 1/2 cup of liquid squeezed out, so it should be a significant amount to get a very dry cauliflower pizza crust.
Vegan Cauliflower Pizza Dough
Once you have the dry cauliflower “pulp,” add it to the ground flax, almond flour, and seasonings. It may look crumbly at first, but I find that if you mix it with your hands (or an electric hand/stand mixer) it starts to stick together nicely.
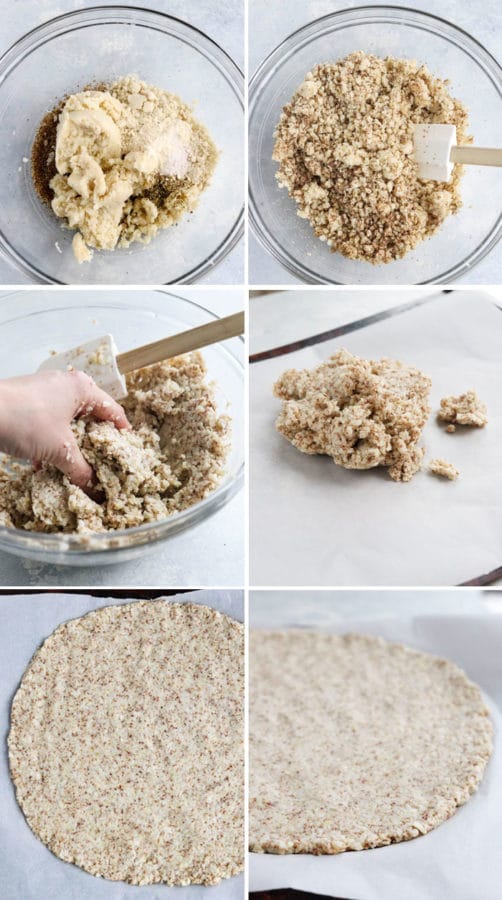
Keep in mind that this is not your average pizza dough. It won’t be stretchy, because there’s no gluten involved. Instead, it will be a pile that you’ll need to press out onto a large pizza sheet. Get your hands wet if the pizza “dough” sticks to them too much, as that will help you press it out. You want the pizza to be a flat and even as possible.
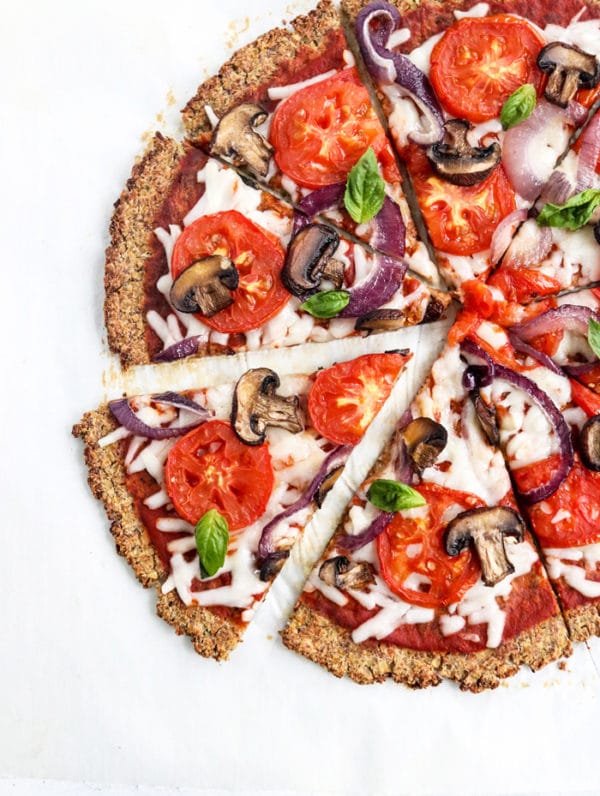
The flatter it gets, the drier the resulting crust will be. I can get this crust to be about 12-14 inches in diameter, or you can make two 6-8 inch pizzas if you prefer something smaller to work with. (It’s easier to flip if they are smaller!)
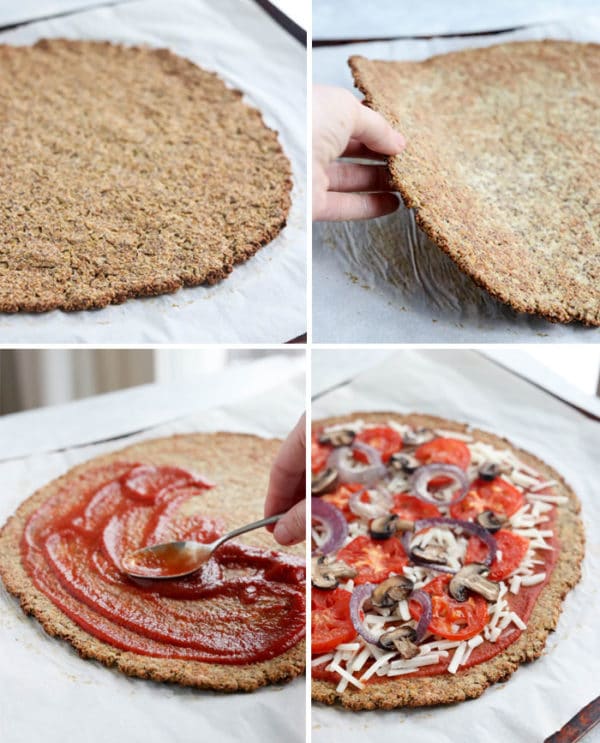
Bake the pizza crust until it is dry and easy to pick up with your hands, about 45 minutes. You can flip it over at this point and bake for 10-15 minutes more to dry out the other side, but I’m usually impatient and just start adding the toppings after I flip it over. (Tip: Use the parchment paper to help you flip over the large crust. I keep one hand on the crust itself, and pick up the parchment with my other hand to sandwich the crust and keep it from breaking.)
Since this process is still a bit labor-intensive, I recommend making a double batch so you can keep an extra crust in the freezer for an easy pizza night in the future.
Ingredients
- 1 1/2 pounds cauliflower rice/florets (fresh or frozen)
- 3 tablespoons ground chia or flax seeds
- 1/2 cup almond flour or meal
- 1/2 teaspoon salt
- 1/2 teaspoon garlic powder
- 1/2 teaspoon dried oregano
Instructions
- Preheat the oven to 400ºF and line a large baking sheet with parchment paper.
- FROZEN METHOD (fastest): If you're using frozen cauliflower rice (my preferred method) make sure you've thawed it in the fridge the night before. Frozen cauliflower florets can also be thawed ahead of time and used instead, you'll just need to "rice" it by processing it briefly in a food processor, before proceeding to the next step.
- FRESH METHOD: If you're using fresh cauliflower, you'll need to steam it first. Fill a large pot with an inch of water, then place a steamer basket over that. Fill the basket with the fresh cauliflower florets and bring the water to a boil. Once boiling, cover the pot and lower the heat to a simmer. Cook until the cauliflower is very tender, about 10 to 15 minutes. Drain and transfer the cauliflower to a food processor. Process it briefly to make cauliflower "rice." Continue as directed, though you might want to let the cooked cauliflower cool so you don't burn your hands when wringing it out.
- Transfer the thawed or cooked cauliflower rice to the center of a thin dish towel, or place it in a nut milk bag. Use your hands to squeeze the rice, removing all of the excess moisture from the cauliflower. There should be quite a lot of liquid that comes out, close to 1/2 cup.
- Place the drained cauliflower in a large bowl, then add in ground flax or chia seeds, almond flour, salt, garlic and dried oregano. Stir well to mix, using your hands if needed to make it stick together. You can add a tablespoon of water if needed, but I typically don't add any extra liquid when I use my hands to mix this dough.
- Press the mixture into the parchment-lined baking sheet, using your hands to shape the crust into your desired size. The thinner and flatter you can press the crust, the better, but try to keep it as even as possible for a sturdy result. I typically get a crust that is 12 to 14 inches in diameter from this recipe.
- Bake the crust at 400ºF for 45 minutes, checking on it after 30 minutes to make sure it's not starting to burn. You want the crust to be dry to the touch and nicely golden. (Tip: You can roast vegetable toppings for your pizza at the same time! I put sliced tomatoes, red onion, and mushrooms on a separate pan, and take them out of the oven around the 25 minute mark so they don't burn.)
- For best texture, I recommend flipping the entire pizza crust over on the pan (I use the parchment paper to lift it), then return it to the oven for another 10 to 15 minutes to dry out even more. However, this is optional. I do recommend flipping over the crust either way, so that the "dry side" is on the bottom, making it easier to pick up with your hands later.
- Once the crust is firm and dry, add your favorite pizza toppings and return to the oven briefly to let everything heat up, about 5-10 additional minutes. Serve warm. Leftovers can be stored in the fridge for up to a week, or in the freeze for up to 3 months.
Video
Notes
Nutrition
Per Serving (1/4 of the whole pizza): Calories: 150, Fat: 9g, Carbohydrates: 13g, Fiber: 6g, Protein: 7g
Recipe Notes:
- If you freeze the plain crust, you can top it straight from the freezer and bake for 10-15 minutes at 350ºF for a fast pizza night.
- For an even easier “vegan pizza,” try making my Eggplant Pizzas, Cauliflower Steak Pizza, or Zucchini Boat Pizzas using the vegan toppings that you love.
—
Reader Feedback: Have you tried the cauliflower pizza crust yet? Whether it’s the original recipe or this vegan version, I hope you enjoy this gluten-free alternative!
SaveSave


It was really good