This post may contain affiliate links. Please read my disclosure and privacy policy.
If you’ve been disappointed by homemade oat milk before, I hope you won’t give up until you try this method. I’ve spent the past two weeks testing several popular methods to help us all avoid a slimy consistency, while also making the milk as creamy as possible.
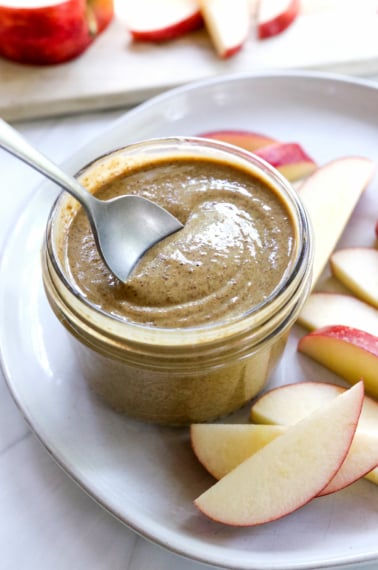
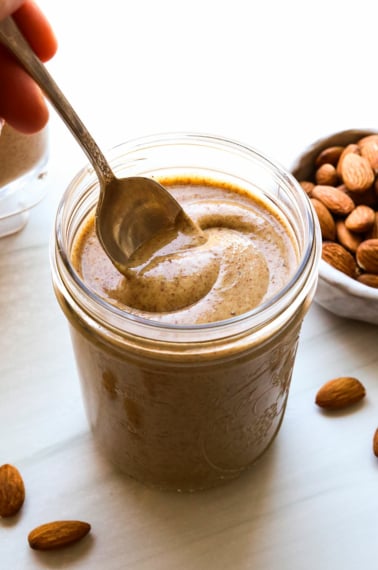
The good news is that this method doesn’t require special equipment, like a nut milk bag. (That creates slimier milk, so save that for making homemade almond milk, instead.)
Best of all, this recipe takes just minutes to prepare and can be used immediately in coffee, smoothies, over cereal, or for baking.
⭐⭐⭐⭐⭐ Featured Review
“I have tried at least half a dozen different recipes but yours is by far the best…. you have explained ‘why’ you add each ingredient, which I feel is important. So, thank you!” -Paul
Homemade Oat Milk Ingredients
Here’s what you’ll need:
- Rolled oats. I typically use old-fashioned rolled oats, but quick-cooking oats can also be used as an alternative. If you need a gluten-free recipe, be sure to buy certified gluten-free oats to avoid any cross-contamination during processing.
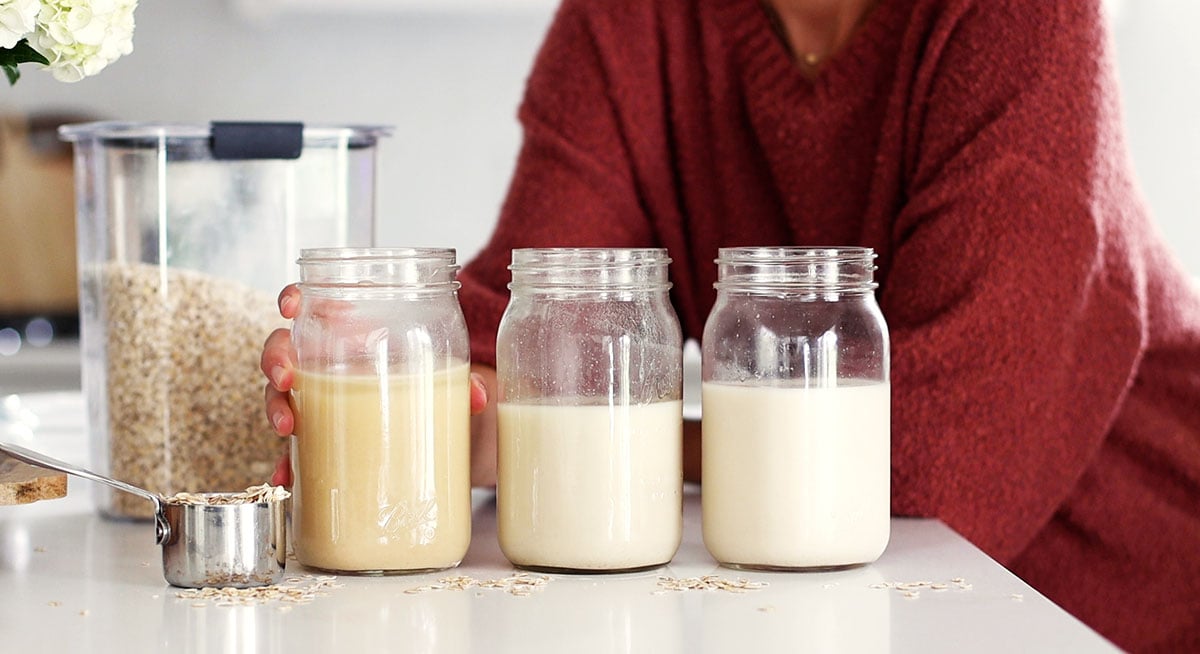
- Water. I use a 6:1 ratio of water to oats when making homemade oat milk. For a creamier consistency, you can use more oats. Just keep in mind that the more oats you use, the slimier the oat milk could turn out. It’s a balancing act!
- Maple syrup. This adds a touch of sweetness and reminds me of Elmhurst’s oat milk. It’s optional, but it seems to help slightly with consistency as well.
- Vanilla extract. You can omit this if you want to make unsweetened oat milk, but I like the subtle flavor addition.
- Salt. A pinch of salt helps boost the flavor, but you can omit it if you prefer.

How to Make Oat Milk
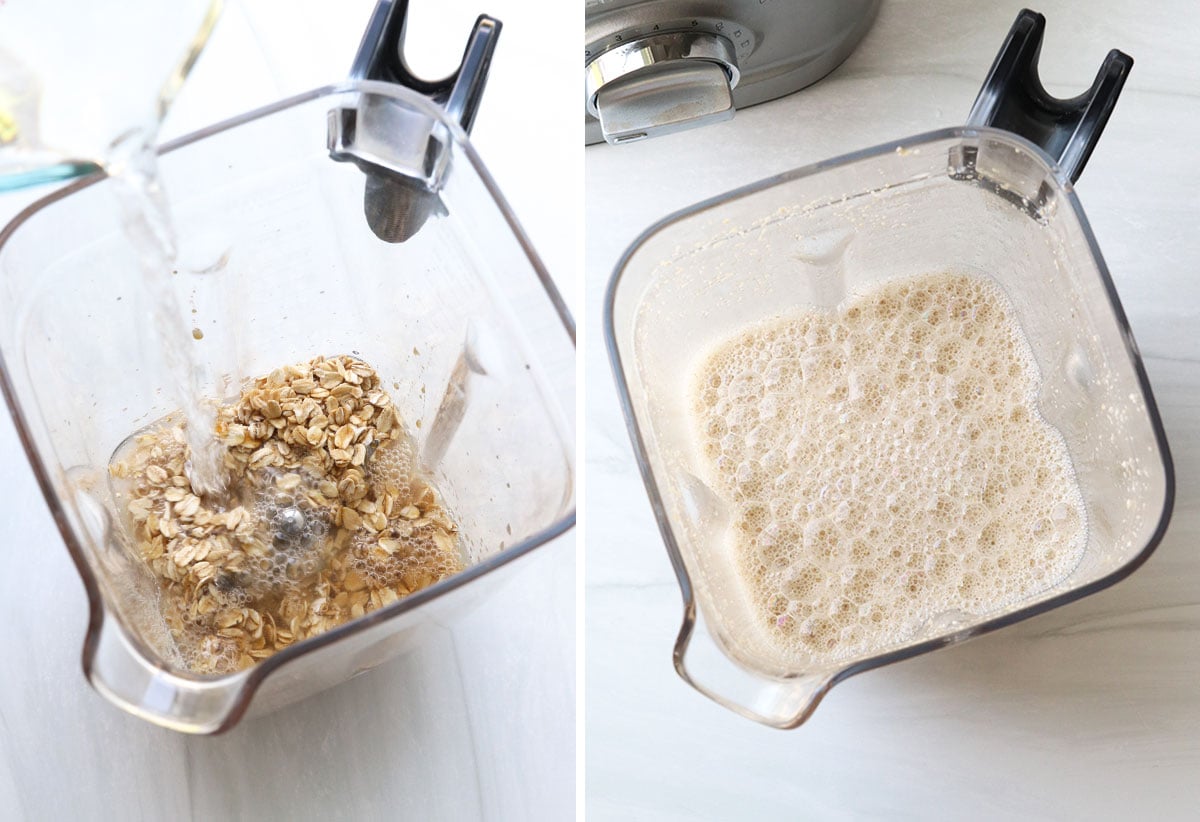
Step 1:
Combine the oats, maple syrup, vanilla, salt, and water in a high-speed blender and blend briefly until the mixture appears creamy.
Important Note: Don’t blend for more than 30 seconds in a high-speed blender, or the mixture could heat up and become slimy in texture.
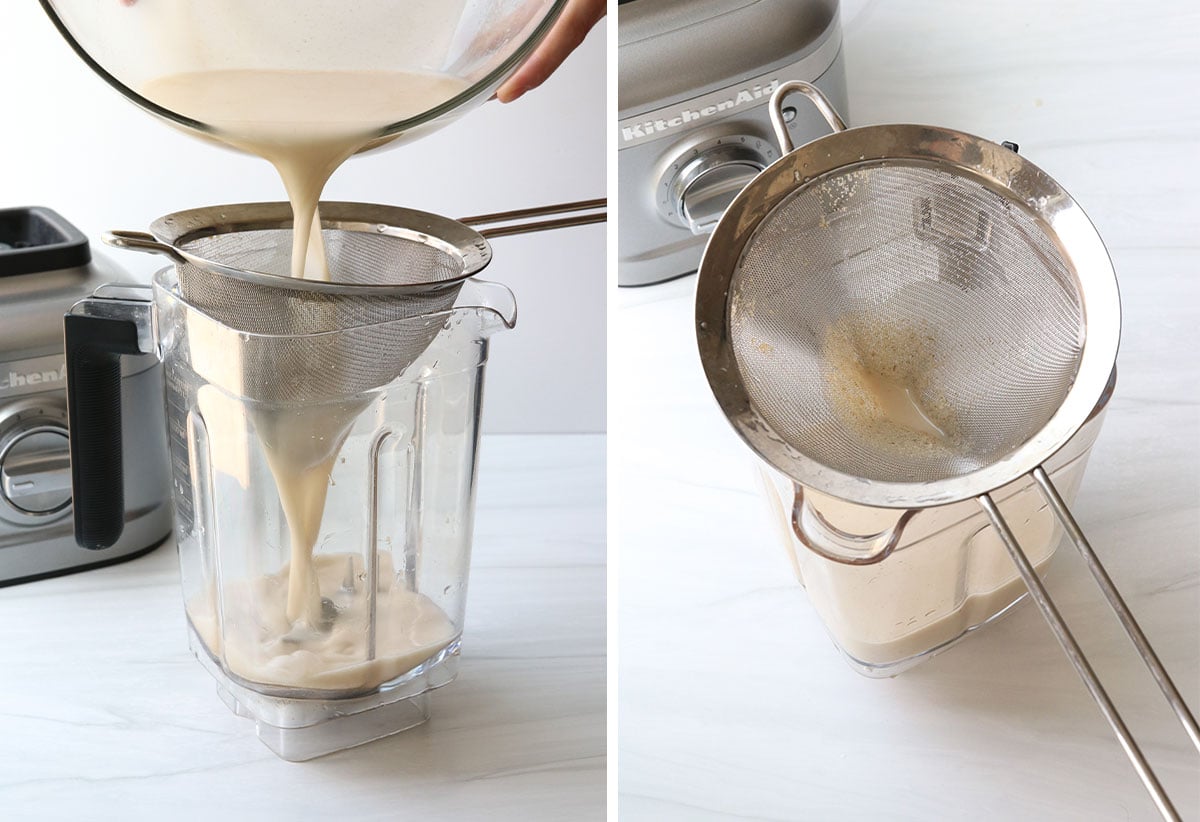
Step 2:
Arrange a fine mesh sieve over a large bowl and pour the blended oat mixture through it. This will separate the oat pulp from the liquid.
Do not squeeze or press the oat pulp to remove excess liquid, as this will cause the oat milk to become slimy. (This is why I don’t recommend using a cheesecloth or nut milk bag, as you might be tempted to wring out the excess liquid.)
Save the oat pulp, if you like, or add it to your compost. It doesn’t have a particularly appealing texture, but you can add it to your morning oatmeal to reduce waste.
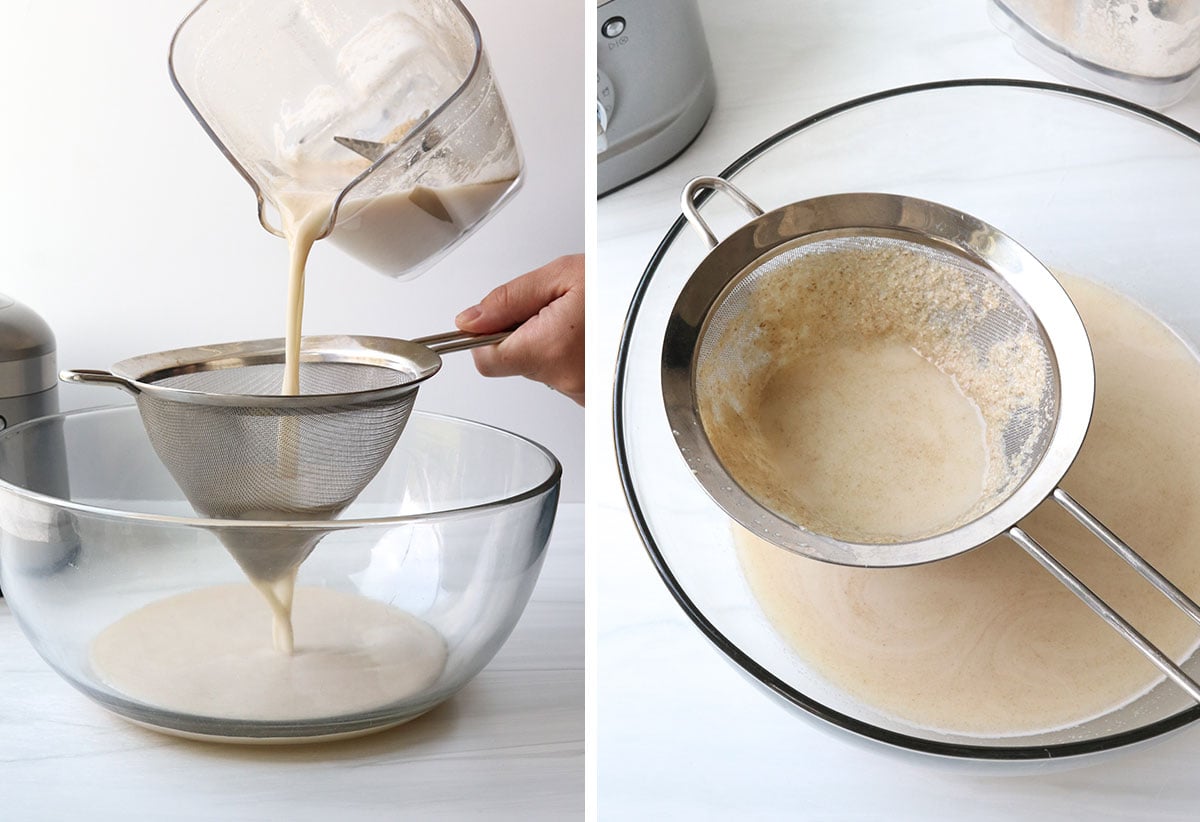
Step 3:
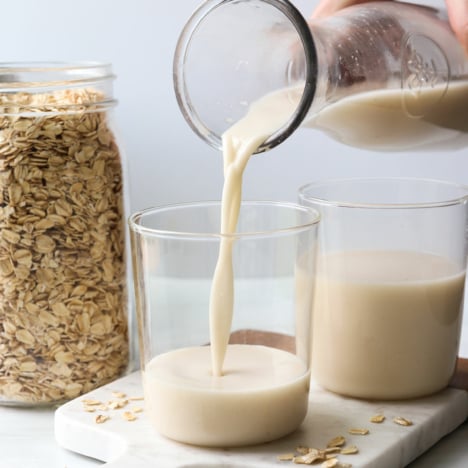
Pour the strained oat milk through the cleaned fine mesh strainer one more time to ensure you’ve removed as much sediment as possible. (The more pulp left in your oat milk, the more slimy it will be later.)
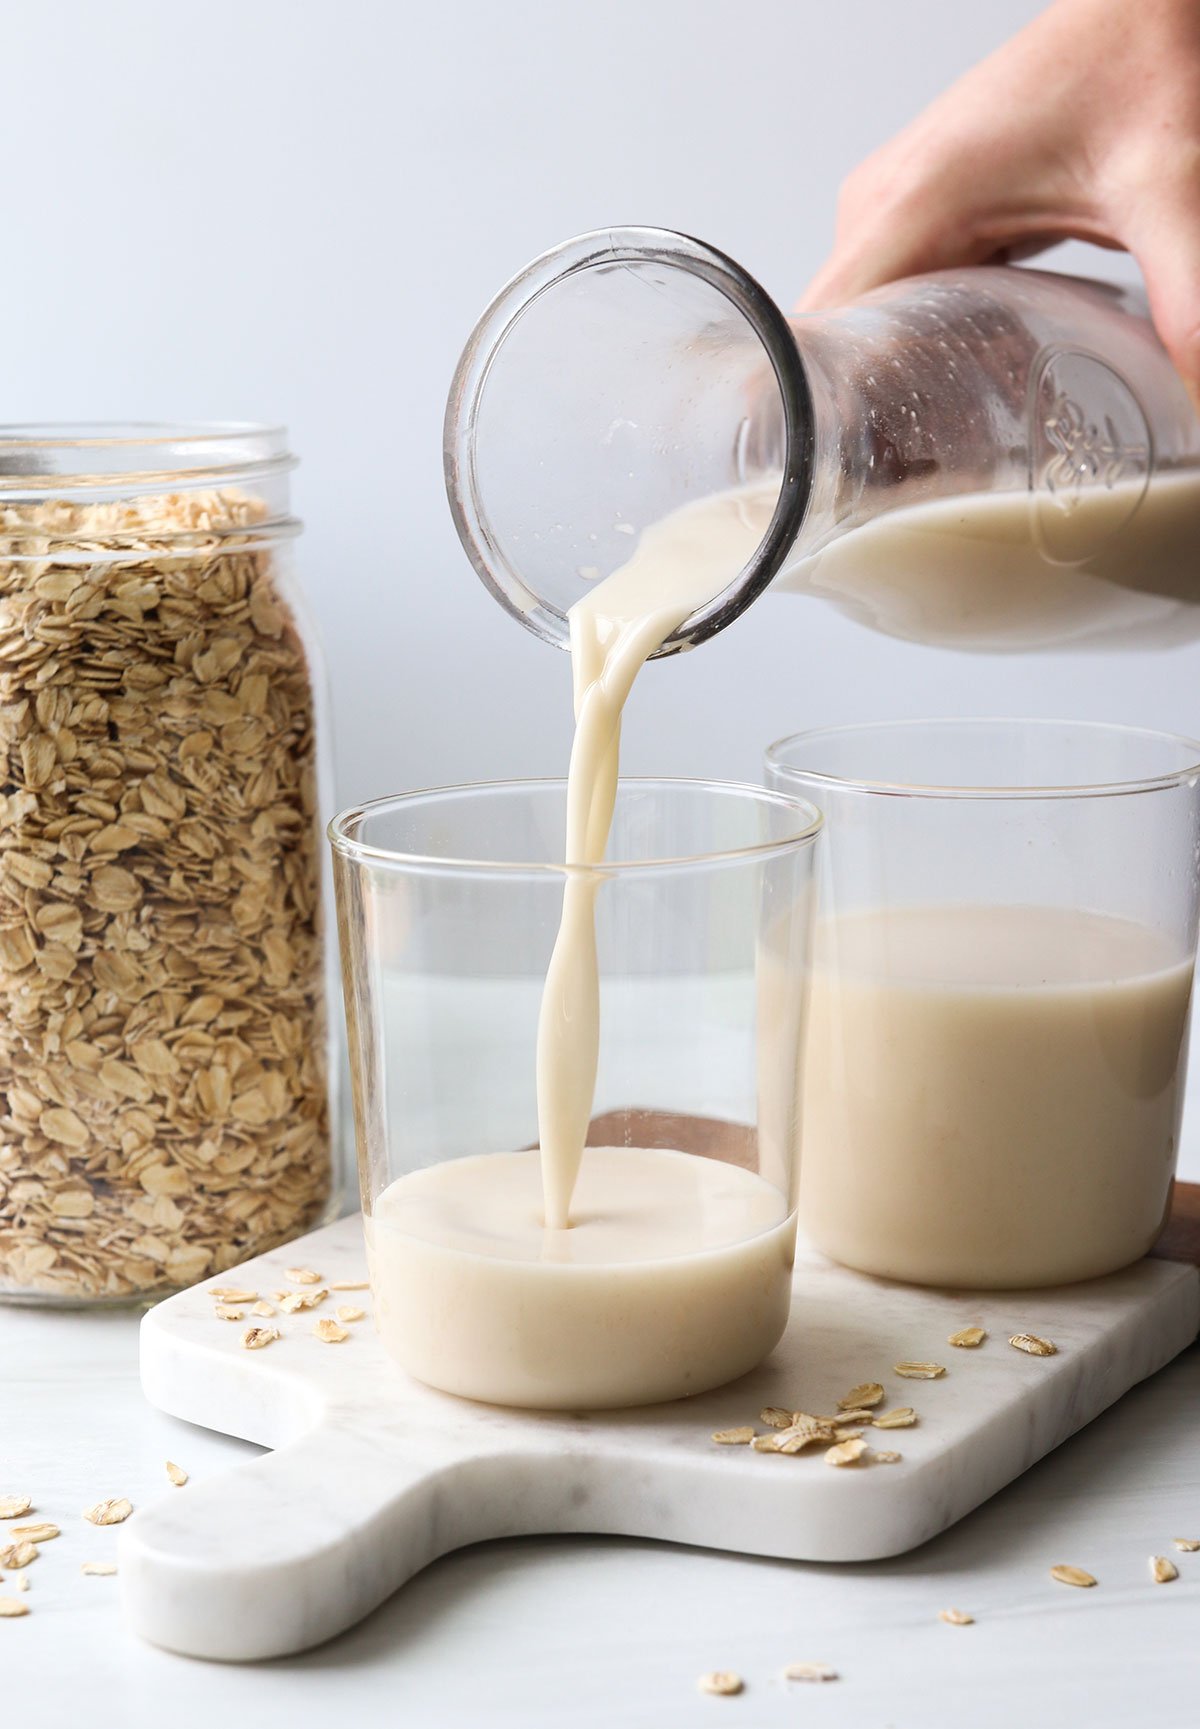
Double-straining the oat milk will give you the best consistency. It’s ready to use right away after that!
How to Use Oat Milk
Homemade oat milk can be used right away for:
- Cereal. Pour this milk over cereal, overnight oats, granola, and more.
- Smoothies. Use homemade oat milk as a creamy base for your favorite smoothie recipe.
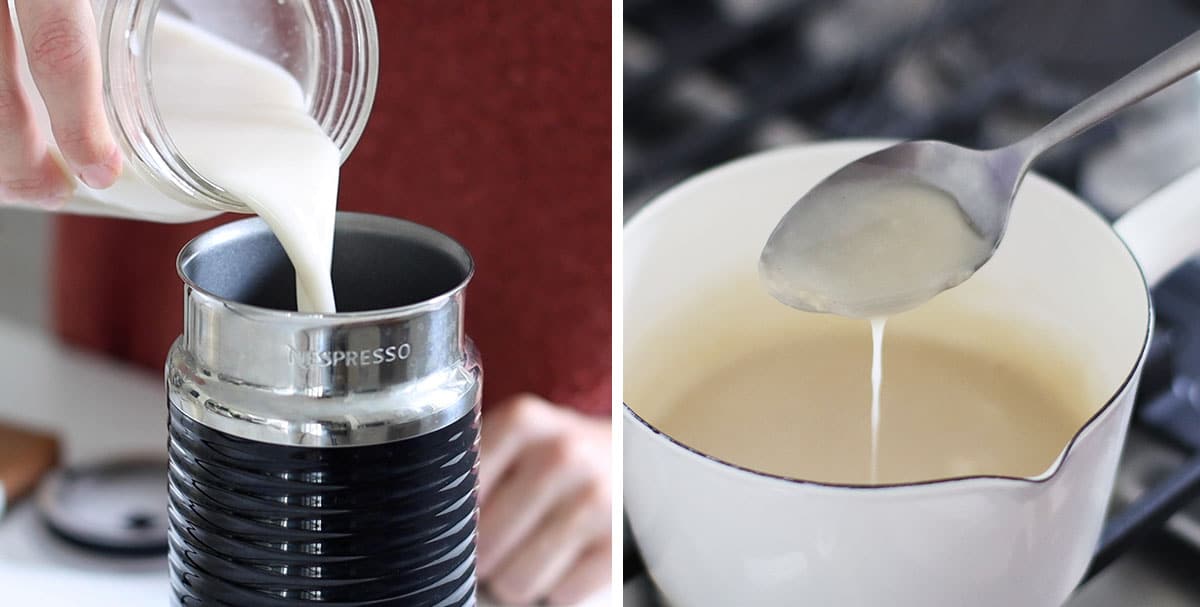
- Creamer. Add chilled oat milk to your morning coffee or tea. It works especially well in iced coffee, as homemade oat milk can become slimy when heated.
Store leftover oat milk in the fridge for up to 4 days. Separation is normal when you store any homemade dairy-free milks so be sure to shake well before using it again.
How to Make Oat Milk Not Slimy
Oats contain a type of soluble fiber called beta-glucan, which can create a slimy texture when combined with water. This means oat milk is also prone to becoming slimy.
Knowing this, research suggests that cooking oats or adding a digestive enzyme with amylase might help to reduce some of the starch that creates the slimy texture when making oat milk.
I tried both of these methods, along with adding oil to the mix, to try to create an oat milk more similar to the Oatly brand you’d buy at the store. Check out the results below!
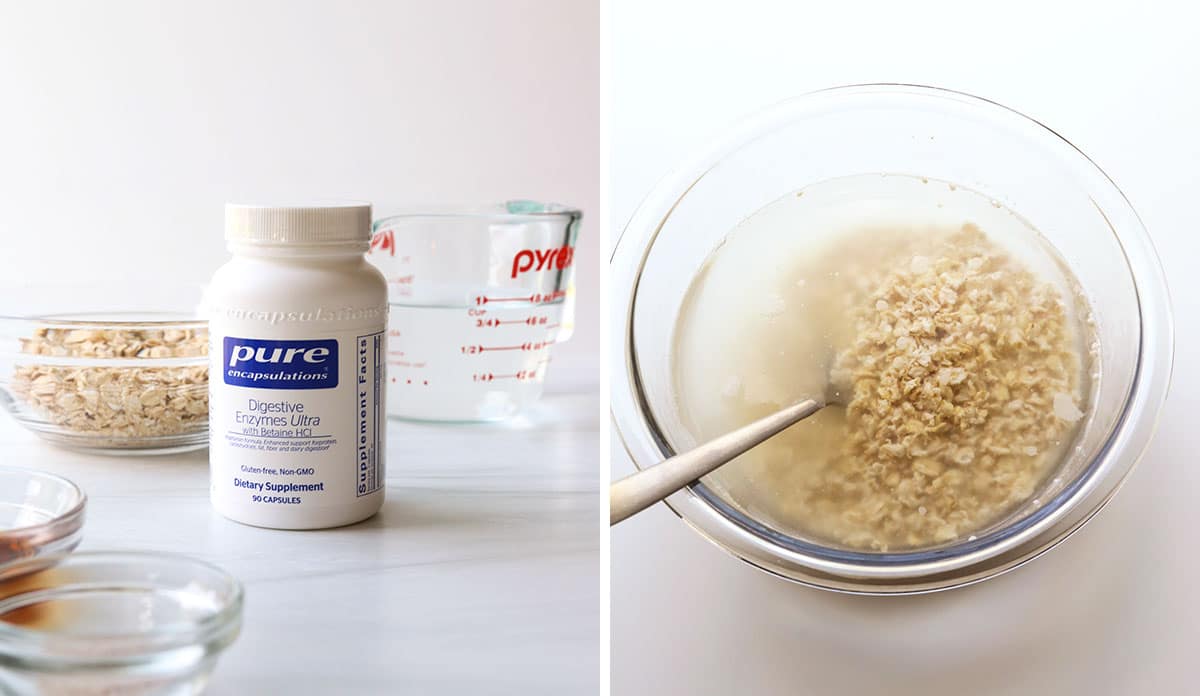
- Test #1: Soaking oats with digestive enzymes.
The logic behind this method is that the enzyme amylase will digest some of the starch naturally found in oats. In theory, this should help reduce the slime factor when the mixture is blended later.
I tested this method two times. First, I used a super enzyme tablet dissolved in water that reached a temperature of 150°F. (The warm water, in theory, should speed up the enzyme activity, without killing it. Don’t use boiling water!) Then I added the oats to the warm water with the enzymes and let them soak for 40 minutes.
After soaking, the water did not taste good. It was bitter, and that flavor transferred to the oats as well. I thought adding maple syrup to the mixture might help balance out the bitterness, but it didn’t.
Despite the unpleasant flavor, I went ahead and tested this oat milk by heating it up on the stovetop. It thickened up as if I hadn’t added the enzymes at all, so that was super-disappointing and a waste of my time and ingredients.
To make sure it wasn’t user error, I tested this method again with a different digestive enzyme that contains both amylase and glucoamylase. I emptied a capsule into warm water (150ºF) and added the oats to soak for 40 minutes. This time, the results were MUCH better!
The soaked oat water didn’t taste bitter, and when I blended the oats with their soaking water, the results were creamy and tasted great. It can also be heated without thickening if this is your goal. Ultimately, almond milk still creates a much better option for lattes (oat milk doesn’t create a thick foam), but this oat milk variation can be warmed up successfully.
Conclusion: This method added 45 minutes to the overall preparation time, as well as the additional expense of purchasing digestive enzymes. However, it does work, with one caveat. The correct enzymes significantly reduced the slime factor and prevented the oat milk from thickening when heated.
However, the added enzymes will continue to work as the oat milk is stored in the fridge, so the flavor is not as delicious the next day. Bringing the oat milk to a boil before storing it in the fridge should help stop enzyme activity, but that is another added step that makes this method less appealing overall (to me, at least).
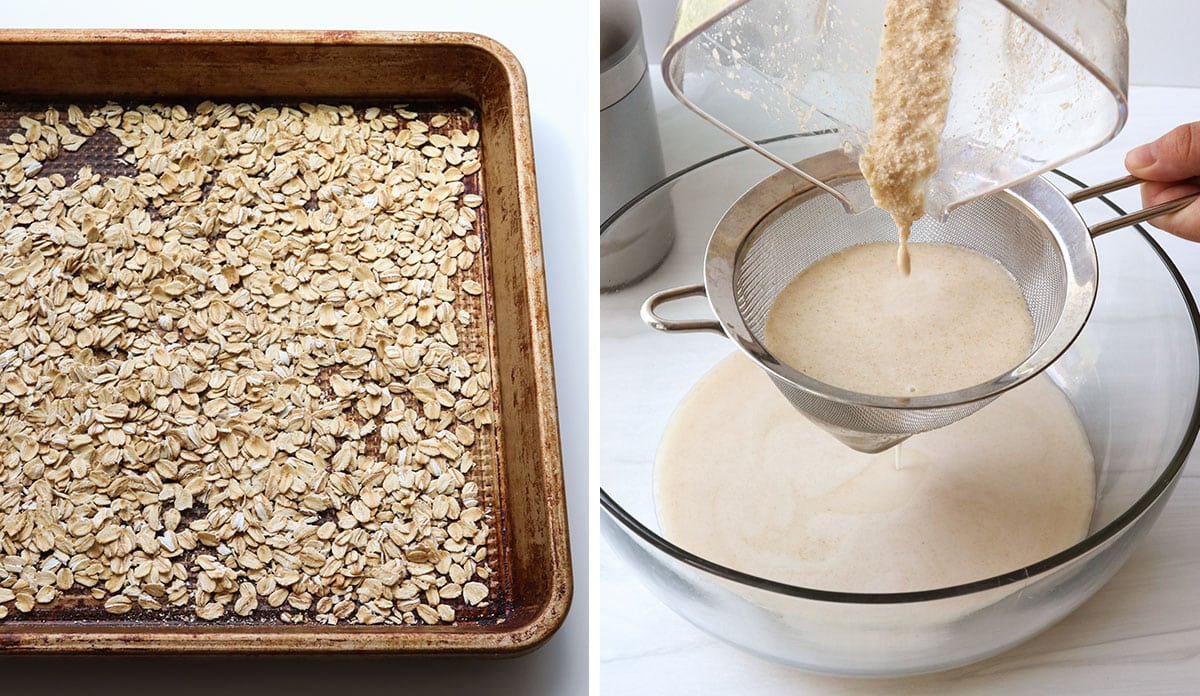
- Test #2: Toasting the oats.
Research suggests that toasting oats can break down the starches they contain. The logic behind this method is that toasting the oats before blending them may reduce some of the slime created by the naturally occurring starches in oats.
To test this, I spread dry rolled oats on a baking sheet and toasted them at 250ºF until they were lightly golden, about 1 hour. Next, I prepared the oat milk recipe as directed above.
Conclusion: Toasted oats create a slightly more tan-colored oat milk that is more grainy in texture, even with a high-speed blender. There is definitely no slimy texture in this case, and it did not thicken when heated. However, it lacks creaminess and doesn’t have a satisfying mouthfeel, so I don’t recommend this method for making a creamy non-dairy milk.
- Test #3: Adding oil.
Popular store-bought brands often add oil to non-dairy milk to improve its texture. In this case, I wanted to see if adding expeller-pressed coconut oil would help improve the texture of the oat milk. (Refined coconut oil adds zero flavor, but another mild-flavored oil could be used. Just make sure you enjoy the taste, since it might be noticed in your milk.)
I tested this method two ways. First, I added a tablespoon of coconut oil to the liquid ingredients of this recipe and blended until the coconut oil dissolved in the water. It became chunky at first, but eventually dissolved as the water warmed up from blending. Then, I added in the oats last so they wouldn’t be over-blended.
In this case, the oat milk didn’t act any differently than the oat milk made without oil. It still thickened when heated and did not create any foam for a latte.
The second way I tested this method was by adding a 1/2 teaspoon of coconut oil to an already prepared oat milk, as directed above. I wanted to see if the oil would give the oat milk a better texture for coffee, so I heated it in my electric milk frother. The coconut oil did not add any flavor to the oat milk, and it also did not help create foam. It didn’t appear to be any different in texture when compared to the oil-free version.
Conclusion: Adding oil to oat milk doesn’t seem to improve its texture when heated.
Ultimately, none of the options above felt “worth it” when compared to the simple 5-minute method of blending oats and gently straining them. I hope reading about these experiments will save you some time & effort!
Ingredients
- 3 cups water
- ½ cup old fashioned rolled oats (certified gluten-free, if needed)
- 1 tablespoon maple syrup
- ½ teaspoon vanilla extract
- pinch of salt
Instructions
- Add the water, oats, maple syrup, vanilla, and salt to a high-speed blender and blend briefly, about 20 to 30 seconds, until the mixture looks creamy. Do NOT over-blend, as this will make the consistency more slimy.
- Pour the blended mixture through a fine-mesh strainer, and tap the sides of the strainer to make sure the liquid strains through. (Don't use a spoon to press the pulp into the sides of the strainer, or the resulting milk will be slimy. This is also why you also don't want to squeeze through a nut milk bag for straining.)
- For an extra-smooth milk, rinse off the strainer and then pour the milk through it a second time. This will strain out any extra sediment for an super-smooth oat milk.
- Use the milk right away, or store it in an airtight container in the fridge for up to 4 days. This homemade milk will separate when stored, so shake it again before using.
Video
Notes
Nutrition
More Recipes to Try
If you try this oat milk recipe, I’d love to hear what you think! Please leave a comment and star rating below to let me know how it worked for you.


I did it! Last time my oats went past expiry date as I didn’t know what else I could do to them! This recipe showed me a new way to look at oats! I have already tried your pancake recipe with oats and I felt like I was successful at making nice enough pancakes following your recipe. With oat milk (so far) I have only added them to steel cut oats to replace dairy milk & I liked it..Thanks Detoxinista.
This was very thin and not creamy or flavorful.
I will say it was easy and not slimy but I’ll keep looking for other recipes to get the desired outcome for my morning latte
I added a half a cup of raw rice. Other recipes to make rice milk suggest soaking it in hot water for a few hours, but I didn’t have the patience lol. But as an experiment, I added the raw rice to the oat milk and spun through vitamins for 20 or 25 seconds. Then followed your other steps with straining. They had a nice creamy and sweet texture, Next time I might go 50-50 with oats and rice. Although I may soak the rice in advance to see if that helps flavor or consistency
Try adding a few cashews to get rid of the slimy texture. We do about 5-6 cashews per cup of water.
I can’t wait to try this oat milk recipe. Do you have any thoughts on adding calcium powder or liquid vitamin d to add additional nutrients to this beverage?
When I make this recipe my oat milk comes out so watery. It’s just tastes like super watered down oats and it’s very thin. I’ve tried adding more oats but it didn’t help. I’m not sure what else to do
This is so good! Love that I can have oat milk without the oil!
I am hooked on Oat milk and have succumbed to the commercial brands up until now. They are so expensive and this turned out amazing with just the two ingredients! I love innovation so I did my own “experimenting”. I kept the organic rolled oats in the freezer. I also blended the water with ice cubes to make the mixture extra chilled. THEN, I used our French Press for the first “straining”, being sure not to press down on the oats all the way. I did this twice. The final step was to strain through a mesh strainer. The milk came out absolutely delicious; so fresh tasting. Thank you for the inspiration! This method did not take very long at all.
Works perfectly! Don’t have to worry about using a whole carton. Just keep a bag of oats in the cupboard and a milky iced coffee is seconds away. Thanks so much!
If my oat milk tastes like pure water, did I not mix it enough? I was using an immersion blender and gave it 30 seconds.