
This post may contain affiliate links. Please read my disclosure and privacy policy.
Have you ever wondered if you can make homemade coconut milk yogurt? It’s pretty easy to do if you already have an Instant Pot in your kitchen. (Mine has a yogurt setting; make sure yours does, too.)
I recently revisited this recipe to make sure it still works, as the probiotic powder I used is no longer available. I bought a new one, in capsule form this time, and wanted to test this recipe again just to make sure it’s perfect for you.
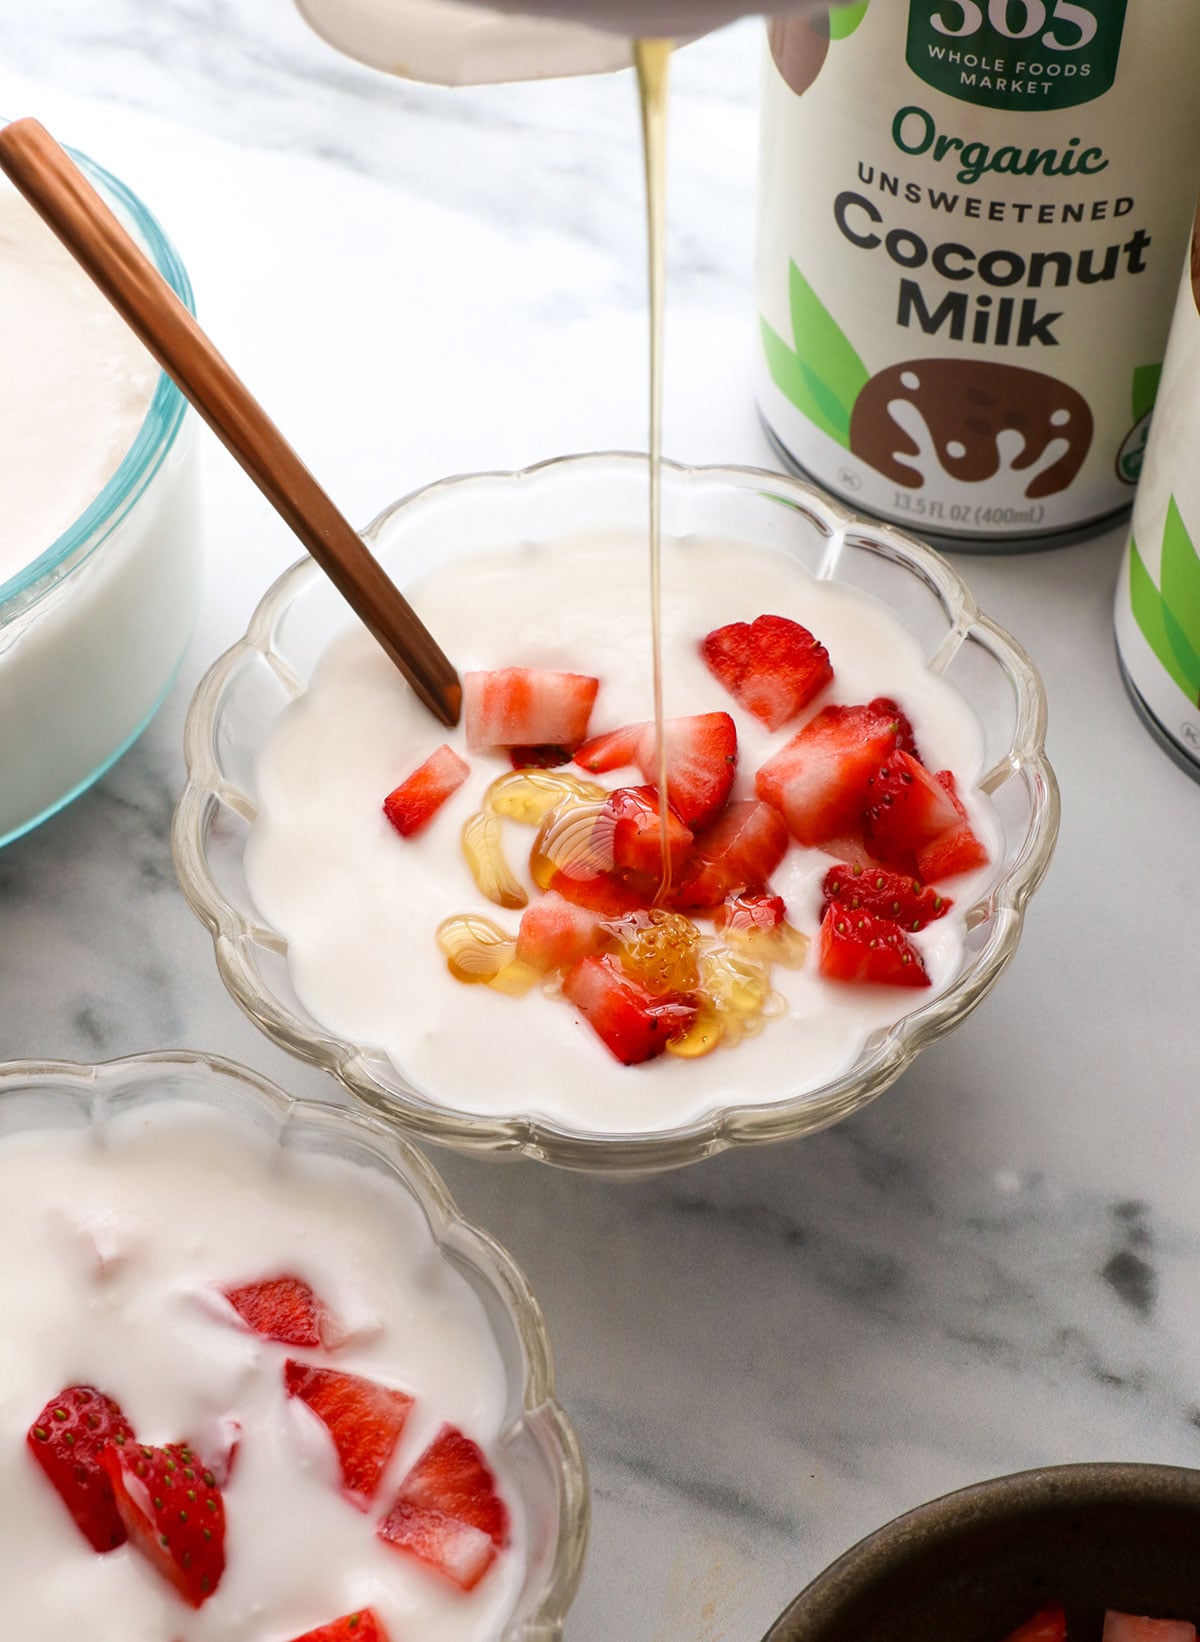
The resulting yogurt isn’t super-thick, but it definitely tastes better than some store-bought vegan yogurts I’ve tried. I love that there are no gums or preservatives in this one! As written, this recipe is not sweet. The added maple syrup helps the fermentation process, so it will taste like “plain” tart yogurt when you’re done.
Feel free to add honey or maple syrup when serving, if you prefer a sweet taste. And once you get the hang of it, you can make a bigger batch, too.
⭐⭐⭐⭐⭐ Featured Review
“For those of you who can’t eat dairy and miss the creamy probiotic goodness of yogurt, try this recipe! It’s EASY! I’ve shared it with several DF friends who have said making yogurt is too hard, or they don’t have a yogurt maker. I didn’t use probiotic powder; just opened up a couple of probiotic capsules and used that.” – Kari
Homemade Coconut Yogurt Ingredients
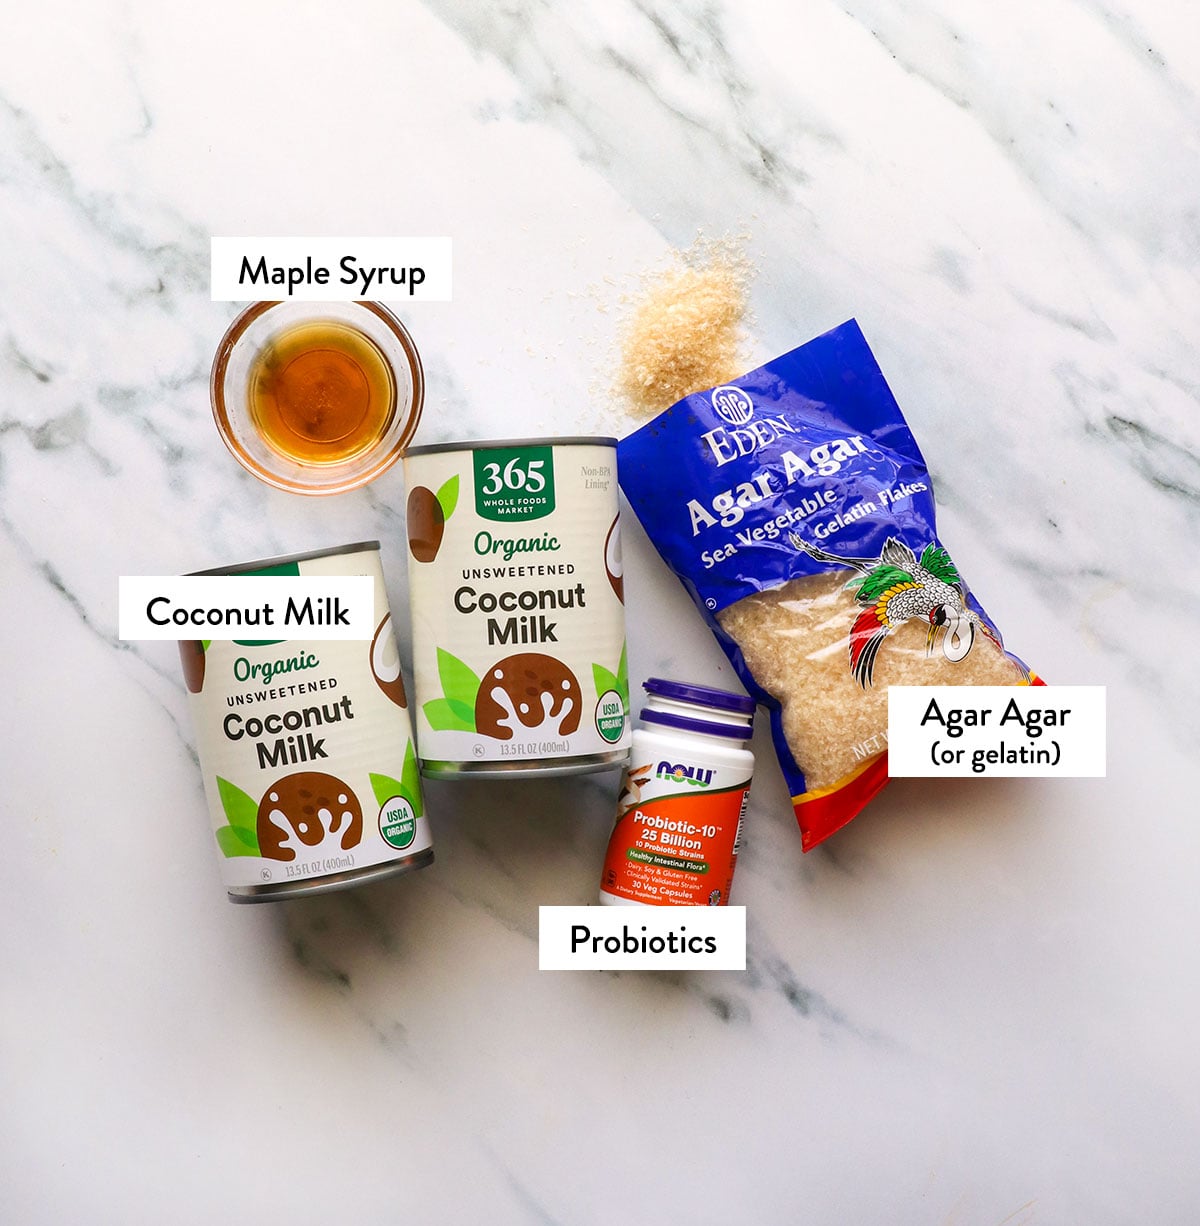
- Coconut Milk. Use full-fat canned coconut milk for this recipe, not the lite or refrigerated kind. It’s difficult to create a thick texture with anything else! When you use two cans of coconut milk, you’ll get about 6 servings of yogurt.
- Agar Agar Flakes. This is vegan “gelatin” and will help the yogurt thicken slightly when cool. It’s the same ingredient I use to make vegan jello and coconut milk panna cotta. If you don’t need this to be vegan or vegetarian, I’ll walk you through using gelatin instead, too.
- Probiotics. You add probiotics to the coconut milk to help the yogurt ferment and become tart. I use these capsules (affiliate link), which are dairy-free and vegan. I’ve also learned that you can use yogurt you already have to make more yogurt! I haven’t experimented with this yet, but I’ll report back when I do.
- Maple Syrup. Bacteria like to eat sugar, so adding a touch of sweetness helps this yogurt ferment. Please note, the sugar will not be noticeable in the final result. In fact, it will taste quite tart! If you want a sweet yogurt, add additional sweetener once the yogurt has chilled and you’re ready to serve.
How to Make Instant Pot Coconut Milk Yogurt
Step 1:
I recommend starting with clean tools (I run them through the dishwasher to sanitize them) just to make sure you’re not starting with any unwanted bacteria on your supplies.
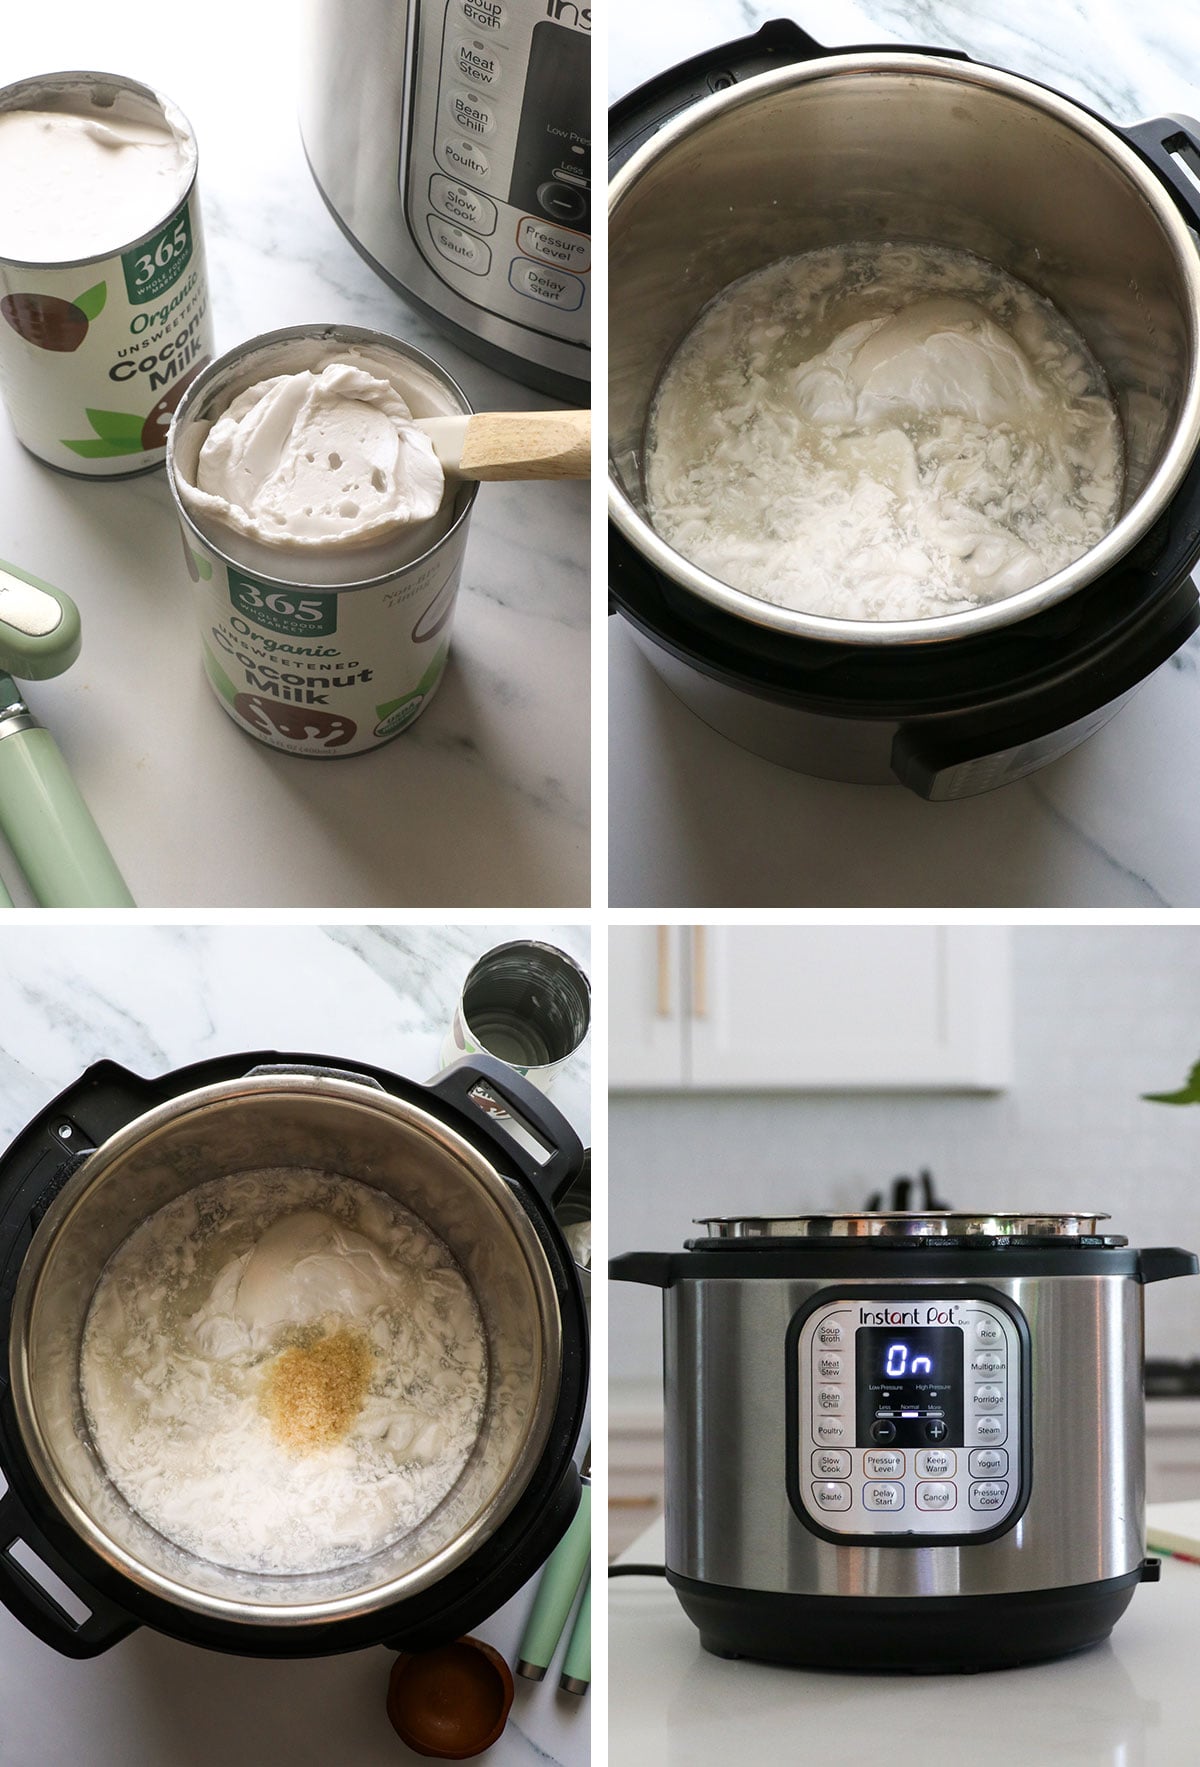
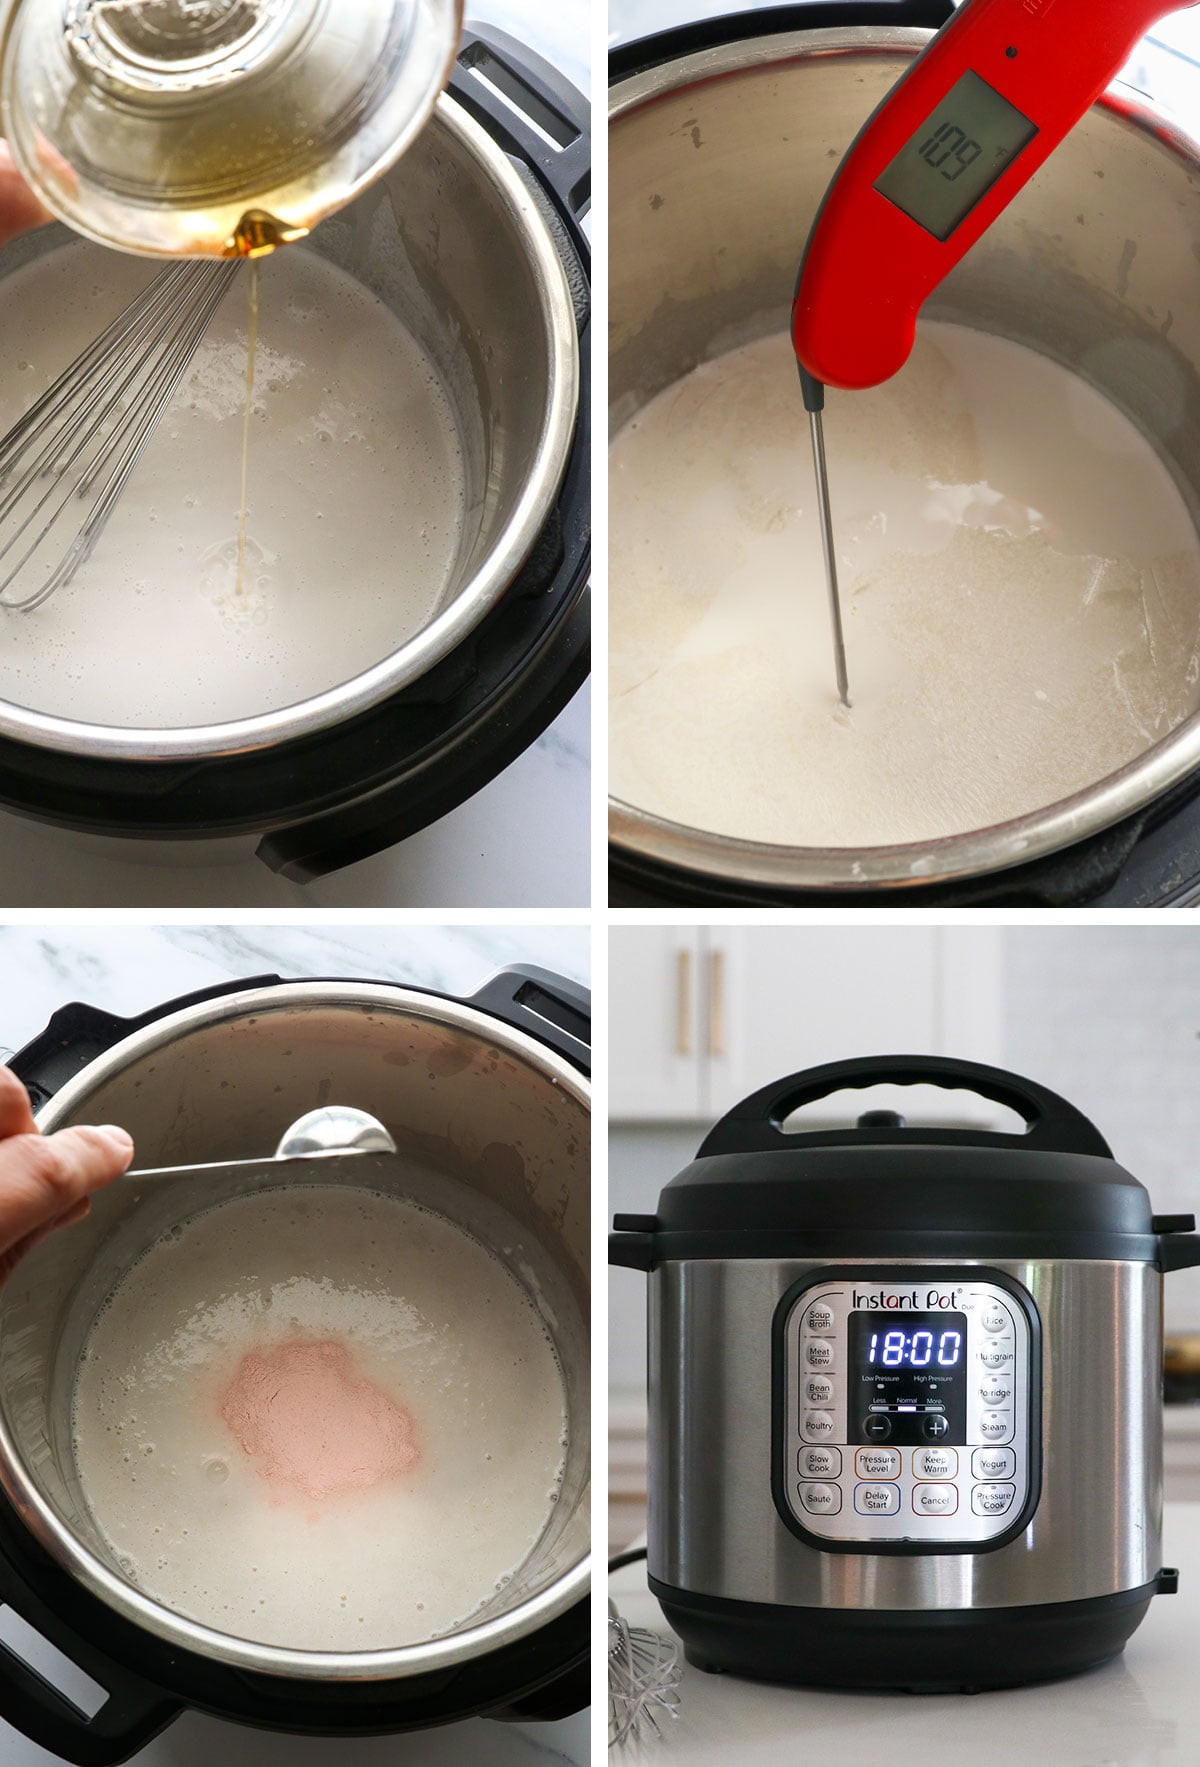
Open two (13.5-ounce) cans of full-fat coconut milk and pour them into the stainless steel bowl of your Instant Pot. It’s okay if the milk is separated; it will become creamy when you warm it up soon. Add 1 tablespoon of agar agar flakes, then press the Sauté button on the machine. Bring the coconut milk to a boil. (This should make it reach 180ºF, which will kill any bad bacteria in the pot.)
Whisk well until the agar agar flakes are totally dissolved, then press the Cancel button to turn off the machine.
Note: If you don’t need a vegan or vegetarian yogurt, you can use gelatin instead of agar flakes. In that case, I’d start with a tablespoon of gelatin in a separate bowl, whisked with 1/2 cup of water. Set this aside to bloom, meaning the gelatin will start to thicken with the water. Once the coconut milk is boiling, you can whisk in the gelatin until it dissolves.
Step 2:
Add 1 tablespoon of maple syrup to the warm coconut milk and whisk well. Remove the stainless steel bowl from the Instant Pot and let it cool for at least 1 hour, or until the coconut milk reaches a temperature of 110ºF to 115ºF. Use a thermometer to check, if you want to be precise. If the milk is too hot, the bacteria won’t survive.
You can place the bowl in an ice-water bath to help it cool down faster if you like. Just stir often so the milk is cooling evenly. (There can be areas that are hotter than others in the Instant Pot bowl.)
Once the coconut milk has reached the proper temperature, open 4 probiotic capsules and pour their contents into the milk. Whisk well until the probiotics have dissolved.
Then return the stainless steel bowl to the Instant Pot and press the Yogurt button. Set the time to ferment, up to 24 hours. I like to place the lid on the machine to keep dust out, but it’s optional since the pot won’t be pressurized.
Note: Traditional yogurt is fermented for 8 to 12 hours, so you can start with that if you prefer. The longer it ferments, the more tangy it will taste. I set mine to 18 hours, because I knew it would ferment overnight and I wanted to be awake and at home to hear the beep when the cycle was complete.
Step 3:
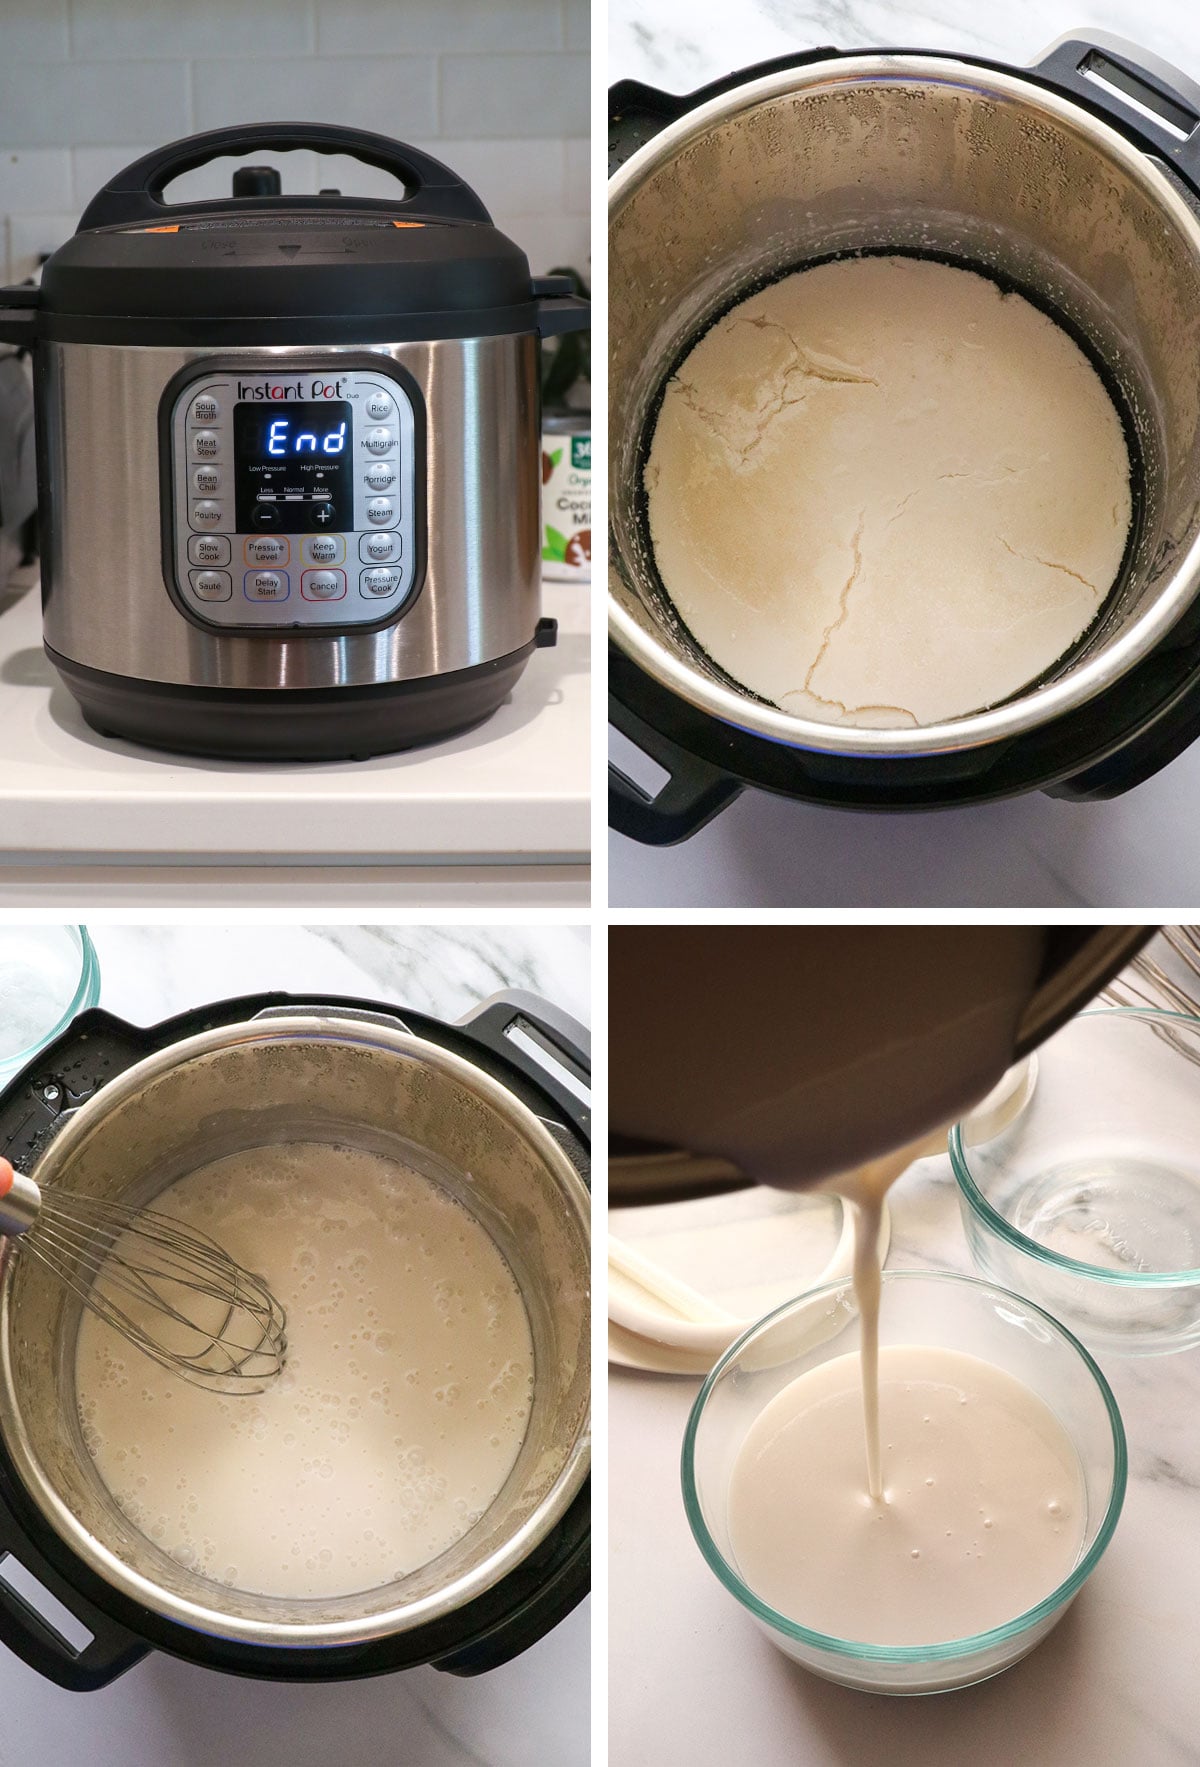
When the yogurt cycle is complete, the Instant Pot will beep to let you know. It will no longer keep the pot warm after that, so make sure you check on this within an hour of it stopping.
The coconut milk yogurt will not look great when you remove the lid. It will probably look curdled and separated, and it should smell sour or tart. Use a whisk to stir this back into a creamy texture, then taste the yogurt to make sure it’s as tart as you want it to be.
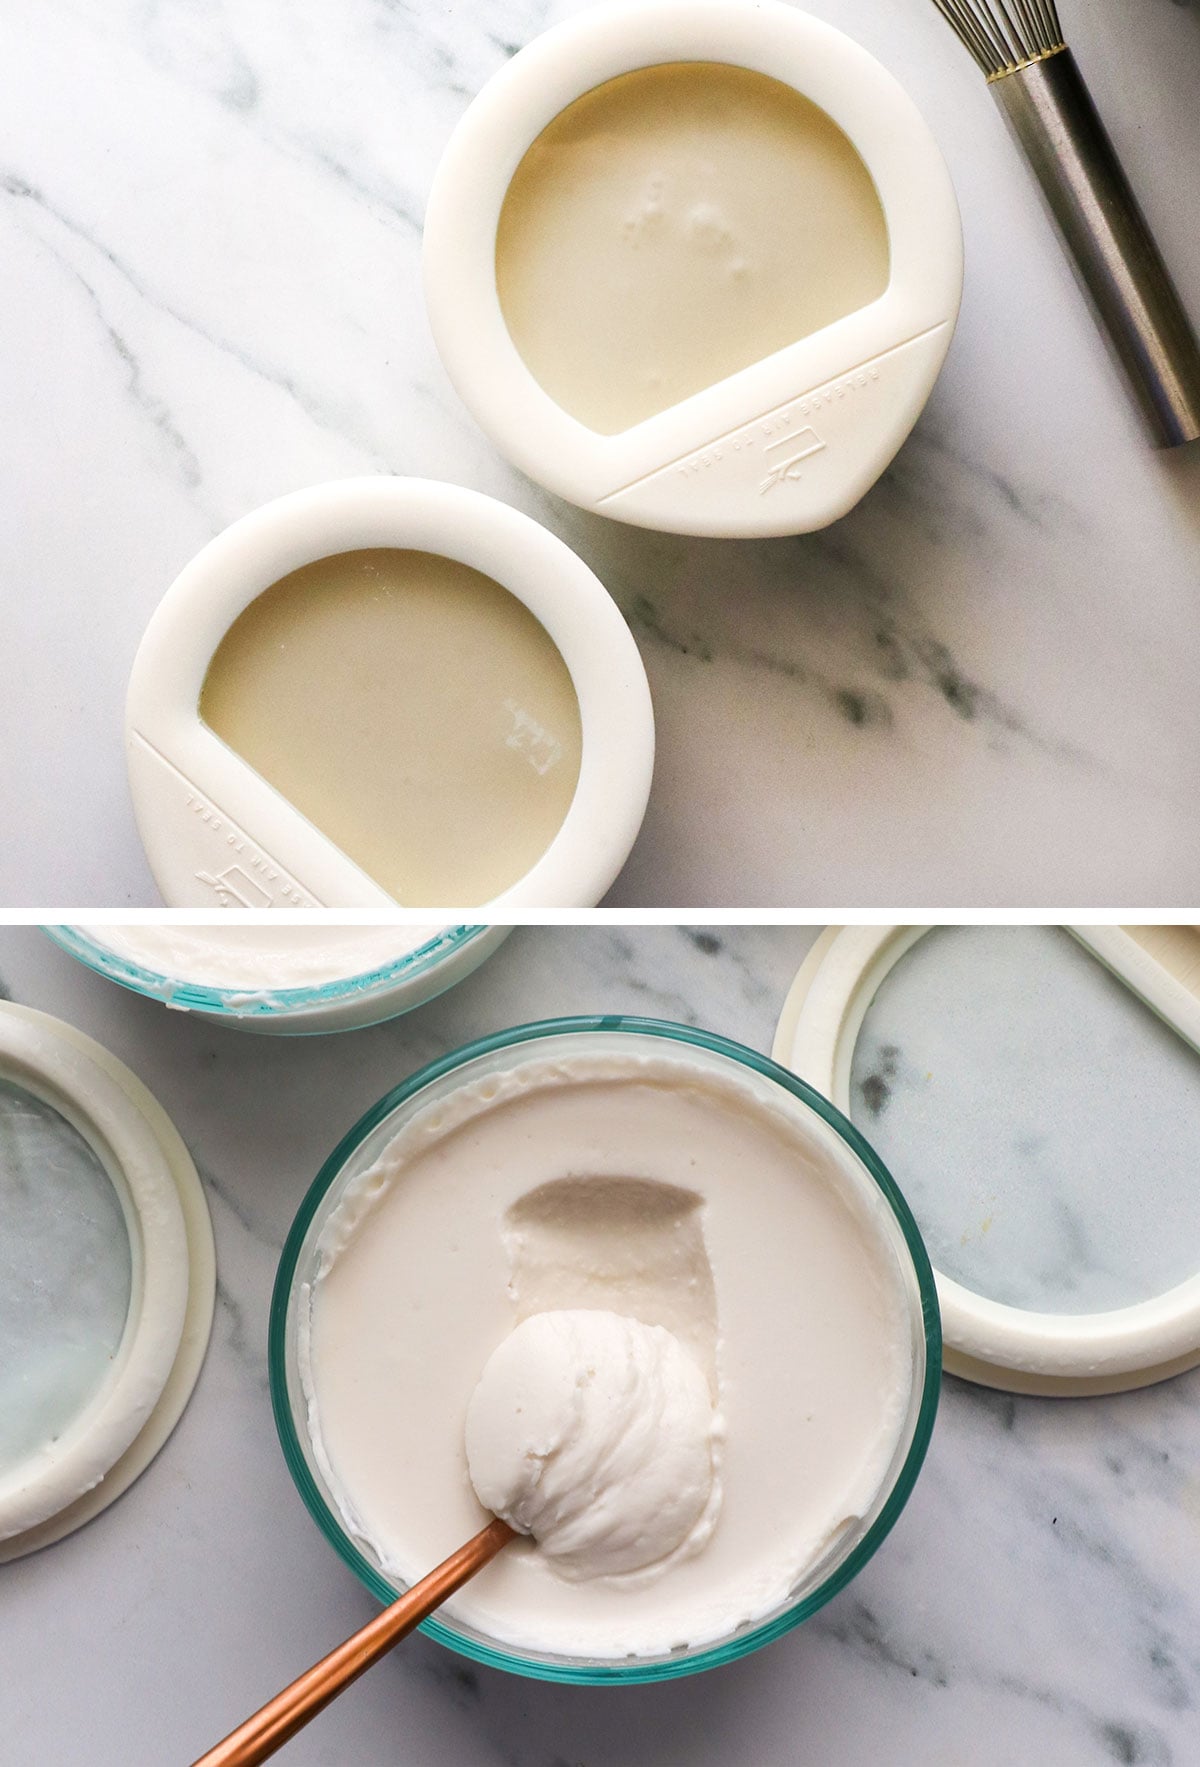
It will still look quite runny in texture at this point. Transfer the yogurt to one or more lidded storage jars, then place them in the fridge to chill. The coconut milk will thicken as it chills, making the yogurt thicker. As soon as it’s cold, it’s ready to enjoy.
Additional Tips & Coconut Milk Brands
This coconut milk yogurt should thicken when chilled; however, the thickness will vary depending on the brand of coconut milk you use. I recently tested many coconut milk brands for my coconut whipped cream recipe, and I can share that Native Forest (not simple) and Whole Foods 365 are my current favorites for thick, creamy coconut milk.
Do not use Goya or Simply Asia brands for this! Last time I checked, they were very runny and didn’t thicken at all. Thai Kitchen brand is slightly creamier than these, so it’s an okay option, too.
When you remove the coconut milk yogurt from the fridge, it should look thicker and creamier. It still won’t be as thick as Greek yogurt, so make sure you adjust your expectations. (Or use even more thickener next time.)
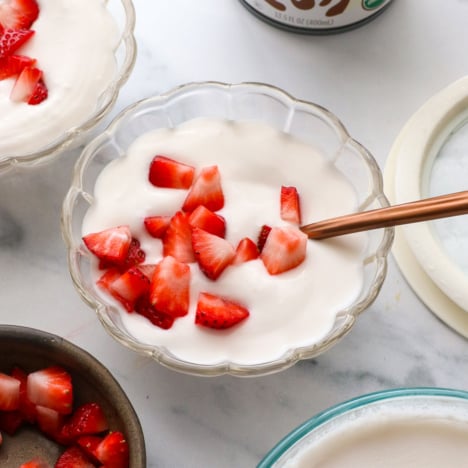
Serve this with your favorite toppings, like fresh fruit or peanut butter granola, and enjoy it just like you would regular yogurt. It should keep well in the fridge for up to 2 weeks.
Coconut Milk Yogurt (Easy in the Instant Pot!)
Ingredients
- 2 (13.5-oz) cans full-fat coconut milk
- 1 tablespoon agar agar flakes (see notes)
- 1 tablespoon maple syrup
- 4 probiotic capsules (vegan, if needed)
Instructions
- Be sure that all of your equipment is sterilized by using boiling water or sterilizing your equipment in the dishwasher. This helps prevent bad bacteria from forming on your yogurt.
- In the bowl of your Instant Pot, combine the coconut milk and agar flakes and bring the mixture to a boil. (I press the Sauté button to do this.) Use a whisk to stir, helping the agar flakes to dissolve as the coconut milk boils. Once the milk has reached a rolling boil (or 180ºF on your thermometer), turn off the Instant Pot and stir well, making sure all the agar flakes have dissolved. Stir in the maple syrup, then let the mixture cool to 110-115ºF for proper fermentation. This feels warm to the touch without being hot enough to hurt your finger. You can speed up the process by placing the Instant Pot bowl in an ice-water bath, but be sure it doesn't cool too much. Use a thermometer or a clean finger to judge when the coconut milk has reached 110ºF-115ºF.
- Once the coconut milk has cooled to the proper temperature, open the probiotic capsules and pour the powder in. Whisk well to dissolve. Press the Yogurt button on the Instant Pot, then use the arrows to set the fermentation time. I recommend letting it ferment for 18 to 24 hours for tartness, but you can do it in as little as 8 to 12 hours if you don't want a super tart yogurt. Place the lid on the Instant Pot to help keep the yogurt clean and at the proper temperature. (The pot will not be pressurized, so don't worry about the vent position.)
- Once the yogurt has fermented, be sure to taste it to make sure it has become tart enough to your liking. The texture will look watery and separated, with a possible cream-colored film on top, which is normal. (If there is a pink or gray colored film on top, that's a sign that the yogurt has gone bad and you should discard it in that case. When yogurt doesn't ferment correctly, it smells VERY bad and is nearly impossible to miss.) Pour the yogurt into a clean jar with a lid and refrigerate to set. The yogurt will thicken when chilled.
- The coconut milk yogurt may separate a bit when stored in the fridge, so stir it well before serving. It can keep well in the fridge for at least a week, if not longer.
Video
Notes
Nutrition
More Coconut Milk Recipes to Try
- Vanilla Coconut Milk Ice Cream
- How to Make Sweetened Condensed Coconut Milk
- Chocolate Coconut Milk Ice Cream
- Easy Coconut Curry
If you try this coconut yogurt recipe, please leave a comment and a star rating below to let me know how it works for you.







Hi, this is my second attempt at making coconut yogurt in the Instant Pot. The first was someone else’s recipe, and I ended up with yogurt jelly. So I followed your recipe exactly, and ran it for 19 hours. I put the whole liner with the yogurt in the frig, and after about 6 hours, I had a layer of white, firmish yogurt, with a liquid layer underneath. So I whisked them together, and got a lumpy white liquid. It doesn’t taste bad, but has none of the tartness of yogurt, and is runny like a beverage. Should I not combine them, and drain off the liquid? I used agar powder; 1 tsp like another reviewer. I think I should also change what I am using for the starter, since I am not getting a tang. Where I live in México, there are no non-dairy yogurts, so I am desperate to get this right.