This post may contain affiliate links. Please read my disclosure and privacy policy.

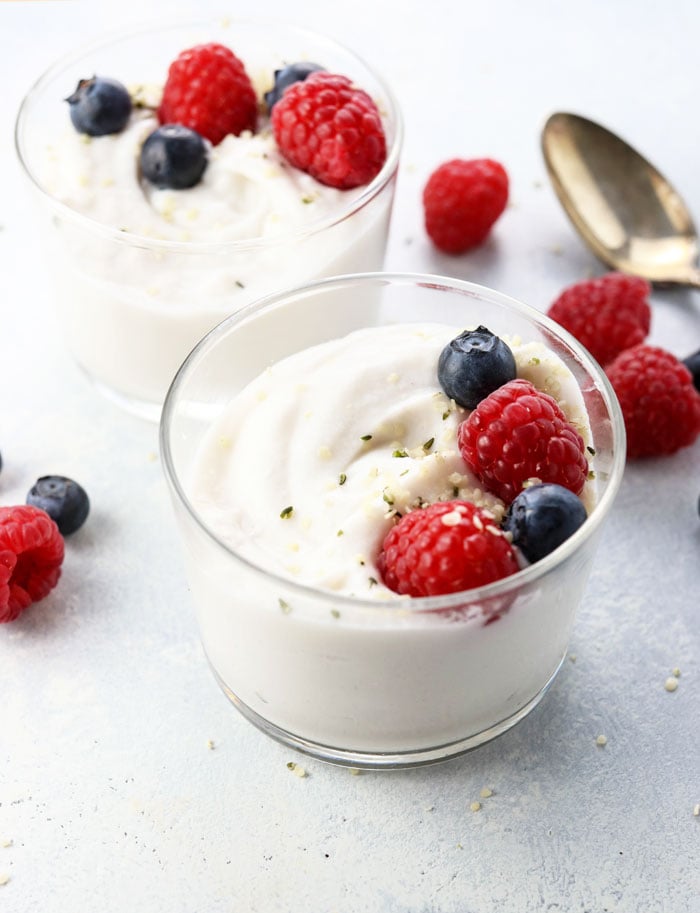
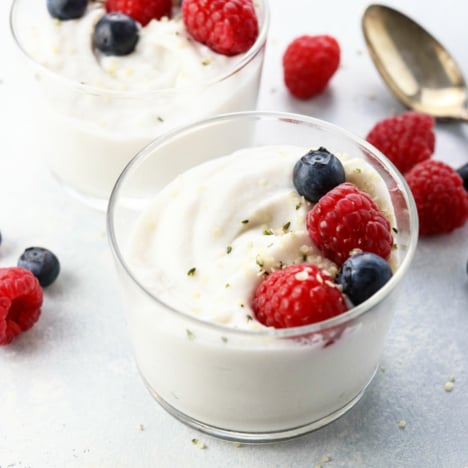
Coconut milk yogurt can be expensive and full of additives when you buy it in the store, so I’m super-excited to share this fool-proof method for making your own dairy-free Instant Pot Coconut Milk Yogurt. (If you don’t have an Instant Pot, don’t worry– I’ve got you covered further down in this post.)
As an Amazon Associate I earn from qualifying purchases.
Making Yogurt in the Instant Pot
Using an Instant Pot makes this process easier when it comes to keeping a proper temperature for fermentation, but you can also use a simple glass jar in a warm area of your home for similar results. I’m still in minimalist-mode after living in tiny apartment kitchens for so long in Los Angeles, so I aim to keep my kitchen appliances to a minimum.
That’s why when I decided to finally take the plunge and buy the Instant Pot, I wanted to get the model with the yogurt-making function, so it could multitask. Using the yogurt function did NOT come intuitively to me, but I finally figured out a one-pot method that makes the yogurt-making process as easy as possible.
How to Make Instant Pot Coconut Milk Yogurt
Creamy coconut milk (the culinary or canned version, not the type found in the refrigerated section) makes a natural substitute for dairy milk in yogurt-making, but it won’t thicken up like the creamy yogurt that we’re used to on its own. It needs some sort of thickener added to it. The common thickeners used in yogurt making include:
- Tapioca starch
- Agar Agar flakes
- Gelatin (not vegan!)
I tried using tapioca starch first, but I found it difficult to achieve the results I wanted. I needed to use about 1/4 cup of tapioca starch per 2 cans of coconut milk to get the thickness I was looking for, and the resulting mouthfeel was a bit “off” to me. If you’ve ever tasted store-bought yogurts with a lot of gums and thickeners, the tapioca-thickened yogurt reminded me of that.
How to thicken Coconut Milk Yogurt
To keep this dairy-free yogurt vegan I decided to use agar agar flakes instead. If you’re not familiar with Agar Agar, it is a dried seaweed that acts very similar to gelatin. I bought in the “exotic foods” aisle where they sell Nori sheets for making sushi in my local Whole Foods, but if it’s not available to you locally you can also order it on Amazon. One bag will last you quite a while, and you can use it to make other recipes like my Vegan Strawberry Cream Pie or Vegan French Silk Pie.
There’s also the possibility of using no thickener if you want to use straight coconut cream (the part that thickens up when chilled in a can) to make your yogurt instead. I don’t care for the taste or texture of the yogurts made with only coconut cream, as I think they taste too rich and fatty, but feel free to go that route if you’d like to.
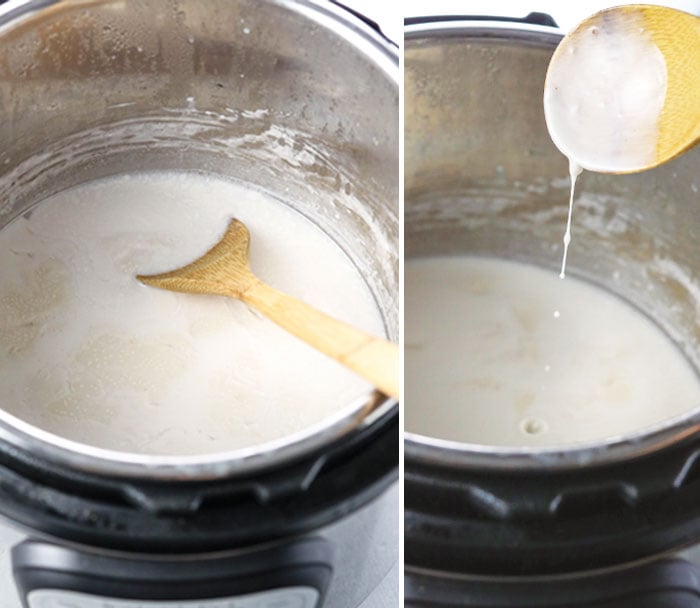
As written, this coconut milk yogurt recipe produces a very thick result, similar to a Greek-style yogurt, thanks to the thickener and fat content of the full-fat coconut milk. The yogurt will be very thin and runny when it’s in the Instant Pot fermenting, but it will thicken up perfectly once you transfer it to the fridge to chill.
Here are a few other things to keep in mind when making Coconut Milk Yogurt in the Instant Pot:
- Make sure you sanitize everything well before getting started. Usually a dishwasher can sanitize everything for you (mine has a sanitize setting) but otherwise you can use boiling water to sanitize the bowl of the Instant Pot and your whisk.
- I could never get the “boil” function on the Instant Pot to actually make my coconut milk boil. Maybe it’s just my machine, but I thought I’d share. I read that you want the coconut milk to reach 180-degrees Fahrenheit to make sure no bad bacteria develops, and when I used the “boil” function that is built into the Instant Pot, my coconut milk never reached higher than 150ºF. So, to get around that I realized I could simply use the “Saute” function instead! The saute function brought my coconut milk to a boil in just a few minutes, and the temperature on my thermometer shot past 180ºF once the milk reached a rolling boil. So, if you don’t have a thermometer, I think it’s safe to assume that if your coconut milk reaches a rolling boil, it has safely reached that 180ºF mark.
- If you want to make yogurt without a thermometer, I’ve now done it several times by simply using my finger to test how warm the coconut milk is. Ideally, you want to keep your yogurt fermenting at a temperature of 110 to 115ºF so that the good bacteria can populate. Think of this temperature as feeling warm to the touch without burning your finger. If the liquid burns your finger, it will burn and kill the good bacteria, as well. So, when determining if the milk has cooled enough after boiling, be sure to stir the coconut milk well (to avoid any “hot spots” in the pot) and then use your finger to determine if it’s the right temperature. Your finger should be able to stay comfortably in the liquid, feeling warm but not hot. (And make sure your finger is clean so you don’t introduce any bad bacteria into the batch.)
- Be sure to set your Instant Pot’s yogurt function for longer than you need, just to be on the safe side. While testing several batches of yogurt, I think the sweet spot for getting a tangy yogurt is about 18 hours of fermentation. However, you might not always be home when the 18 hours are up, or you might be sleeping, so if you set the Instant Pot for only 18 hours it will turn off the warmer when the timer goes off. I’d hate for your yogurt to spoil while you’re out of the house or sleeping, so set the timer for at least 24 hours, or a time that will ensure you hear it beep when it’s done. That way you can check on it and transfer it to the fridge when you are satisfied with the tart flavor of your yogurt.
- The maple syrup called for in this recipe is required as food for the good bacteria to thrive on (so don’t be tempted to skip it!), but when you let it ferment the yogurt becomes very tart– so don’t worry about the sugar content in that maple syrup. If you want a sweet yogurt, you’ll need to add more sweetener after the fermenting process is complete.
What does Coconut Milk Yogurt Taste Like?
I think it’s also important to note that if you don’t care for the taste of coconut milk, you probably won’t care for the taste of this yogurt. It definitely tastes like coconut milk, though you can adjust the flavor however you like when it’s done fermenting, either by adding some sweetener or fruit. Coconut milk can also have a slightly grainy-texture from the desiccated coconut, so don’t expect the coconut milk yogurt to be quite as silky-smooth as dairy-based yogurts are.
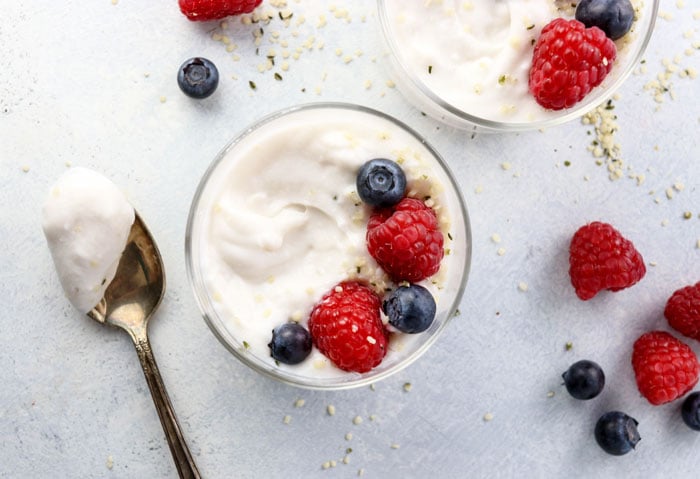
I have been enjoying this yogurt served with my Grain-Free Pumpkin Seed Granola as quick breakfast or snack, so I hope you’ll enjoy this probiotic-rich yogurt just as much. I think it tastes similar, if not better, to the store-bought brands and costs just about $1 per serving, to help fit into your healthy eating budget!
Ingredients
- 2 cans full-fat coconut milk
- 1 tablespoon agar agar flakes (not powder!)
- 1 tablespoon maple syrup
- 1 teaspoon probiotic powder (<-- link to the brand I use)
Instructions
- Be sure that all of your equipment is sterilized by using boiling water or sterilizing your equipment in the dishwasher. This helps prevent bad bacteria from forming on your yogurt.
- In the bowl of your Instant Pot, combine the coconut milk and agar flakes and bring the mixture to a boil. (I press the Sauté button to do this.) Use a whisk to stir, helping the agar flakes to dissolve as the coconut milk boils. Once the milk has reached a rolling boil (or has reached 180ºF on your thermometer), turn off the Instant Pot and stir well, making sure all of the agar flakes have dissolved. Stir in the maple syrup, then let the mixture cool to 110-115ºF for proper fermentation, which feels warm to the touch without feeling like the temperature will hurt your finger. You can speed the process by placing the instant pot bowl in an ice water bath, but be sure that it doesn't cool too much. Use a thermometer or a clean finger to judge when the coconut milk has reached 110-115ºF.
- Once the coconut milk has cooled to the proper temperature, add in the probiotic powder and stir well. Press the "Yogurt" button on the Instant Pot, and then use the arrows to set the amount of time you'd like the yogurt to ferment. I recommend letting it ferment for 18 to 24 hours for tartness, but you can do it in as little as 8 to 10 hours if you don't want a tart yogurt. Place the lid on the Instant Pot to help keep the yogurt clean and at the proper temperature. (The pot will not be pressurized, so don't worry about the vent position.)
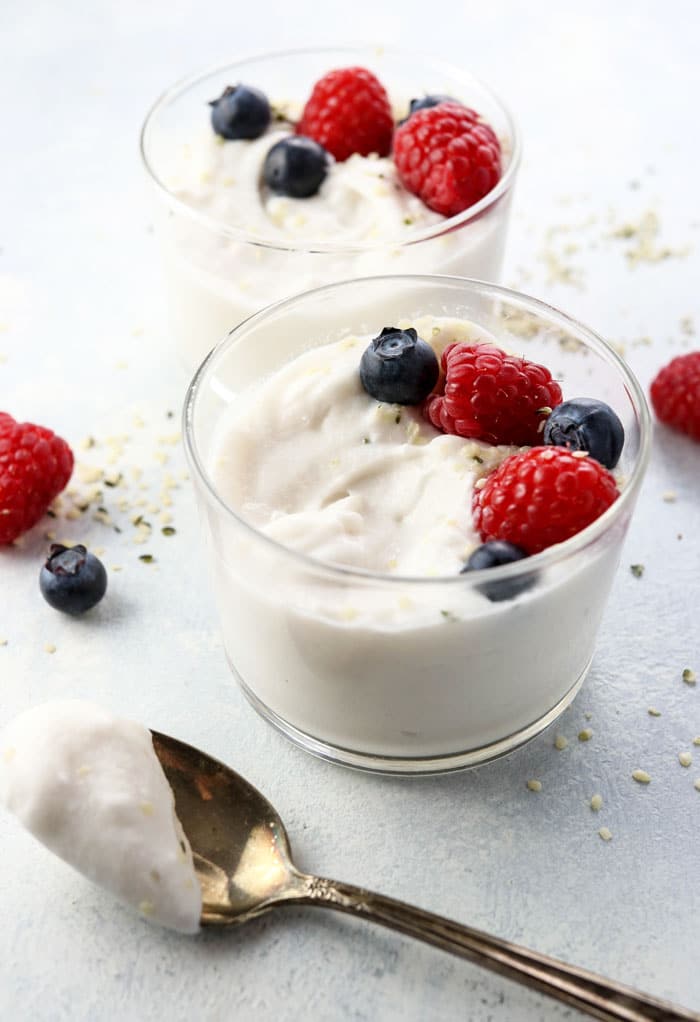
- Once the yogurt has fermented, be sure to taste it to make sure it has become tart enough to your liking. The texture will still be watery and separated, with a possible cream-colored film on top, which is normal. (If there is a pink or gray colored film on top, that's a sign that the yogurt has gone bad and you should discard it in that case. When yogurt doesn't ferment correctly, it smells VERY bad and is nearly impossible to miss. Trust me on that one.) Pour the yogurt into a clean jar with a lid, and store it in the fridge to set. The yogurt will thicken when chilled.
- The coconut milk yogurt may separate a bit when stored in the fridge, so stir it well before serving. It can keep well in the fridge for at least a week, if not longer.
Video
Notes
Nutrition
Per 1/2 cup serving: Calories: 262, Fat: 27g, Carbohydrates: 6g, Fiber: 0g, Protein: 2g
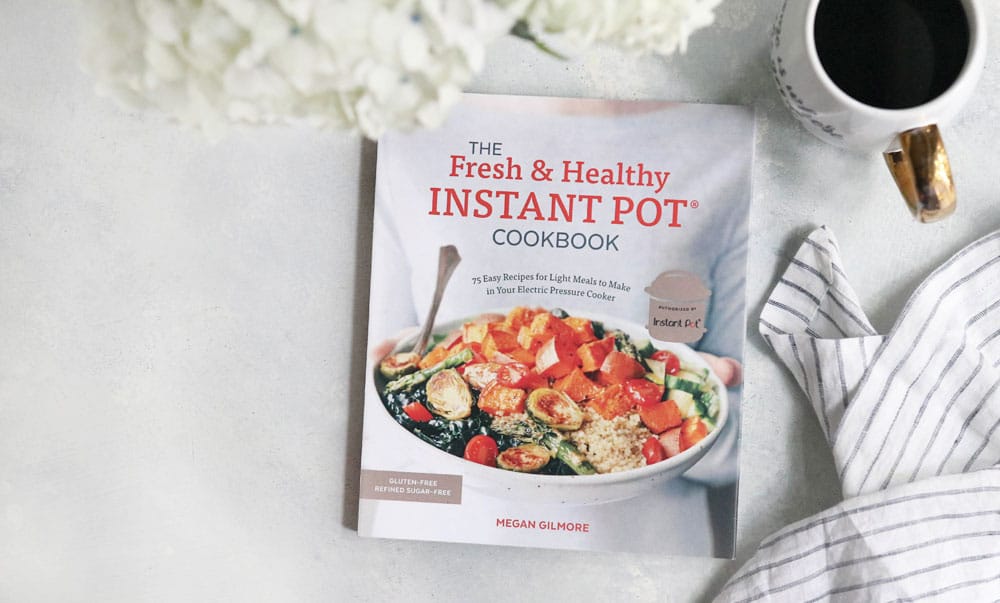
Need more healthy Instant Pot recipes?
Be sure to check out The Fresh & Healthy Instant Pot Cookbook. You can see a sneak peek here!
Substitution Notes:
- I used agar flakes when testing this recipe, because they were locally available to me. If you can only locate agar powder, you’ll need to use less than this recipe calls for. (Probably closer to 1 teaspoon of powder.) If you’re not vegan and would prefer to use gelatin, I would start with 1 teaspoon of gelatin, too. If you try this substitution, please leave a comment below letting us know how it worked you. Also, if you prefer a thinner yogurt, you might just want to use 1 teaspoon of agar agar flakes in this recipe, rather than the full tablespoon. (I like my yogurt to be thicker.)
- If you need to be strictly dairy-free and vegan, be sure to check that your probiotic powder is dairy-free and vegan, as some brands do contain dairy. I bought my probiotic powder from the refrigerated section at Whole Foods, but I imagine that any high-quality probiotic powder will work well in this recipe. (You can empty probiotic capsules into a measuring spoon if you would prefer.)
- I tested this recipe using a bottle of store-bought almond milk, and I did not care for the results. (It wasn’t creamy, and had more of a jello-like texture from the agar flakes.) The fat in the coconut milk definitely contributes to the classic creamy yogurt texture, so other non-dairy milks will most likely not produce ideal results. (The same goes for the refrigerated type of coconut milk. The full-fat canned version and boxed culinary coconut milk produce the best results.) If you use the culinary milk to avoid using canned coconut milk, I’d recommend adding 1/2 cup of water to the pot before boiling, as this coconut milk is thick and a bit grainy.
I hope you’ll enjoy this more affordable coconut milk yogurt. Let me know in the comments below if you give it a try!
–
Reader Feedback: Have you tried making Coconut Milk yogurt before? Let us know in the comments below if you have any additional tips or tricks! We can all benefit from your experience.


Has anyone made these using homemade coconut milk (made out of coconut flakes and hot water)?
Hi Jana – I have no idea when you posted this question ( no dates on here?) but I was looking for answer to same question. I think I will test it out sometime this week and I’ll report back ( 7/31/21 for date reference: ))
I have made coco yogurt with homemade coconut milk, starting with shredded, dried coconut and it is fantastic. I use any old probiotic capsules as starter (varied and lots) and I only bring to a boil to get the dried coconut rehydrated (then blend in the vitamix). I’ve used gelatin as a thickener forever but now I’m gonna try agar agar and tapioca blended.
My first attempt at making coconut yogurt in the IP and pretty great results! I used beef gelatin and raw honey. I would like it just a bit thicker but the taste is great! I used 2 tsp of gelatin so would use a little more the next time. So happy I found this. I love it! Thank you!
I have gelatin too, which kind did you use, I have great lakes brand. Did you try it again with more then 2tsp of gelatin? If so how’d it turn out?
Thank you for the recipe! if I want to flavor this vanilla for my daughter; what do you suggest?
Hi there!
LOVE your blog. Your recipes are just amazing! 🙂
I was wondering if it is possible to make this recipe with a slow cooker using the function “keeping warm”?
Thanks a lot!
Barbara
Aw, thanks for the kind words. I’m guessing the “keep warm” setting might still be too hot for yogurt. Anything over 110 degrees might kill the good bacteria.
Could I use gelatin in place of agar agar flakes?
Hi there! I’m just wondering if there is quite a tart odor with your yogurt. This was my first try with coconut cream over dairy and there was quite a strong tart/sour odor when I took it out after Incubation. The texture is good and the taste once sweetened with agave is quite nice but I’m just wondering if anyone else has noticed that there’s a really strong sour odor?
I am so motivated to stop buying coconut milk yogurt in unsustainable plastic containers–and for what it costs to do so!
Some questions:
Does this make a total of 6 1 Cup servings? The link embedded in your ingredients list doesn’t go to “cans,” but to 11 oz cartons. Did you use these, or cans of coconut milk?
Thanks so much!
The cartons of coconut milk are supposed to replace 1 can in recipes, so I think they can be used interchangeably, although they result in a thicker yogurt because there is less water in them. The servings are for a 1/2 cup portion, so this recipe makes around 3 cups total.
Does it matter that the culinary coconut milk is 11 oz, and canned coconut milk is 13 oz?
The culinary coconut milk is more condensed with less water, so the resulting yogurt will just be thicker if you use that.
Will this yogurt work using homemade coconut milk made from water and dehydrated coconut blended in a vitamix?
I made this exactly as written (including sterilization, agar agar flakes, probiotics), and after 19 hours fermentation and 6 hours in the refrigerator (with some shaking of the jar periodically), I got an only slightly thicker version of the canned coconut milk. It’s slightly tangy, but not wholly.. It’s slowly pourable.
I’ve read through all the comments, and your directions several times, and can’t figure out what went wrong.
I got the same results. Did you try it again and did it get thicker?
Me too.Followed exactly as written, and it did not thicken whatsoever.
I have an Instapot rice cooker. Do you think I could make the yogurt in that? There are different settings for white rice, beown rice, steam and keep warm.
I am a pro at making dairy yogurt in the IP, but this will be my first time making non-dairy. I have some questions based on having made dairy yogurt: 1. Can you use store-bought coconut milk yogurt as a starter culture, or does that not work like it does for dairy yogurt? 2. Why does it need the maple syrup to ferment? If you skip the maple syrup, it won’t make yogurt? Thank you for posting a recipe without gelatin, most of the ones I have found contain gelatin.
Hi Marcy! To answer your questions, 1) I’m not sure because I haven’t done it that way, but I imagine you could use store-bought coconut milk yogurt as a starter if you’d like to. 2) Sugar helps feed the good bacteria so that the probiotics will grow in the yogurt, so that’s why I include the maple syrup. Dairy milk naturally contains lactose, a natural sugar, but coconut milk does not, so I felt it was a good idea to add a bit of sugar to make sure the good bacteria has something to feed on. (The resulting yogurt is still sour– not sweet!)
Can you tell me what kind/brand of probiotic to use and where to get it?
Thanks!