This post may contain affiliate links. Please read my disclosure and privacy policy.

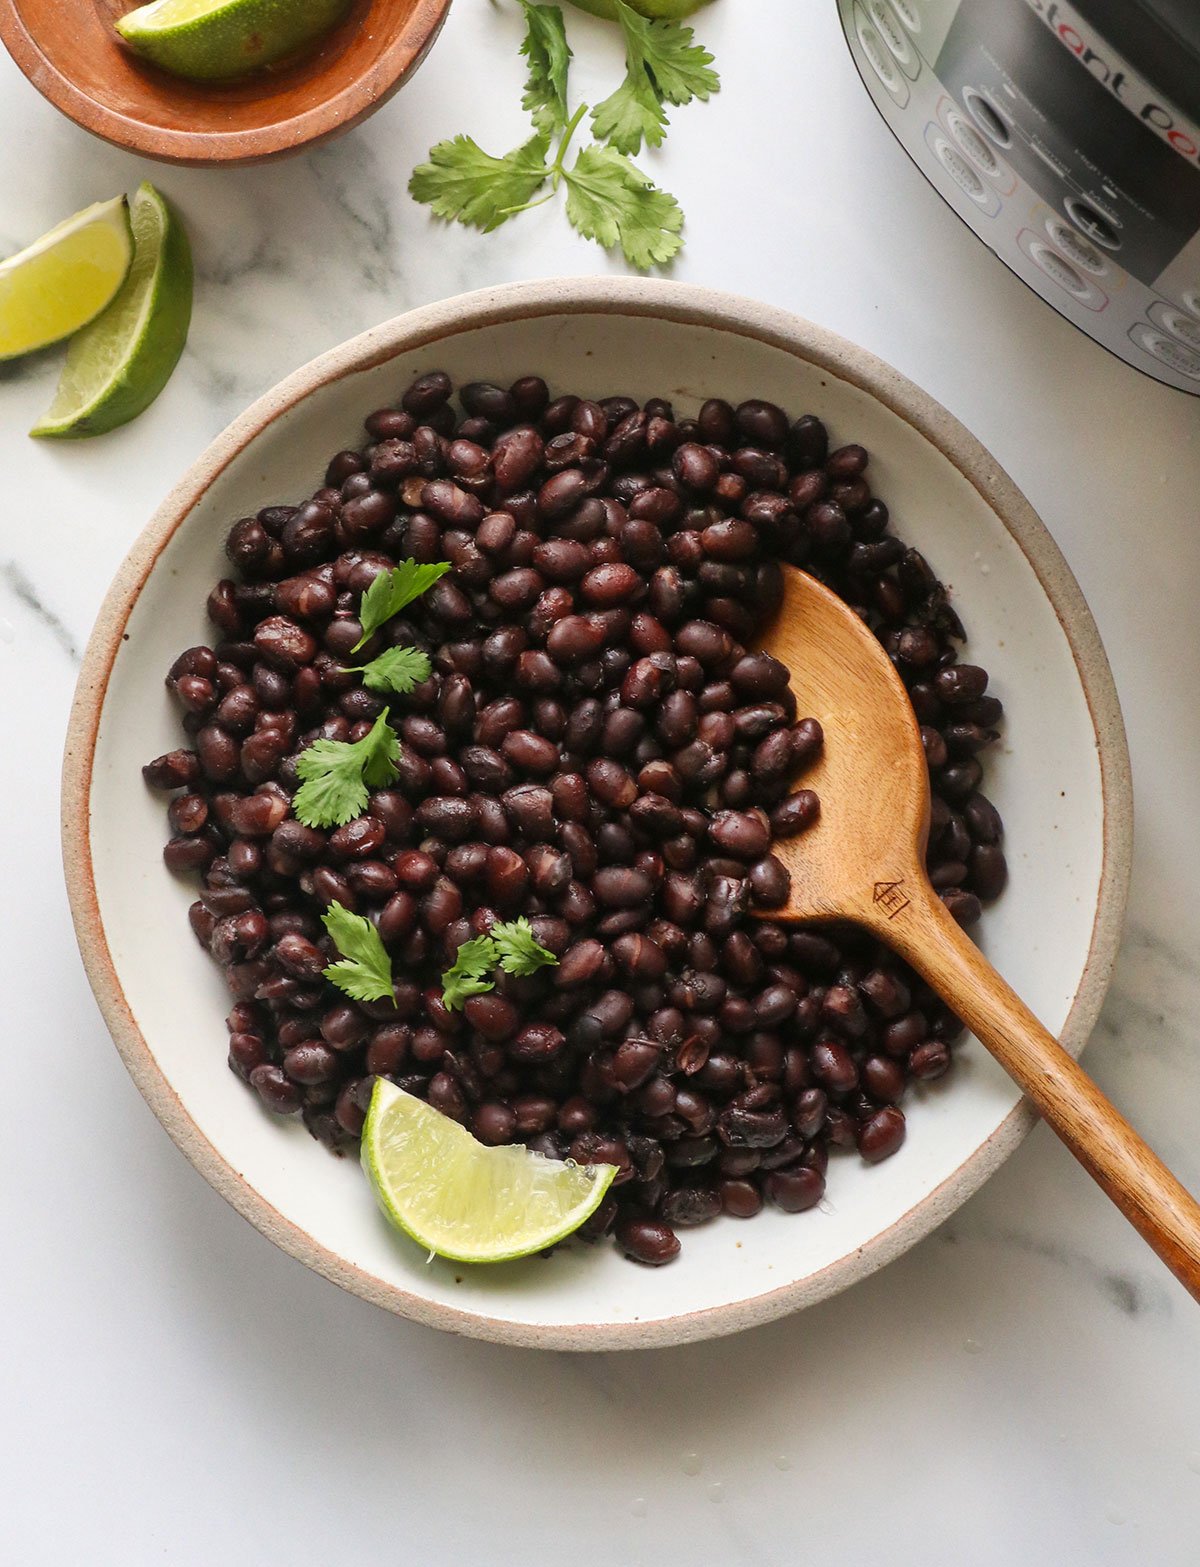
My 8-year-old daughter just told me these are the “best beans” I’ve ever made. But that’s not the only reason to love them. When you cook black beans in the Instant Pot, the method is also hands-off and as easy as possible!
Before you begin, it’s crucial to use the correct bean-to-water ratio. If you use the wrong ratio, you’ll wind up with some beans that are tender, and some that are still hard as a rock.
(Any bean that isn’t fully submerged in water won’t be cooked, FYI.)
I first wrote about these beans in my Instant Pot cookbook, but I’ve tested them even more since then. Follow the method below for perfectly tender and seasoned beans every time!
⭐⭐⭐⭐⭐ Featured Review
“Love this recipe. Perfect, awesome and so very delicious. I’m never soaking beans overnight again and only using canned black beans in a pinch. These were incredibly tasty.” – Melanie
Pressure Cooker Black Bean Ingredients
- Dry black beans. Most of the time, I cook black beans without soaking them first, simply because I don’t plan that far ahead. The age of your beans can affect cooking time, so it’s best to work with beans that have been recently purchased, rather than ones that have been sitting in your pantry for years.
- Pantry spices. For lightly seasoned beans, I like to add ground cumin, oregano, and a bay leaf. You can omit these if you are hoping to make beans that will simply replace plain canned beans in a recipe. (For example, you might not want seasoned black beans if you plan on making brownies with them.)
- Salt. There’s a rumor that salt might prevent beans from becoming tender, but that’s not the case when cooking black beans. I wouldn’t recommend using more than 1 teaspoon of salt per cup of dry beans, though.
- Water. If you’re used to cooking beans on the stovetop, you might be disappointed to see how watery black beans look when they are cooked in the pressure cooker. That’s because the beans MUST be fully submerged in water to cook correctly, so don’t reduce the water that this recipe calls for. You can always cook the liquid down later for a thicker sauce.

How to Cook Instant Pot Black Beans
Step 1:
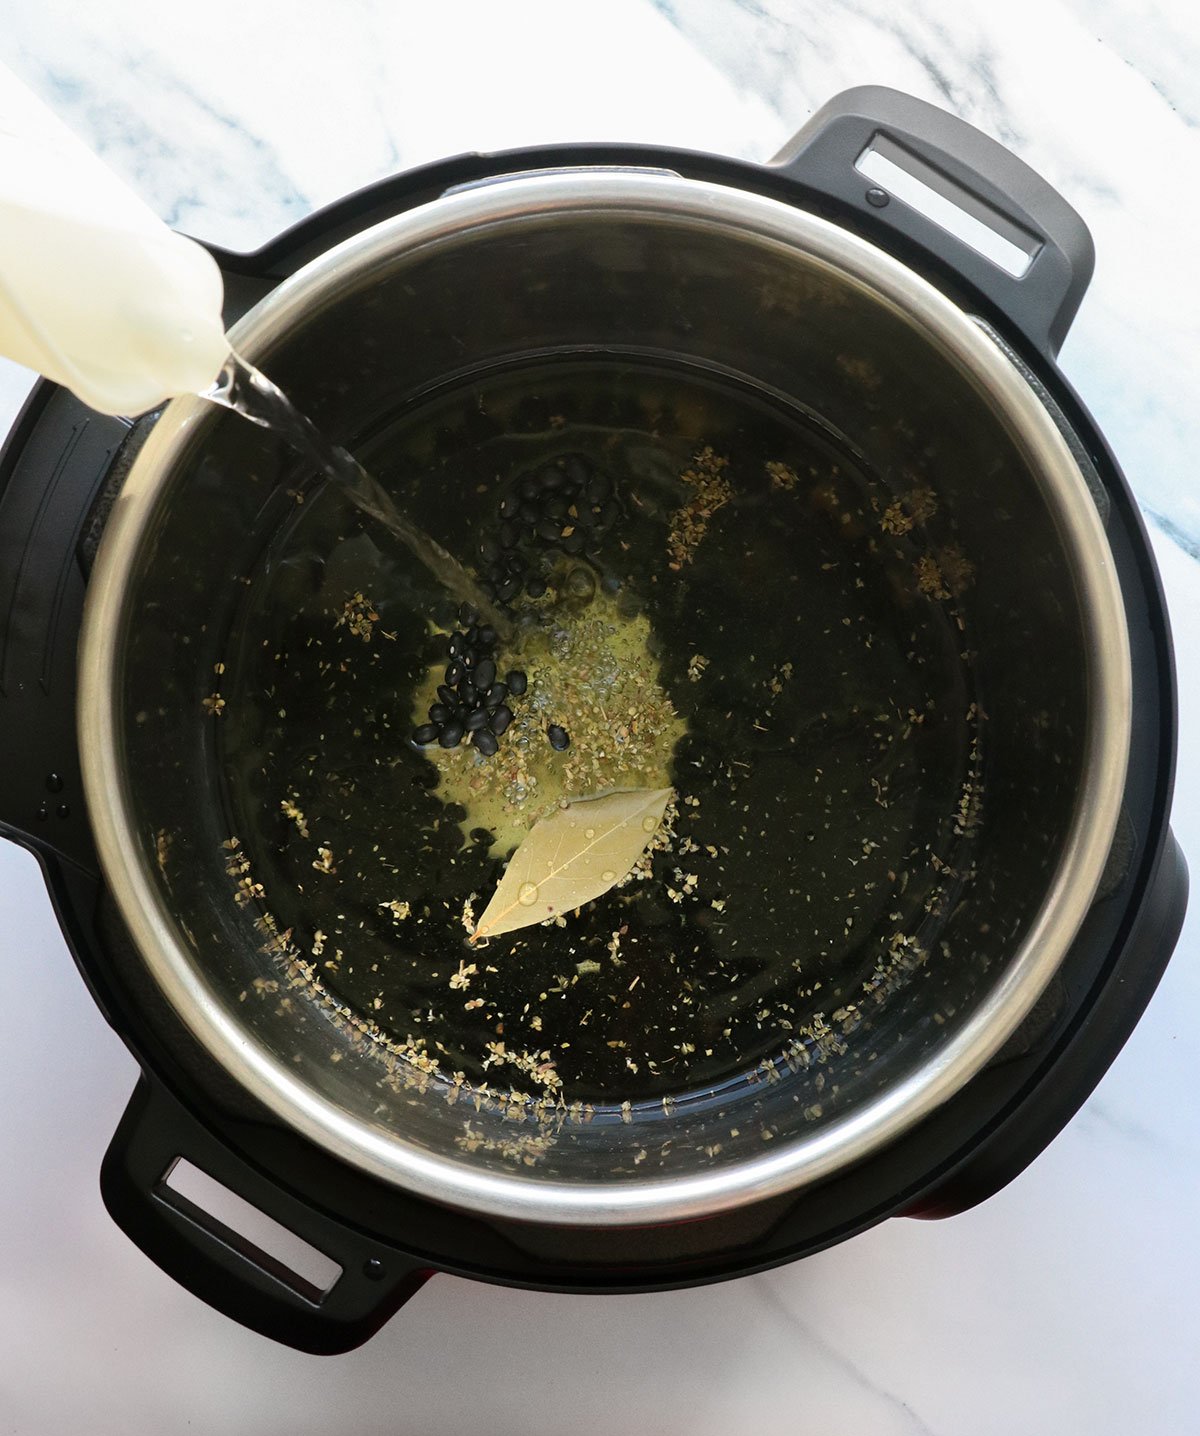
Add the dry beans, cumin, oregano, bay leaf, salt, and water to the stainless steel bowl of the Instant Pot. Or, for plain black beans, omit the seasonings.
Use 3 1/2 cups of water for every 8 ounces of dry beans you plan to cook. Alternatively, you can use a ratio of 1 level cup of beans to 3 cups of water if you don’t have a food scale.
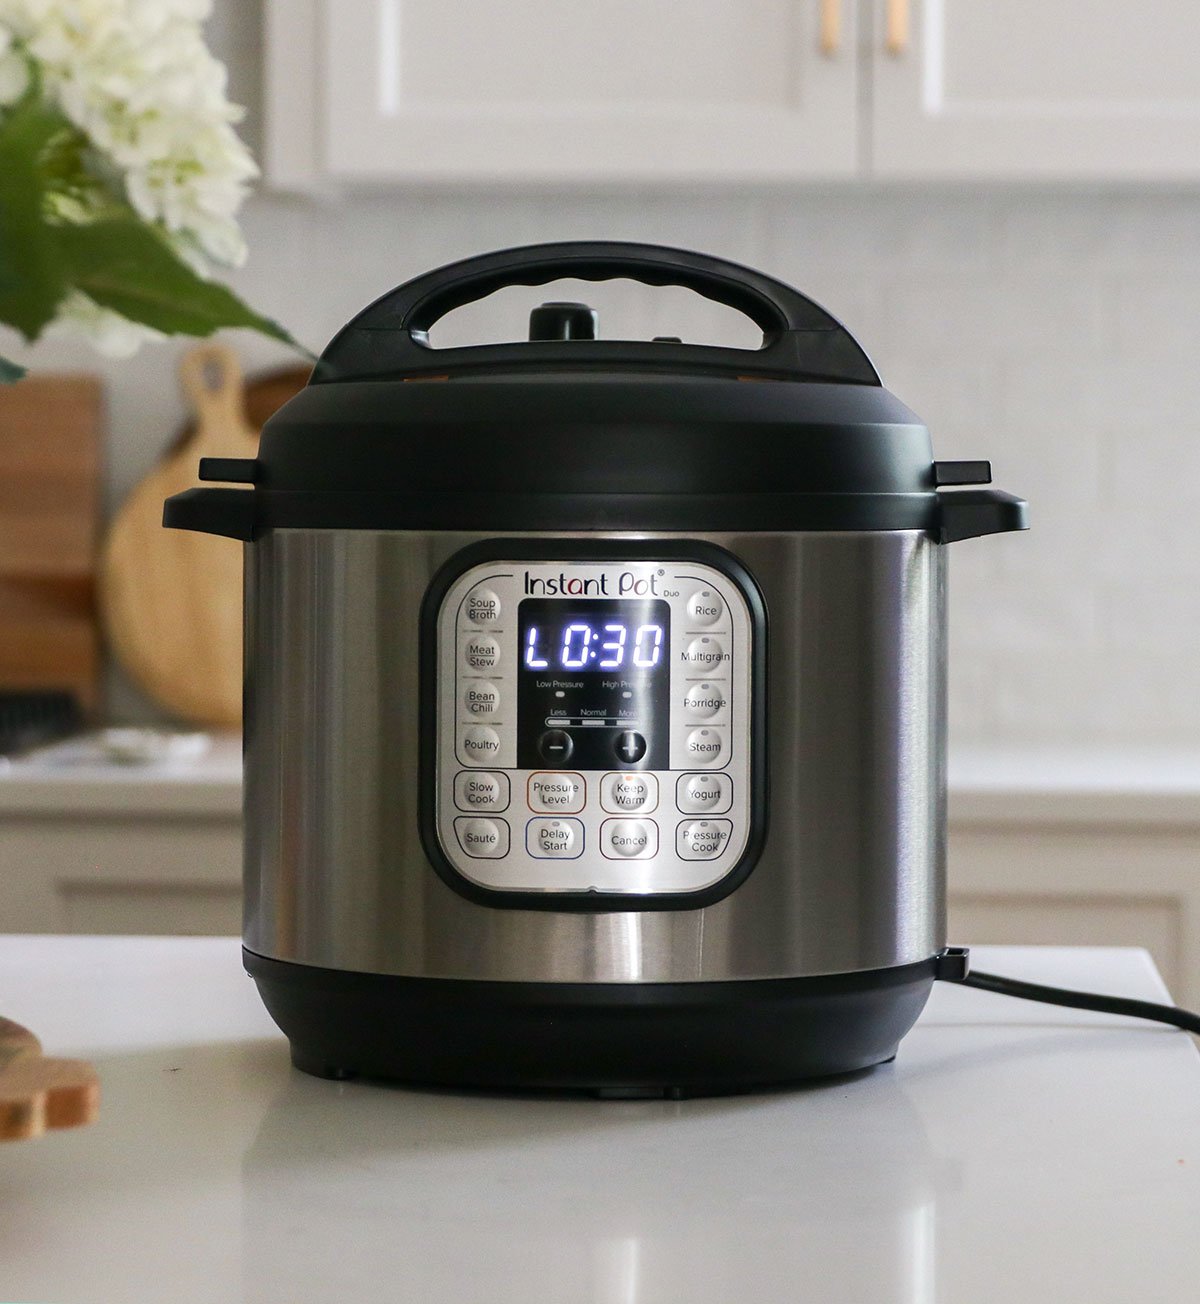
Step 2:
Secure the lid on your Instant Pot and move the steam release valve to the “Sealing” position. Use the “Manual” or “Pressure Cook” button on your machine to cook at high pressure for 30 minutes.
The pot will take approximately 15 minutes to pressurize, so the screen will display ‘ON’ until the floating valve in the lid rises. (Once that happens, you’ll know the pot is pressurized.)
Want to save this for later?
Step 3:
When the cooking cycle is complete, be patient. You’ll need to let the Instant Pot naturally release the pressure, which takes 25 to 30 minutes. Do not perform a quick release.
When the floating valve in the lid drops, you’ll know the pressure has been released and it’s safe to open the lid.
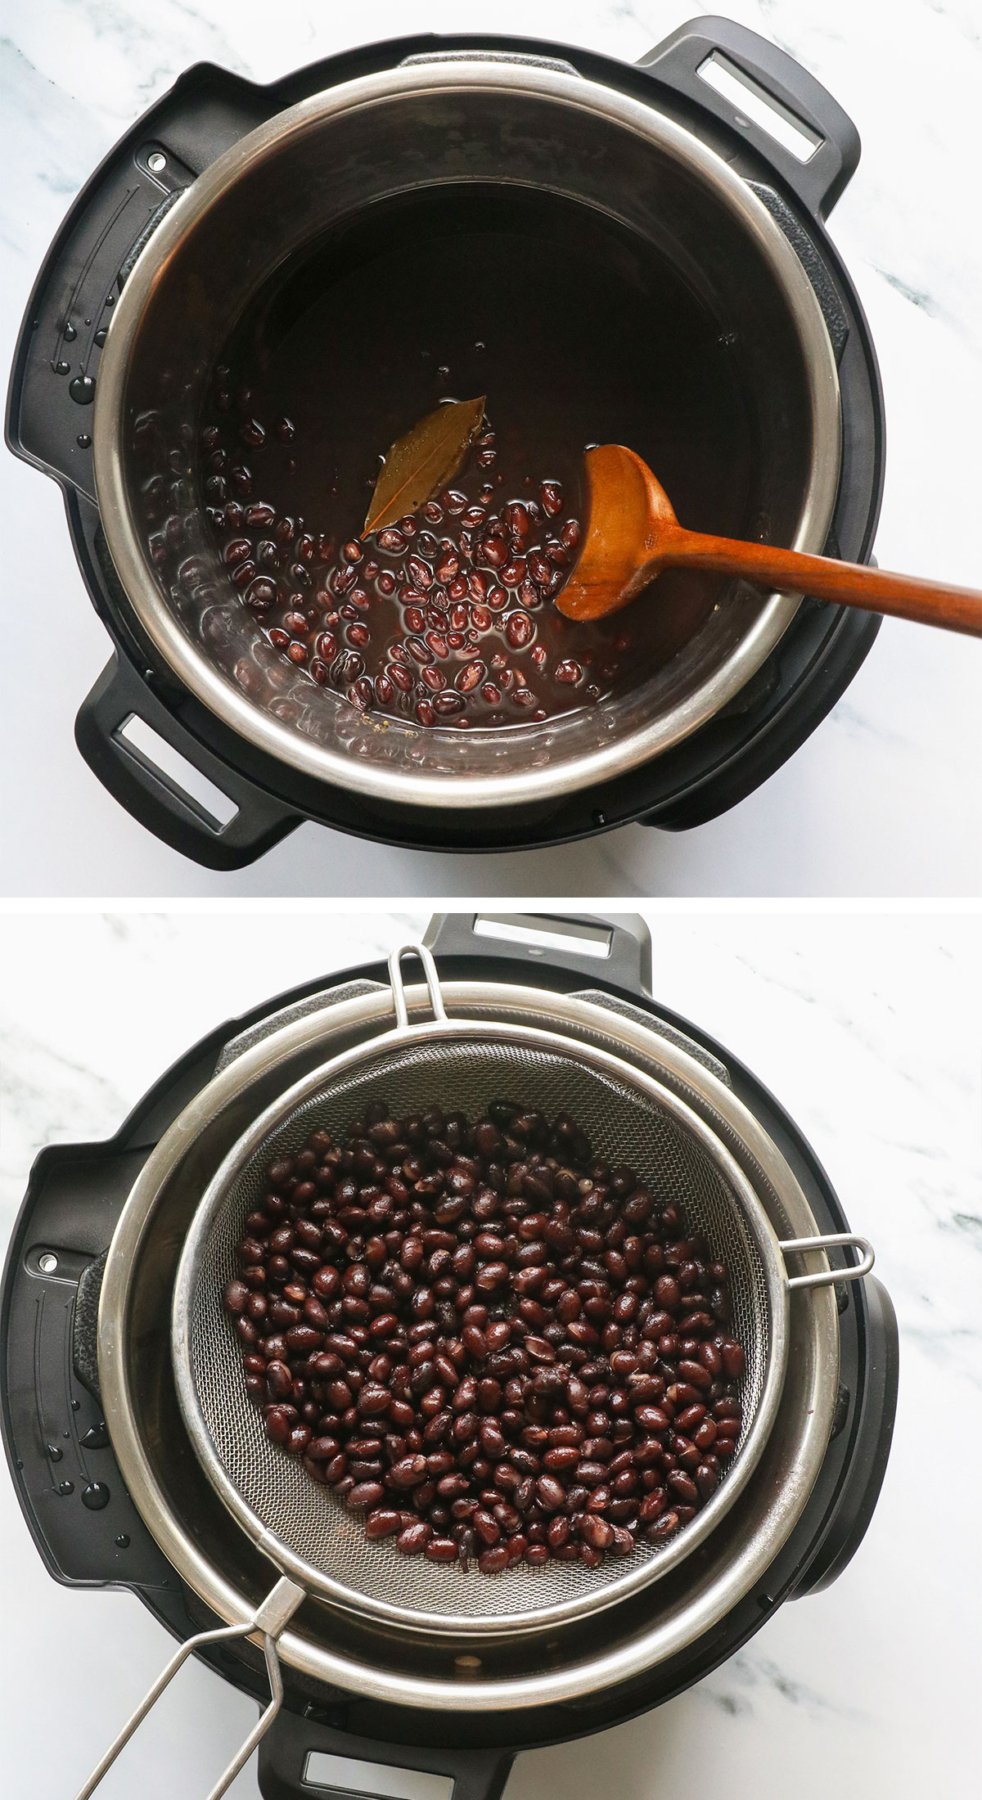
Remove the lid, then the bay leaf. (It’s a choking hazard, so don’t leave it in your beans.) The beans will look very watery, but should be tender. You can test a few by mashing them against the side of the pot with a fork.
Use a fine-mesh strainer to drain the beans, and then serve.
Optional step for saucy beans
For a thicker, more seasoned sauce, you can reserve the drained cooking liquid and return it to the Instant Pot. Press the “Sauté” button and let it simmer until it thickens or reduces by half. It will become more concentrated in flavor, so you can add as much or as little as you want to the beans.
More Instant Pot Black Bean Tips
In case you’re curious, here’s what I’ve learned from weeks of experimenting.
- Don’t use less water. I originally tried cooking 8 ounces of dry beans in 3 cups of water, but some beans remained uncooked, even when using a 6-quart Instant Pot. This was even the case when I doubled the recipe, using 1 pound of black beans to 6 cups of water. Any bean above the water level was not tender, and I don’t recommend consuming any undercooked beans for safety reasons.
- You can add onion and garlic. The cool thing about the Instant Pot is that you don’t have to saute the veggies and spices to develop an aromatic flavor. (You can, but it’s not necessary.) If you’d like to add onion and garlic, add 1/2 cup of diced white onion and 1 clove of garlic for every 8 ounces of dry beans you are cooking.
- You can use soaked beans. If you prefer to soak your beans first, cover them with 3 inches of water and let them soak for 8 hours or overnight. The soaked beans will double or triple in size. When you’re ready to cook the beans, drain away the soaking water and cover them with 3 1/2 cups of fresh water for every 8 oz of dry beans that you soaked. Cook at high pressure for 9 minutes, then let the pressure naturally release for 25-30 minutes.
- Not all bean varieties cook the same. This tutorial is specifically for cooking black beans. Pinto beans, garbanzo beans, and cannellini beans may require different water ratios or cooking times, so be sure to look for another recipe if you have a different type of bean.

Instant Pot Black Beans (No Soaking Required!)
Ingredients
- 8 ounces dry black beans (see notes)
- ½ teaspoon ground cumin
- ½ teaspoon dried oregano
- 1 bay leaf
- 1 teaspoon fine sea salt
- 3 ½ cups water
Instructions
- Add the dry beans, cumin, oregano, bay leaf, salt, and water to the stainless steel bowl of your Instant Pot. Secure the lid and move the steam release valve to "Sealing." Cook at high pressure for 30 minutes. Note: You can omit the seasonings for plain beans.
- When the cooking cycle is complete, let the pressure naturally release until the floating valve in the lid drops back down. This should take 25 to 30 minutes, so be patient. This is part of the cooking process, so don't perform a quick release. When the floating valve in the lid has dropped, it's safe to open the lid.
- Remove the bay leaf and use a fork to test several beans for tenderness. They should mash easily against the side of the pot. The beans will be completely submerged in liquid—this is necessary for proper cooking. (If you reduce the water in this recipe, any bean that is above the water level will be rock-hard.) Use a fine mesh strainer to drain away the excess water, and then they are ready to serve warm.
- Leftover beans can be stored in an airtight container in the fridge for up to a week.
Video
Notes
Nutrition
Recipes That Use Black Beans
If you try these Instant Pot black beans, please leave a comment and star rating below to let me know how they turned out for you.


Came here to learn more about using my Instant Pot and these are the beans I’ve been looking for! So good right out of the pot. My Instant Pot has a bean/chili button which turned out to be 30 mins, just as recipe specified. So excited for the possibilities of fresh black beans.
So simple and flavorful! Thank you for a great recipe!
Made a pound of black beans last weekend to go along with our tamales and this recipe did not disappoint. I took the advice of others and cooked for 50 minutes. They were so good, I can’t imagine ever buying canned black beans again. Thank you!