This post may contain affiliate links. Please read my disclosure and privacy policy.
Homemade almond butter tastes amazing and is easier to make than you might think! Once you try it, you may never go back to the store-bought version again.
Almond butter has gained popularity over the years as an alternative to peanut butter, and for good reason. It’s loaded with minerals and tastes delicious! It’s the perfect addition to healthy snacks, like Apple Nachos and Homemade Granola Bars.
Creamy almond butter can even be used as a flour alternative in gluten-free baking. Try it in Almond Butter Cookies or Almond Butter Blondies.
You can also use it for dairy-free creaminess! My favorite way to use it is in my Vegan Latte or Almond Milk Ice Cream for a mind-blowing treat.
Ingredients You’ll Need
Homemade almond butter is made with just one ingredient: almonds! Look for unroasted almonds when shopping, as you’ll be quickly roasting them during the first step of this recipe.
You can also add salt or ground cinnamon for extra flavor, but I don’t recommend adding a wet ingredient, such as maple syrup, vanilla extract, or honey. Wet ingredients can cause the almond butter to seize (the texture will be ruined), and will make the nut butter spoil much faster.

How to Make Almond Butter
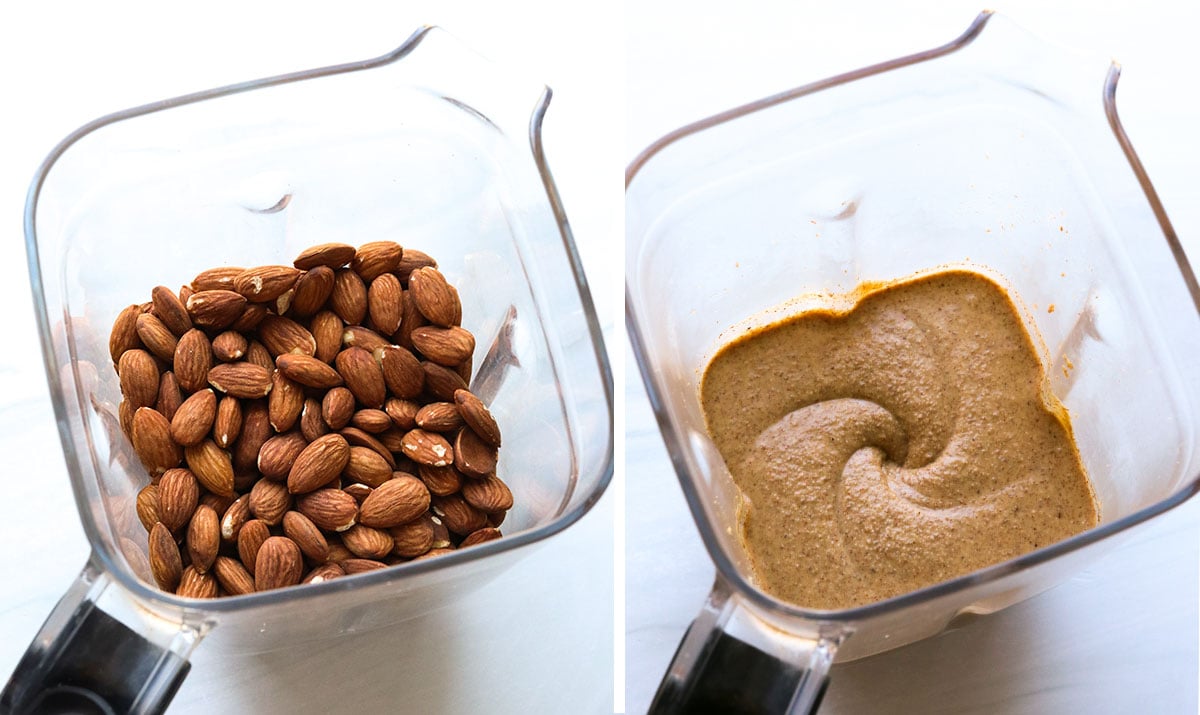
Preheat the oven to 350ºF and spread one pound (3 cups) of almonds out in a single layer on a rimmed baking sheet. Roast the almonds for 10 minutes or until they smell lightly fragrant. This process helps release the natural oil found in almonds and will make the next steps move much faster.
Remove the pan from the oven and let the almonds cool for 10 to 15 minutes. Adding the almonds directly from the oven to a food processor or blender could melt the machine if you don’t let them cool down first, so be patient!
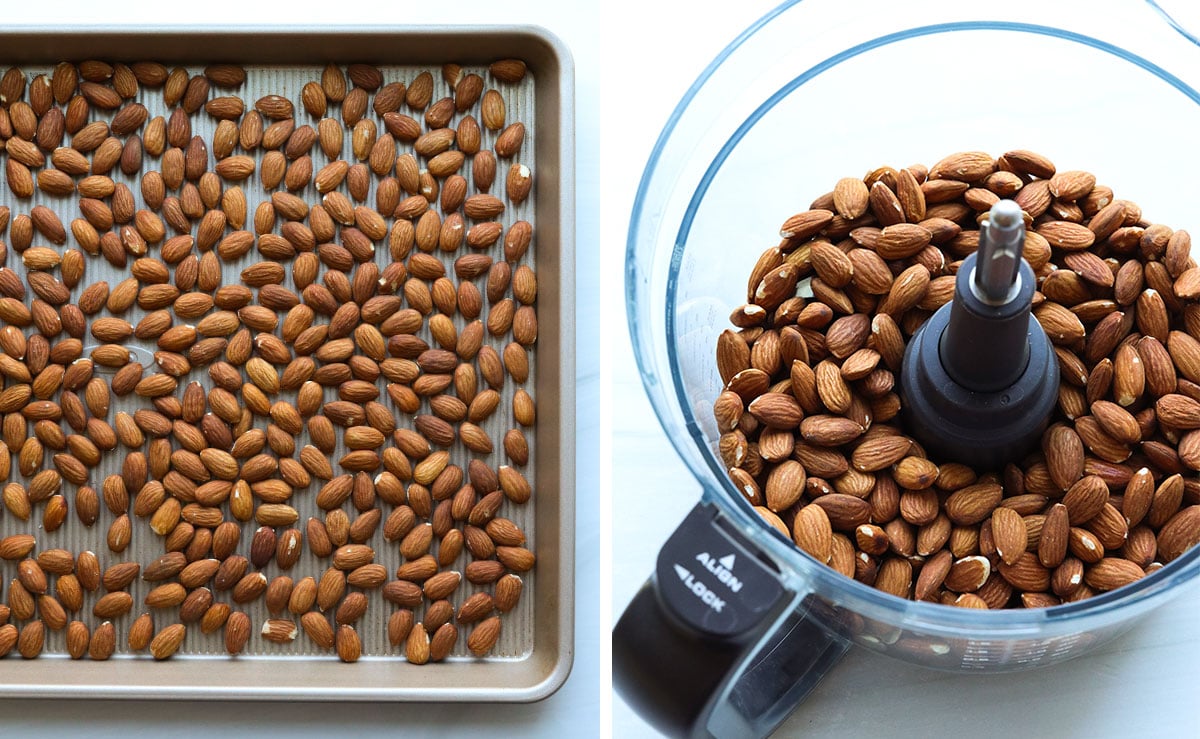
Once the almonds have cooled for at least 10 minutes (it’s okay if they feel warm to the touch) add them to the bowl of a large food processor fitted with an “S” blade.
Secure the lid and start processing.
The almonds will creep up the sides of the machine as you blend them, so you can stop and scrape down the sides with a spatula if you’d like to. However, I’ve noticed around the 4-minute mark that the almonds will naturally fall down on their own without any scraping.
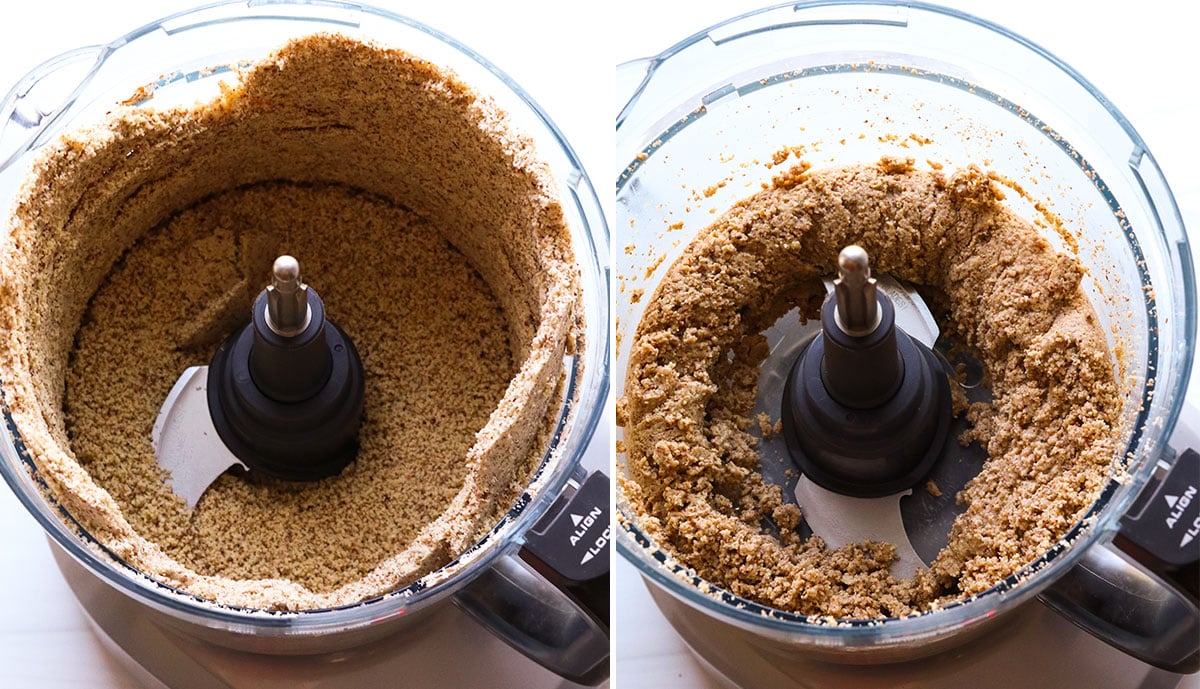
Let the food processor continue to run. After 8 minutes of processing, you may start to hear a “sloshing” sound, as the almond butter has suddenly become runnier. This is a great sign!
Now you can stop and scrape down the sides of the machine, and add any seasoning you like, such as a 1/2 teaspoon of fine sea salt or ground cinnamon. (Remember, no liquids can be added or it will ruin the texture.)
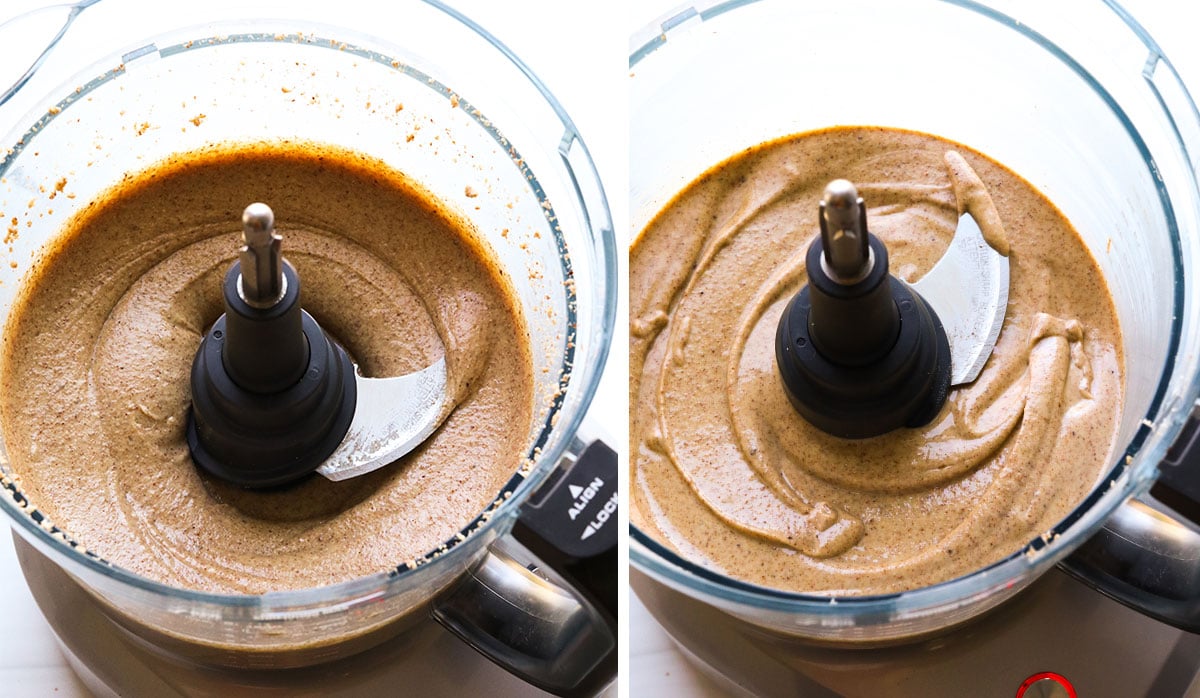
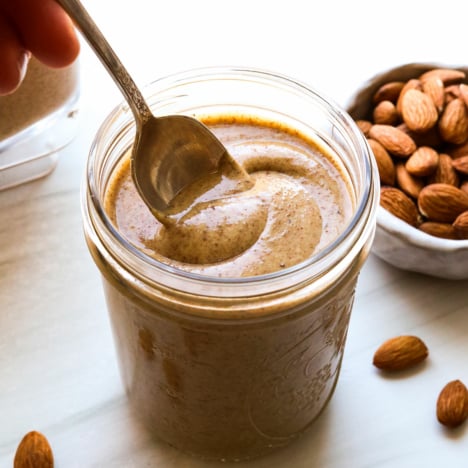
Process for another minute or two, and you should have a creamy almond butter that drips off the spoon. The whole blending process should take 10 minutes or less when you start with warm almonds.
Note: If you need to skip the roasting process, it may take nearly double the time for raw almonds to break down in a food processor. It can be done, but it’s definitely harder on your machine and requires more patience. This process can take a full 20 minutes!
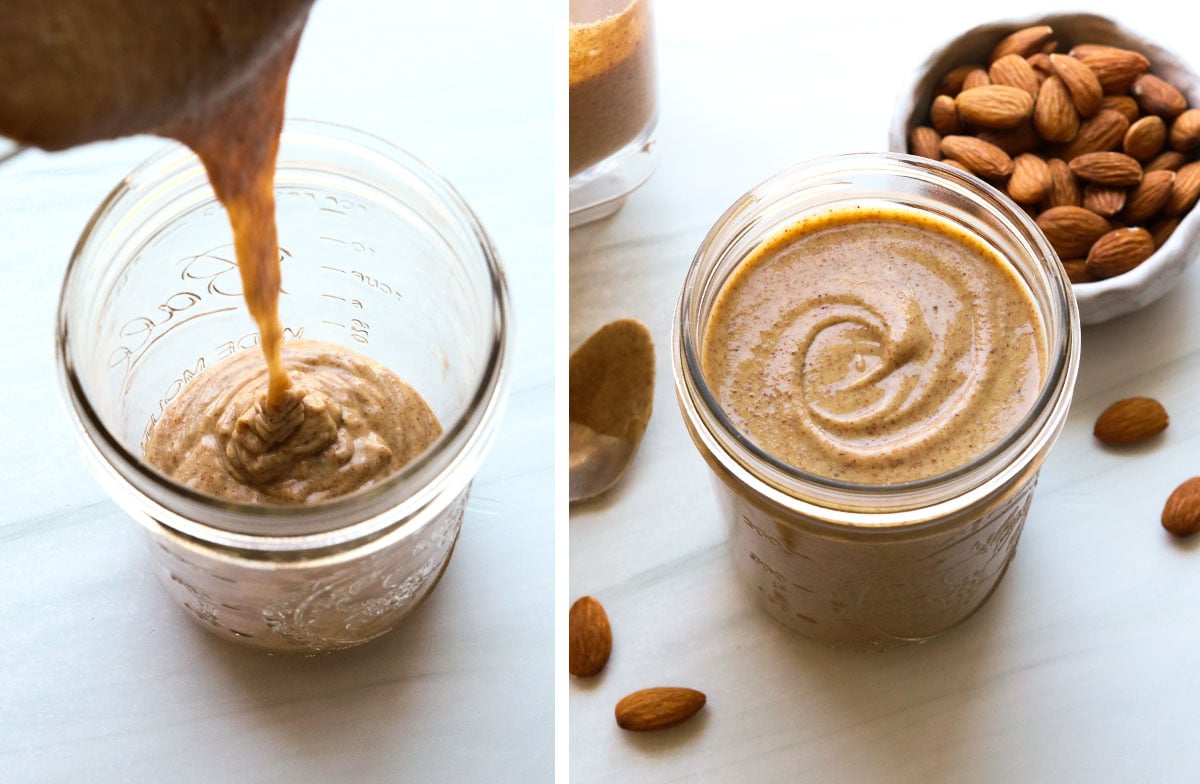
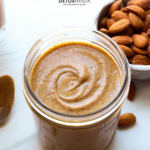
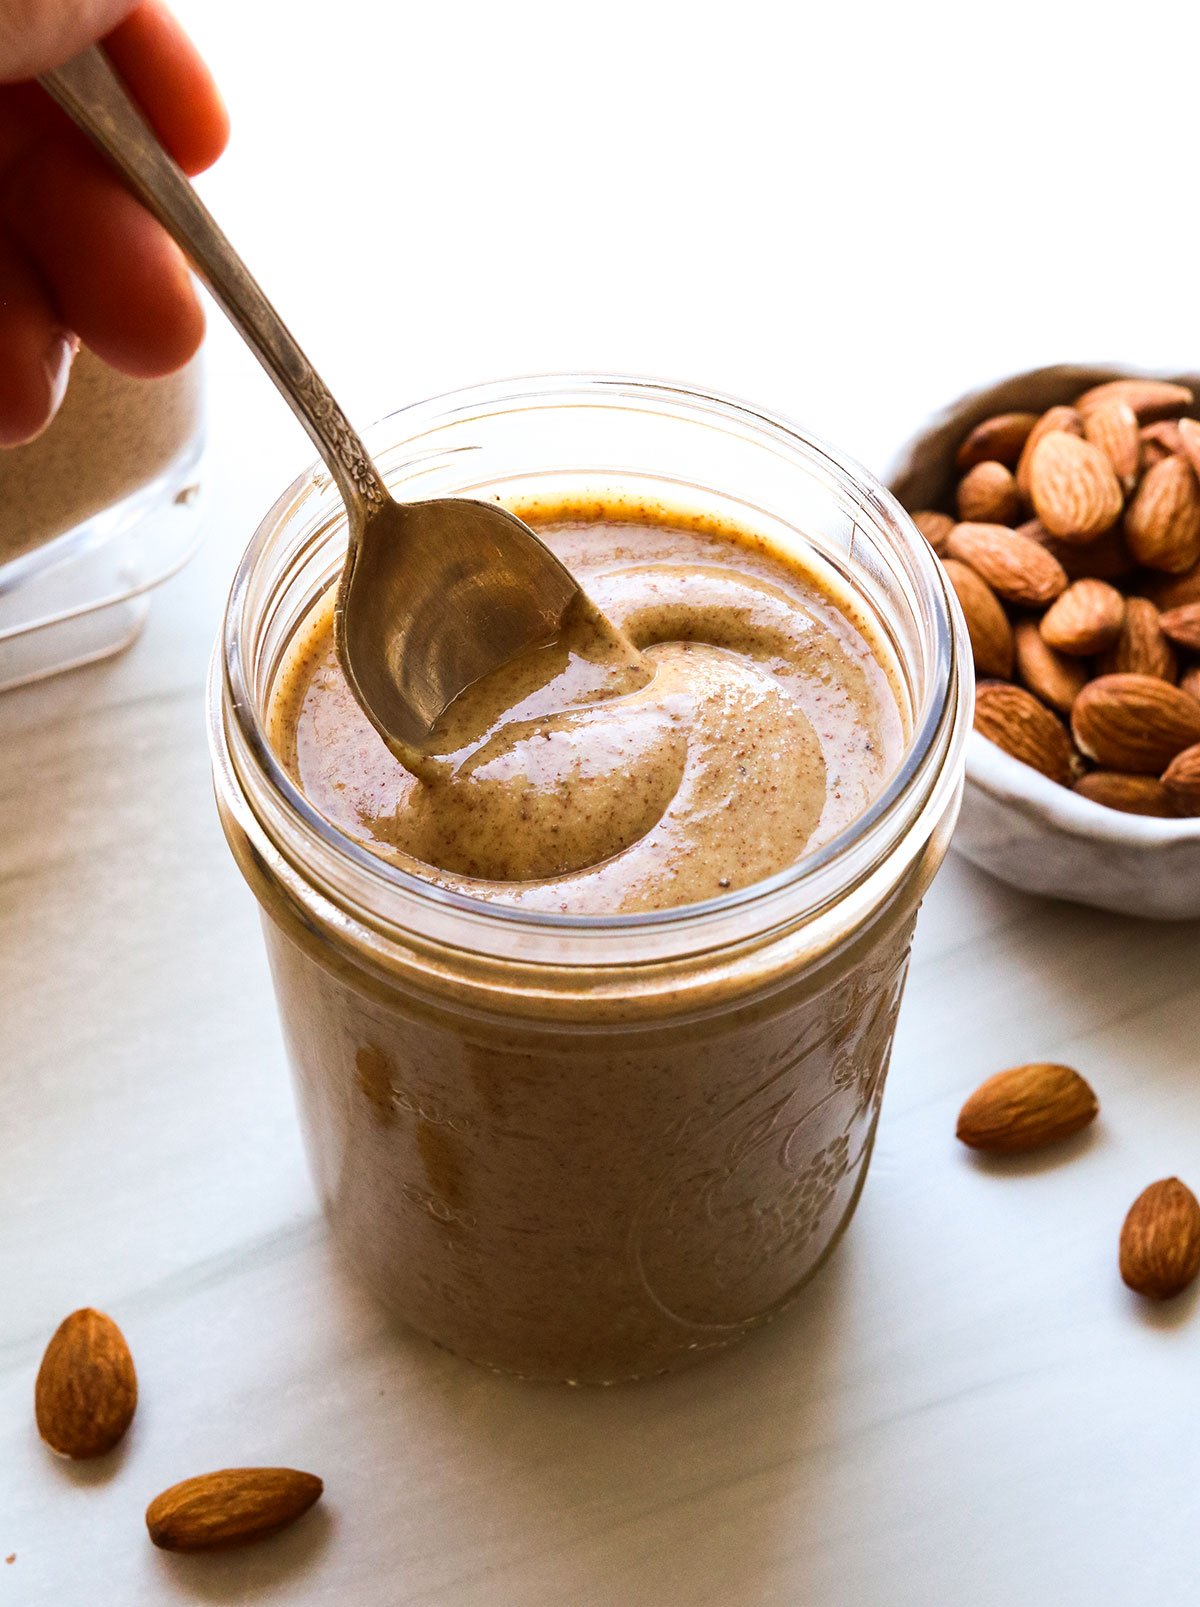
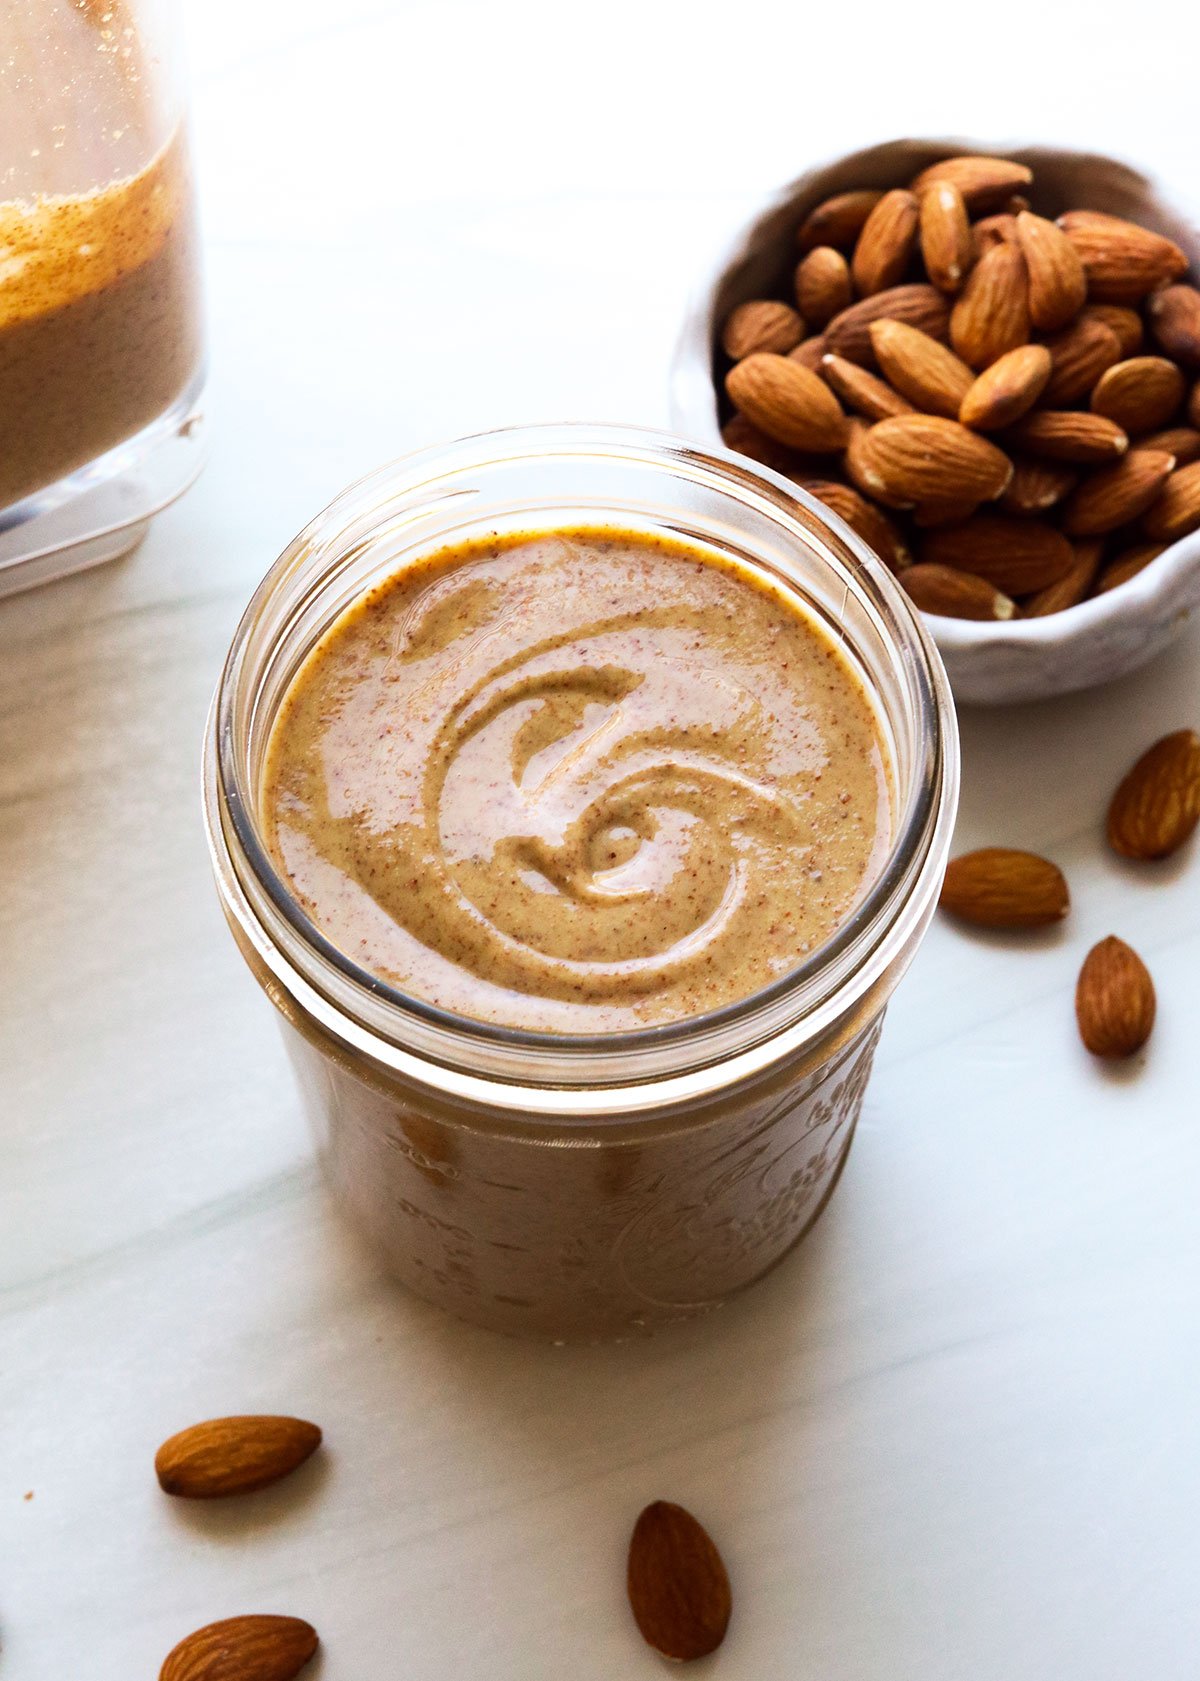
Transfer the homemade almond butter to a 16-ounce mason jar and let it cool completely before securing the lid. Otherwise, steam will collect in the jar and cause the almond butter to spoil faster.
Almond butter can be stored in the fridge for up to 2 weeks and may last even longer as long as you don’t introduce any moisture to the jar. Nut butter will thicken when chilled, so that can make it slightly harder to spread on toast, but it will thin out when you bring it to room temperature again.
When you have almond butter on hand, making almond milk is easier, too!
Making Almond Butter in a Blender
If you don’t have a 12-cup food processor, but you do have a high-speed blender (like a Vitamix), that can be used to make homemade almond butter, too.
The difference is you’ll need to use more almonds and a tamper.
To make almond butter in a blender, roast and cool the almonds as directed above, but start with 4 cups of almonds. This is the minimum quantity required to use a blender.
Secure the lid and blend the almonds on a medium-low speed. You’ll need to use a tamper often to keep the almonds moving. (If your blender doesn’t have a tamper, I don’t recommend this method. It’s too frustrating to have to stop and scrape constantly!)
While you might think using a high-speed blender would be faster than using a food processor, it still took my blender 6 to 7 minutes to achieve a creamy result. This is only 1 minute faster than the food processor method, and it’s not nearly as hands-off.
So, if you have a food processor, that is my preferred machine for this recipe.
Detoxinista Tip
If for some reason your blender is having a hard time breaking down the roasted almonds, you can add a tablespoon of neutral-flavored oil to the blender to help the process along. You may need to use up to 4 tablespoons total when blending a difficult batch.
Looking for more easy ways to use almond butter? Try it in my Banana Snack Cake, Freezer Fudge, Vegan Banana Bread, or Almond Butter Brownies.
Ingredients
- 1 pound whole almonds (3 cups)
Instructions
- Preheat the oven to 350ºF and spread the almonds out in a single layer on a large, rimmed baking sheet. Place them in the oven to roast for 10 minutes, then remove the pan and let them cool for at least 10 minutes before moving on. (Placing very hot almonds in your machine could melt it, so be patient!)
- Transfer the cooled almonds (it's okay if they are slightly warm) to a large food processor fitted with an "S" blade. Secure the lid and start processing. The almonds will start to look like flour and stick to the sides of your machine, but after 4 to 5 minutes of processing, it will change into a thicker consistency and release from the sides of the machine.
- You can stop and scrape the sides of your food processor at this point if you'd like to, but the whole process can be relatively hands-off with almost no scraping required. In fact, you can let the machine run for 8 to 10 minutes without scraping, and the nut butter will form on its own! This is the advantage of using a food processor, rather than a blender. (See tips in this post if you prefer to use a blender, though.)
- Once the almonds have been processed for 8 to 10 minutes, they should reach a runny, drippy consistency. At this point, you can add in a 1/2 teaspoon of fine sea salt or ground cinnamon, if you'd like added flavor. Do NOT add any wet ingredients, or it could affect the final texture.
- Store homemade almond butter in a 16-ounce mason jar. It will need to cool completely before you add the lid, so it won't collect steam inside the jar. Adding moisture to the jar could affect the shelf life. Almond butter can be stored in an airtight container in the fridge for at least 1 month when no moisture is introduced, so always be sure to use a clean spoon or knife when using it.
Video
Notes
Nutrition
If you try this homemade almond butter recipe, please leave a comment and star rating below letting me know how you like it.


Thank you. It worked.
I made this tonight and it is AWESOME! Thanks for the great explanations and steps. It was easy and I will make more once this is gone!
Awesome and delicious. However, I did make my almond butter in the Vitamix. It took a bit of work of stopping and starting quite a few times, but it was amazing and worth it. I put a little bit of cinnamon, a pinch of salt and just a tad bit of stevia. I ate it on Granny Smith apples. YUM!
I actually made almond butter in the Vitamix last night and it turned out perfect… on high for about 30-45 seconds, scraped down the sides and pulsed a couple times and it turned out fabulous!!! The problem is, keeping my little spoon out of there every 5 minutes!!! 🙂
I’m confused. I bought a bag of raw almonds from Sam’s Club & made the almond butter. It turned out pretty good. But then a friend said I was suppose to soak them first? So do I need to throw what I made out???
Soaking almonds is best for digestion, but you should NOT processed wet nuts into almond butter. If you want to soak them first, you’ll have to dry them completely before grinding them into almond butter. I rarely have the patience to do that myself, so I don’t always soak and dry the almond first, but it is technically better to do so.
Could you clarify why must the nuts be dehydrated if they are soaked? Why couldn’t you soak, rinse, pat them dry and use them for nut butter?
Hi there! About how long will the almond butter last? When should you consider throwing it away? Thanks for the recipe!
I have no idea how long it will officially last, but mine seems to be perfectly fine even after spending a month in the fridge! Just make sure it’s always kept chilled.
I used your recipe tonight with three cups of raw almonds, purchased today at Costco, for 20 minutes in our Kitchenaid food processor, and it worked exactly as you described, not only creamier than the Trader Joe’s brand, but noticeably better tasting. I took the temperature of the almond butter with a meat thermometer while it was still in the processor at its warmest, and it was about 150 degrees. From what I’ve read, cancer-causing substances are not formed unless the almonds are roasted at 170 degrees or above. I don’t imagine I’ll be buying almond butter again. Thanks for the recipe.
If cancer causing substances are formed above 170 degrees, does this mean when cooking/baking with almond flour, milk or almond butter at 350 degrees, I should be concerned? Sorry if a stupid question. I’m new to grain-free baking!
Definitely not a stupid question, and I think that one is still out for debate! I think they key with almond flour baked goods, just like any other baked goods, is that they should be considered a “treat” and not a daily indulgence.
Yippee! I really didn’t think this was possible but I wanted to try it so I did. I roasted 3 cups of whole almonds in a 350 degree oven for 10 minutes. I have a small Handy Prep Cuisinart food processor and, at first, I put all 3 cups in it which filled it to the brim. After the almonds got to a fine chop, I decided I had too much in the processor so I took out about 1/3. Then I kept pulsing and alternately scraping down the sides. It finally got to a point where I had to break up the mass in order to keep in spinning. And, then, low and behold, it started to behave as the “detoxinista” said it would – and I had almond butter! I emptied the processor, added the remaining almonds and finished up with those. When I do this again, and I will do it again, I will probably put 1 1/2 cups of roasted almonds into my little processor and make two batches. I almost filled a 2 cup container with my AB. This is amazing. I seemed to happen in a relatively short period of time. I did find out it needed some salt but I think I will just add salt to my cookie recipe and that should be fine. Also, I had purchased some almond butter to make a new cookie and with the leftover butter, I decided to make almond butter cookies. I added a tsp of almond extract to the recipe and I think I could have added more. I used an old Betty Crocker recipe for peanut butter cookies and this is what I discovered. When I put the fork marks in, they disappeared as the cookie spread and turned out to be thin and crisp. I had also added some chopped almonds (I love nuts!) and I absolutely loved these cookies. I tried not to cook them too long because I didn’t want them to be too hard. They were mouth-watering and I am going to make them again since I made this AB. This is the most fun I’ve had in the kitchen for quite some time! Try it, you’ll like it.
how many calories would you say are in about 1 cup of your homemade almond butter?
Please see my FAQ page regarding nutrition information: https://detoxinista.com/frequently-asked-questions/
Yes! Just what i was looking for! Although not sure if our processor can handle 20 minutes of abuse.