This post may contain affiliate links. Please read my disclosure and privacy policy.
Homemade Granola Bars are super-easy to make, with just 4 simple ingredients. They will quickly become one of your favorite healthy snacks!
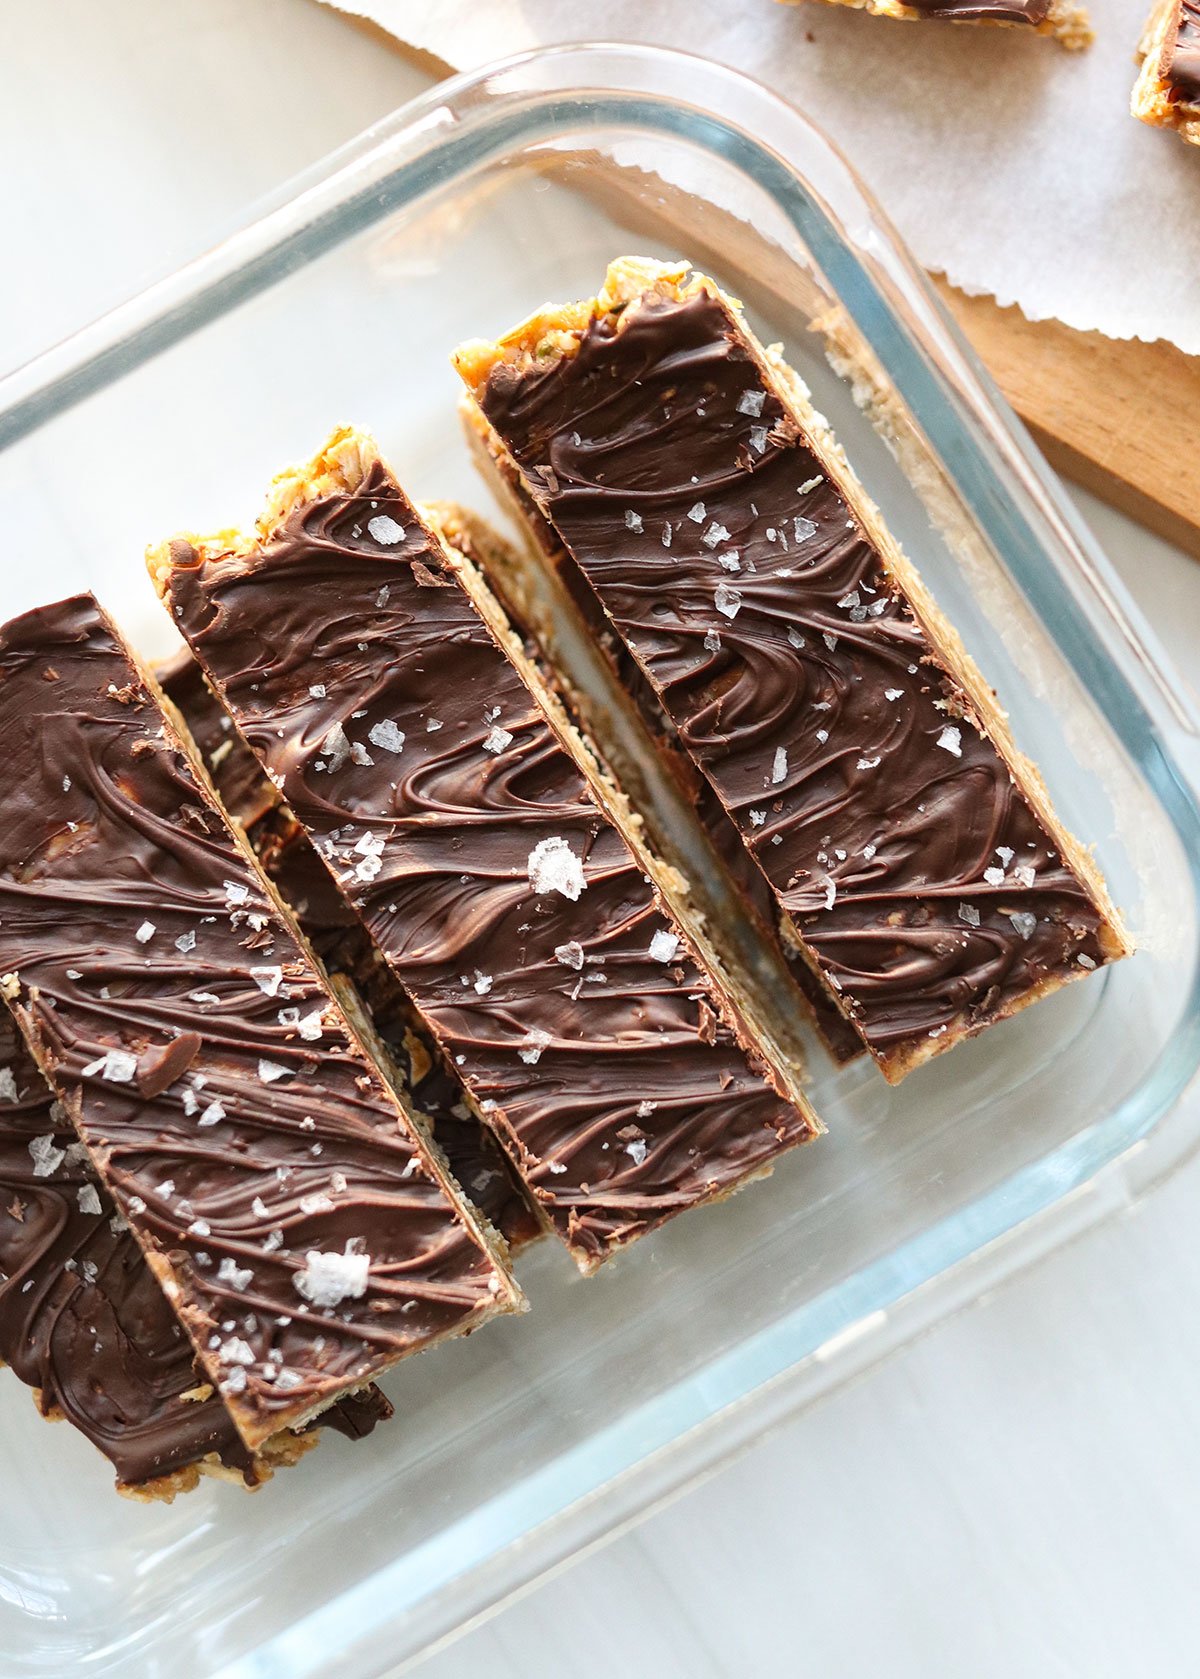
Why You’ll Love Them
They taste amazing. Homemade granola bars taste better than the kind you’d buy from the store! The sweet and salty flavor is hard to resist.
They are easy to customize. You can add any mix-ins you love, such as sliced almonds, unsweetened coconut, dried fruits, or even some mini chocolate chips. If you don’t love peanut butter, feel free to use almond butter, or even sunflower seed butter for a nut-free option.
They are quick to prepare. All you need is 4 simple ingredients and about 10 minutes of time to prepare this easy snack. No oven required!
They are nourishing. The combination of whole grain oats and peanut butter will keep you feeling satisfied, with plenty of protein and fiber in each bite. When you add in extras like hemp hearts or dried fruit, like cranberries or raisins, you’ll get an even wider variety of nutrients, too.
They are gluten-free. Oats are naturally gluten-free, but be sure to buy oats that are certified gluten-free to help avoid any potential cross contamination that may occur during the manufacturing process.
Ingredients You’ll Need
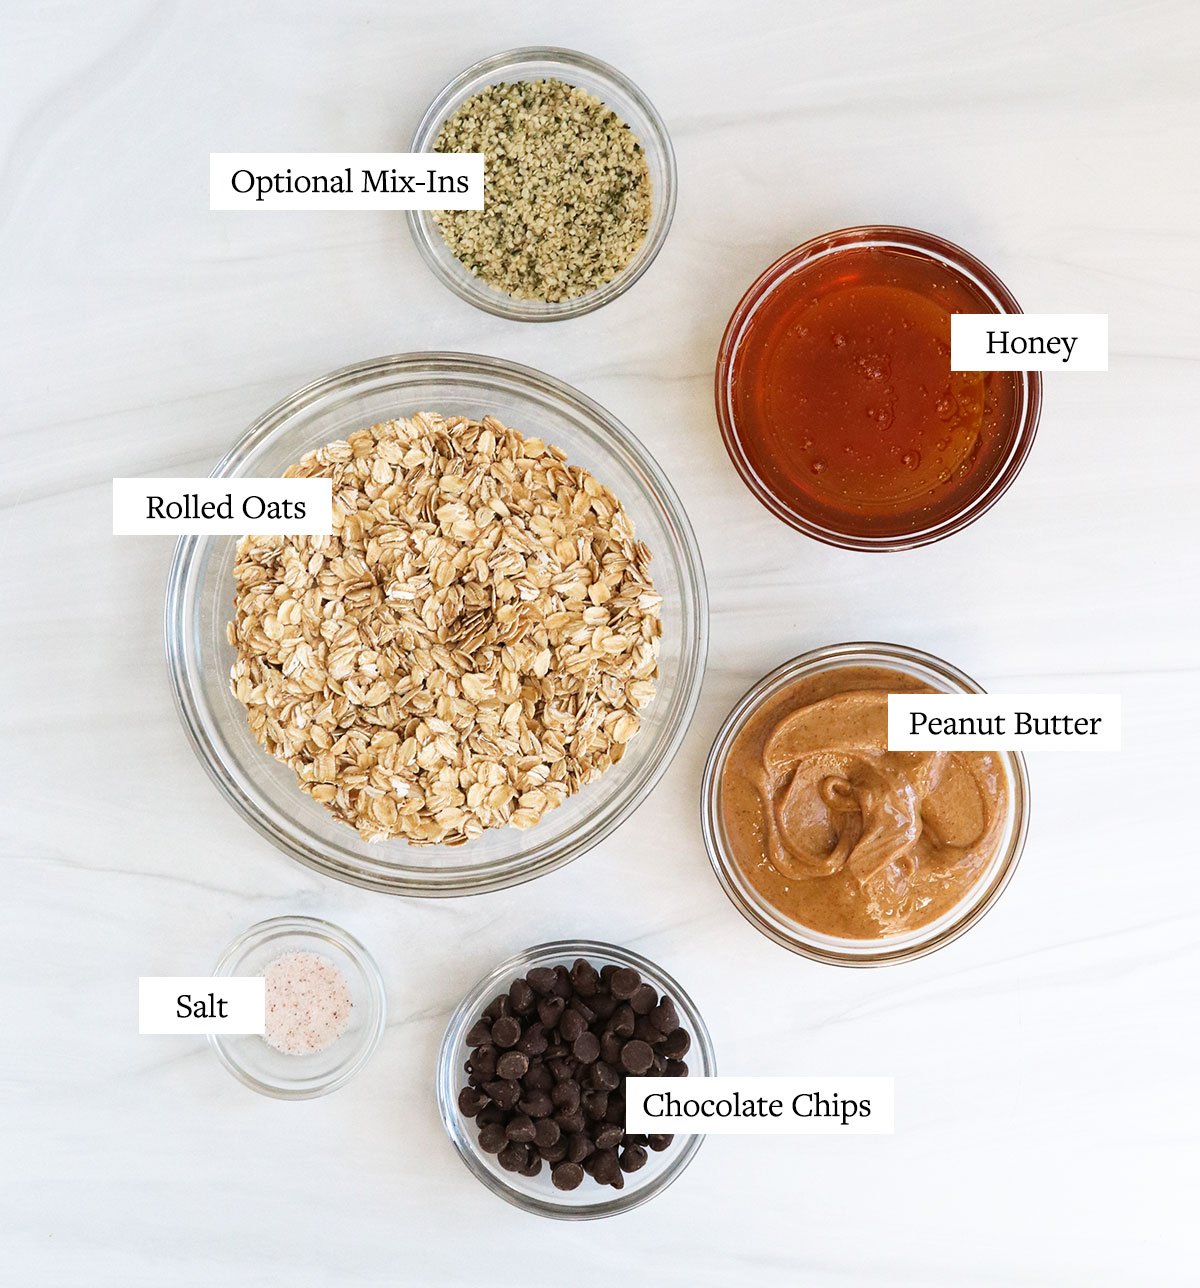
For the base recipe, you’ll need only oats, honey, salt, and your favorite nut butter. If you’re not a fan of peanut butter, try almond butter or cashew butter, instead. From there, you can get creative with any additions you love, such as adding hemp hearts for extra protein.
Add a splash of vanilla extract for flavor, or stir in some walnuts, pecans, or sunflower seeds for crunch. Just like making energy balls, you can easily customize the flavor each time you make these.
How to Make the Best Granola Bars
1. Mix the dry ingredients.
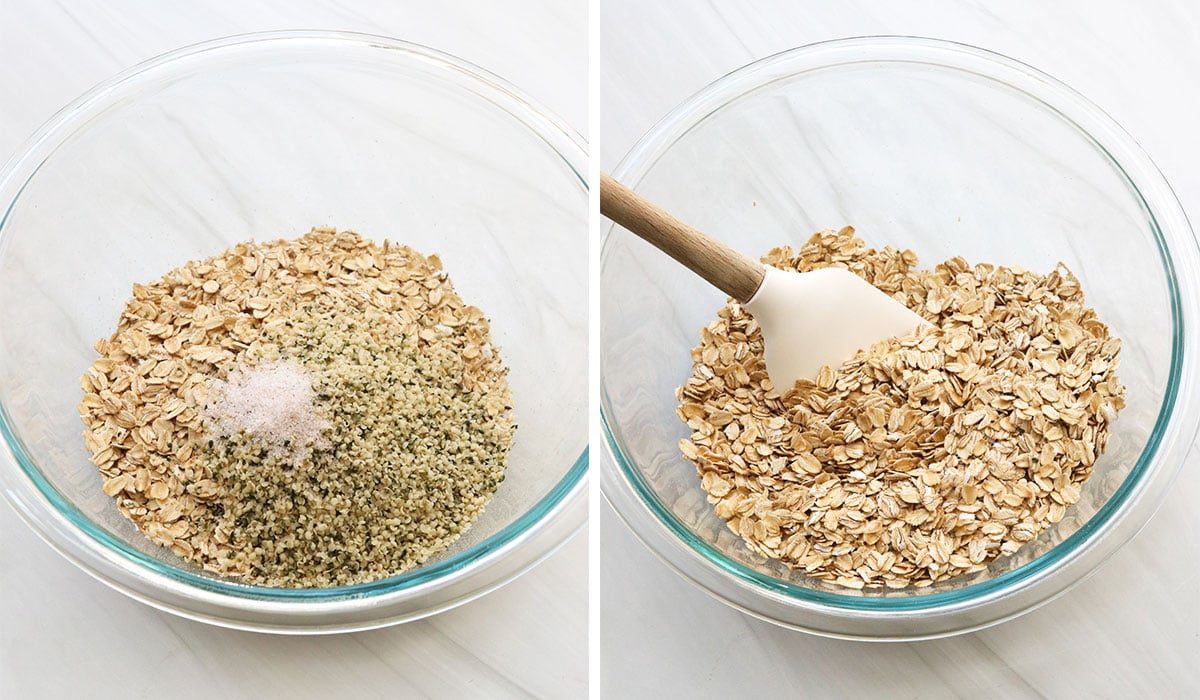
This recipe moves quickly, so start by combining the rolled oats, salt, and any other additions you like, such as hemp hearts, in a large mixing bowl.
Stir well, and then set this aside while you boil the honey.
2. Boil.
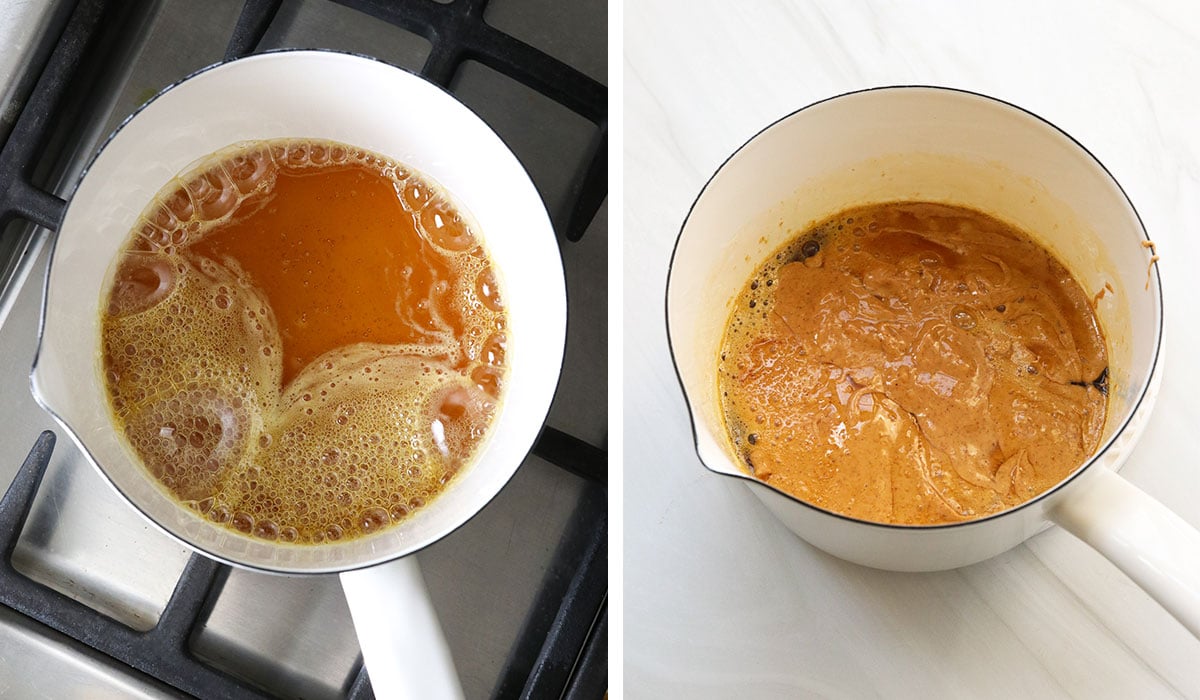
Add the honey to a small saucepan, and bring it to a boil over medium heat. As soon as it starts regularly bubbling around the edges of the pan, set a timer for 1 minute.
3. Mix.
When the timer goes off, turn off the heat and mix in the peanut butter. You’ll want to stir quickly, because the mixture will become harder to stir as it cools.
Pour the peanut butter mixture into the bowl of oats, and stir well. It will become thicker and harder to stir as you go, but keep mixing until it looks like the oats have been uniformly coated.
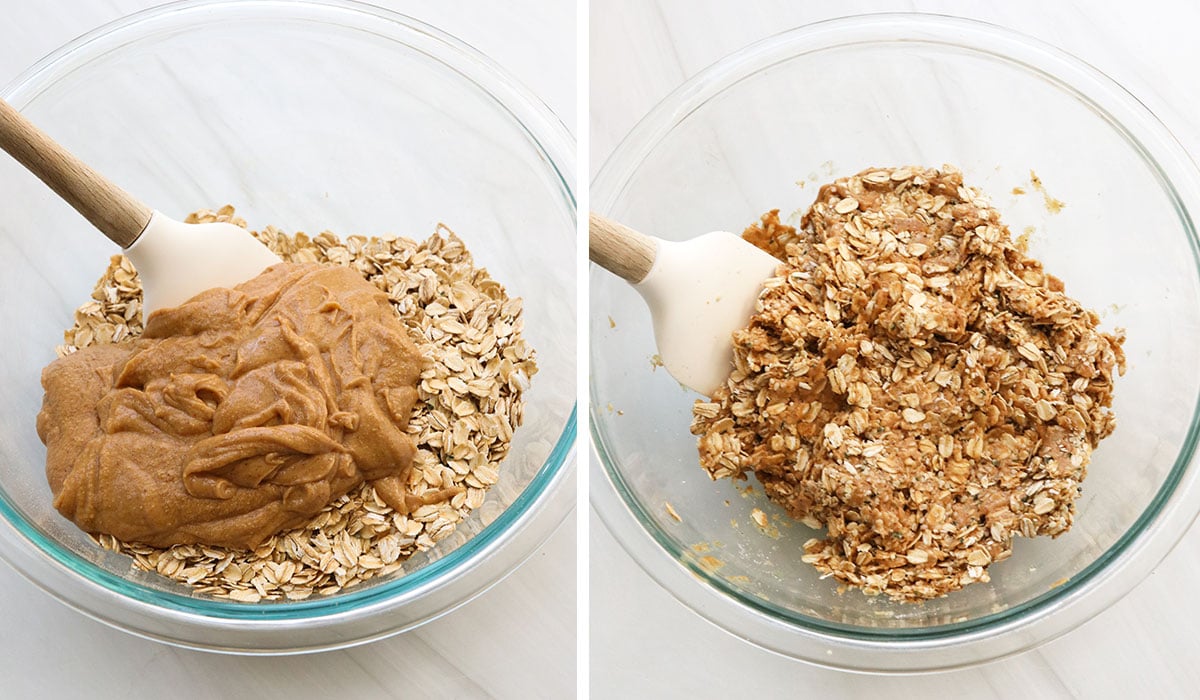
4. Press.
Transfer the mixture to a 9-inch square baking dish lined with parchment paper. (Pro Tip: Spray the pan with oil first, so the parchment paper will stick in place.)
Use a spatula to flatten the bars into the pan. Press firmly, so they will be packed together and will cut easily later.
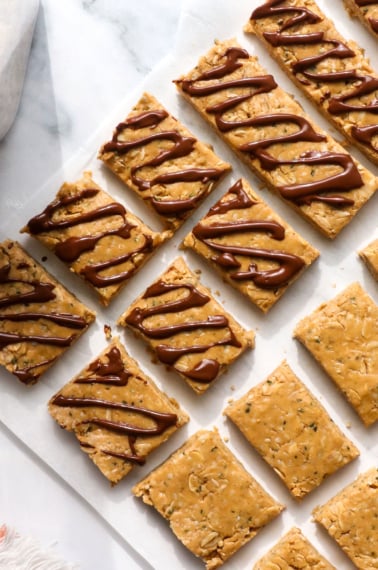
If you’d like a chocolate-coated granola bar, melt a 1/3 cup of chocolate chips and spread them evenly over the top. It will harden as the bars cool. You can also sprinkle coarse sea salt on top, for a sweet & salty flavor.
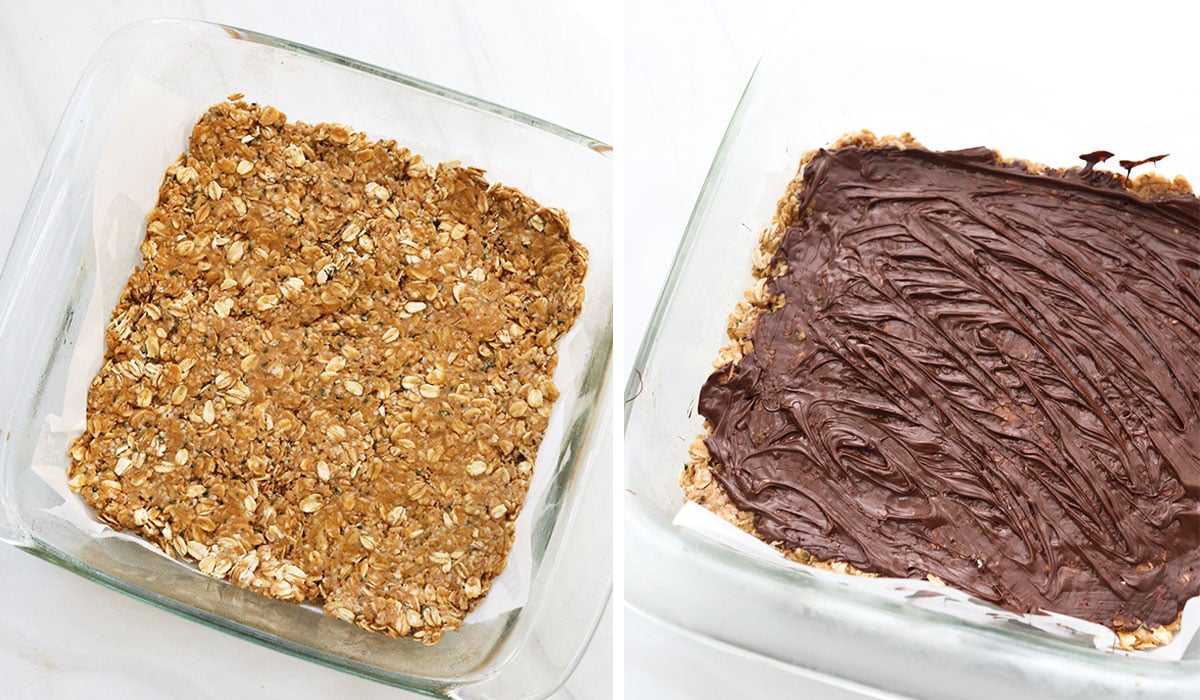
5. Slice & Enjoy!
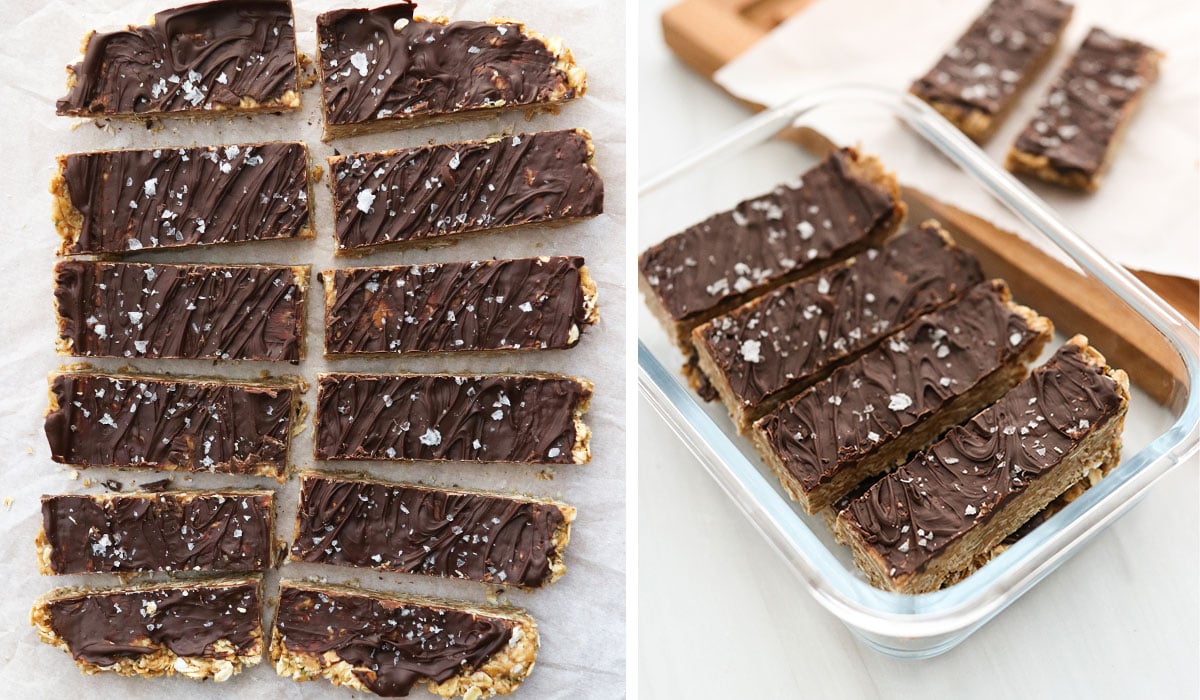
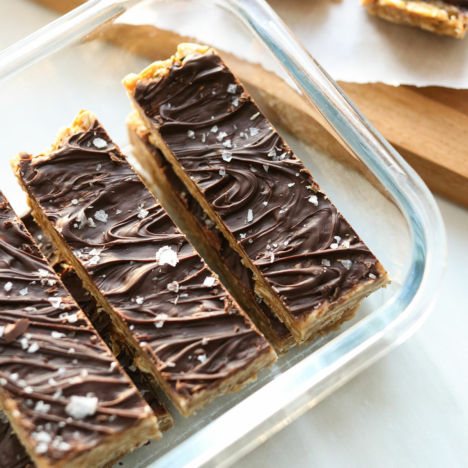
Let the granola bars cool completely, then they are ready to slice and serve. Cut them into 12 bars, and store them in an airtight container in the fridge for up to 3 weeks. You can also store them in the freezer for up to 3 months.
If you store them at room temperature, they may spoil more quickly, but they should keep well for up to a week.
These healthy granola bars will have a chewy texture when you serve them at room temperature, and they are crunchier when served chilled. They will keep well in your purse, or backpack, if you need an easy snack on the go!
Frequently Asked Questions
Cooking the honey is what helps bind this recipe, so the granola bars will stick together even when you serve them at room temperature. If you would prefer to skip cooking the honey, the bars will most likely need to stay chilled for serving. Or, you can try making a date-based granola bar instead, which has no cooking involved.
Yes, you can replace the honey with maple syrup. In my experience, maple syrup hardens a bit more than honey, so the texture might change slightly.
Yes, if you need an easy school lunch option, try using sunflower seed butter or tahini to replace the peanut butter. You can also stir in extra seeds for crunch, such as pumpkin seeds or chia seeds.
Looking for more healthy snacks? Try Banana Snack Cake or Peanut Butter Protein Balls, for more variety.
Ingredients
Granola Bars
- 2 cups old-fashioned rolled oats (use certified gluten-free if needed.)
- 1/2 cup peanut butter
- 1/2 cup honey or maple syrup
- 1/2 teaspoon sea salt
Optional toppings or Mix-Ins
- 1/3 cup dark chocolate chips , melted
- 1/4 cup raisins or dried cranberries
- 1/4 cup almonds or hemp hearts (see notes for tips)
Instructions
- Pour the oats, salt, and any of the optional dry mix-ins, like hemp hearts, into a large bowl and stir well, then set it aside. Lightly grease a 9-inch square pan with cooking spray and press a square of parchment paper into the bottom. (The oil will hold the parchment paper in place, so it doesn't move around later.)
- In a small saucepan over medium-high heat, bring the honey to a boil. Set a timer and allow the honey to boil for 1 minute, without stirring.
- Remove from the pan of honey from the heat and stir in the peanut butter. As soon as the mixture is smooth, pour it over the oats.
- Use a spatula to stir quickly, coating the oats evenly with the peanut butter mixture. It will harden as it cools, so it may become more difficult to stir as it cools down.
- Transfer the mixture to the prepared pan, and press it very firmly into the bottom. If you're adding any of the optional toppings, like the melted chocolate, you can spread it over the top now. For extra crunch, you can sprinkle chopped almonds or other nuts on top of the melted chocolate, too.
- Let the granola bars cool in the fridge for freezer for up to 30 minutes, then use the parchment paper to lift the bars out of the pan and slice them into 12 pieces. These granola bars can be kept at room temperature for up to 5 days, or in an airtight container in the fridge for up to 1 month. You can also freeze them for up to 3 months if you'd like to make a larger batch. They can thaw overnight in the fridge.
Video
Notes
Nutrition
If you try this granola bar recipe, please leave a comment and star rating below letting me know how you like them.



Ridiculously easy and soooo freaking delicious
Super easy and tasty! Can’t go wrong with peanut butter and chocolate! And my first time trying hemp seeds, super yummy!
I made these bars as written with honey. I added dried apricots and melted choc chips for icing. These were a real hit in my household. I will be making these often, maybe with almonds next time.
So easy to make and all 3 kids were asking for more. I love they the bars don’t fall apart when you pick them up. We did add 1/4 hemp hearts to the oats. So good! Thank you for the recipe – it’s a keeper!
These granola bars are delicious, satisfying and filling. I spread melted chocolate on top. They are super easy to make too!
So easy to make and my kids love them!
Made this so many times for my husband and colleagues! Just finished 3 times batch! I use quinoa puffs instead of oats. Also 50% tahini and 25-25 % maple syrup and honey. With pistachio and cashew with mixed super food nuts. Black cherries, blueberries, gojiberries and barberries… also put cacao nibs and nigella… It is a super energy bar for us!
Just out of curiosity, why does the honey get boiled? What does that do?
It makes the bars hold together at room temperature with a chewy texture. I believe un-boiled honey would give you a more sticky result.
I am so glad I found this recipe! We all love these bars. I don’t even need to buy bars anymore because these are so good and I know what is in them! I make them once a week…so fast and easy! I am looking forward to making more of your recipes!
We’ve been using this recipe for over a year. My kiddos love these! So easy to make. Kiddos like sprinkling chocolate chips on top and squishing them in with parchment paper. The chips do melt but the kiddos don’t mind. We have experimented with a few different nut Butters and it always turns out yummy. Peanut butter is our favorite! Sometimes, I’ll mix tahini in with a nut butter just to get those extra nutrients. Huge thanks for this recipe!