This post may contain affiliate links. Please read my disclosure and privacy policy.
I originally posted this recipe back in 2011, when I learned the secret to making a cauliflower pizza crust that isn’t soggy. (Hint: you need to squeeze out the moisture from the cooked cauliflower before making your crust!)
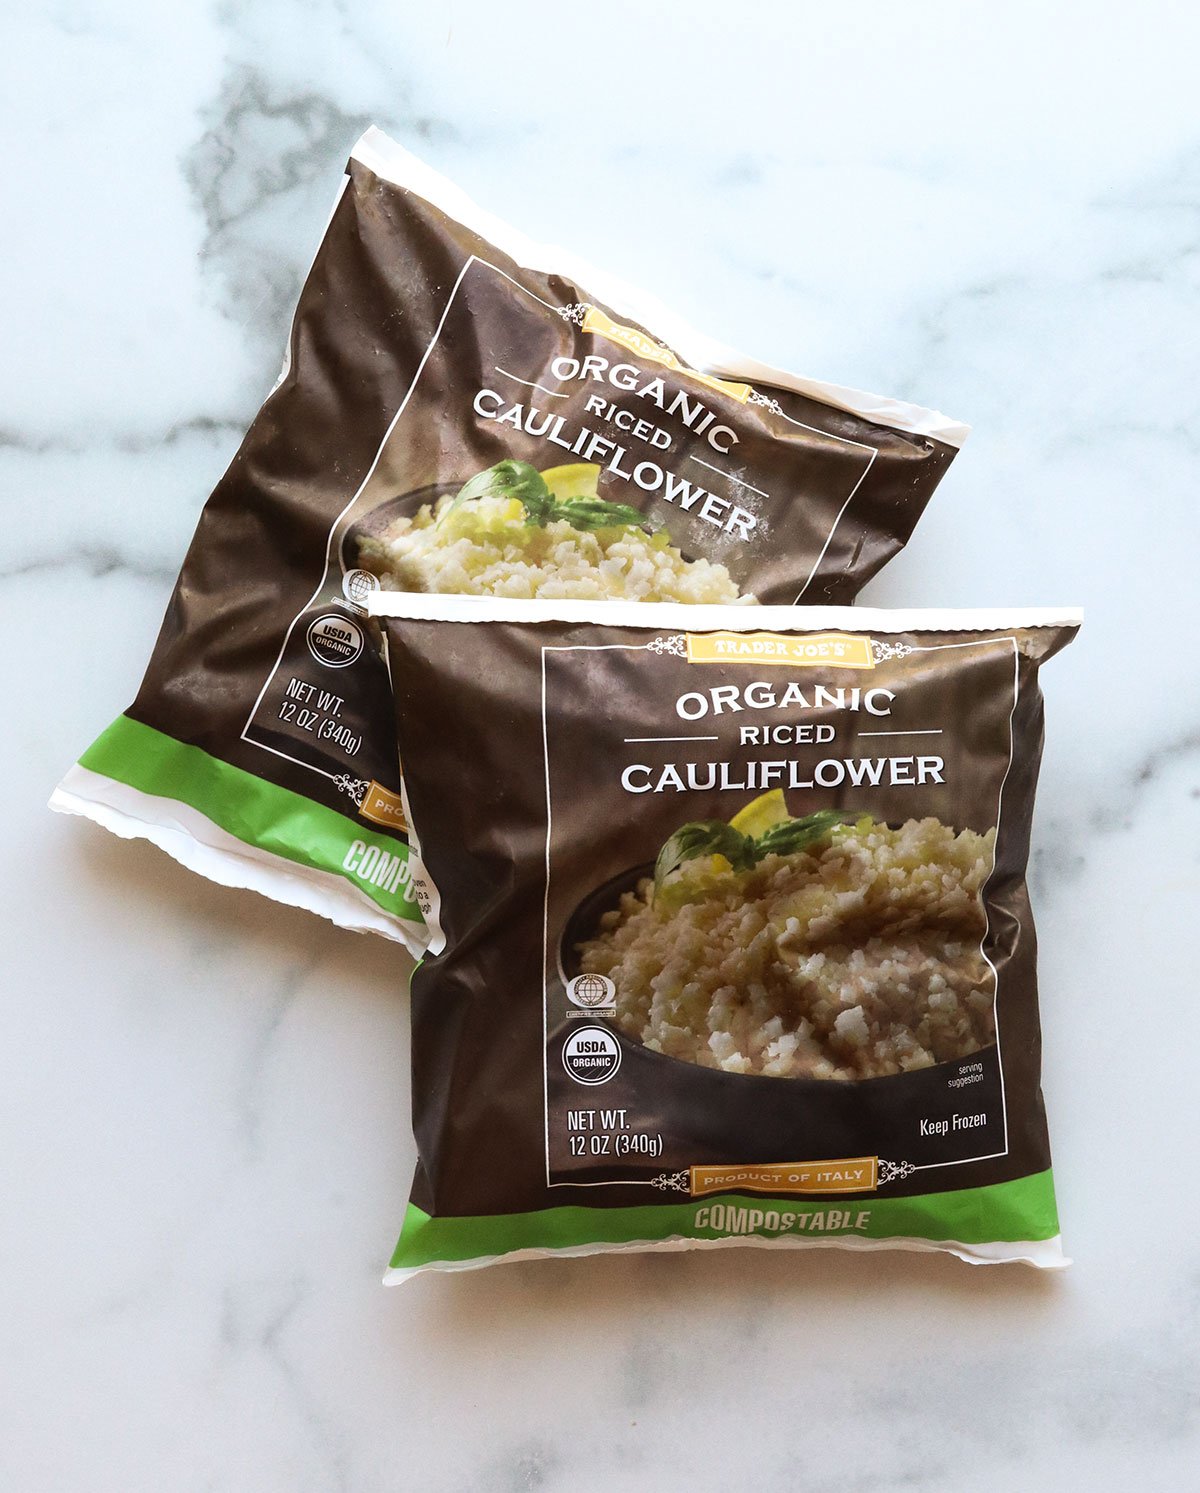
Now that we’ve been making this pizza crust for over a decade, I’ve learned some time-saving tricks, like using frozen cauliflower to skip the cooking process. Sometimes, you can even find frozen riced cauliflower, which allows you to skip using the food processor as well.
Be sure to read all the tips below if you’d like to make a frozen pizza crust that you can use in the future, or if you need to make any substitutions.
⭐⭐⭐⭐⭐ Featured Review
“Made EXACTLY as recipe states. This was phenomenal! The last recipe for the crust I tried left a lot to be desired. This has an excellent smell, taste, and mouth-feel. The texture is perfect!” -Kristy

Ingredients You’ll Need
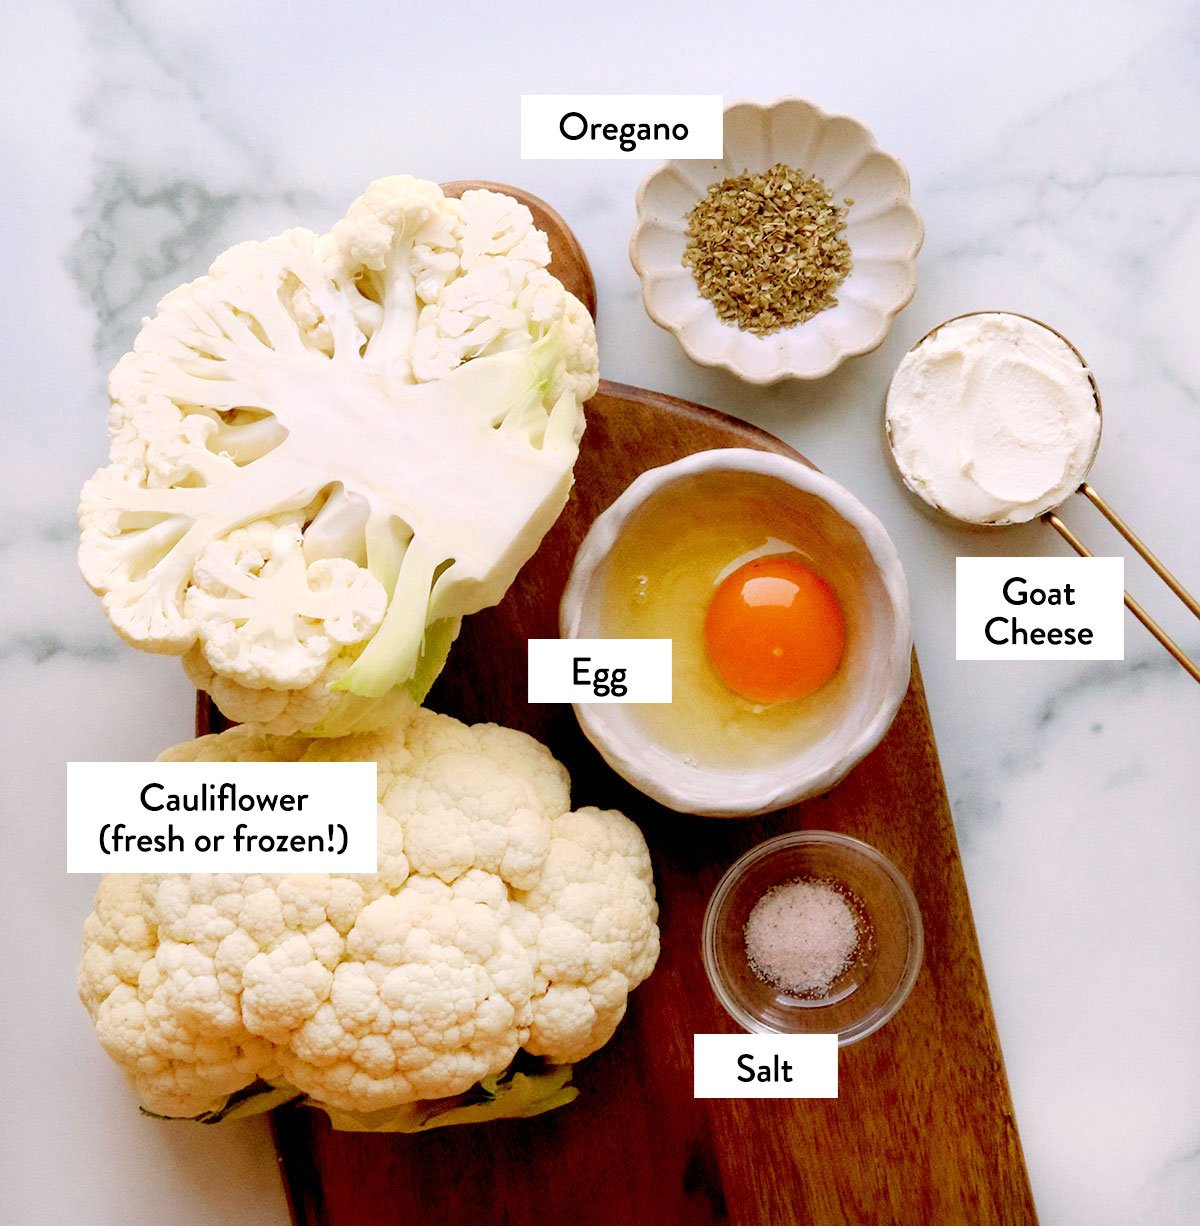
- Fresh or Frozen Cauliflower. While you can certainly make this recipe with fresh cauliflower florets, it’s 100% easier if you start with frozen cauliflower florets that have been thawed. (You can either let the bag thaw in the fridge overnight or warm it up to thaw it faster.) Your life will be even easier if you can find frozen, riced cauliflower at the store. I’ll walk you through all the variations I’ve tested below.
- Egg. This adds protein and holds the crust together. I don’t recommend using an egg substitute for this recipe, but I have tested a vegan Cauliflower pizza crust if you need an egg-free recipe.
- Cheese. Even if you’re not the biggest fan of goat cheese, soft goat cheese (also known as chevre) creates the best texture for cauliflower pizza crust. I highly recommend trying the recipe as written, but other varieties of cheese will work, too. Read the comments below for feedback on mozzarella or Parmesan.
- Spices. I think pizza crust tastes best with a little extra flavor. Adding oregano and salt boosts the overall flavor so you don’t feel like you’re eating a crust made mostly of cauliflower.
How to Make Cauliflower Pizza Crust
Step 1:
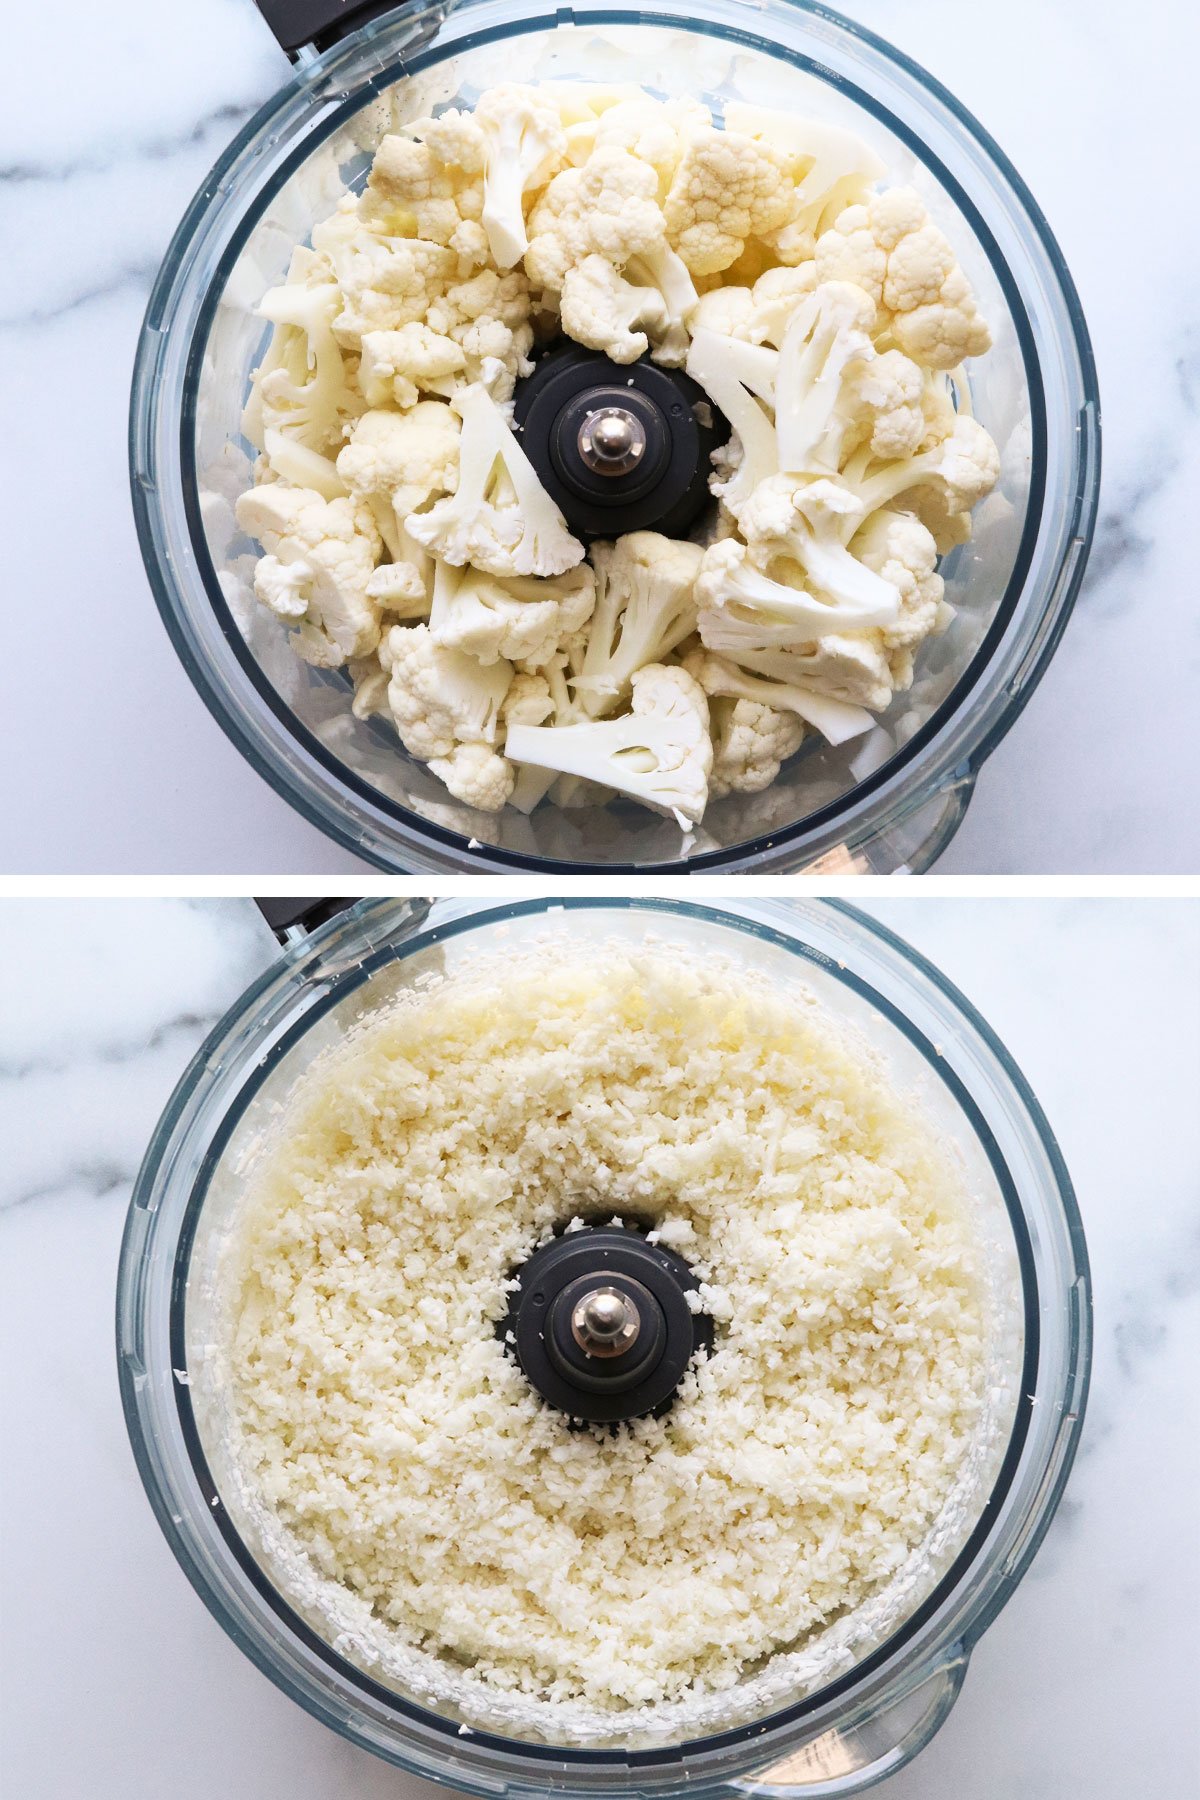
Preheat the oven to 400ºF and line a large baking sheet with parchment paper. If you’re using fresh cauliflower, place the cauliflower florets in a food processor fitted with an S-blade. (Mine is a 12-cup size.)
Briefly pulse the florets until they have a rice-like texture.
Step 2:
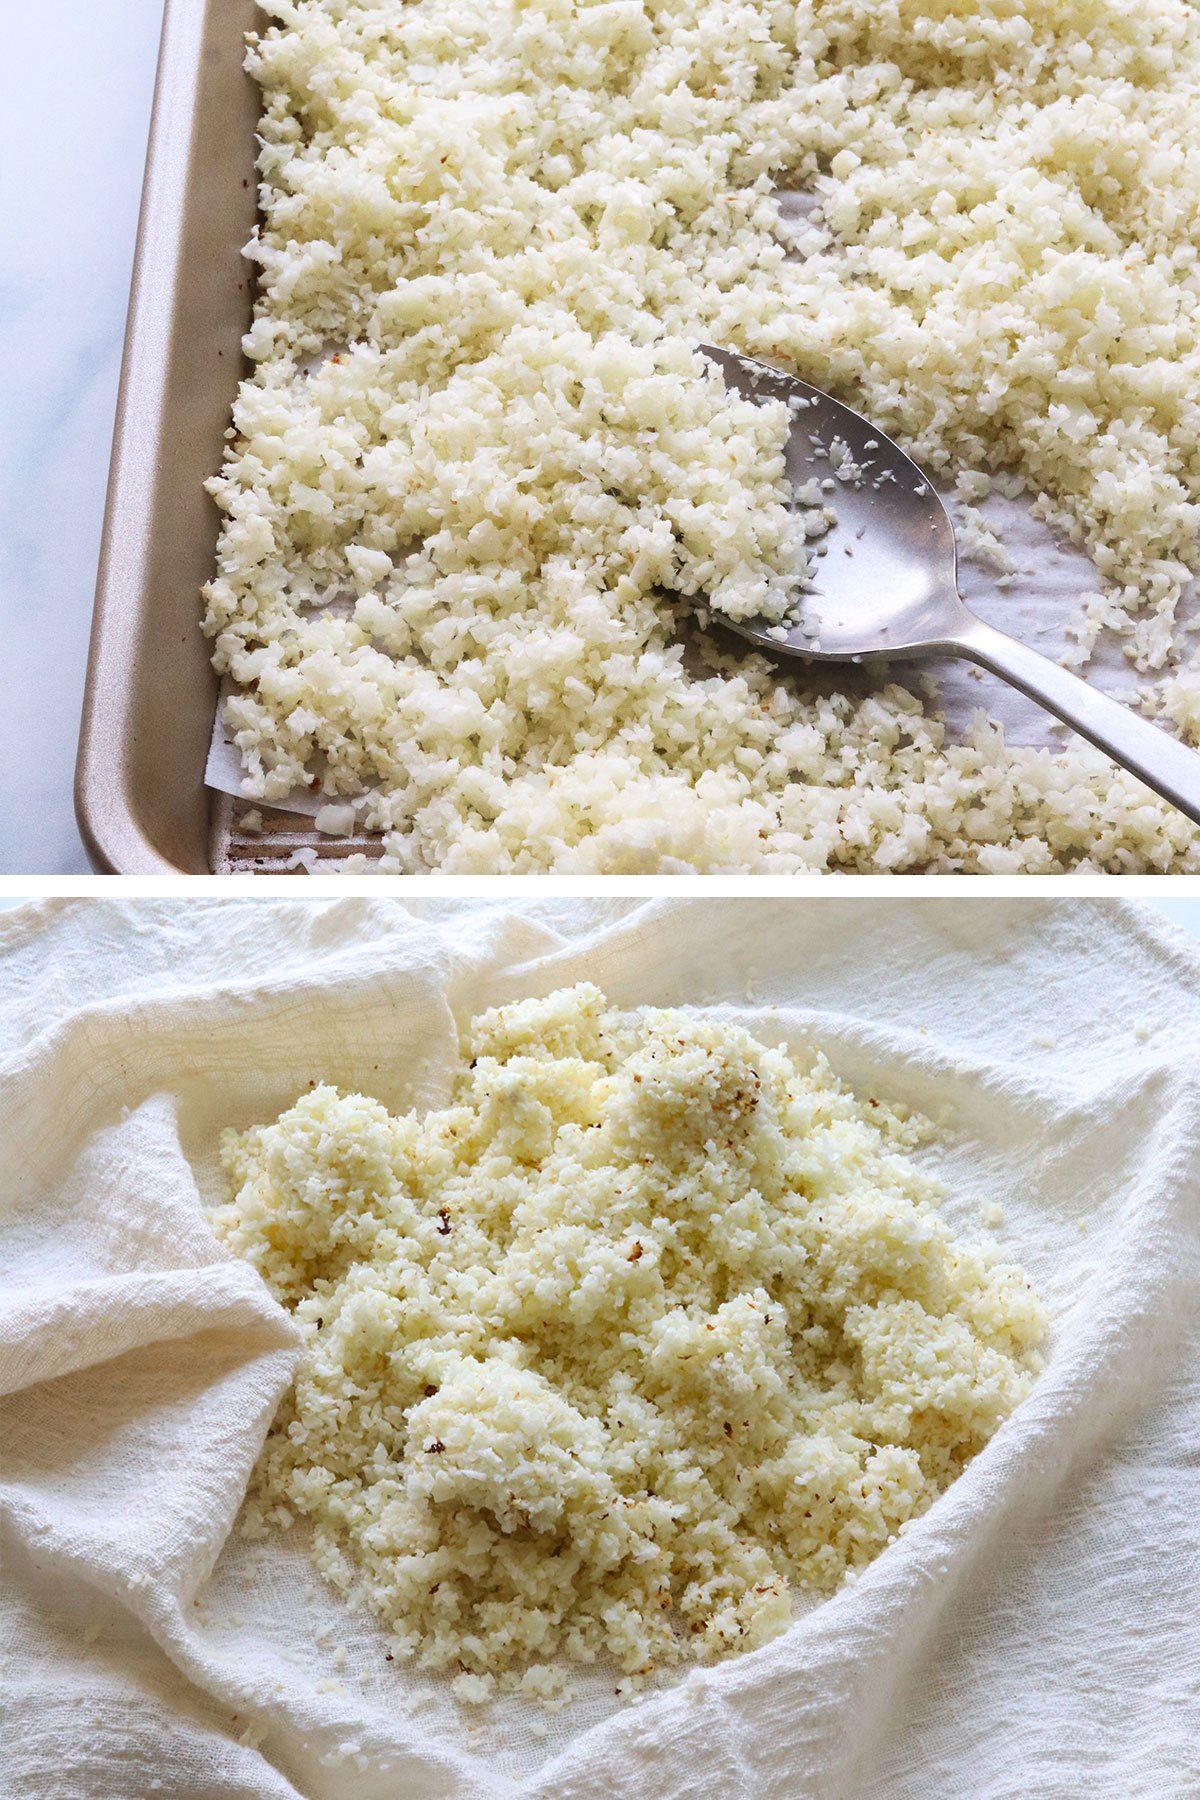
Transfer the cauliflower rice to the prepared baking sheet and spread it out into an even layer. Place it in the oven to soften and cook for 15 minutes.
Alternatively, you can place the cauliflower in a covered microwave-safe bowl and cook for 4 to 5 minutes on high to steam it. Or, you can cook it in a large skillet with a 1/4 cup of water for 8 to 10 minutes, until it has softened and the water has evaporated.
Once the cauliflower has cooked, let it cool for 10 minutes, or until you can safely handle it without burning yourself.
Time-Saving Tip
If you buy frozen cauliflower florets, you can simply let them thaw overnight in the fridge before making this crust. They will have a tender texture so you can skip the cooking step altogether! Simply pulse them in a food processor and then wring out the moisture as directed.
Step 3:
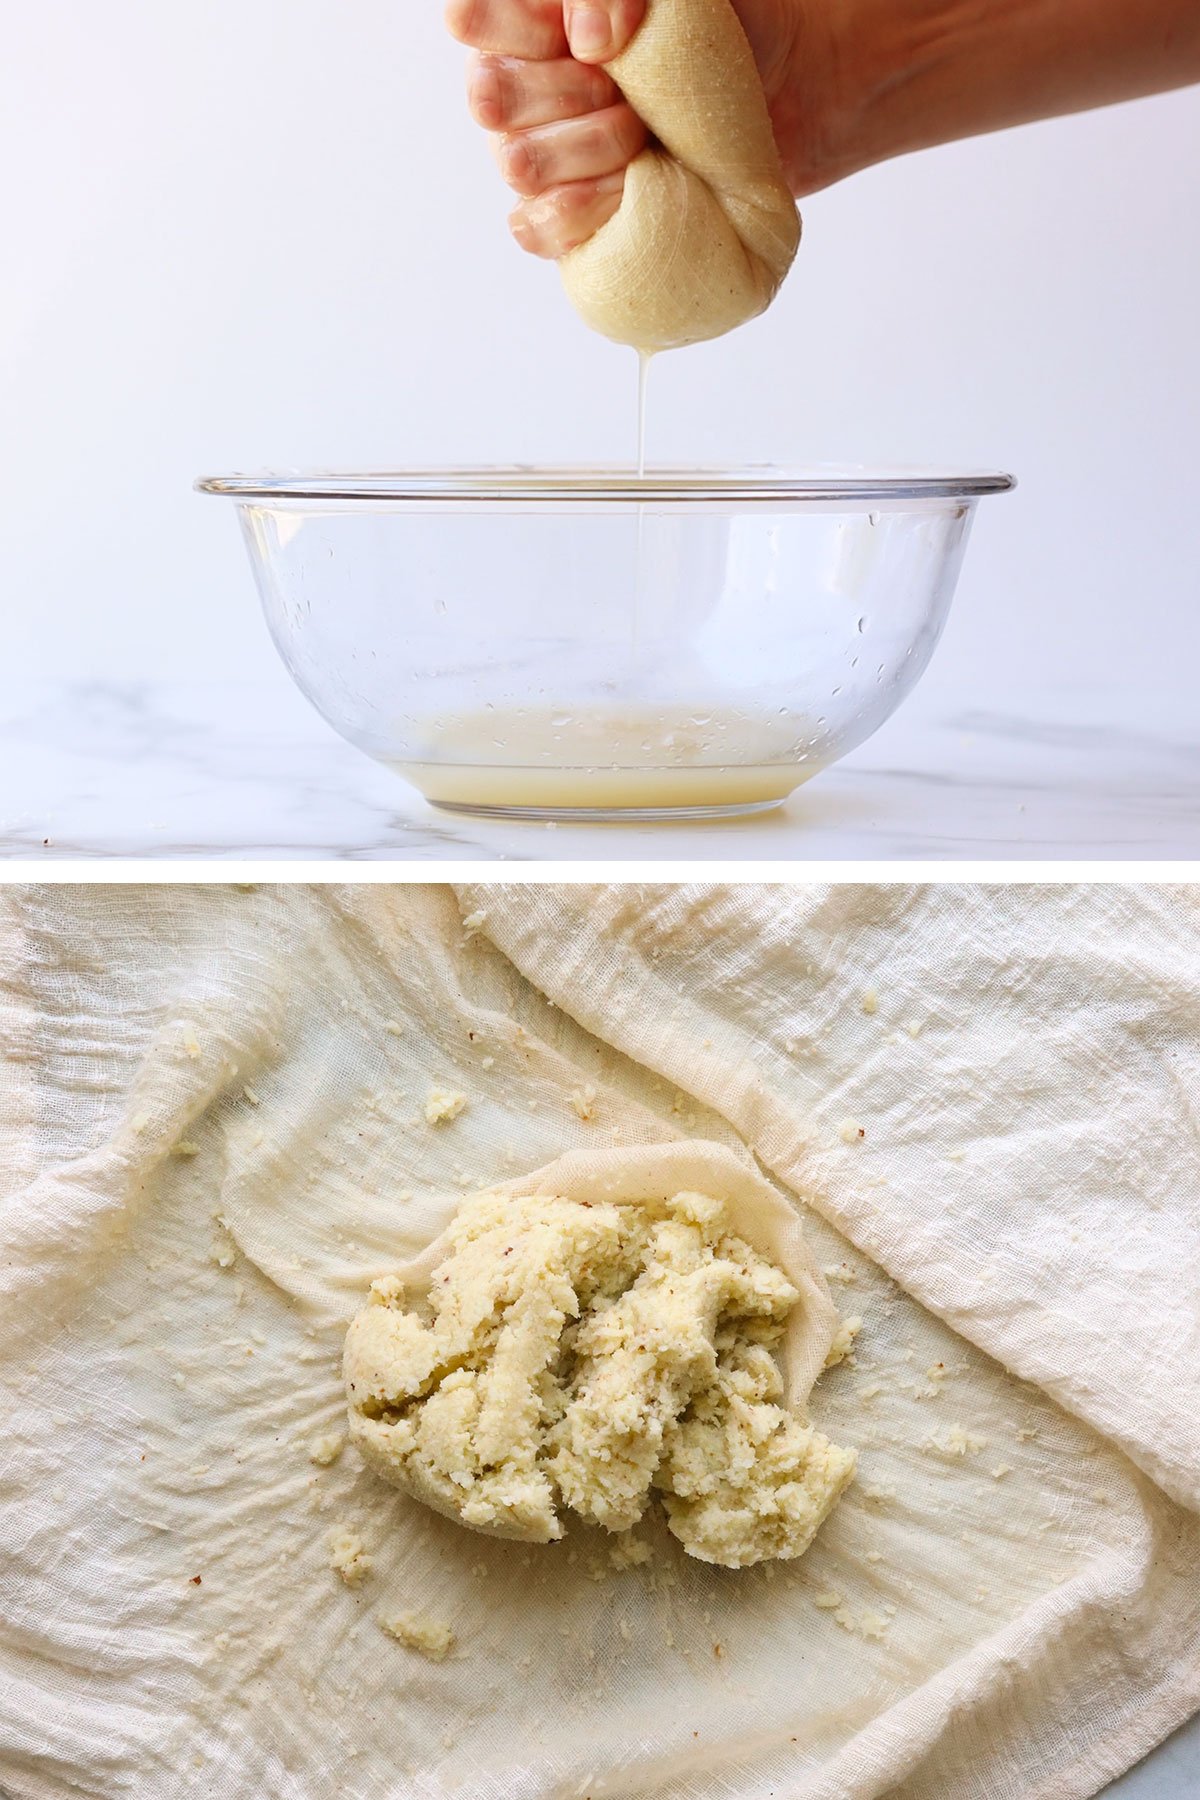
Transfer the riced cauliflower to the center of a clean dish towel. Arrange the towel filled with cauliflower over a small bowl, then squeeze as much liquid as you can out of the cooked cauliflower.
It might not feel like there’s excess moisture at first, but you may be surprised by how much liquid is released! (There should be at least 3 to 4 tablespoons of liquid in the bowl.)
Step 4:
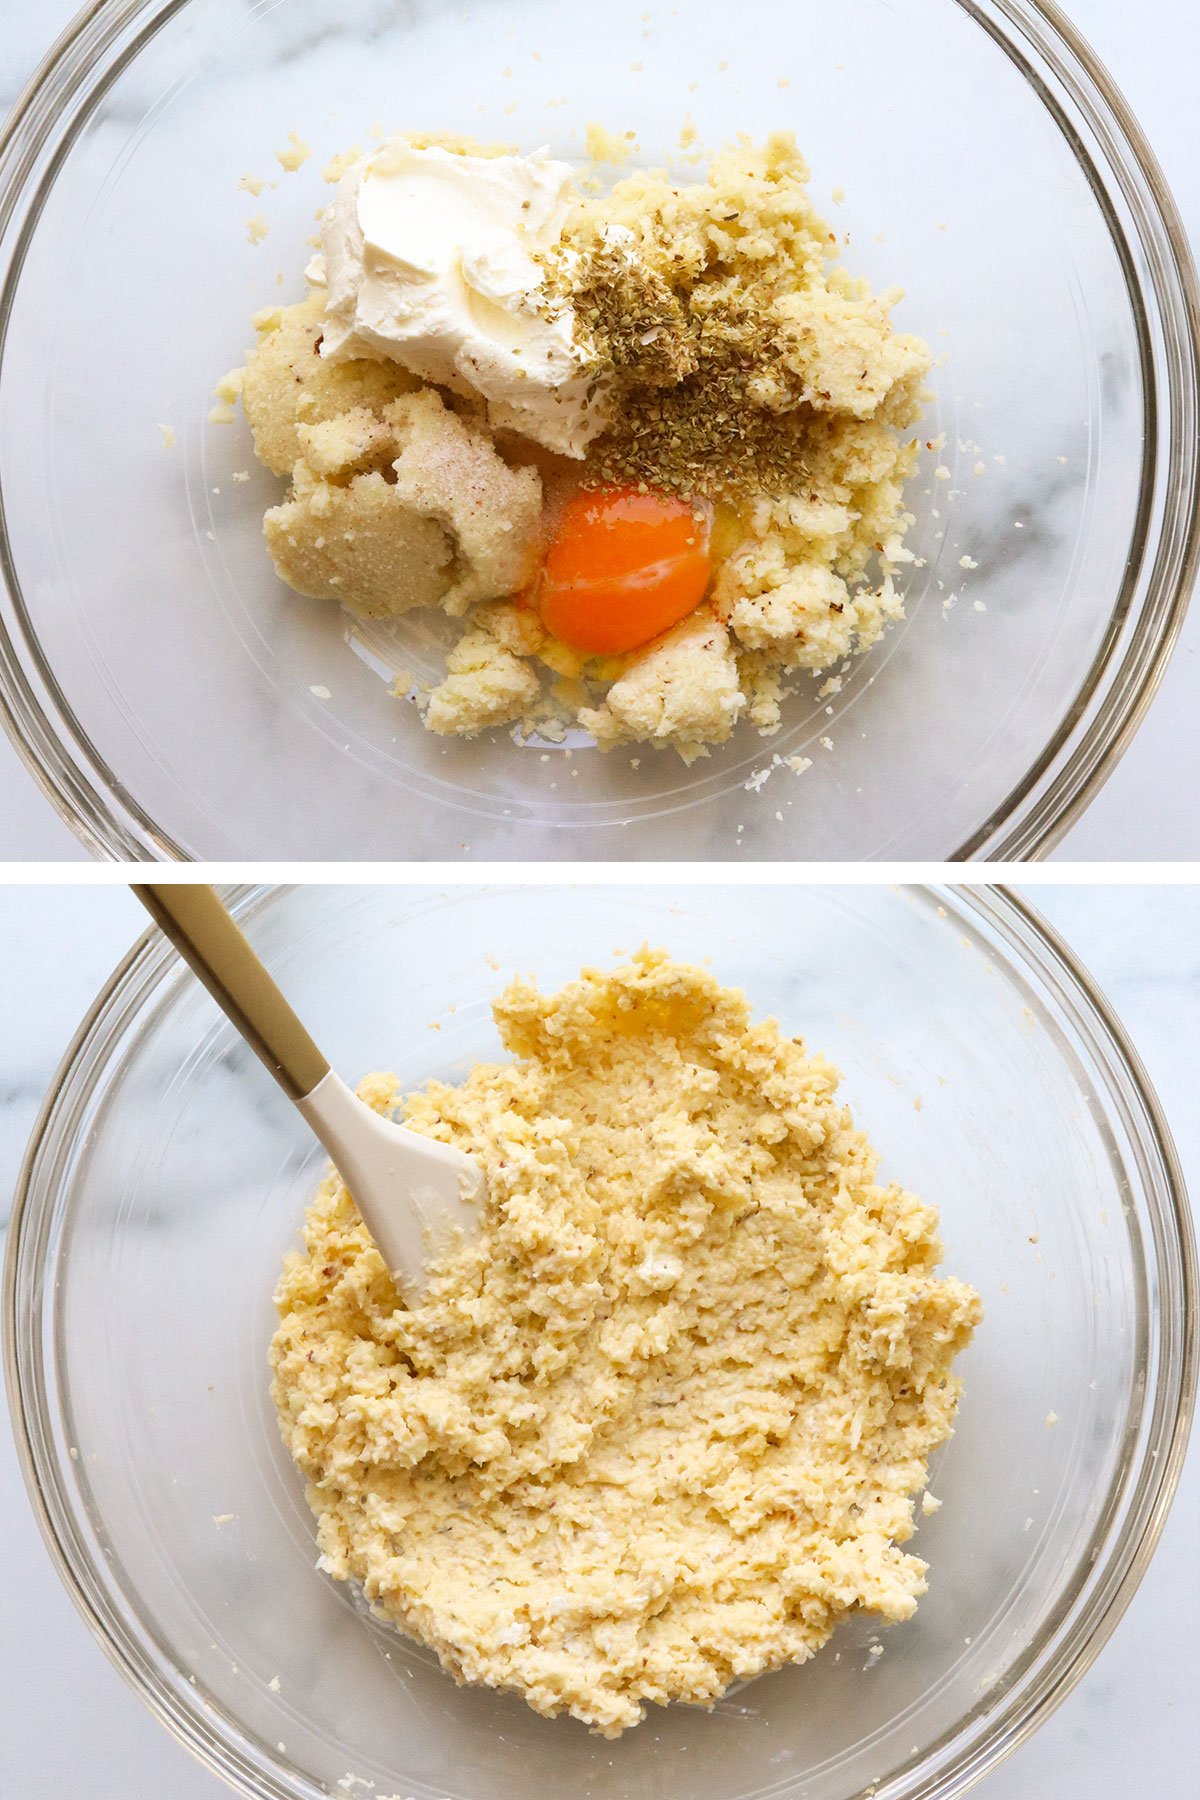
Place the cauliflower rice that you just squeezed into a large bowl, then add in the egg, cheese, oregano, salt, and a pinch of black pepper, if desired.
Use a spatula to stir well, until the cauliflower mixture looks relatively uniform.
Step 5:
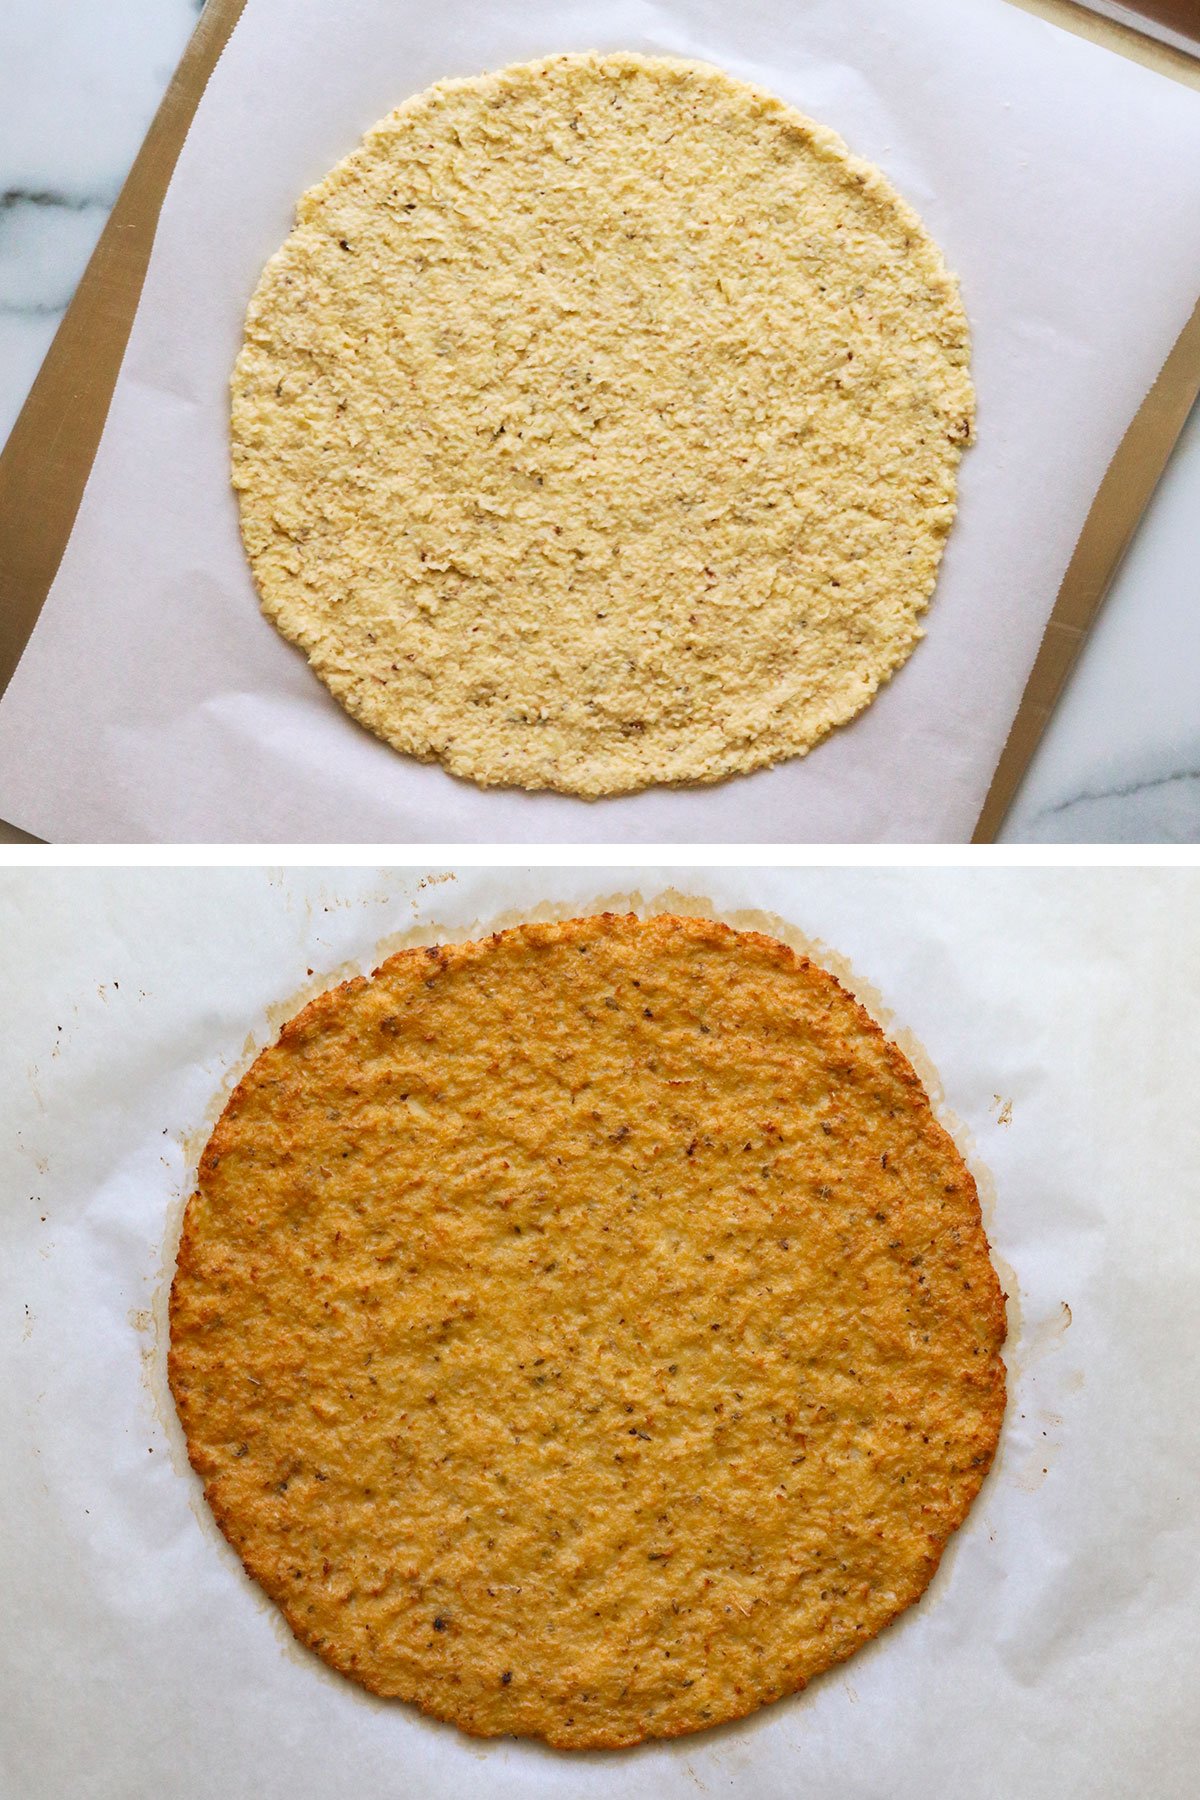
Arrange a fresh piece of parchment paper, if needed, on the large baking sheet, then place the cauliflower mixture in the center of the pan.
Use your hands to gently press the cauliflower pizza dough into the shape of a round pizza crust, about 10 to 12 inches wide. It will be thin, but there shouldn’t be any holes in the crust.
Tip
Get your hands wet if you find that the crust is sticking to your fingers; wet hands help prevent sticking!
Step 6:
Place the cauliflower crust in the oven and bake at 350°F for 30 minutes, or until the crust is golden brown. Then it’s ready for toppings!
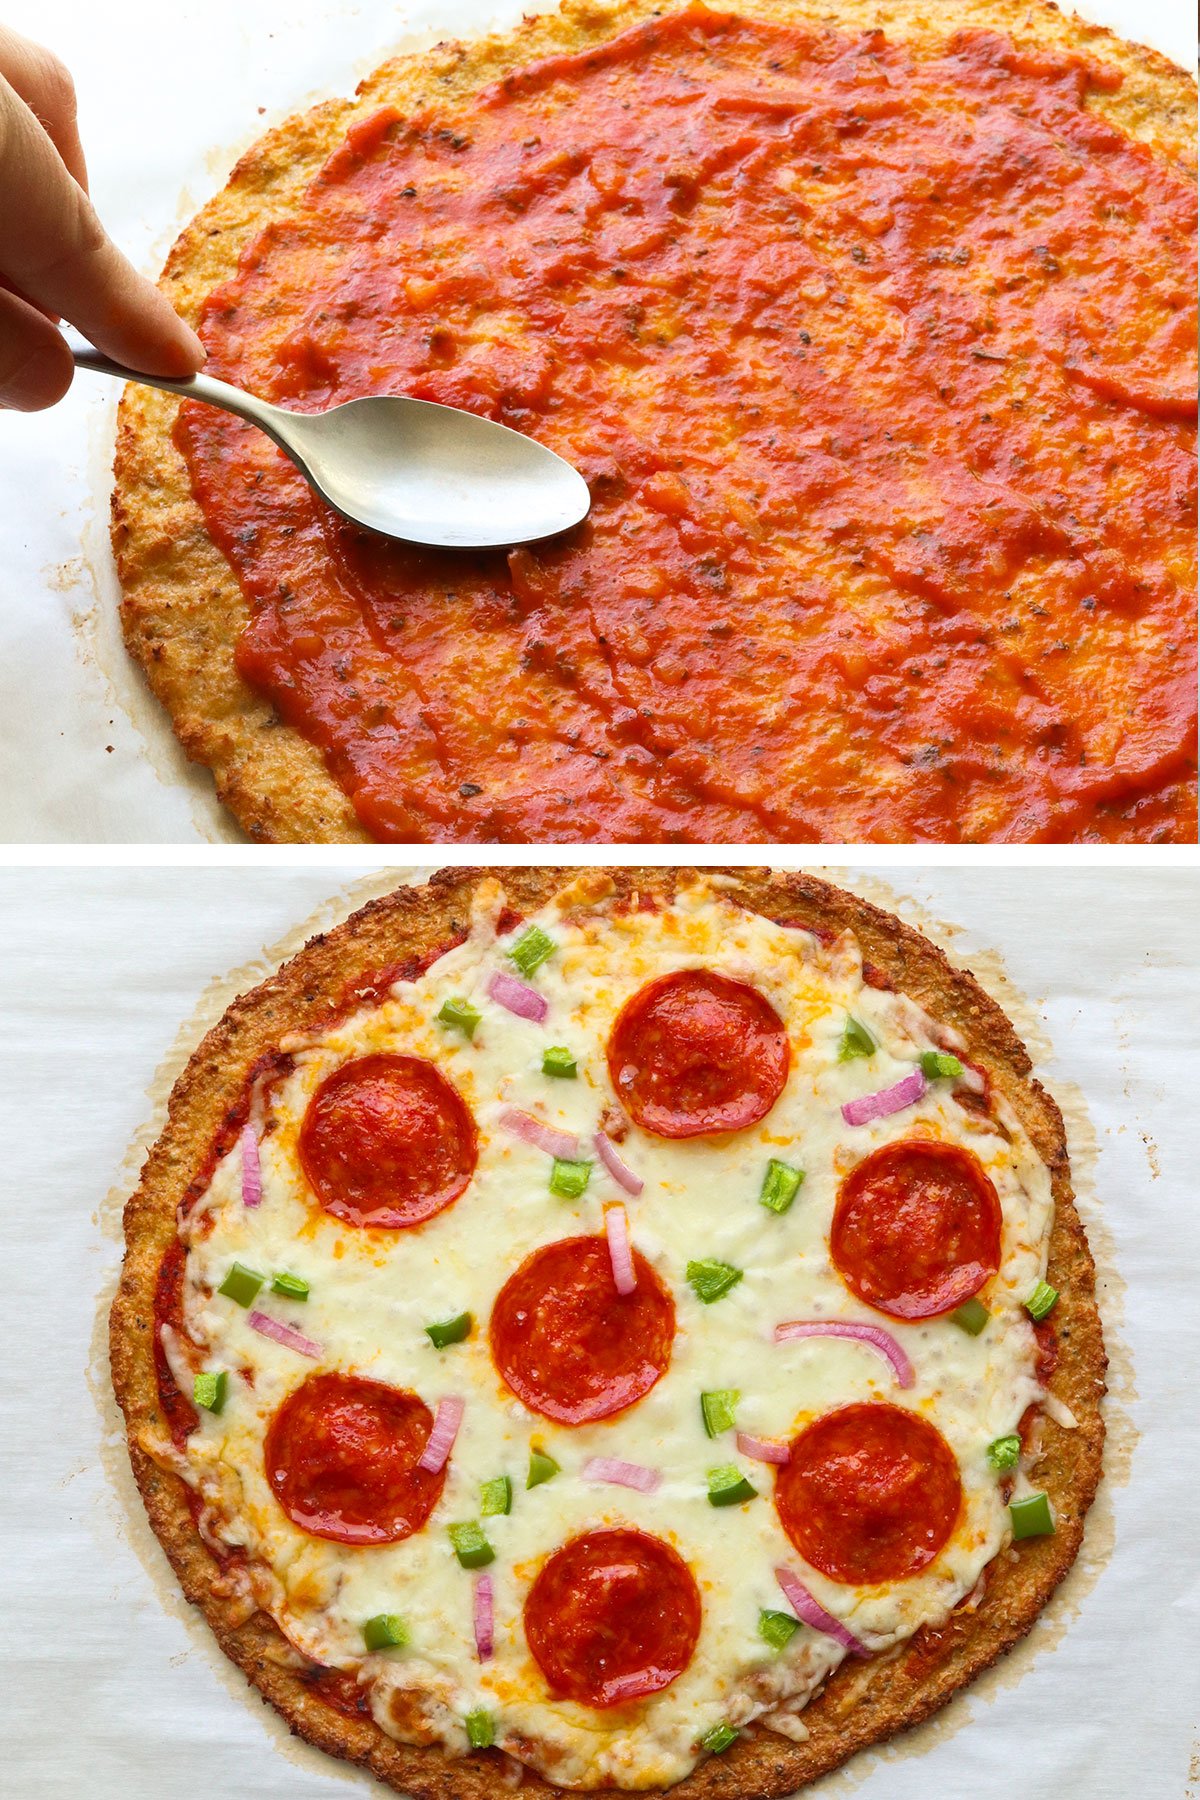
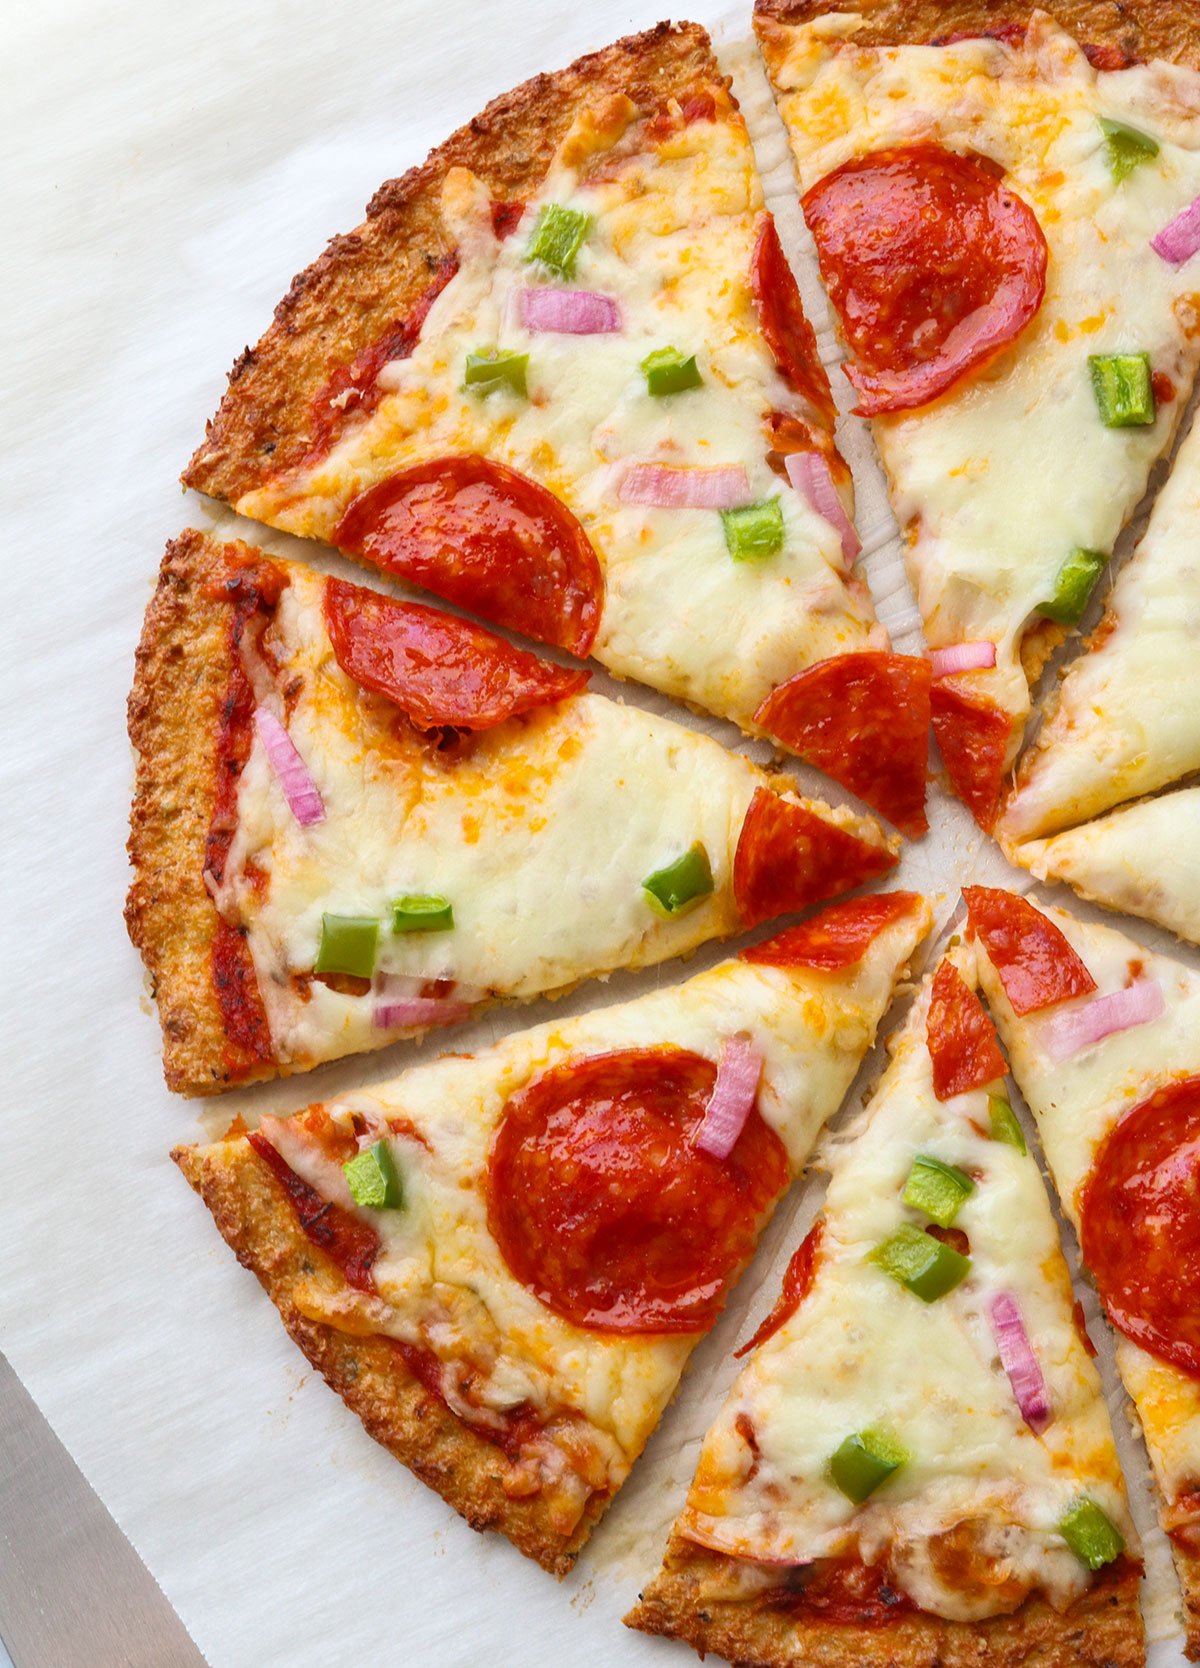
Add a thin layer of pizza sauce, mozzarella cheese, and any toppings you love, like pepperoni, mushrooms, onions, fresh basil, or olives.
Return the pizza to the oven to bake until the cheese has melted, about 10 more minutes. You can turn on the broiler and watch closely if you want the cheese to turn golden even faster.
Let the pizza cool for 5 minutes, then cut it into slices. Because you took the time to remove excess moisture, the crust should be easy to pick up with your hands!
Storage + Meal Prep Tips
Leftover pizza slices can be stored in an airtight container in the fridge for up to 5 days. Or you can freeze them for up to 3 months.
If you’d like to freeze a whole pizza crust, bake the crust as directed for 30 minutes, then let it cool completely. You can freeze the pizza crust tightly covered for up to 6 months. Since you’re already cleaning your food processor after this, you might as well make a double batch!
When you’re ready to bake your frozen cauliflower pizza crust, place it on a baking sheet and add your toppings. There’s no need to thaw the frozen crust first. Bake at 400ºF for 10-15 minutes, or until the cheese is golden and bubbly.

Cauliflower Pizza Crust
Ingredients
- 1 pound cauliflower florets (or thawed from frozen; see notes)
- 1 large egg , beaten
- ⅓ cup soft goat cheese (or grated Parmesan)
- 1 teaspoon dried oregano
- ¼ teaspoon salt
Instructions
- Preheat the oven to 400ºF. If the cauliflower isn't already riced, add the cauliflower florets into a food processor and pulse briefly, until it has a rice-like texture. Line a large baking sheet with parchment paper, then spread the cauliflower rice out in a single layer. Bake for 15 minutes, or until the cauliflower is tender.
- If you're using frozen cauliflower, be sure that it is completely thawed, and process it into a rice-like texture using a food processor. (Alternatively, you can start with frozen cauliflower rice that has been thawed, to skip the food processor step.) There is no need to cook thawed frozen cauliflower so it will save you time! Tip: You can use up to 1 ½ pounds of cauliflower if you want to use two 12-ounce bags. This crust will still hold together well!
- Once the riced cauliflower has been cooked (or thawed), transfer it to a clean, thin dishtowel. Wrap up the steamed rice in the dishtowel, twist it up, then SQUEEZE all the excess moisture out! (Be careful if your cauliflower is still hot; let it cool before handling.) A lot of extra liquid will be released, which will help you avoid a soggy pizza crust.
- In a large bowl, mix up the squeezed-out rice, egg, cheese, oregano, and salt. It won't be like any pizza dough you've ever worked with, but don't worry, it will work!
- Press the dough out onto a baking sheet lined with parchment paper. (It's important that it's lined with parchment paper, not wax paper, or it will stick.) Keep the dough about 1/4-inch thick. Wet your hands to prevent sticking, if needed.
- Bake for 30 minutes at 400ºF or until the top looks dry and golden.
- Add your favorite pizza toppings to the crust, such as sauce and cheese, then return the pizza to the 400ºF oven. Bake an additional 5-10 minutes, just until the cheese is hot and bubbly. Slice and serve warm.
Video
Notes
Nutrition
More Low-Carb Recipes to Try
- Cauliflower Fried Rice
- Zucchini Lasagna
- Chicken Vegetable Soup
- Zucchini Hummus (no beans)
- Cottage Cheese Dip
- Mexican Chicken Soup
- Healthy Chicken Burgers
If you try this Cauliflower Pizza Crust recipe, please leave a comment and star rating below letting me know how you like it.





Hi Megan,
I have tried so many of your recipes and absolutely love them, I just had the cauliflower pizza and I can not get over how delicious it was.
Keep the recipes coming!!
Liz
I have made cauliflower pizza crust a few times before and do really enjoy it. Thanks for the tips on how to squeeze the water out…I was rolling it up in a towel jellyroll style, I will try this method next time. My one thought/question about this process is, aren’t you squeezing out all the nutritional value of the cauliflower when you squeeze out all the moisture? We are always told that the vitamins and minerals leach out into the water, etc. Just wondering about anyones thoughts on this.
In this case, the vitamins and minerals from the cauliflower are not our primary concern. It’s more about what you’re NOT putting into your body! Since grains may cause inflammation and prevent mineral absorption for many people, it’s actually more important to simply avoid them, and find substitutes that won’t cause these issues– such as this cauliflower crust. We probably are squeezing out many of the vitamins and minerals through this process, but if you’re eating a vegetable-centric diet anyway, it shouldn’t matter in the long-run. Hope that makes sense!
Hi Megan.
I tried this tonight for dinner and LOVED it! It’s amazing how full I felt and not at all bloated. Goat cheese is ridiculously expensive in Iceland but I just had to buy it for this recipe. I think it tastes better than the cow cheese. AMAZING! Thanks 😀
So I’ve been drooling over this recipe for a couple days now. I’m slowly switching my eating style and dying for pizza. I just moved (live in Europe currently) and can’t find my transformer for my food chopper. I course lay chopped the cauliflower then steamed it and mashed it with my masher. I still strained it as you suggest above (I didn’t have that much water to press out but still got a surprising amount out) but didn’t have goat cheese (substituted cream cheese) and added a few other seasonings. OMG YOU ARE MY HERO! That’s all I have to say. Thank you!
The first time I made this it turned out perfectly! I have a little experience wringing out the cauliflower from my low-carbin days. This crust is my first pizza in months. It was very satisfying. Thanks for sharing.
I’m now a believer! I truly didn’t think this could taste like a pizza crust. It did! Mind you, I added garlic powder and dried basil as well as the oregano to the mix. I also didn’t have parchment paper, but the non-stick aluminum foil worked just fine. I did notice when I cut into the crust just after baking, that it wanted to tear a bit and felt a little fragile. But, after the crust had cooled a little more, it cut just fine without any tearing, and felt firmer in the hand just like “real” crust. Thank you so much!
Hi Megan,
I was wondering of I could make this without using cheese at in the caulifower mixture and on it? I hate real and fake cheese, will it ruin it if I left out the cheese altogether?
Yes! You can review the previous comments to see what has worked for others.
I had issues with it sticking to the wax paper. Is this because I didn’t get enough liquid out?
Did you actually use “wax paper” or parchment paper? I’ve heard that wax paper isn’t good for baking. If you used parchment, it may have had too much moisture, then. Mine peeled right off when I used parchment.
Mine got stuck to the parchment paper 🙁 I think I might have made it too thin… other than that it tasted awesome!
if cheese is not an option can this still hold together?
Yes, many other comments above have mentioned what has worked for them, so you may want to review those for ideas!