This post may contain affiliate links. Please read my disclosure and privacy policy.

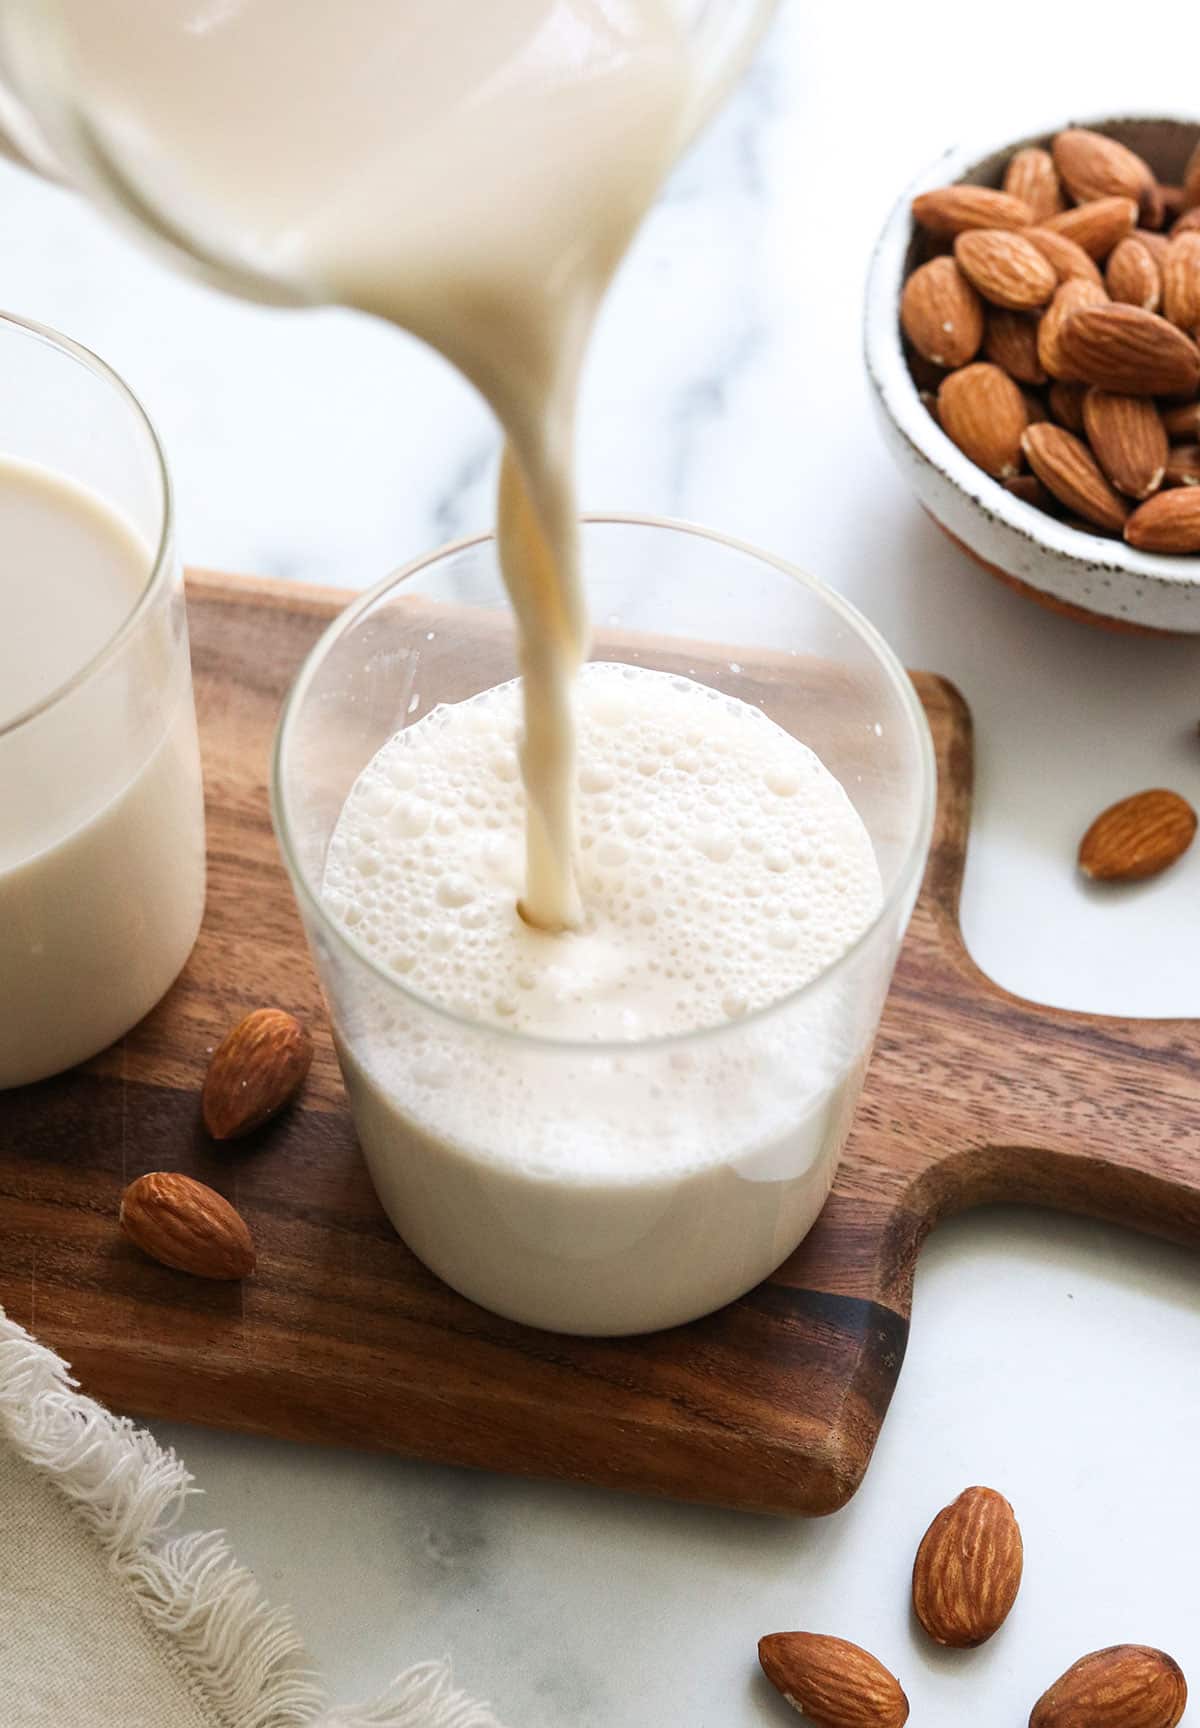
All you need are two ingredients—almonds and water—plus a few minutes of effort to make almond milk. The hardest part of this recipe is cleaning the equipment when you’re done!
You could probably use any recipe online and end up with something that tastes better than the store-bought version. What makes my version special is how many times I’ve experimented with it.
As a result, I can show you how to adjust the flavor, the creaminess, and even how to skip the extra equipment to streamline the process. Be sure to read my extra tips below!
⭐⭐⭐⭐⭐ Review
“I was skeptical at first because I’ve honestly never made almond milk before!! I can’t believe how easy it is and it’s delicious!!! I am using it as my coffee creamer!” – Jeanette
Homemade Almond Milk Ingredients
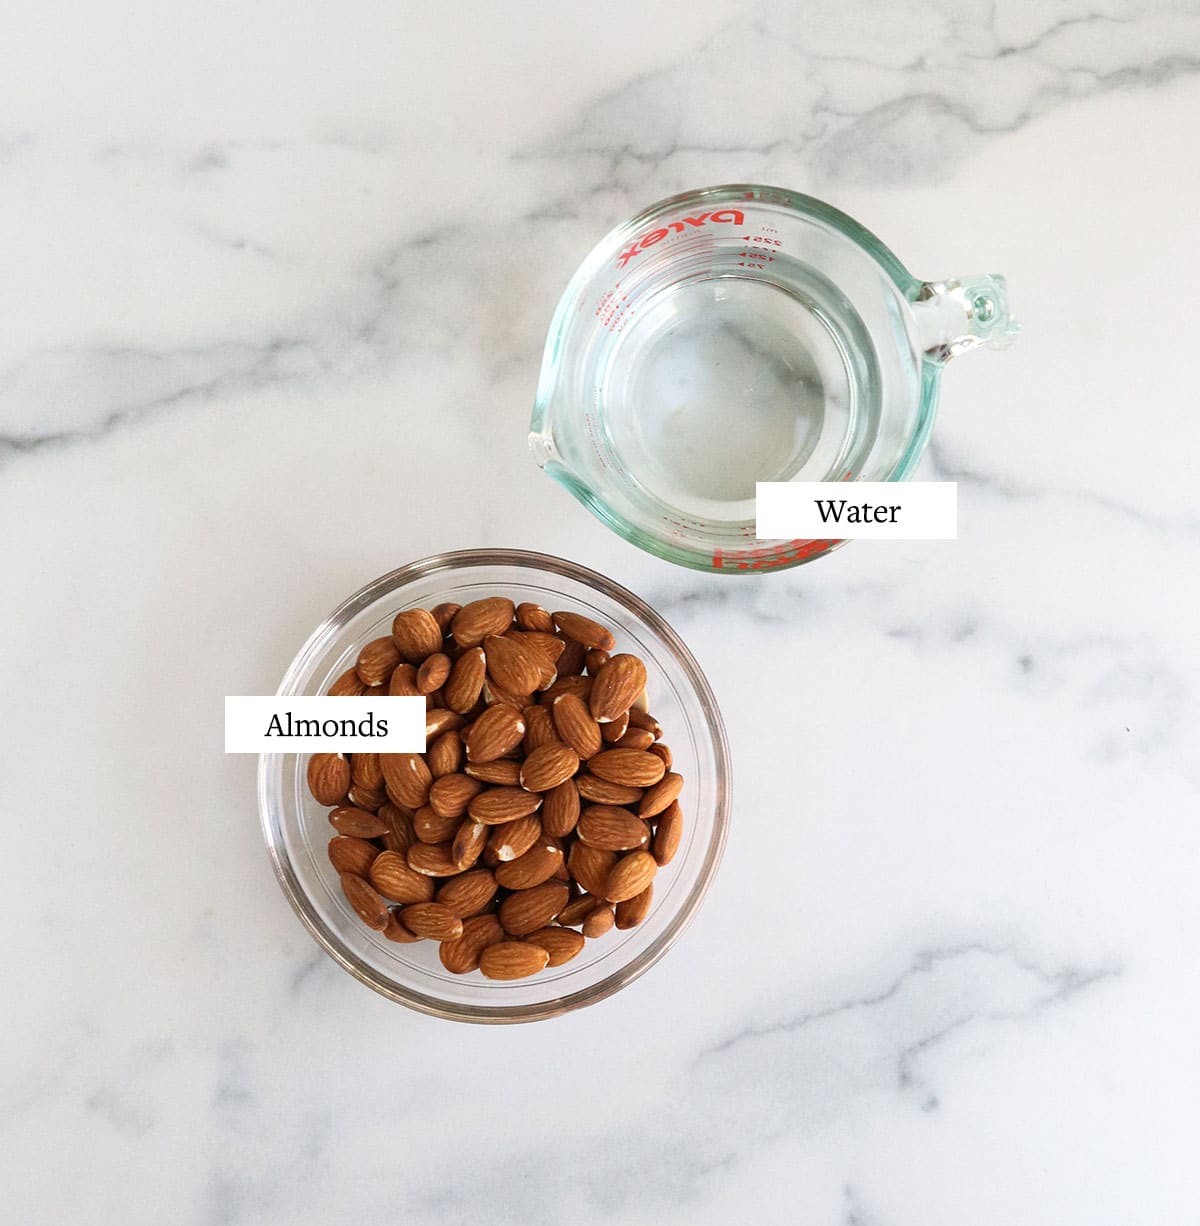
You only need two ingredients to make almond milk:
- Almonds. I tend to use almonds that are not roasted or salted so that the almond milk will have a neutral, mild flavor. However, roasted nuts will work as well. There’s no need to buy blanched almonds (with skins removed), since you’ll be removing the pulp later anyway.
- Water. This is the liquid used for blending this dairy-free “milk.”
You can also make it more flavorful by adding a teaspoon of vanilla extract, 1-2 tablespoons of maple syrup, or up to 4 pitted Medjool dates for sweetness. For a richer consistency, you can also add up to a tablespoon of coconut oil.
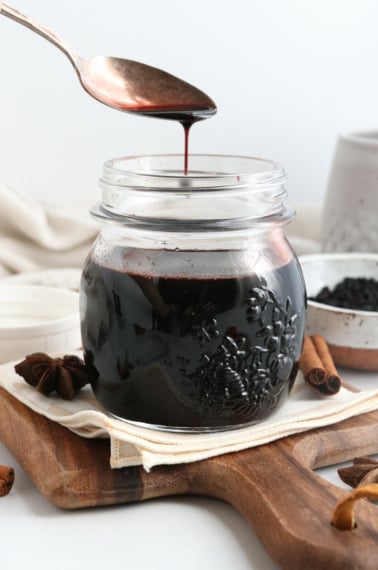
Try my Vanilla Almond Milk and Chocolate Almond Milk for flavor variations.
How to Make Almond Milk
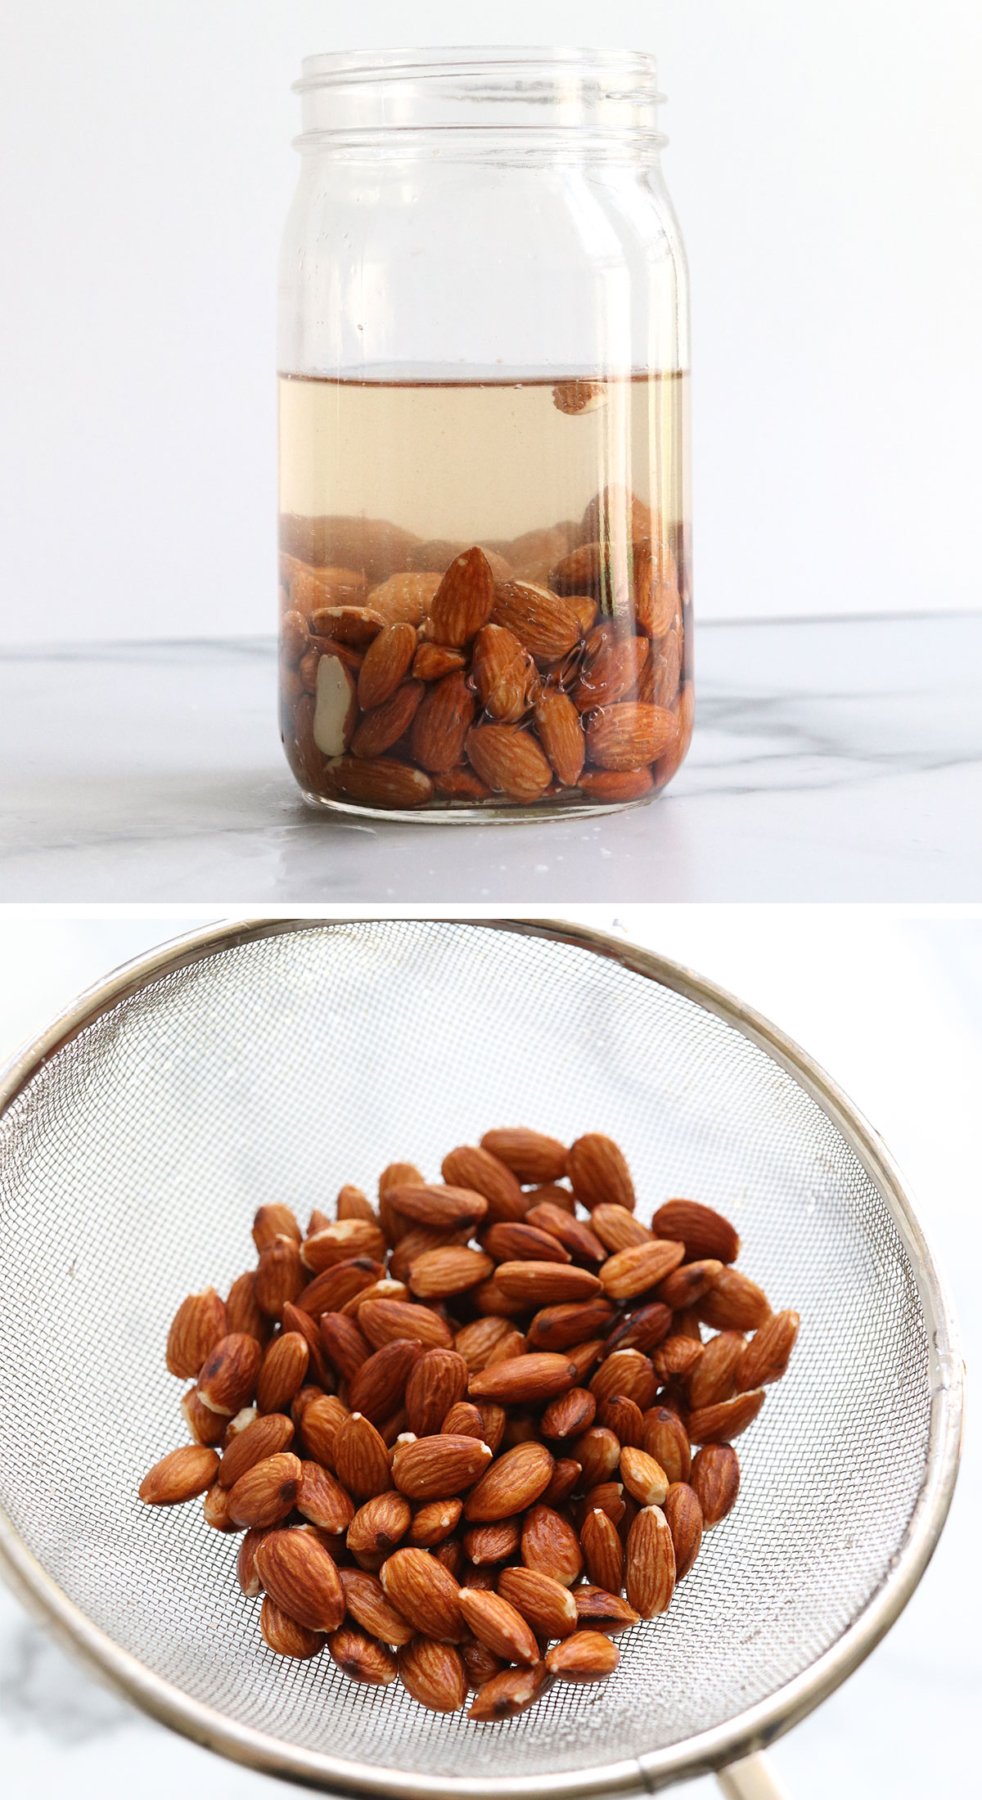
Step 1: (Optional)
Soaking almonds ahead of time can make them softer and help them break down more easily in your blender. Research doesn’t necessarily support the idea that soaking nuts improves digestion or reduces anti-nutrients, so this step is mostly helpful if you don’t have a powerful blender.
To soak almonds, add them to a large jar or bowl and cover with at least 2 inches of water. This allows room for them to expand as they soak. (I usually use 2 cups of water to cover 1 cup of almonds.)
Let them soak for up to 8 hours, then drain away the soaking water by pouring the almonds into a fine mesh strainer.
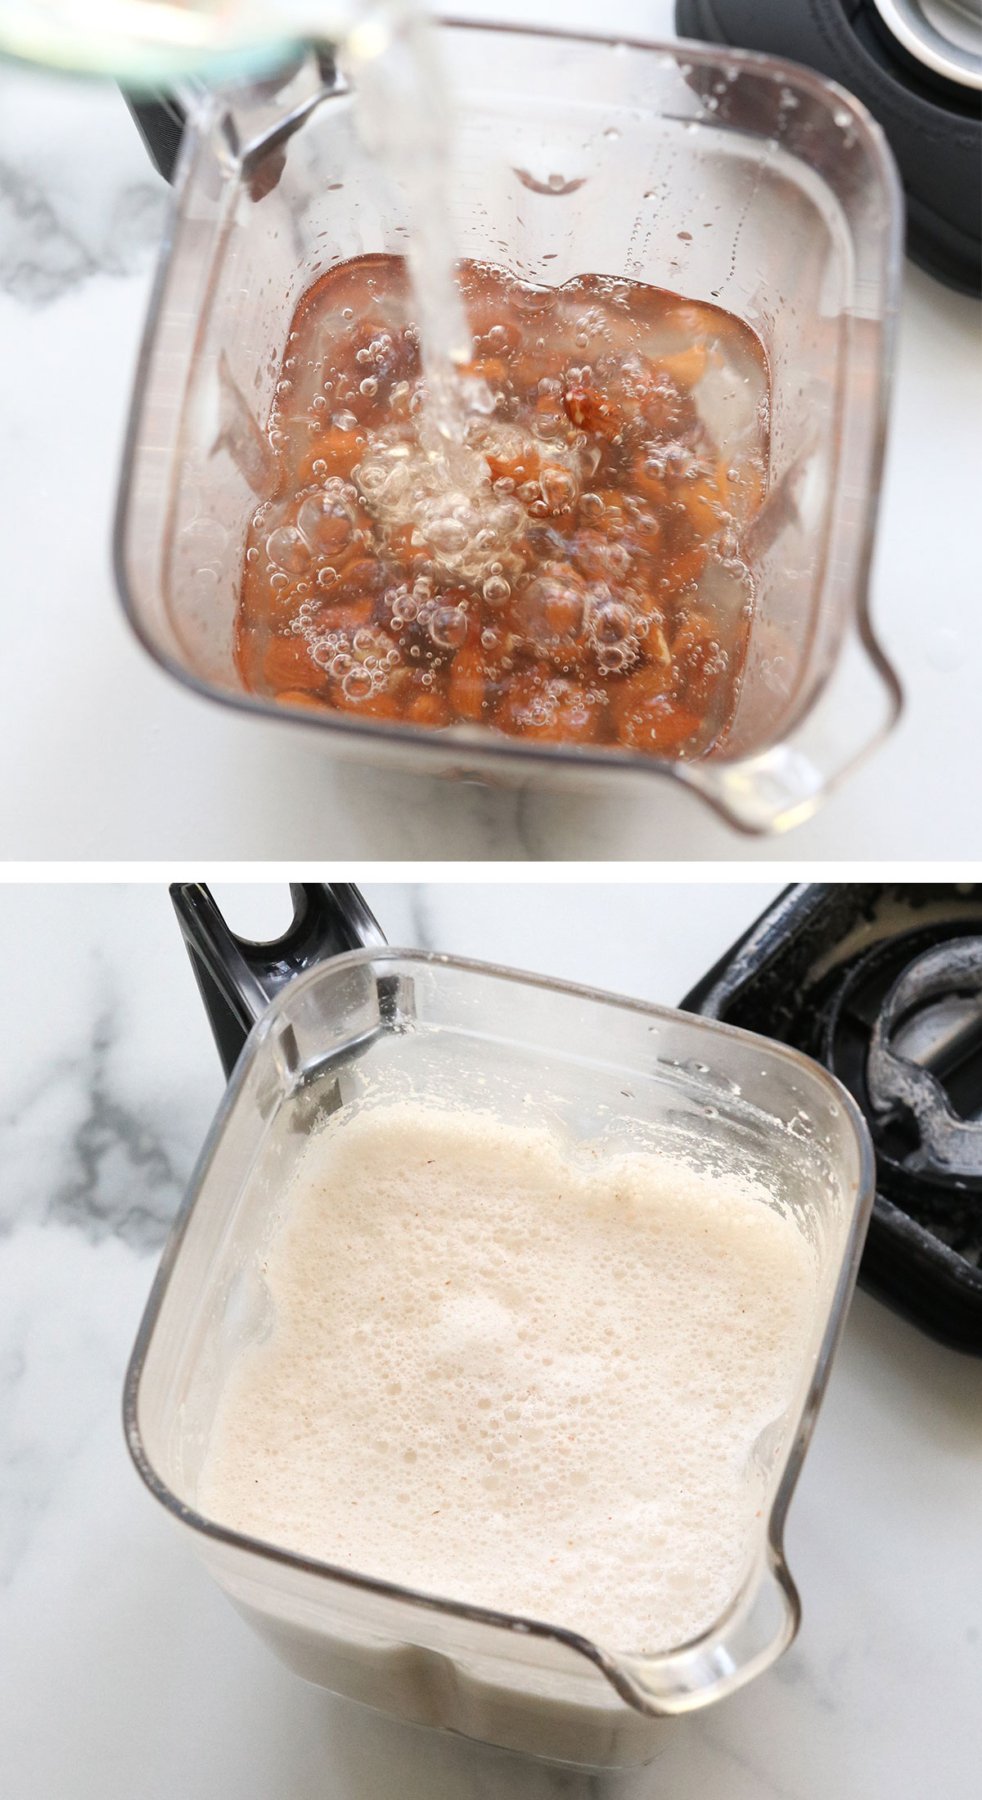
Step 2:
Whether you soaked the almonds or skipped that step, add the almonds to a high-speed blender, along with 4 cups of fresh water. Secure the blender’s lid and blend until the almonds are broken down and the mixture looks creamy, about 60 to 90 seconds.
There should be almost no visible almond pieces when the blending is complete.
Want to save this for later?
Step 3:
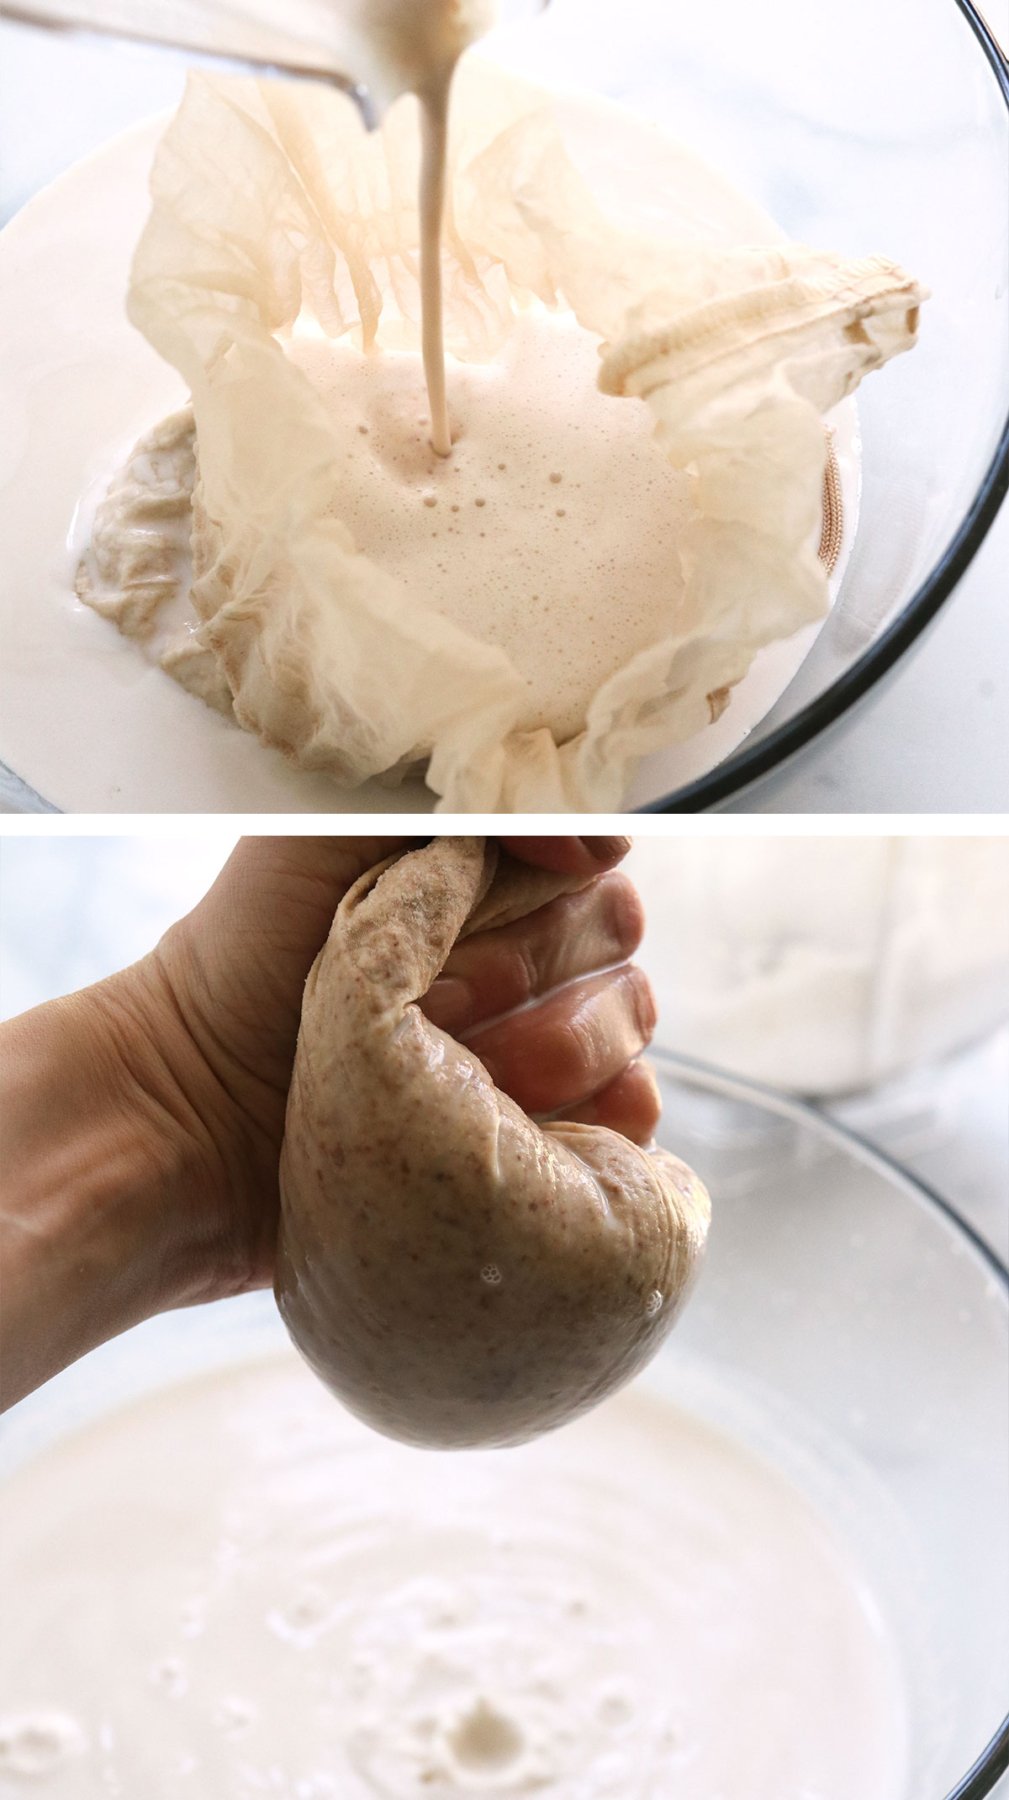
Arrange a nut milk bag or cheesecloth over a large bowl, then pour the blended almond mixture into the bag.
Carefully squeeze the bag to remove as much liquid as possible from the almond pulp.
Detoxinista Tip
If you don’t have a nut milk bag, make Almond Butter Milk instead. (It takes about 1 minute with no straining.)
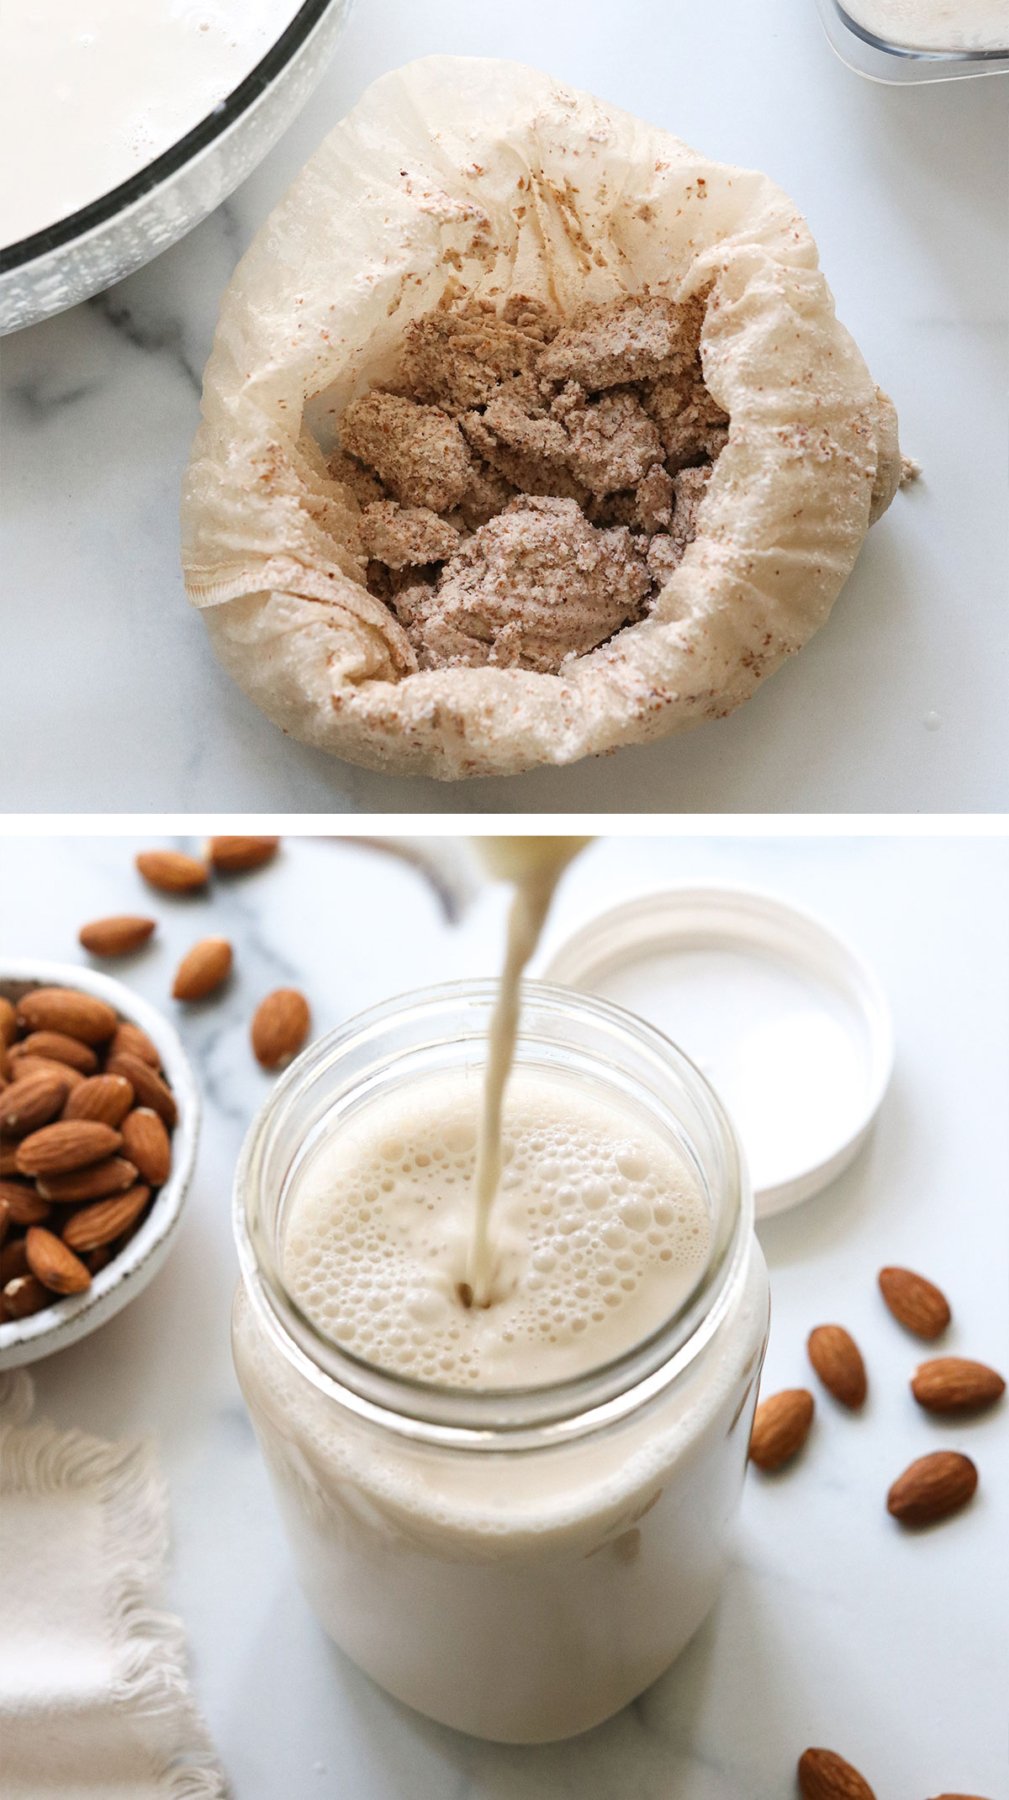
Almond Pulp Recipes
Use the leftover almond pulp to make Almond Pulp Hummus or Almond Pulp Brownies. Both of these recipes have been developed using the wet pulp immediately after making a batch of almond milk, so no extra effort is required.
Step 4:
You can use the almond milk right away, or add any extra flavorings to taste, such as vanilla, maple syrup, or a pinch of sea salt.
Note: It’s best not to add flavorings, such as vanilla or cocoa powder, before straining out the pulp. In my experience, cocoa powder can clog the bag, so you won’t get as much milk out. It also changes the flavor of the pulp, making it less suitable for use in other recipes later.
Storage Tips
Transfer the almond milk to an airtight container and store it in the fridge for up to 5 days. Or you can freeze it for up to 3 months. Because this recipe doesn’t call for preservatives, it won’t last as long as store-bought milks do. (You’ll be able to tell it’s gone off when the smell or flavor goes sour.)
Be sure to make only what you’ll drink in a week, or plan on freezing the leftovers. You can easily scale the recipe as needed!
Recipes with Almond Milk
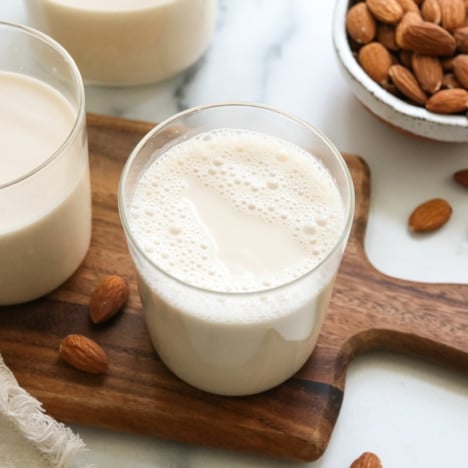
Now that you’ve mastered making almond milk, here are some easy ways to enjoy it.
Anywhere you use regular milk, you can typically substitute it with almond milk. Homemade almond milk even creates a luxurious foam for lattes!
How to Make Almond Milk (and use leftover pulp)
Ingredients
- 1 cup almonds (not salted)
- 4 cups water
Instructions
- Optional Step: To soak the almonds before blending, cover them with 2 cups of water in a large bowl or jar, and let them soak for 4 to 6 hours. (This step may help with blending later if you don't have a powerful blender.) Drain the almonds through a fine mesh strainer before moving on to the next step.
- Add the almonds and 4 cups of fresh water to a blender. Secure the lid and blend on high-speed for at least 60 seconds, until no pieces of almonds are visible and the mixture looks creamy.
- Pour the almond milk through a nut-milk bag or cheese cloth, squeezing well to extract the milk. You can save the remaining almond pulp for another recipe (see the full post for ideas) or discard. If you would like to flavor the almond milk with vanilla or chocolate flavorings, this is the time to whisk in any additions.
- Store the almond milk in an airtight container in the fridge for up to 4 days. (You can freeze leftovers, if needed, for up to 3 months, too!)
Video
Notes
Nutrition
If you try this almond milk recipe, please leave a comment and star rating below, letting me know how you like it!


Hello. I have on hand thin sliced almonds that I utilize for making granola and since I always have these sliced almonds, can these almost be processed in the same manner as whole almonds?
Thank you very much.
I have been making my own almond milk for several years and have experimented with the ratio of nuts to filtered water. I have settled on 3/4 of a cup almonds to 4 cups filtered water. I also add a 1/4 tsp to my glass jars as a natural preservative as I make 3 quarts which typically last us a week. Soaking overnight makes the milk very creamy too. We use the milk for our lattes and any recipe calling for milk. We will be away for the summer in our RV so I have purchased a Nutribullet Ultra (comes with a 32 oz container) which I plan to use to make my milk on the road. (Fingers crossed that it works out!) I order my almonds from Wild Soil Almonds, a small company in California and pay about $45 for 3-3 lb bags. The 3 bags last about 6 months so I feel making my milk is healthier yet affordable.