
This post may contain affiliate links. Please read my disclosure and privacy policy.

I’ve spent the past few weeks testing these protein granola bars, so we have a quick, filling snack. You can make them in a flash—literally, I timed myself! I can finish these in 10 minutes before I have to get in line for car pickup at school.
With 10 grams of protein per bar, they rival the store-bought options and have no artificial preservatives. For even more protein-packed snacks, try my peanut butter protein cups (like a Reese’s), chia seed smoothie, or Greek yogurt bowls.

“These are sooo good! They honestly taste like the Perfect Bars, but better! Thank you!!”
Table of Contents
Why You’ll Love These Protein Granola Bars
- They’re no-bake. Boil the honey for 1 minute (this makes the bars stick together without refrigeration), then mix everything in one bowl. No oven required!
- They actually taste good. I’m not saying they taste “good enough” for a healthy snack. These are downright craveable. They always disappear fast in our house!
- They’re flexible. If you like adding other mix-ins to your homemade granola bars, you can do that here, too. For my picky eaters, I can only get away with adding hemp hearts, since they don’t affect the texture at all.

Ingredients You’ll Need

- Rolled Oats. I use old-fashioned rolled oats for this recipe, but I think quick-cooking oats will also work. Oats are naturally gluten-free, but can be contaminated during the manufacturing process. Look for “certified gluten-free” packaging if you need a gluten-free recipe.
- Protein Powder. I don’t use zero-calorie sweeteners at home, so this recipe calls for unsweetened protein powder. I tested this recipe with Garden of Life brand (affiliate link), but I imagine whey protein or another unsweetened option will work similarly.
- Peanut Butter. This acts as a binder, but also adds flavor and a chewy texture. If you’d rather use almond butter or sunflower seed butter, those options should work!
- Honey. Boiling honey for 1 minute helps hold these bars together, so they won’t become super soft at room temperature. It also adds sweetness, which is another reason to avoid flavored protein powder—you don’t want these to taste too sweet. (Maple syrup may work as a swap if you need a vegan recipe; I’ll report back when I test this.)
- Hemp Hearts. These are one of my favorite ways to add extra protein to recipes. Their flavor isn’t noticeable in these bars, but you can use another add-in, like shredded coconut, if you prefer.
- Coconut Oil. I did not add this to the first batch I experimented with and found the granola bars to be a little dry. Just one tablespoon helps improve the texture!
- Salt. Every sweet recipe needs salt to balance the flavor. I usually use salted peanut butter and add extra salt for the best taste.
Want to experiment with other add-ins? I think you could replace 1/4 cup of rolled oats with 1/2 cup of crispy rice cereal for added texture, if desired. Or try stirring in some shredded coconut or sliced almonds. I’ve also tested them with some dark chocolate drizzled on top, but it’s not necessary—these are delicious all on their own!
How to Make Protein Granola Bars
Step 1:
Prepare an 8-inch square pan by lightly spraying it with oil. Then, press a piece of parchment paper into the bottom of the pan. This will make it easy to remove your granola bars later.
In a large bowl, combine the oats, protein powder, hemp hearts, and salt. Stir well to combine. Keep this bowl nearby because the recipe moves quickly.

Step 2:
Add the honey to a small saucepan, and measure the peanut butter and coconut oil so they are ready to go. Bring the honey to a boil over high heat on the stove top.
Once it starts to boil, set a timer for 1 minute.
When the timer goes off, immediately turn off the heat and add the peanut butter and coconut oil to the boiled honey. Stir well until the mixture looks smooth and creamy.
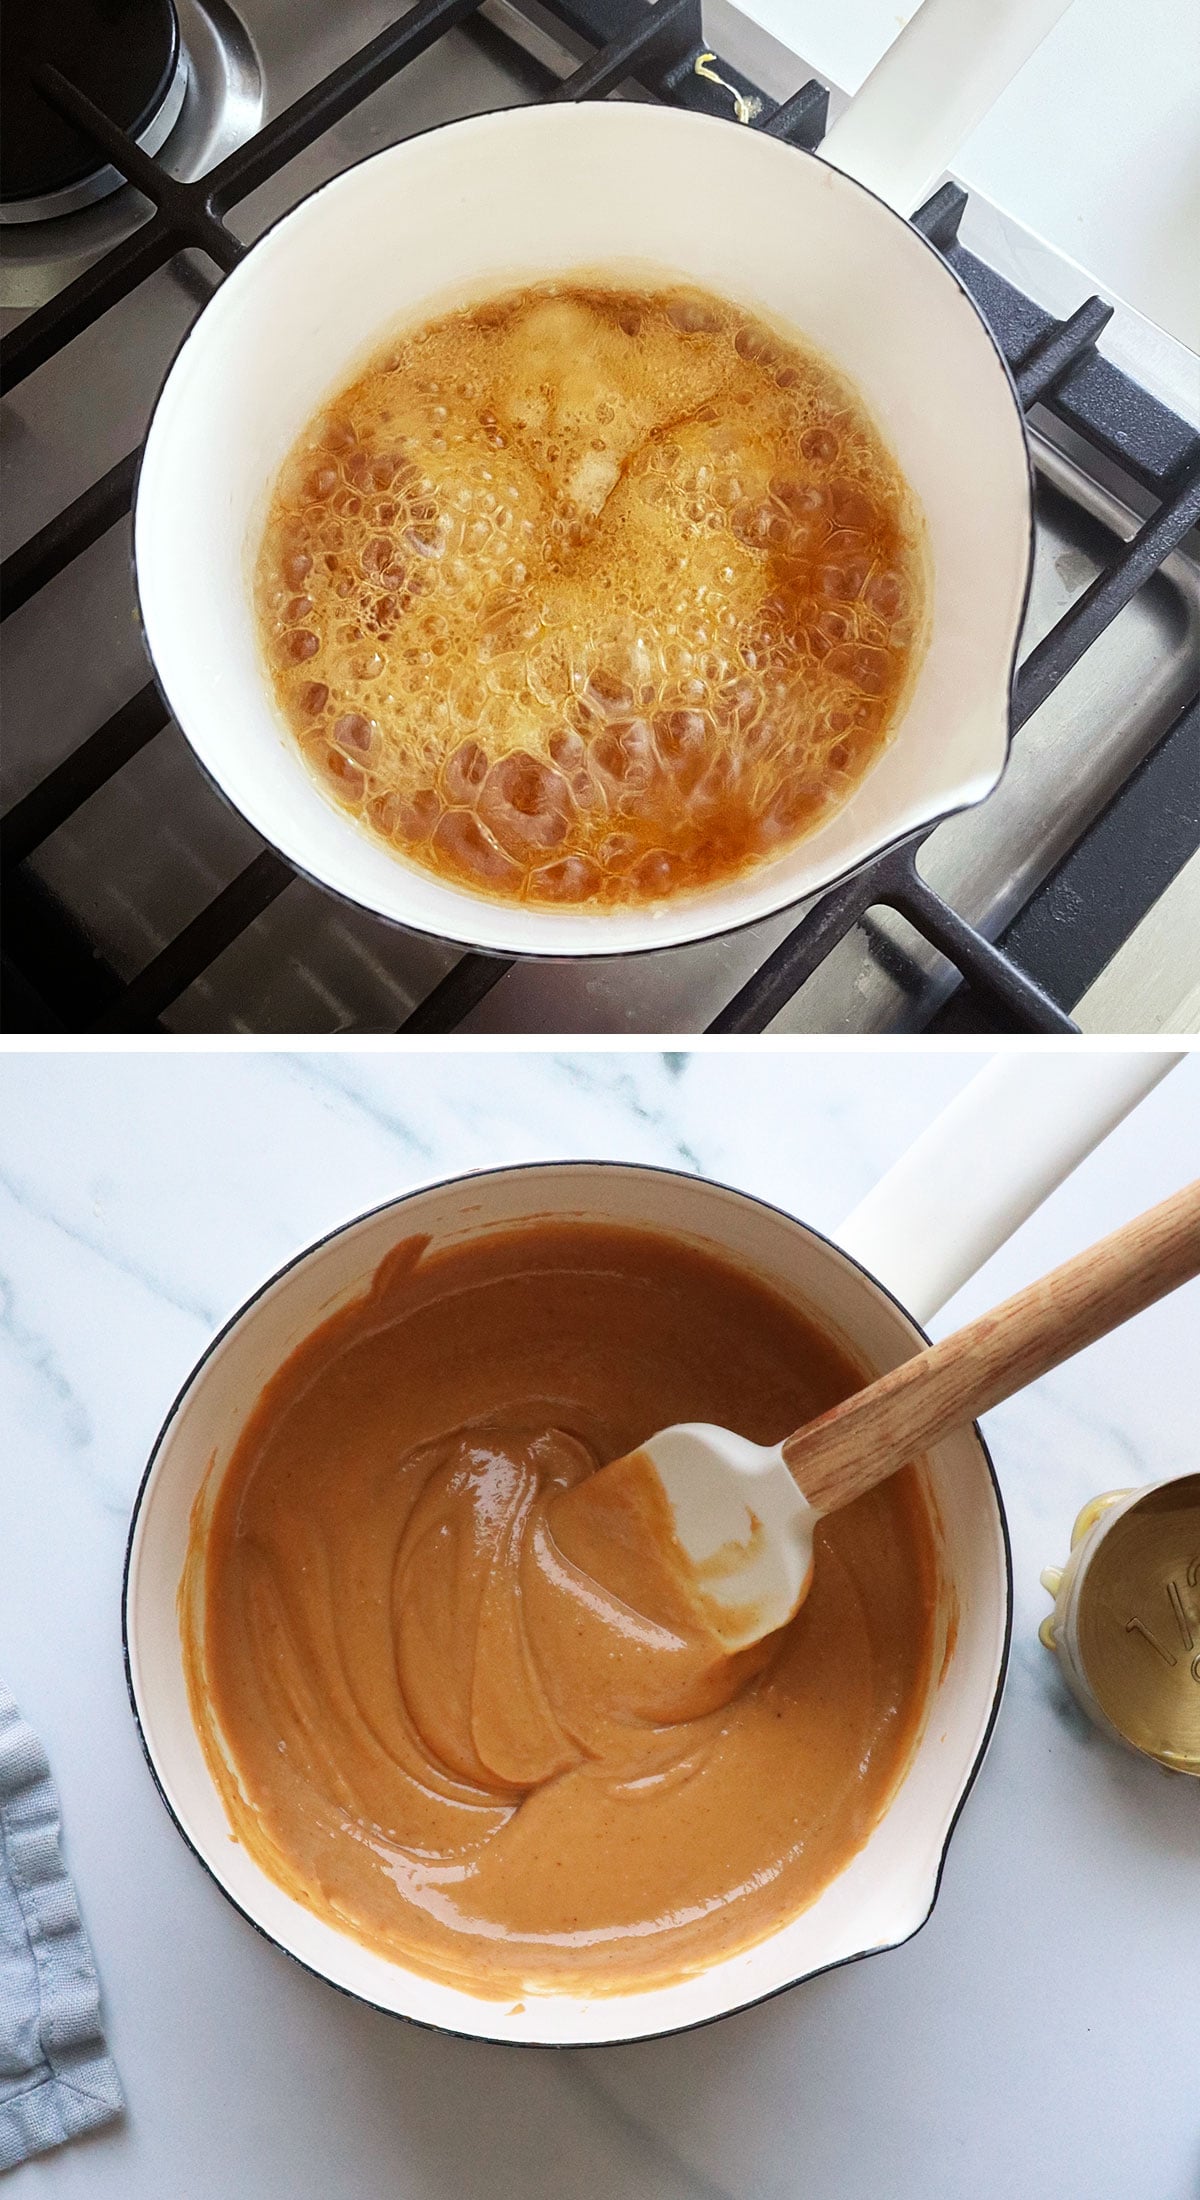
Step 3:
Quickly pour the peanut butter mixture into the bowl of dry ingredients and stir well. The mixture may thicken as it cools, but continue stirring until all the dry ingredients have been coated in the peanut butter.
Transfer the granola bar mixture to the prepared pan and use a spatula to flatten it evenly.
Place the pan in the fridge to chill until firm, about 1 hour. Then use the parchment paper to lift the bars out of the pan.
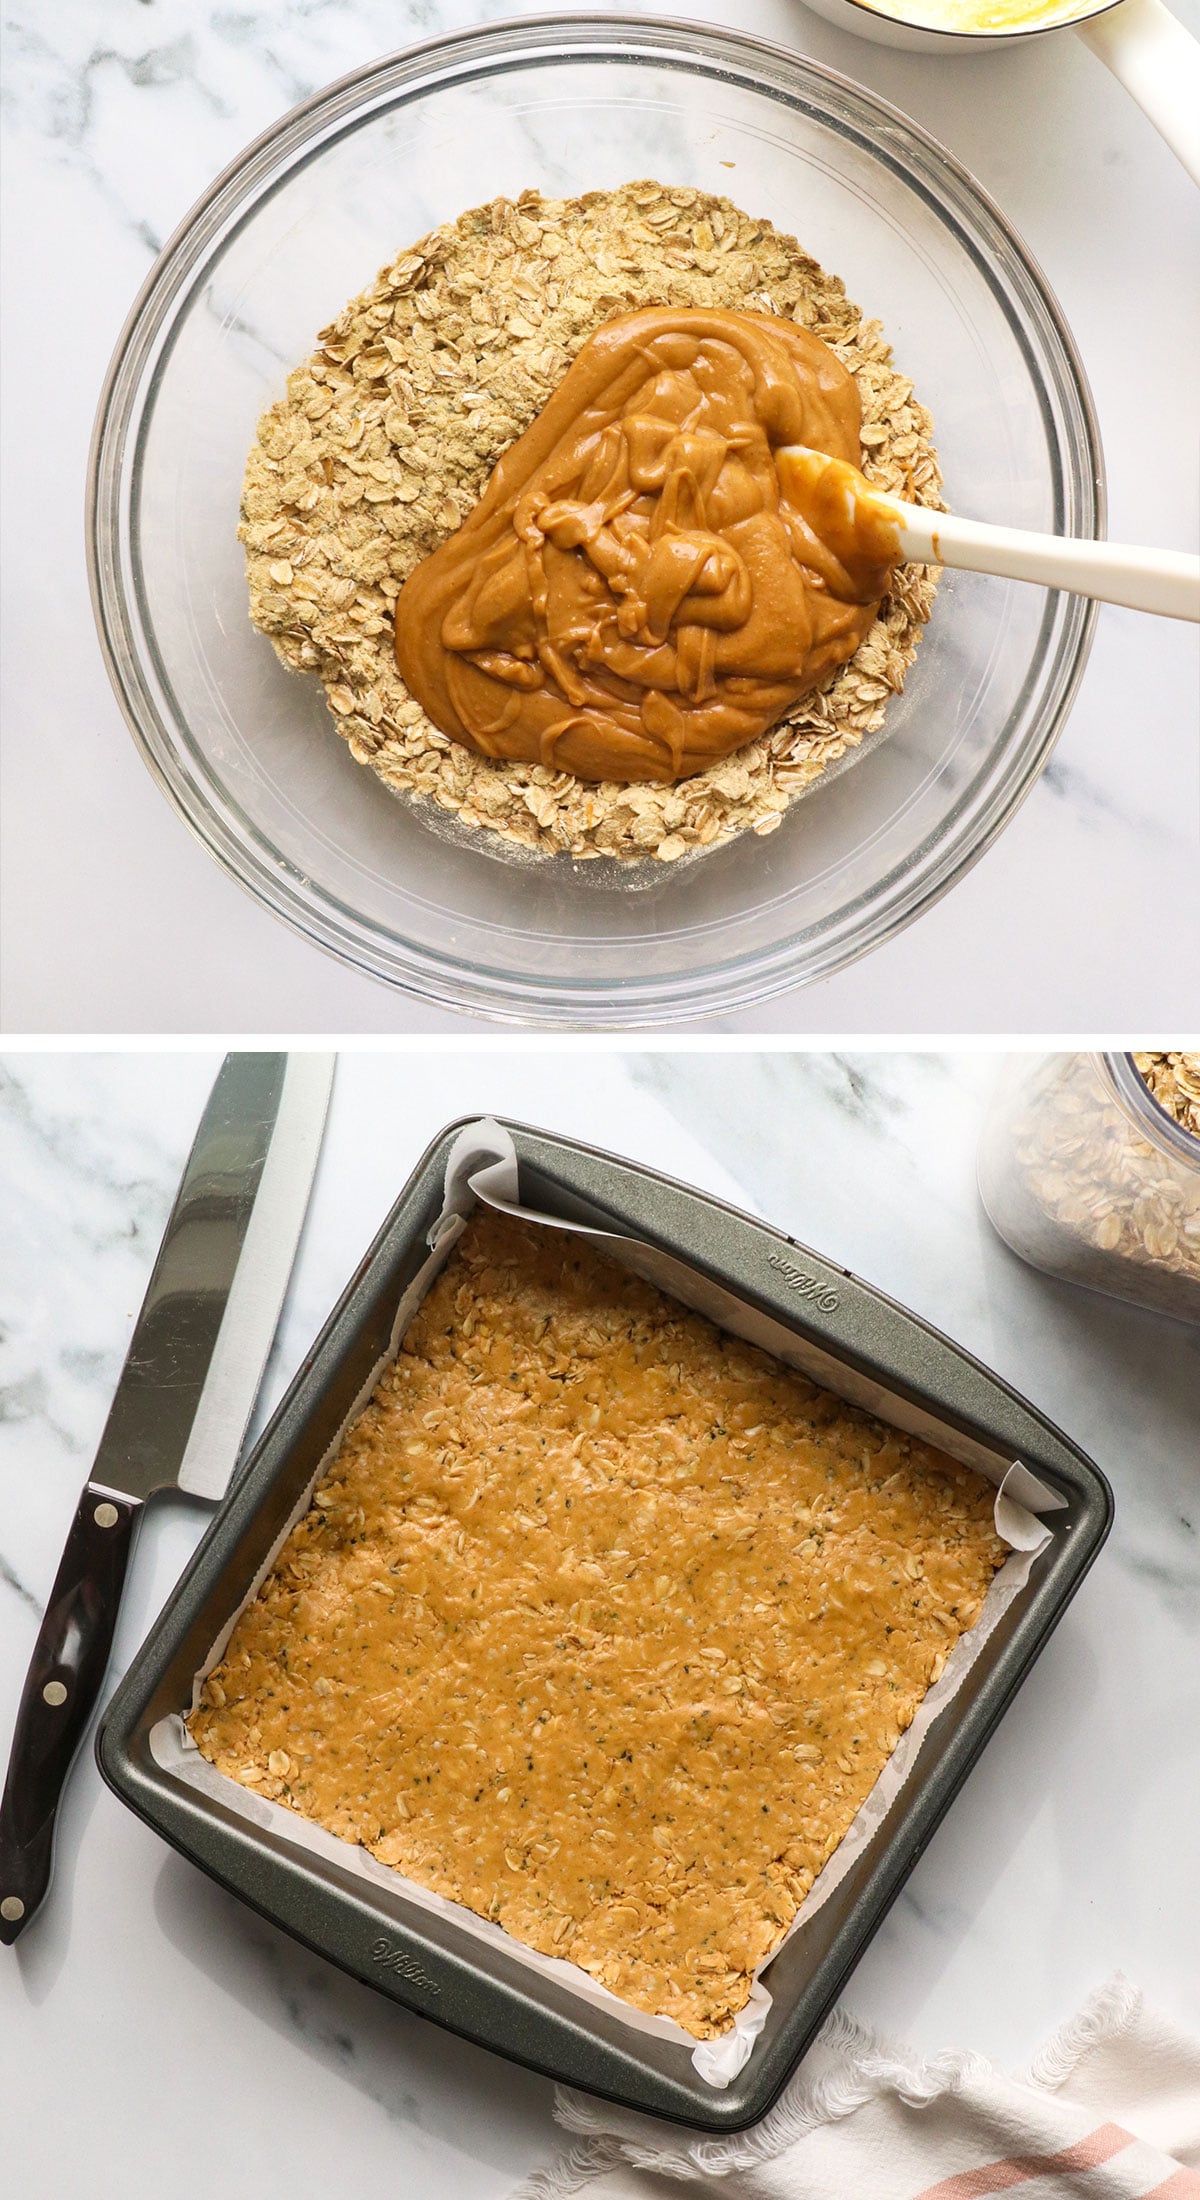
How to Cut Homemade Granola Bars
Use a sharp knife to slice 12 full-size granola bars. That means you’ll need to make five horizontal cuts and one vertical cut in the center to create 12 similarly sized bars.
(See the photo below for reference.)
For a bite-sized snack, you can cut the bars in half again to create 24 smaller pieces. My kids prefer the smaller size, so it doesn’t feel like such a big commitment.
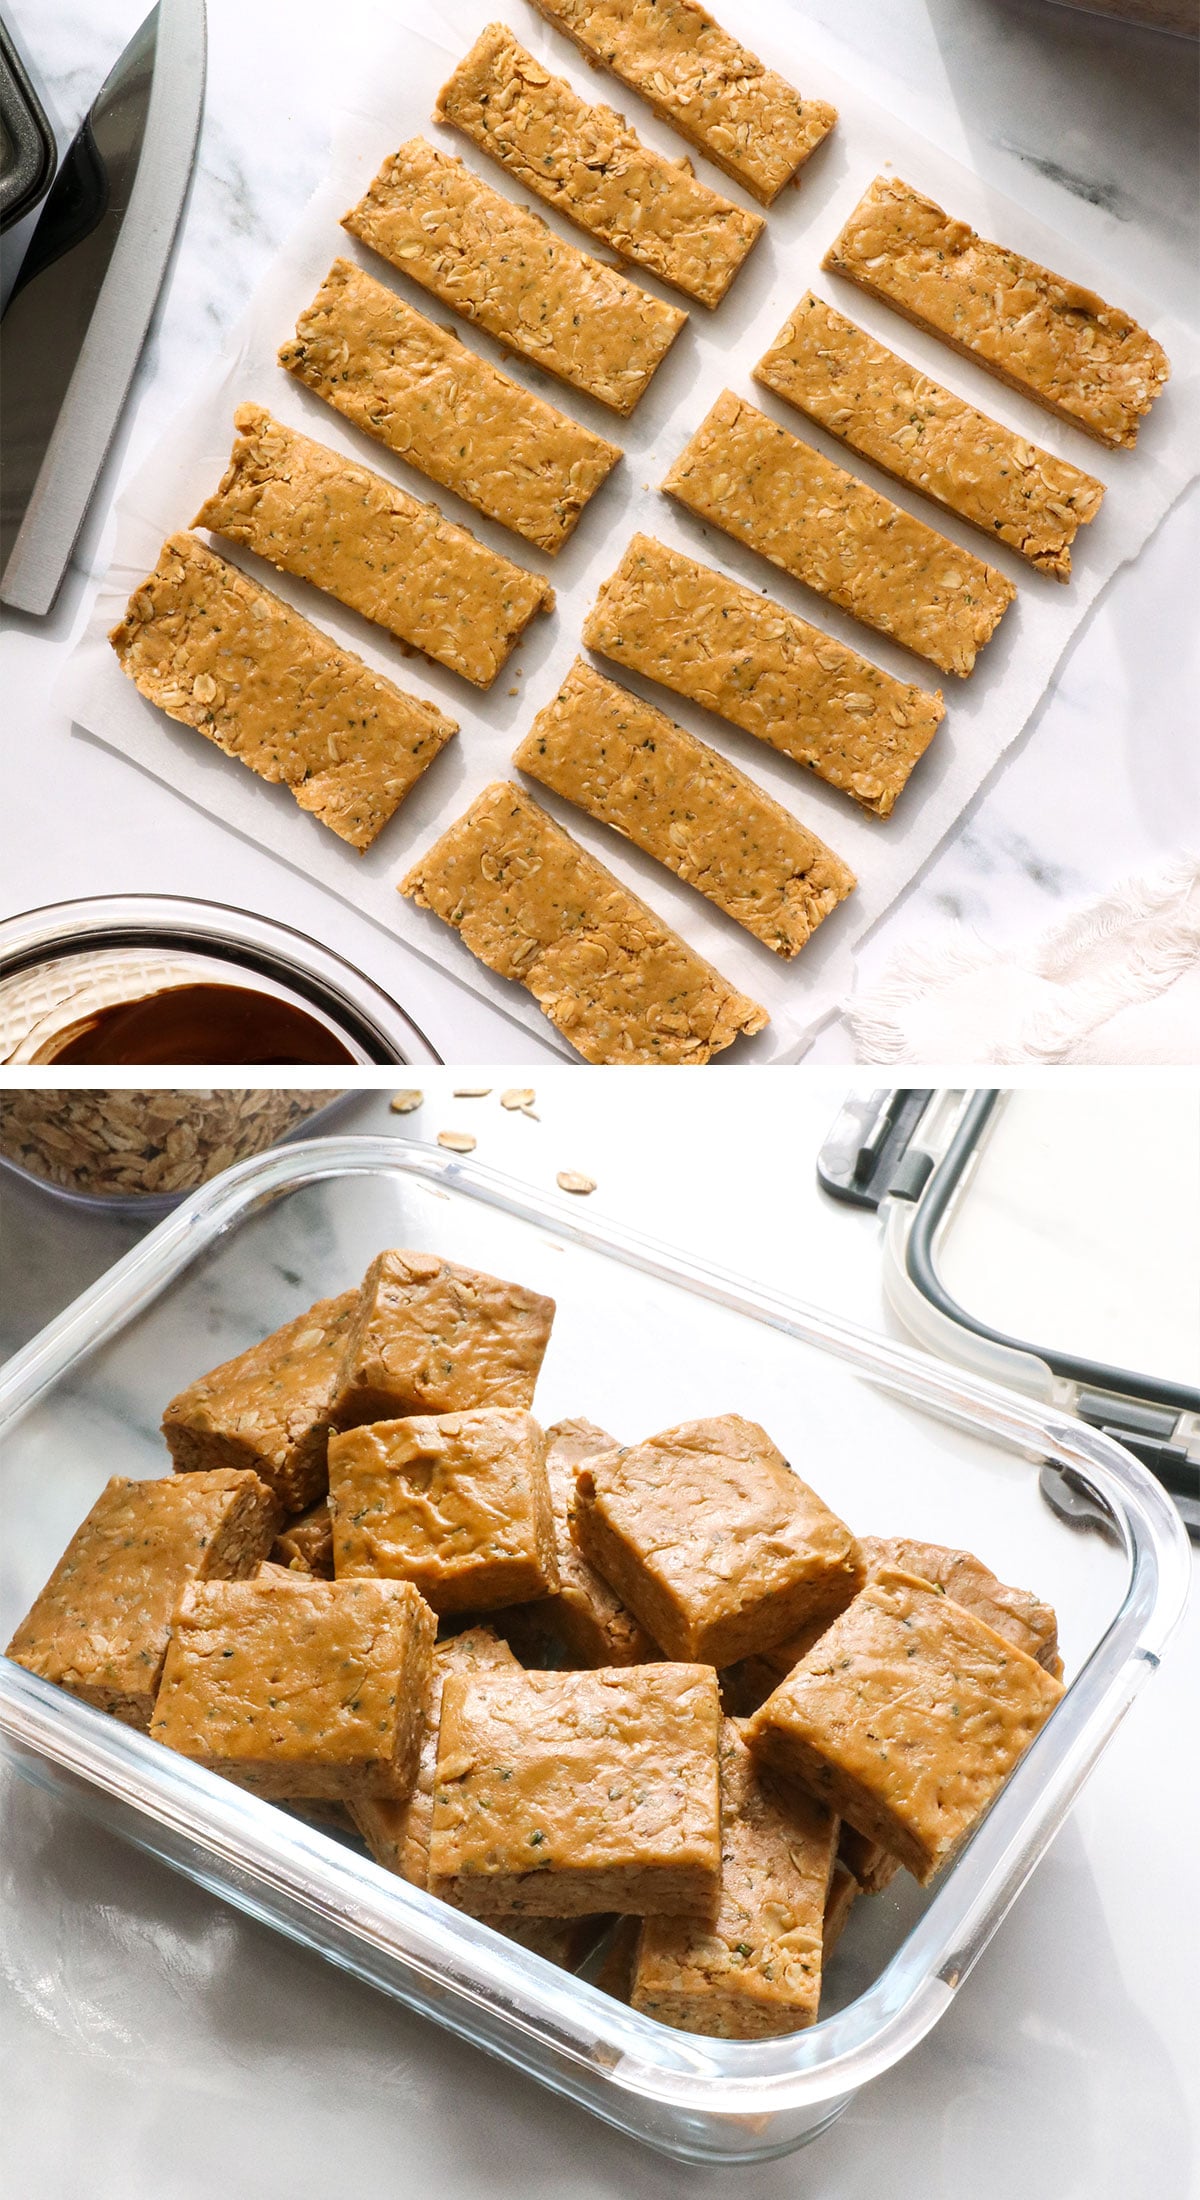
Homemade Protein Bars FAQs
Yes, I calculated the cost of these granola bars using organic ingredients (2025 prices), and one pan costs about $9.45, or $0.78 per full-size bar. I can’t find a similar-sized protein bar that costs less than $1 per bar, and none of those are made with organic ingredients. Some cheaper bars are available, but they are smaller and contain less protein.
In Ayurveda, it has been suggested that heating honey is toxic. This is likely because heating honey to temperatures above 284ºF can create a higher concentration of HMF (5-Hydroxymethylfurfural).
However, it is not just honey that has this reaction with heat. Browning or roasting foods– essentially anything that creates a caramelized, browned result– is a Maillard reaction, and this chemical reaction results in a higher concentration of HMF. You’ll find it in coffee beans, roasted vegetables, seared meats, toasted bread, and many other foods. In fact, a cup of coffee seems to have more HMF than honey! (source) So, if you’re comfortable drinking a cup of coffee, you probably shouldn’t worry about heated honey.
You can likely use pure maple syrup as a substitute for honey, but it may slightly alter the texture. In my experience, honey creates a more chewy texture, while maple syrup makes granola bars a little harder to bite into.
These bars will keep well at room temperature for up to 5 days; however, I recommend storing them in an airtight container to prevent them from drying out. For a longer shelf life, store the container in the fridge. They should last for at least 2 weeks if you don’t eat them all before then.
More Protein Snacks to Try


If you try these protein granola bars, please leave a comment and ⭐ star rating below to let me know what you think. Thanks for visiting!
Protein Granola Bars (Taste Better than Store-Bought!)
Ingredients
- 1 ¼ cup rolled oats
- ½ cup unsweetened protein powder
- ¼ cup hemp hearts
- ½ teaspoon salt
- ½ cup honey
- ⅔ cup all-natural peanut butter
- 1 tablespoon coconut oil
Instructions
- Prepare an 8-inch square pan by lightly spraying it with oil. Then, press a piece of parchment paper into the bottom of the pan. This will guarantee easy removal of your granola bars later.
- In a large bowl, combine the oats, protein powder, hemp hearts, and salt. Stir well to combine. You'll want to keep this bowl nearby because the recipe moves quickly.
- Add the honey to a small saucepan, and measure the peanut butter and coconut oil so they are ready to go. Bring the honey to a boil over high heat on the stove top. Once it starts to boil, set a timer for 1 minute.
- When the timer goes off, immediately turn off the heat and add the peanut butter and coconut oil to the boiled honey. Stir well, until the mixture looks smooth and creamy. Quickly pour it into the bowl of dry ingredients and stir well. The mixture may thicken as it cools, but continue to stir until all of the dry ingredients have been coated in the peanut butter mixture.
- Transfer the granola bar mixture to the prepared pan and use a spatula to flatten it evenly. Place the pan in the fridge to chill until firm, about 1 hour. Then use the parchment paper to lift the bars out of the pan. Use a sharp knife to slice 12 full-size granola bars. For a bite-sized snack, you can cut the bars in half again to create 24 smaller pieces. (See photos for reference.)
- Serve these granola bars at room temperature or chilled. They will keep well for up to 5 days at room temperature, but have a firmer texture when chilled. You can store them in an airtight container in the fridge for up to 2 weeks.
Video
Notes
Nutrition
More Recipes to Try
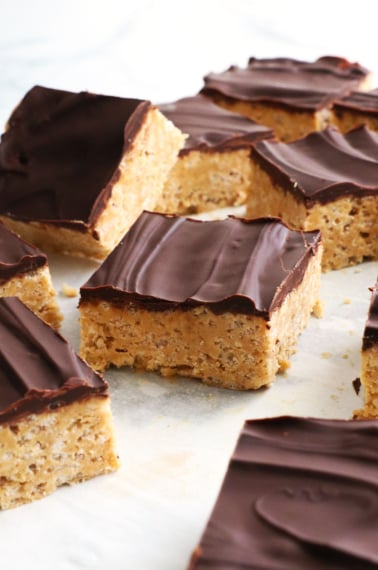
- Protein Rice Crispy Treats
- Freezer Protein Waffles
- High-Protein Overnight Oats
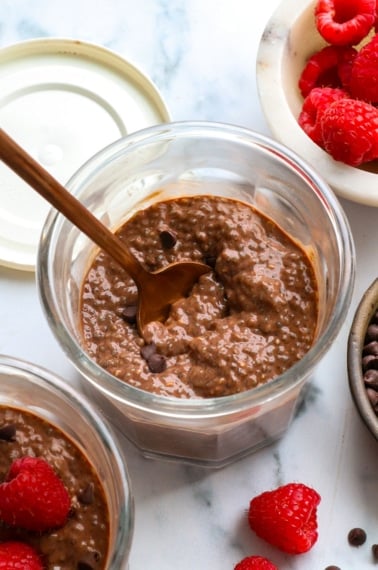
- Protein Chia Pudding
- Banana Muffins with Protein Powder
- Protein Banana Bread
If you try this recipe, please leave a comment and star rating below to let me know how you like it.







These were amazing! I doubled the recipe and probably should have tripled it because my teenagers have been eating them so fast! They are the perfect after school snack!