
This post may contain affiliate links. Please read my disclosure and privacy policy.

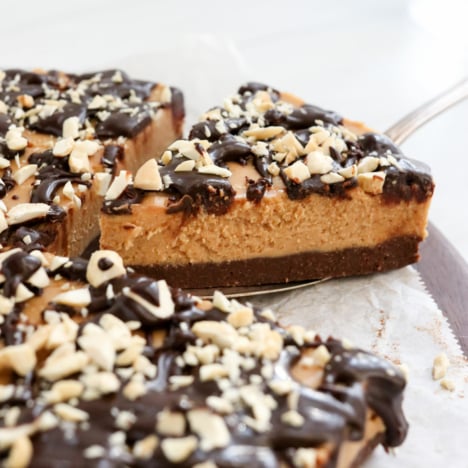
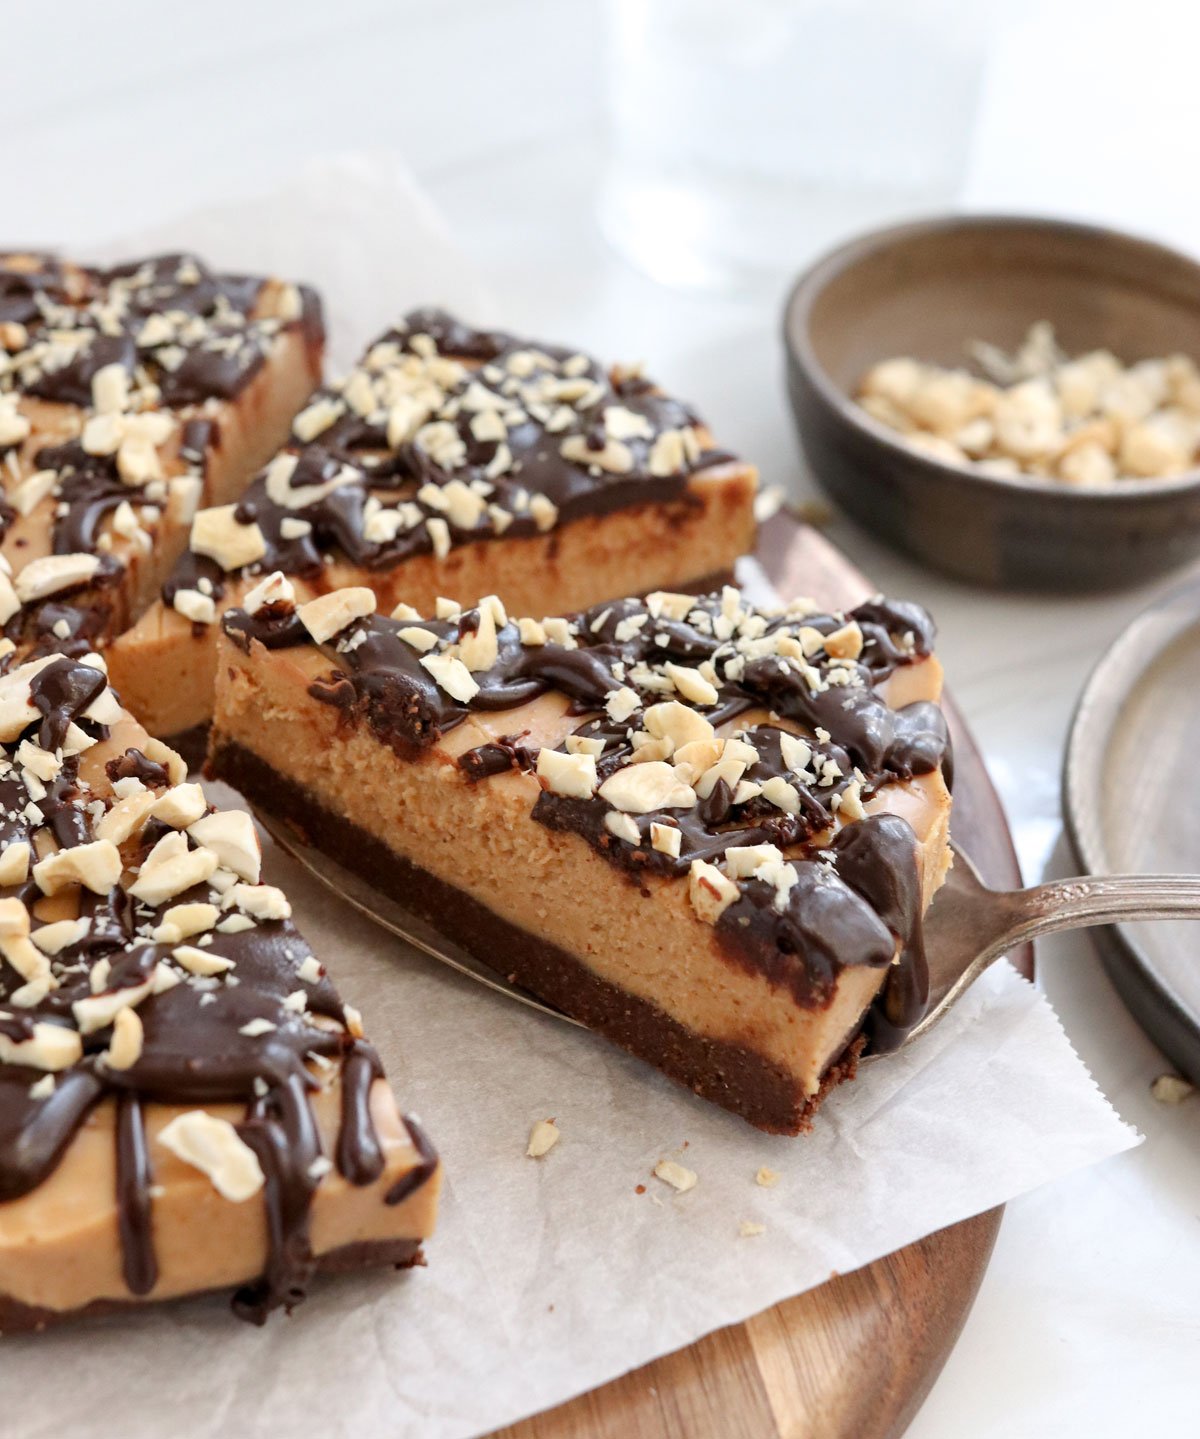
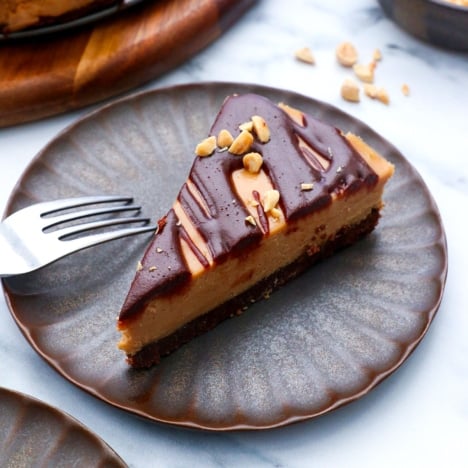
This dairy-free Peanut Butter Pie tastes like a chocolate peanut butter cup, so you’d never guess it’s naturally sweetened with maple syrup and doesn’t use chocolate chips. It’s gluten-free and dairy-free, but everyone LOVES this easy dessert!
This pie is inspired by my chocolate peanut butter bars, but with a thicker, creamier peanut butter filling. You might also love my protein peanut butter cups or chocolate peanut butter pumpkins.
“I took a risk and made this for the first time for our Thanksgiving crowd. (That’s how much I trust your recipes, Megan!) Everyone thought it was store-bought – in the best sense of the word – because it was so decadent and beautifully presented. Tastes like peanut butter cup ice cream! So delicious and doesn’t taste like a “healthy” dessert, even though the ingredients are so much better for you than traditional peanut butter pie!
Table of Contents
Why You’ll Love This Vegan Peanut Butter Pie
There’s no baking required. This no-bake dessert uses an almond flour crust and a quick, blended filling. It will firm up when chilled!
No refined sugar. Each layer is naturally sweetened with maple syrup, so you won’t even need chocolate chips. (And don’t worry, this doesn’t taste like pancake syrup.)
It’s soy-free. Many vegan recipes rely on tofu for creaminess, but this one just uses peanut butter and coconut oil to help things set.
You can make it ahead. If you plan on bringing a dessert to the holidays, this one is perfect! You can freeze it for up to a week, or store it in the fridge for 2 to 3 days before serving.
Ingredients You’ll Need
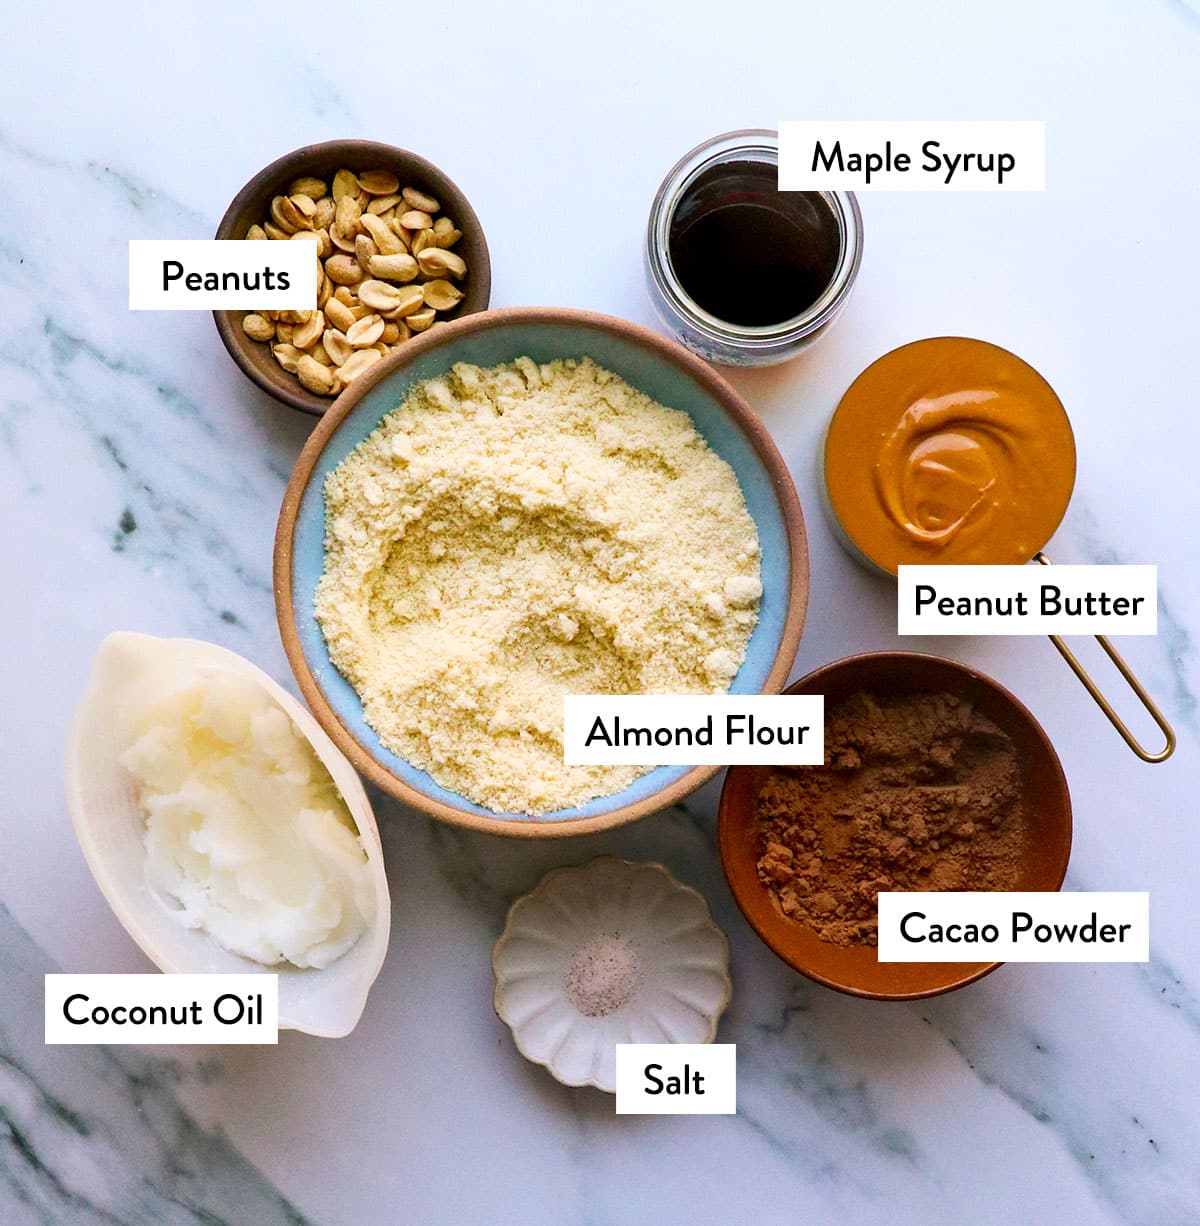
- Peanut Butter. Use the all-natural kind that needs to be stirred when you first open the jar. I prefer salted peanut butter for recipes, but if you need a low-sodium option, you can use unsalted peanut butter, too.
- Coconut Oil. If you don’t want your dessert to taste like coconut (like me!) use refined or expeller pressed coconut oil. It has zero coconut taste! This is not the time to use virgin coconut oil.
- Maple Syrup. This natural sweetener does not give the pie a strong “maple” flavor. Just make sure you’re using pure maple syrup (with that being the only ingredient on the label) and not processed pancake syrup.
- Cacao Powder. I always keep raw cacao powder in my pantry, rather than regular cocoa powder. Cacao is slightly more bitter, so if you use cocoa powder instead, the pie might be a little sweeter… but still tasty!
- Almond Flour. The no-bake crust is made with blanched almond flour to keep it gluten-free. If you have almond meal, with flecks of almond skin mixed in, that should work, too.
How to Make Chocolate Peanut Butter Pie (Step by Step)
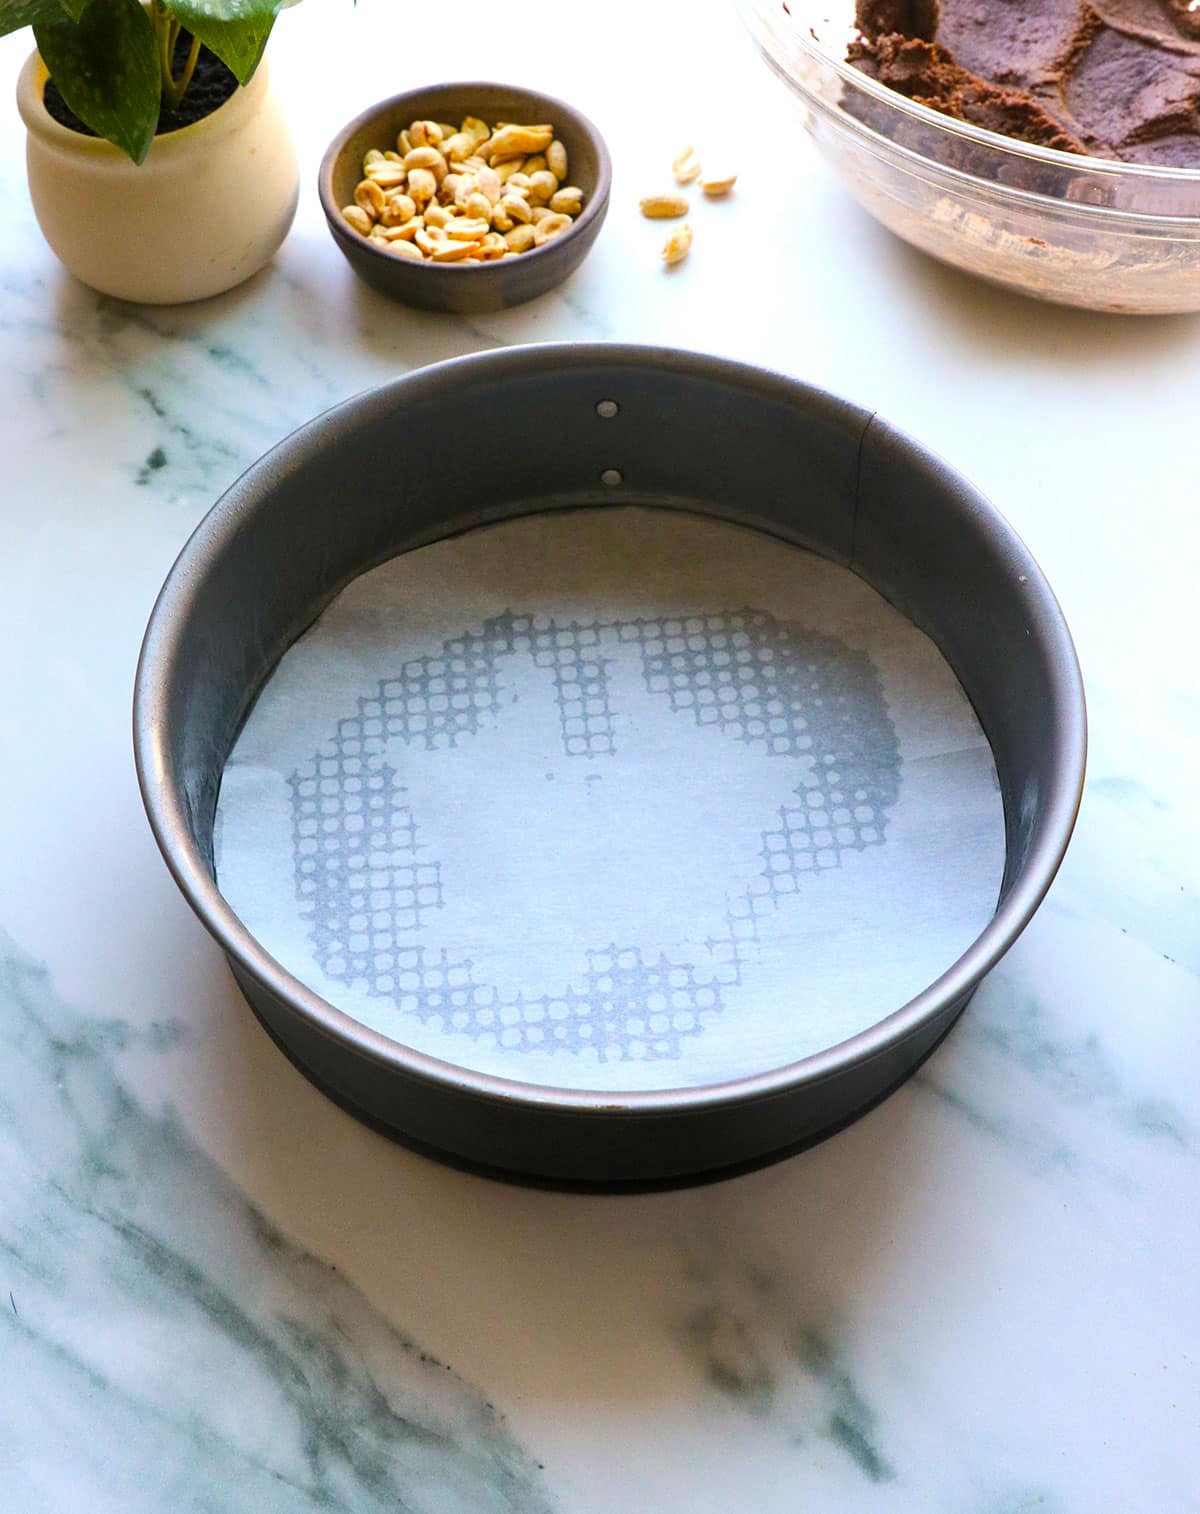
- Lightly grease an 8-inch springform pan with cooking spray, then press a piece of parchment paper into the bottom of the pan. This will guarantee easier removal later.
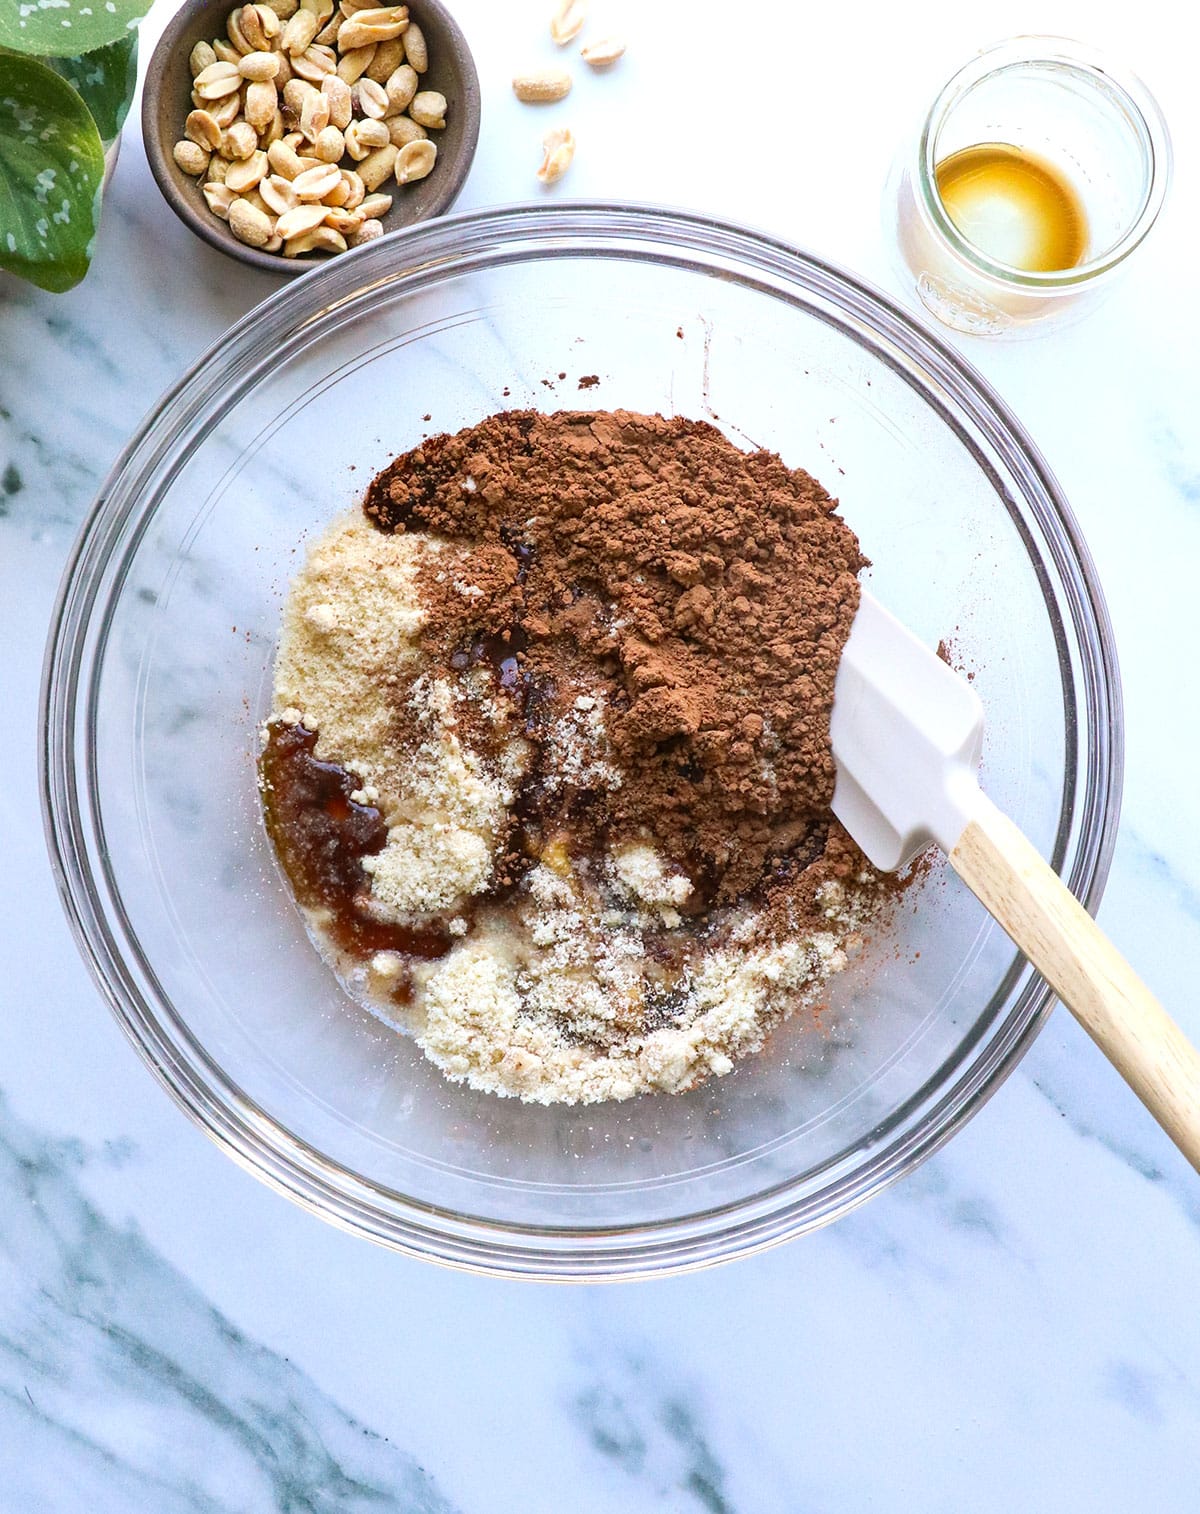
- In a large bowl, combine 1 1/2 cups of blanched almond flour, 1/2 cup cacao powder, 1/4 cup maple syrup, 3 tablespoons melted coconut oil, and a pinch of salt.
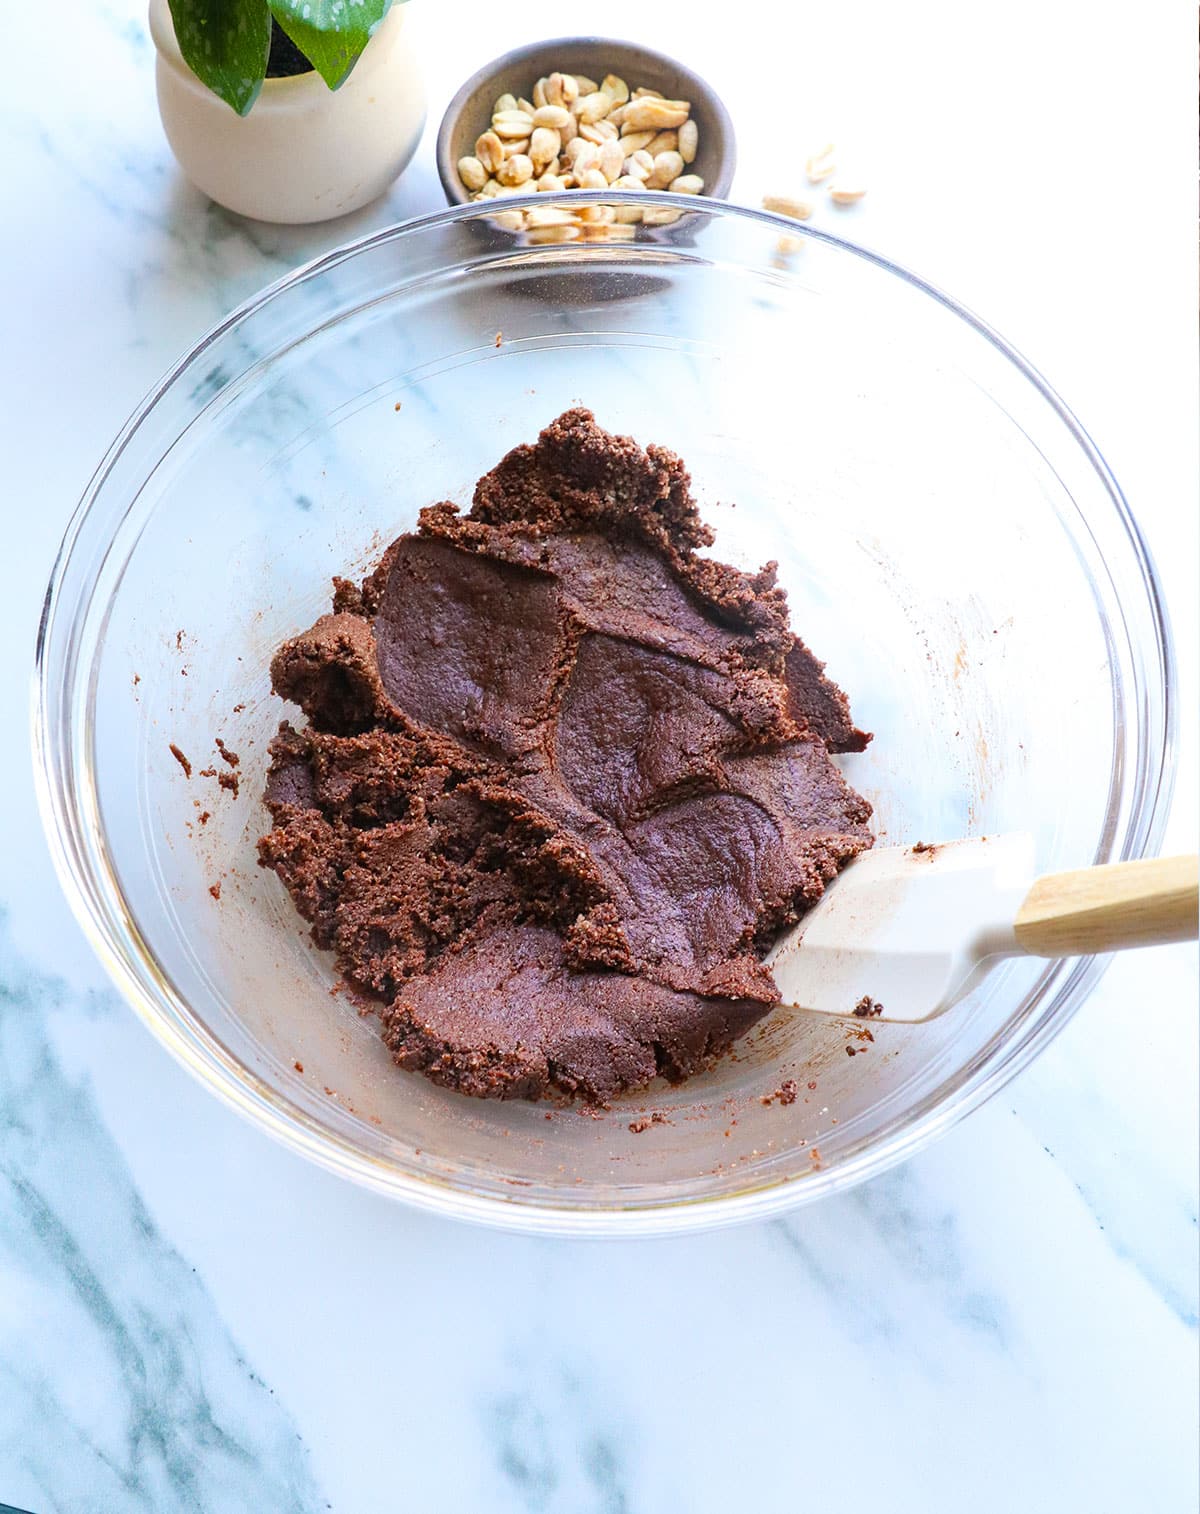
- Use a spatula to mix well, until the crust looks like a thick chocolate cookie dough.
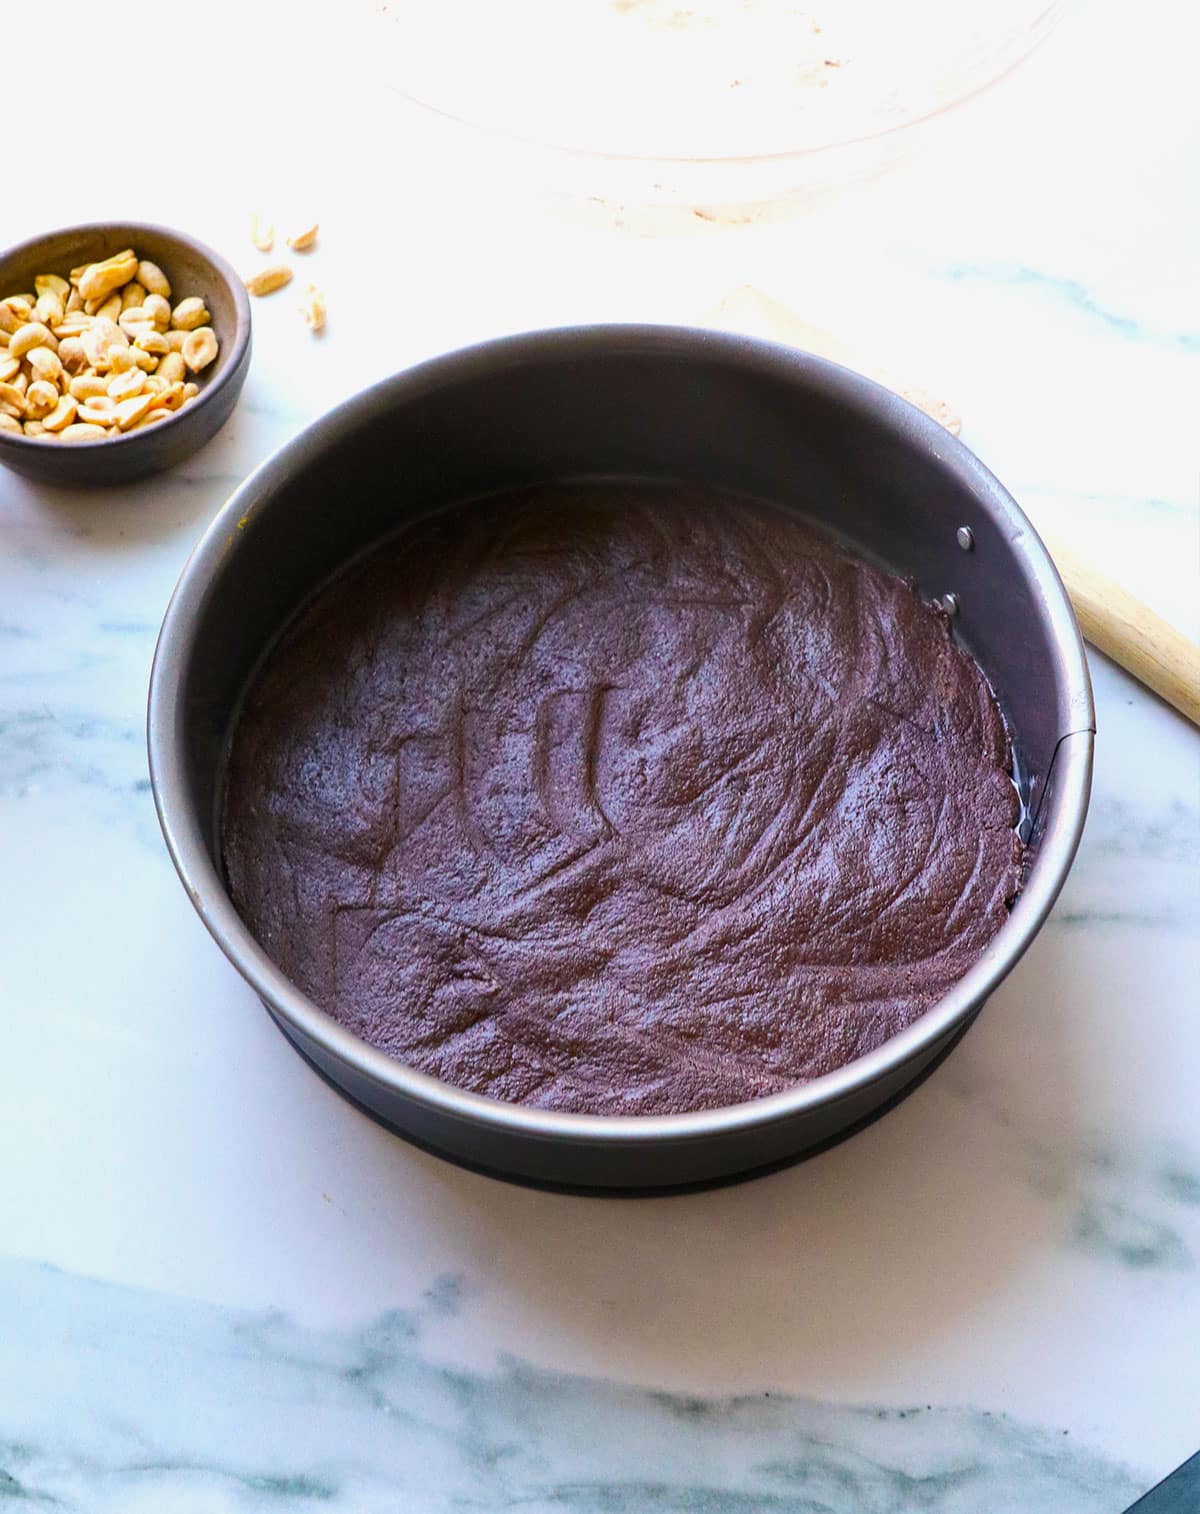
- Transfer the mixture to the prepared pan and press it evenly into the bottom. Place this in the freezer to firm up while you work on the next layer.
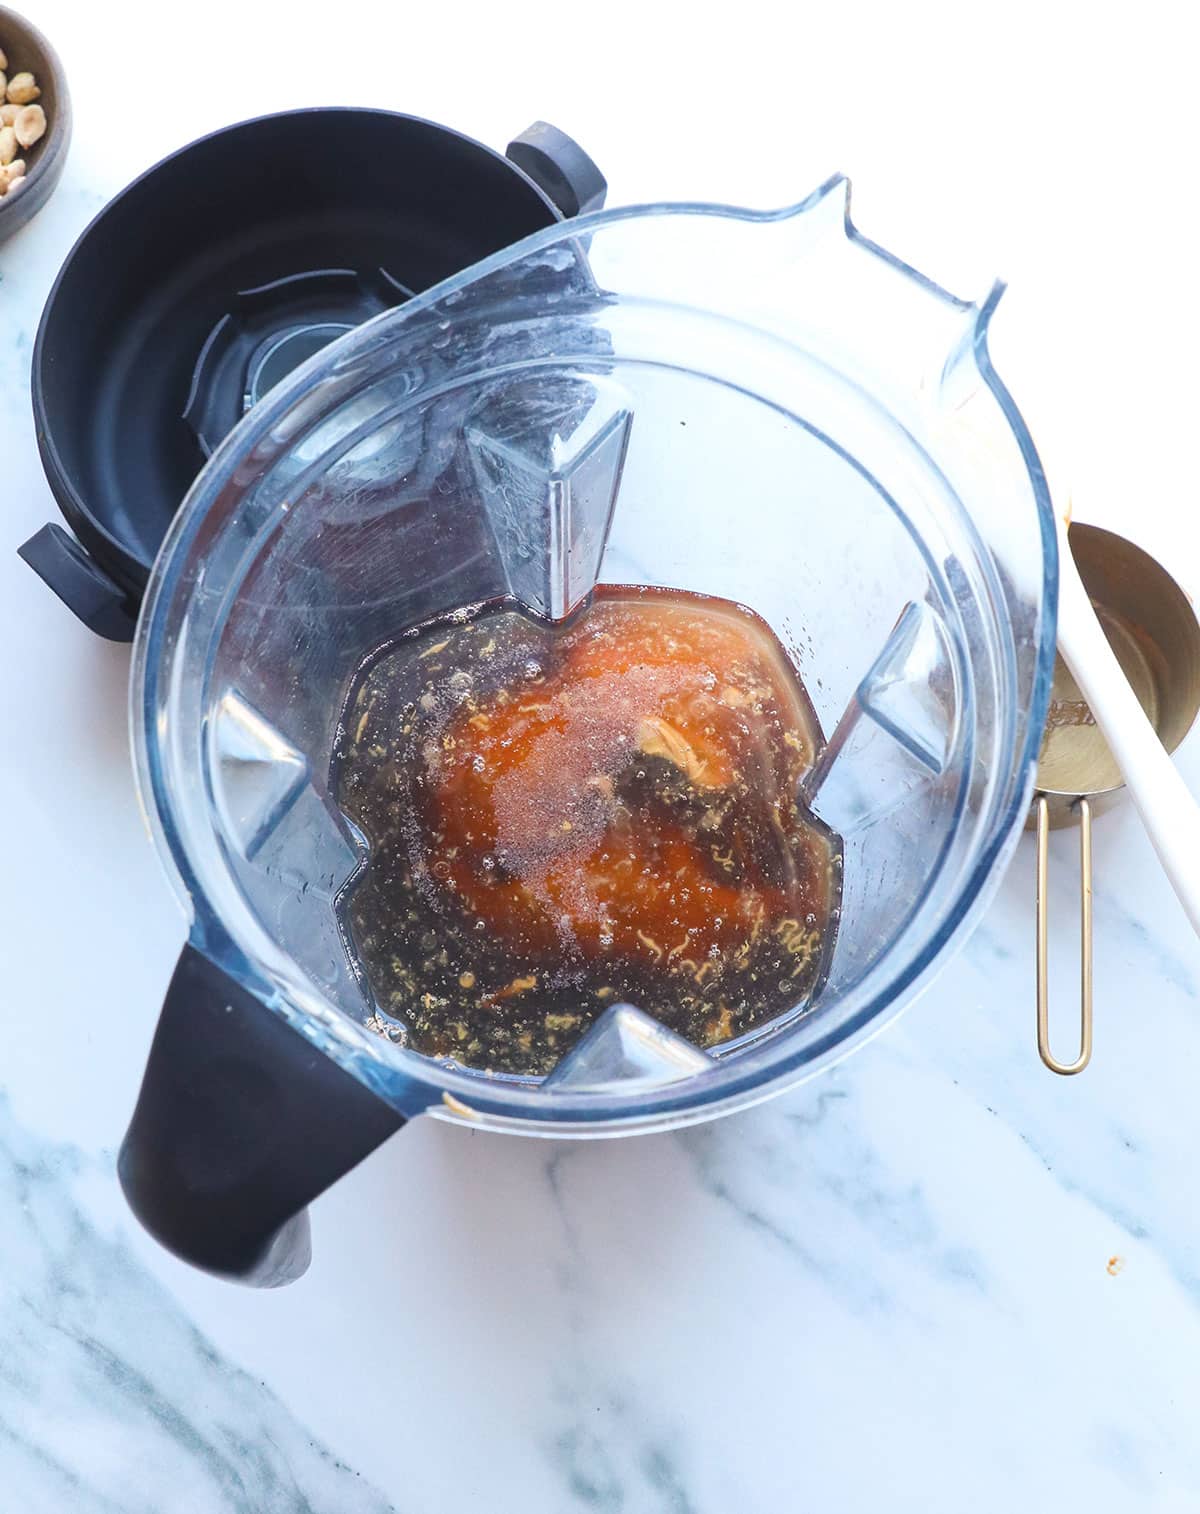
- In a high-speed blender, combine 1 cup of all-natural peanut butter, 3/4 cup water, 1/2 cup melted coconut oil, 1/2 cup pure maple syrup, and 1/4 teaspoon fine sea salt.
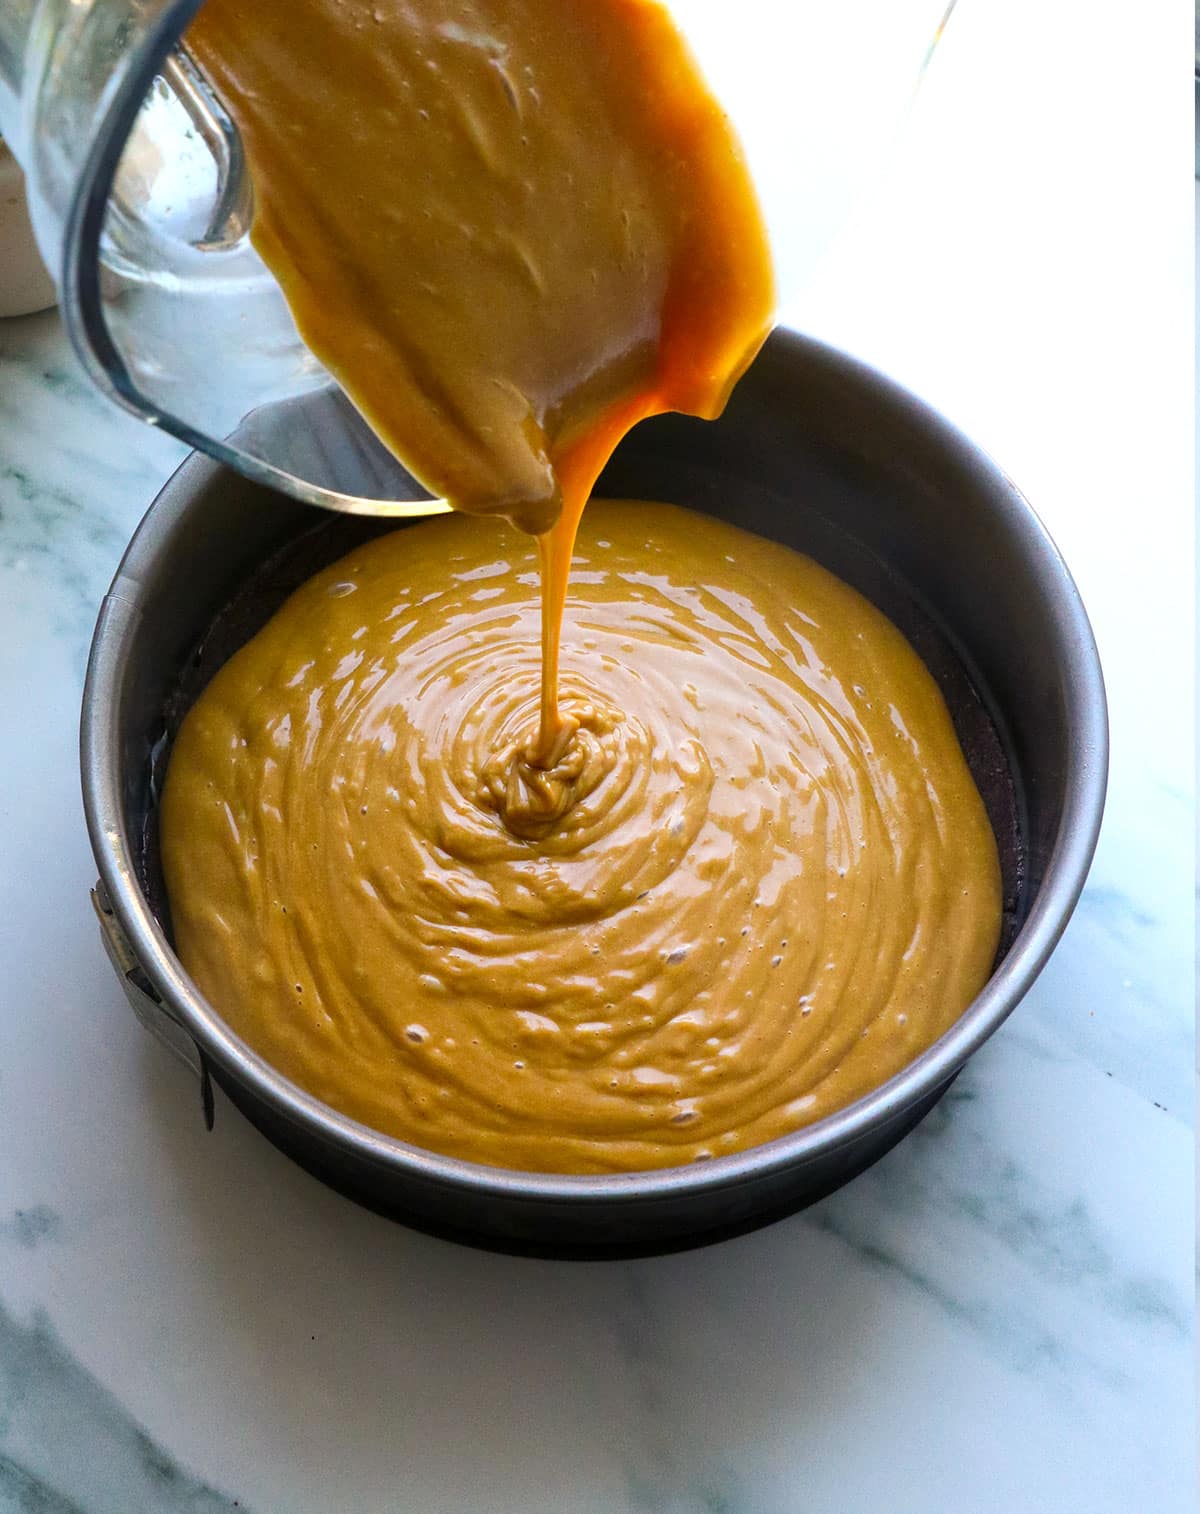
- Secure the lid and blend until smooth. It should look very creamy! (Don’t whisk by hand; it’s not the same.) Pour the mixture over the chocolate crust, then place it back in the freezer to set for 3 hours.
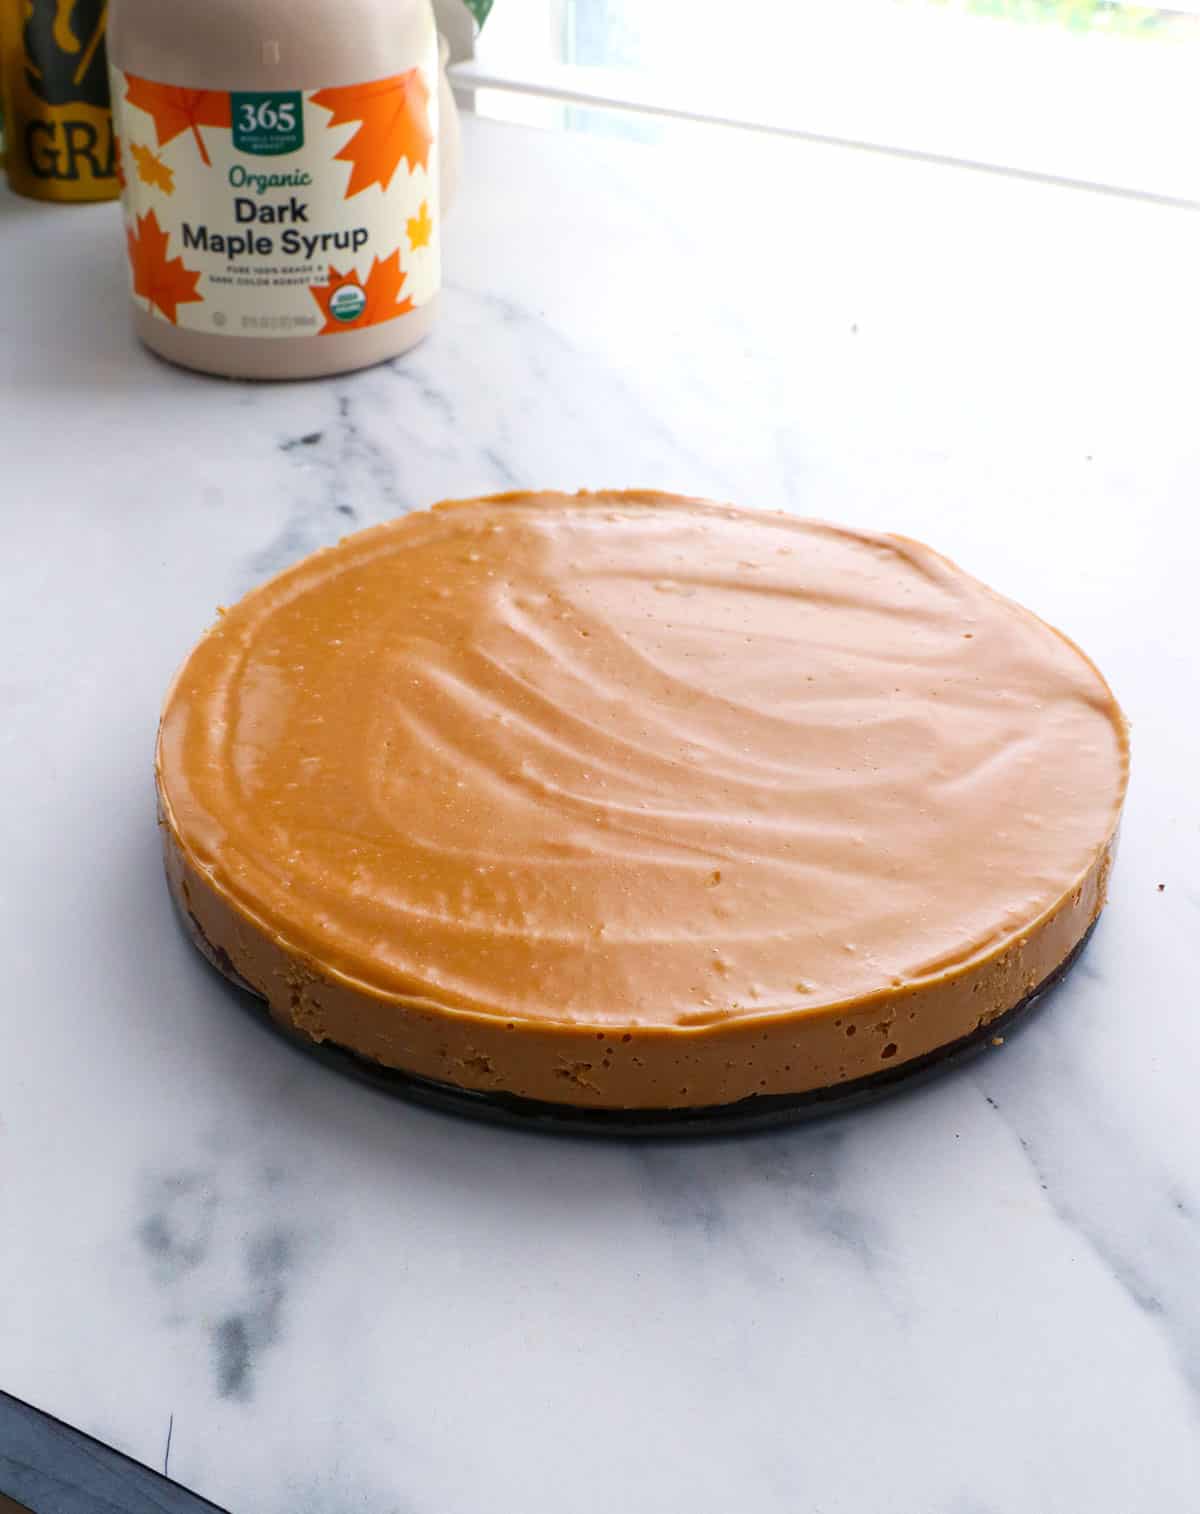
- When the pie feels firm to the touch in the center, you can remove it from the freezer. Remove it from the pan by releasing the springform side, or, if you have a regular pan, use the parchment paper to lift it out.
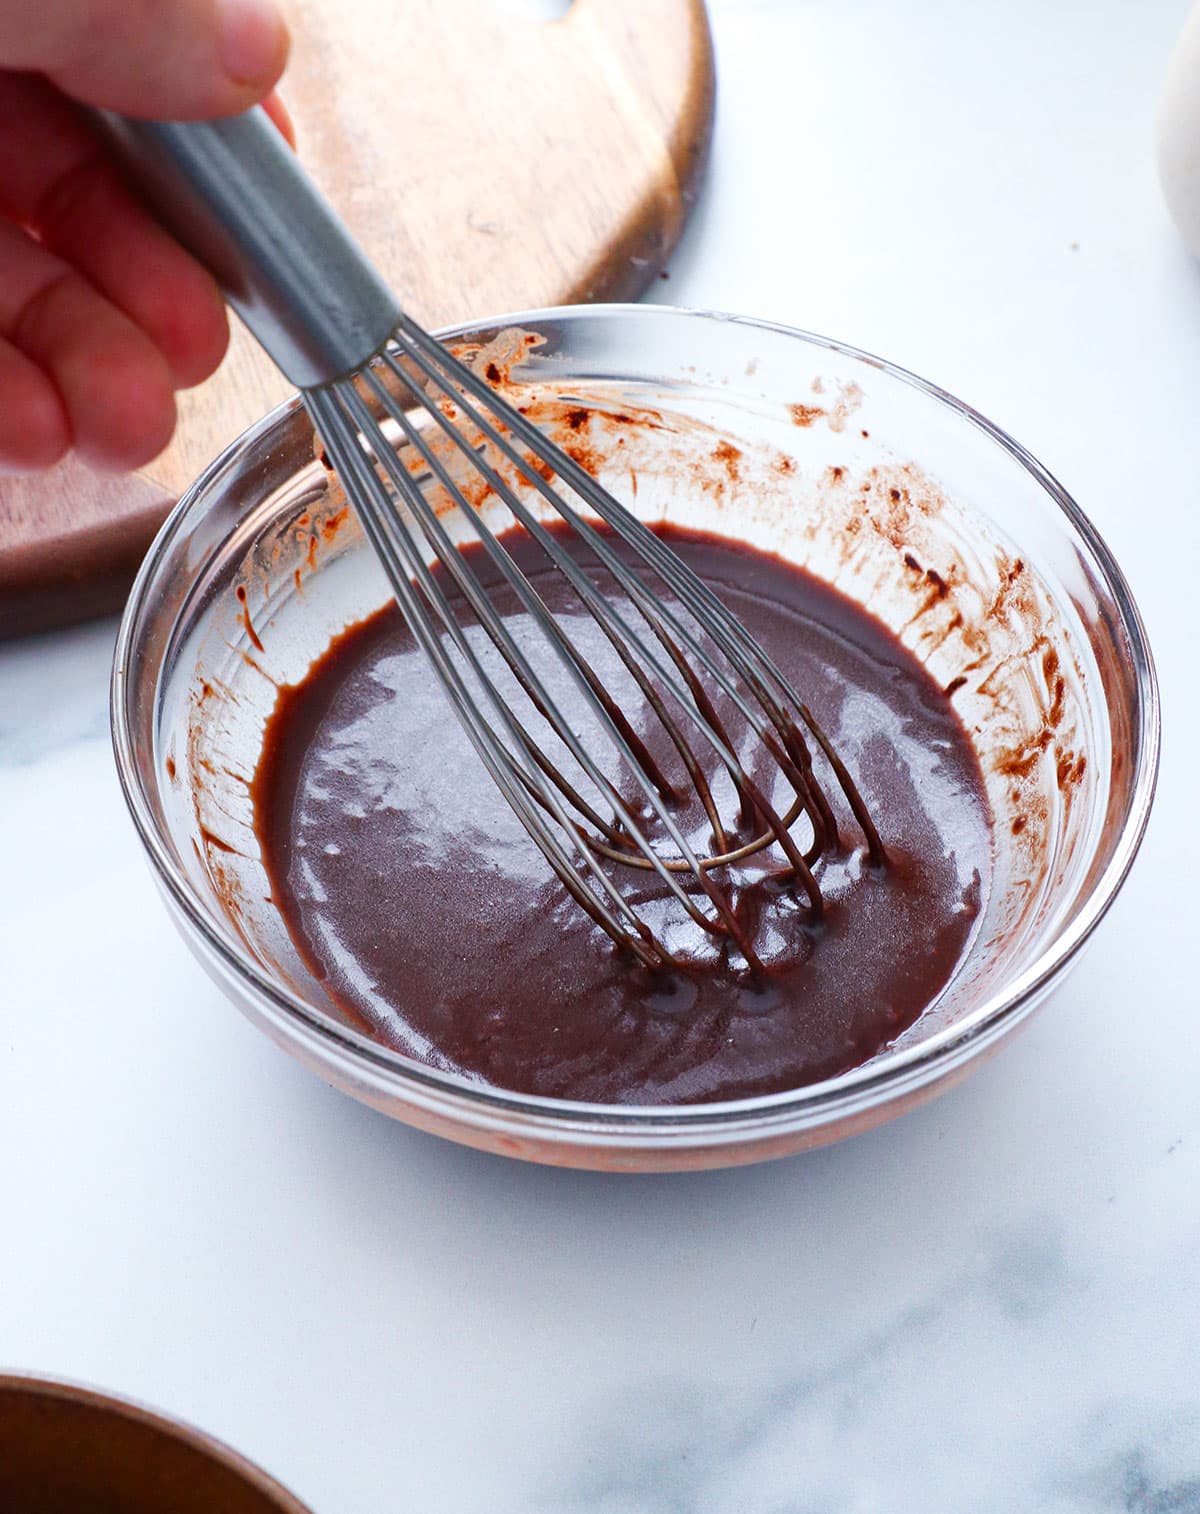
- To prepare the chocolate topping, add 3 tablespoons each of cacao powder, maple syrup, and coconut oil to a bowl. Whisk well until smooth. (Make sure no ingredients are cold; otherwise, it can thicken and be difficult to pour.)
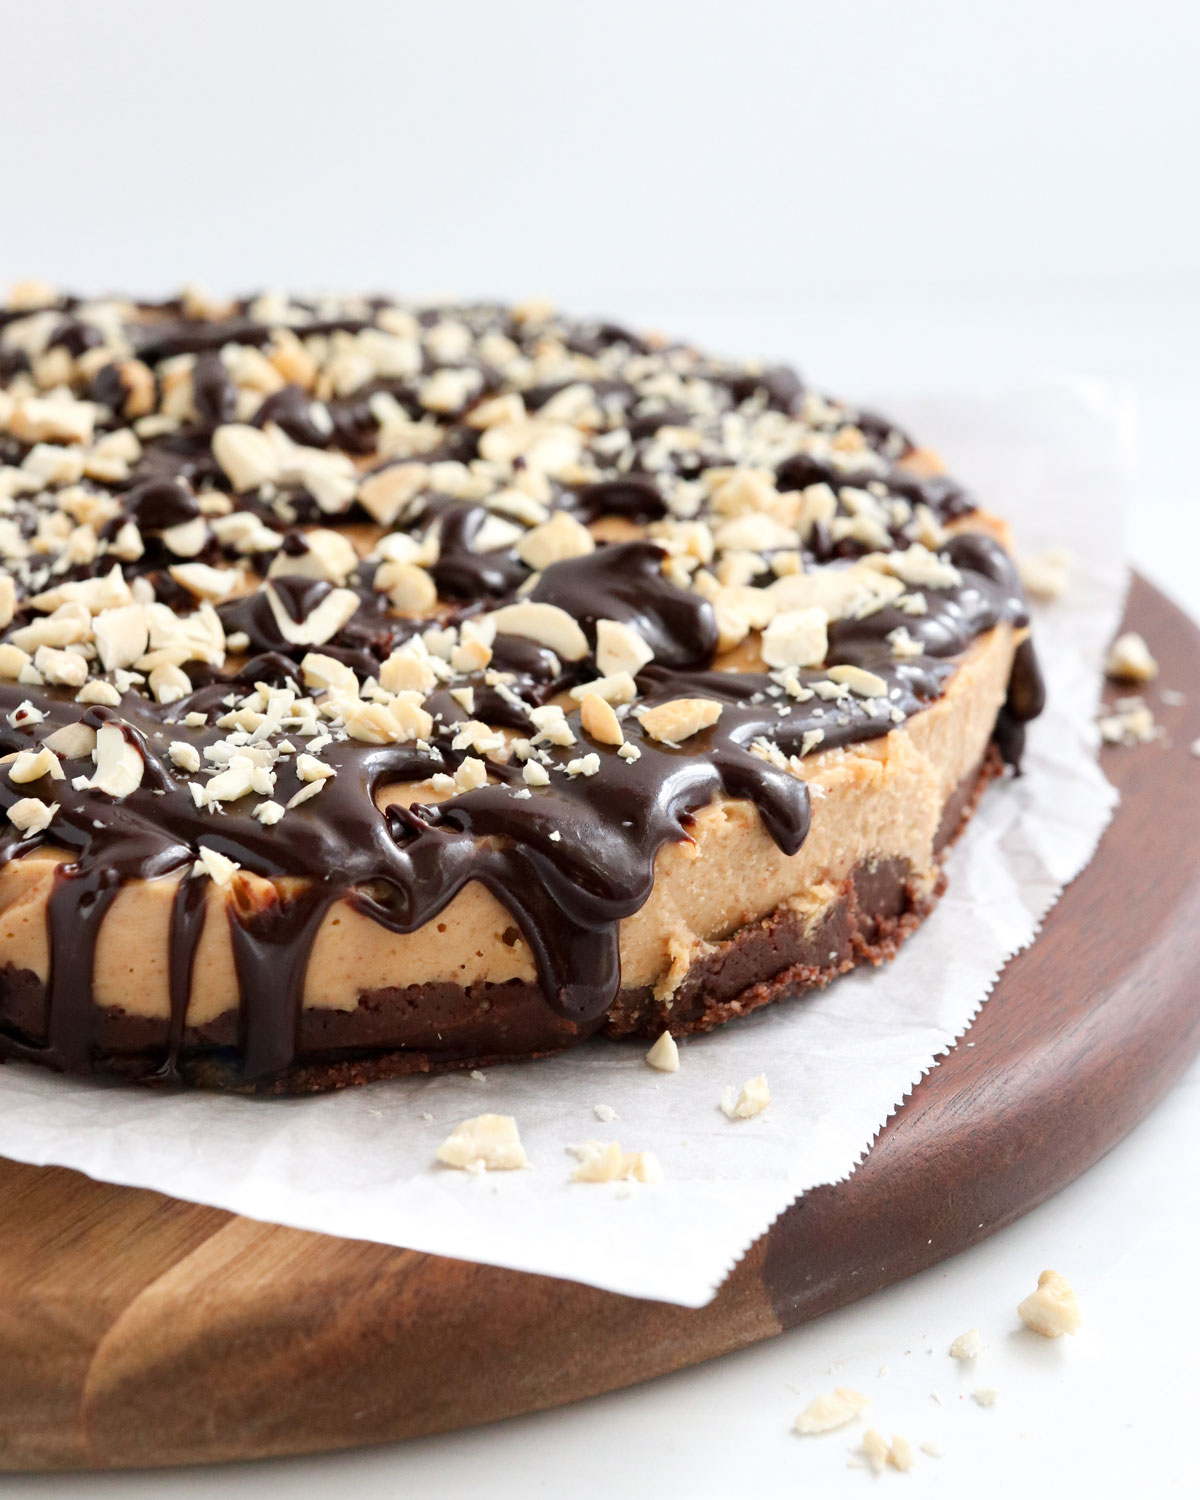
- Drizzle the chocolate topping over the cold peanut butter pie. It should start to firm up quickly, in about 2 to 3 minutes, when it touches the cold surface. Sprinkle chopped peanuts on top before it firms up.

- The pie is ready to slice and serve chilled. Keep it in the fridge for a softer texture, or in the freezer for a firmer texture. It will soften too much if you leave it at room temperature for over an hour; so keep it chilled for the best consistency.
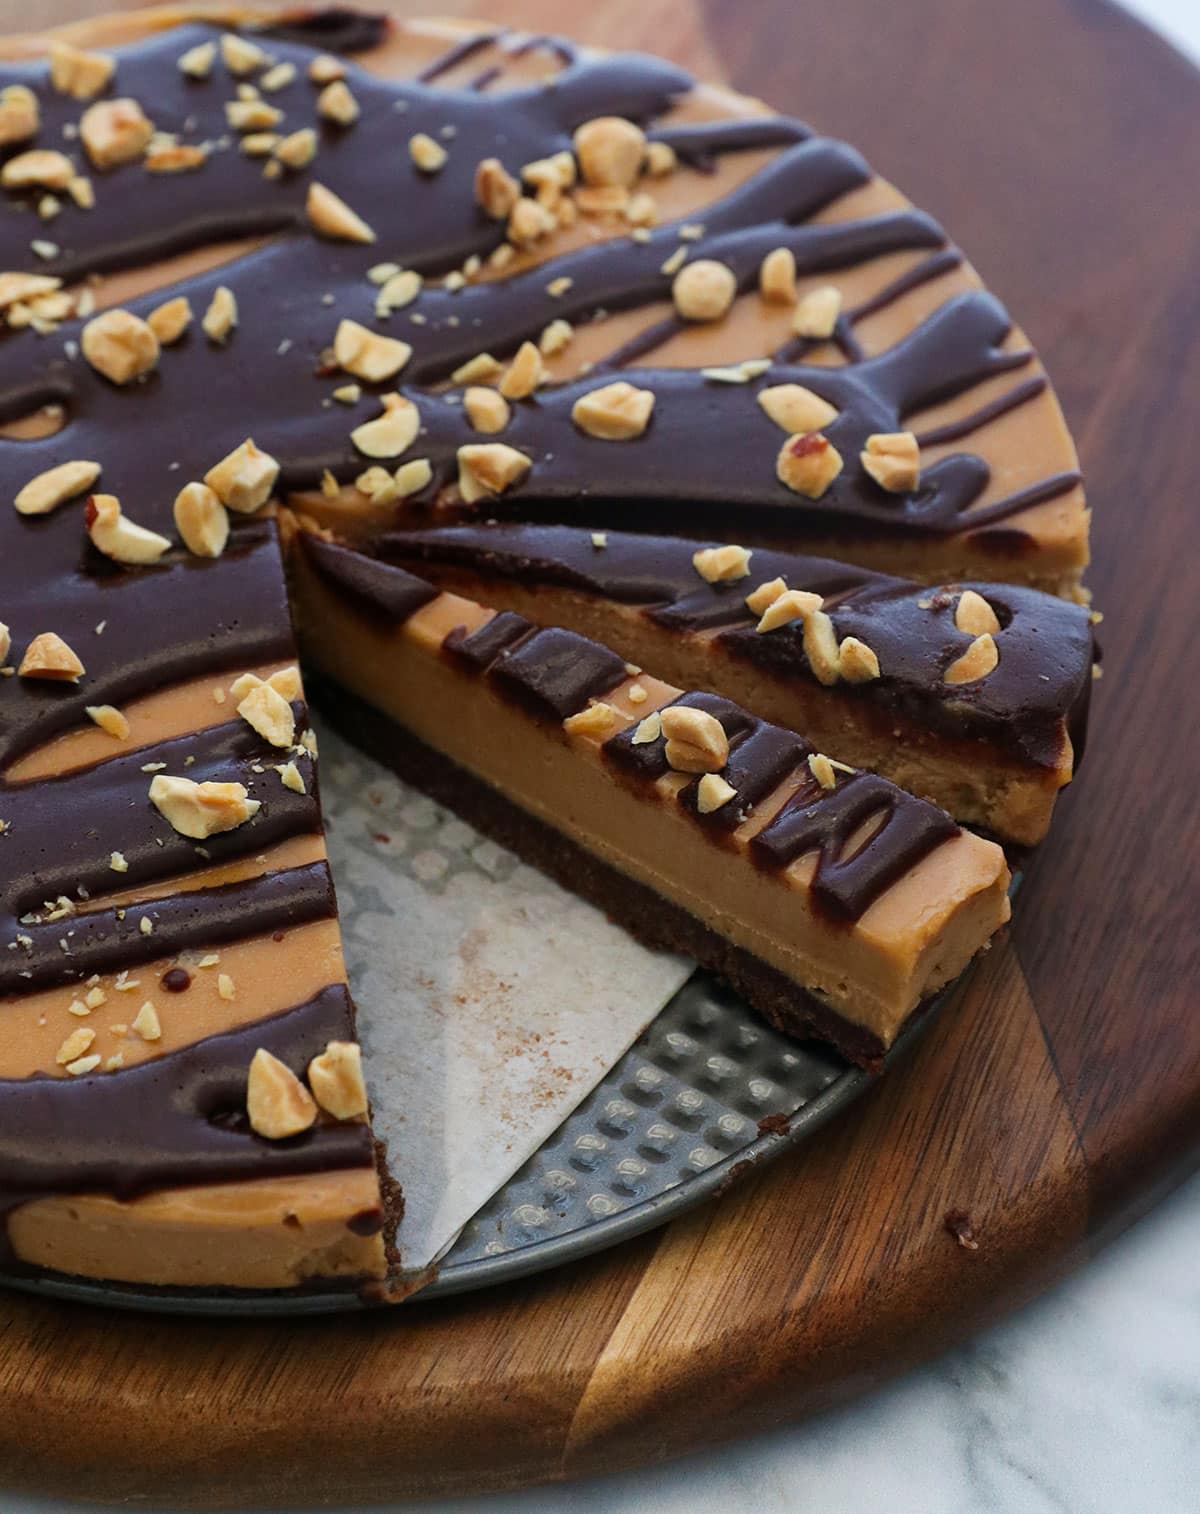
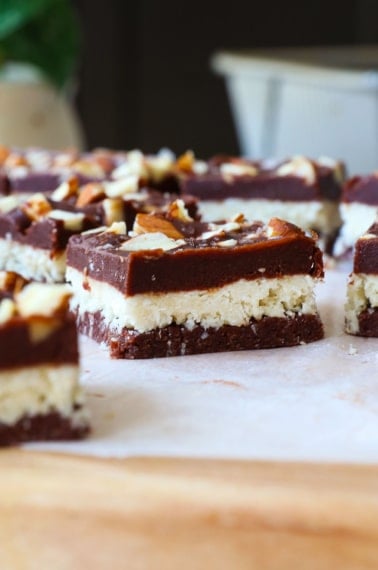
Pro Tip: You can cut this into teeny-tiny slices (as pictured above) because it’s so rich! My family calls these “slivers.” We walk by this pie throughout the day and cut a “sliver” each time, because it’s hard to resist.
Vegan Peanut Butter Pie Recipe FAQs
The only substitute for coconut oil would be something else that completely firms up when chilled, for example, butter. (Which is not vegan.) Coconut oil is responsible for the texture of this pie, so you may get drastically different results with a substitution.
Of course! Almond butter, sunflower seed butter, or cashew butter should work well. Just keep in mind that the flavor will change, depending on which nut or seed butter you use.
Yes, if you prefer a crispy baked option, you can start with a store-bought crust you love or try my oat flour pie crust or almond flour pie crust. (Both are vegan.)
More Dairy-Free Desserts


If you try this vegan peanut butter pie recipe, please leave a comment and ⭐ star rating below to let me know what you think. Thanks for visiting!
Vegan Peanut Butter Pie (No Refined Sugar!)
Ingredients
Chocolate Crust
- 1 ½ cups almond flour
- ¼ cup cacao powder
- ¼ cup maple syrup (at room temperature)
- 3 tablespoons melted coconut oil (see notes)
- Pinch of salt
Peanut Butter Pie Filling
- 1 cup all-natural peanut butter
- ¾ cup water
- ½ cup melted coconut oil
- ½ cup maple syrup (at room temperature)
- ¼ teaspoon sea salt
Chocolate Topping
- 3 tablespoons melted coconut oil
- 3 tablespoons maple syrup (at room temperature)
- 3 tablespoons cacao powder
- 2 to 3 tablespoons chopped peanuts , for topping (optional)
Instructions
- Lightly spray an 8-inch springform pan with oil, then press a piece of parchment paper into the bottom for easier removal. To prepare the crust, combine the almond flour, cacao powder, maple syrup, coconut oil, and salt, and stir well until it sticks together.
- Press the crust evenly into the bottom of the prepared pan, then place it in the freezer to firm up as you prepare the filling.
- Make the Peanut Butter Filling: Add the peanut butter, maple syrup, coconut oil, water, and salt to a blender, and blend until very smooth. Alternatively, use an electric hand mixer to rapidly beat it for about 2 minutes, or until very creamy. (Mixing by hand, even with a whisk, will NOT give you the same creamy results… I tried!)
- Remove the pan from the freezer and pour the peanut butter filling on top of the chocolate crust. Return the pan to the freezer, making sure it's sitting on a flat surface, so the pie will set evenly.
- When the peanut butter filling has set, which can take roughly 3 to 4 hours, prepare the chocolate topping. In a small bowl, combine the coconut oil, cacao powder, and maple syrup. Whisk well until it's very smooth, with a drippy consistency. (If any ingredient is cold, the chocolate might thicken. Set the bowl in a warm place so it has a drippy consistency.)
- Once the peanut butter filling is firm to the touch, use the parchment paper to lift the peanut butter pie out of the pan. Drizzle the chocolate topping over the top, and watch it harden quickly as it rests on the frozen pie. Slice and serve right away, with a few chopped peanuts on top, if you like.
- This peanut butter pie will store well in an airtight container for up to 3 months in the freezer. Serve chilled for the best texture.








The verdict today – This pie was way above our expectation.Healthy treat to my sugar tooth.My kids had it just out of freezer and was “mommy made icecream at home”.tricked them ;).
Hi,I have been an anonymous follower of your blog and looking for no bake,no white sugar pie recipes.Our family eliminated white sugar 100% in our diet .This recipe was a treasure find that we could enjoy without much guilt.I prepared it today and its freezing now,I can positively say this pie will be a hit with my kids.Thanks.Keep up the good work.
Served this on thanksgiving to a very happy crowd, incredibly rich and nobody would guess it’s “healthy” 🙂
I made these treats last night for a girls get together and it was a HUGE hit!I made a couple of slight changes. I made them in cupcake liners so I wouldn’t have to worry about cutting a cake. I also added “vanilla frosting” (vegetable shortening, coconut cream, honey, vanilla) to the tops. The girls could not believe that something so delicious and creamy was made from such clean healthy ingredients! Thanks Megan!!!!
Do you it would work out to make mini tarts instead using a pop out silicone muffin mold and adding a little coconut oil in the mold to prevent sticking?
Probably, but I would use muffin cups so you can easily pop them out of the tin.
I made this for thanksgiving and it was a HUGE hit!! I made it in a 9″ pan and doubled the entire recipe. I also used almond butter instead of PB. When I made it again I would omit the water in the filling – it was completely unnecessary for blending in our magic bullet and I think it caused the filling to take too long to firm up. Very excited to make it again. Thanks Megan!!
This was amazing!! My favorite part of Thanksgiving!!!
My topping was a complete failure following the recipe. It wasn’t clumpy or seized up but it was far too thick to be able to drizzle, even when warmed over a double boiler. My fix was to reduce the amount of cocoa powder and it looks great! Can’t wait to see how it tastes this evening.
I made a half batch to test this before tgiving. I subbed pumpkin seeds in crust and that was good. 2 of us ate the whole thing. Tried again with almond butter and that wasn’t as popular in my house. I didn’t even bother measuring, just to taste. Couldn’t be easier!
We can’t eat peanuts so I used a cup of cashew butter and then added about 1/3 cup tahini. Tahini seems to give things a the rich peanutty flavor that I like in peanut butter. Then I added 1 tsp of pumpkin pie spice. OMG!! Delicioso. Thank you.
Could I use coconut butter instead of coconut oil in this recipe?