This post may contain affiliate links. Please read my disclosure and privacy policy.
Today we’re making perfect Instant Pot Black Beans, using soaked or un-soaked beans. Cooking dry beans in the pressure cooker is faster and easier than cooking them on the stove top, because the process is almost entirely hands-off!
Is it Safe to Cook Dry Beans in a Pressure Cooker?
I’ve been intimidated by cooking my own beans from scratch in the past, possibly because I remember reading that it’s a bad idea to cook dried red beans in a slow cooker. That’s because raw kidney beans contain a particularly high concentration of the lectin called Phytohaemagglutnin, and this concentration is greatly reduced with cooking. A slow cooker doesn’t always reach a boiling temperature needed to fully cook the beans, so some people have reported getting sick after eating kidney beans that have been cooked in the slow cooker. (You can read more about this red kidney bean issue here.)
Luckily, that’s not a worry with the Instant Pot, as it does reach a high cooking temperature. Other types of beans, including black beans, have a much lower concentration of this lectin, so I haven’t found any similar reports linked to consuming them.
Still, you can stay on the safe side by making sure your beans are fully cooked. Beans can withstand quite a bit of overcooking, so I tend to err on the side of overcooking, so that the beans are very tender. Avoid beans that are dry or chalky on the inside!
How Long Does it Take to Cook Black Beans in the Pressure Cooker?
I’ve tested this cooking time for several years now, and have learned that the Instant Pot cooking time will vary slightly by how fresh or old the dry beans are. Dry beans from a bulk bin with a high turnover rate may be more fresh than the packaged beans that have been sitting on a store shelf for months.
With that being said, you’ll find the cooking times below that I have consistently good results with.
Here are the cooking times I use:
- Un-soaked beans: 50 minutes high pressure + 10 minute natural release
- Soaked beans: 9 minutes high pressure + 15 minute natural release
I’ve tested other cooking times suggested online (anywhere from 25 to 35 minutes at high pressure for un-soaked black beans) and found very inconsistent results. In any given batch, the beans might be done after 35 minutes, but some beans were not all the way tender, which resulted in me having to add more water, and more cooking time. Not convenient.
When you commit to a full 50-minute cooking cycle, you’ll get perfectly tender beans that are creamy on the inside. This is my go-to cooking time for Instant Pot black beans now!
Ratio of Beans to Water in the Instant Pot
I’ve tested several different water ratios:
- 1 pound black beans + 3 cups water: This ratio left me with inconsistent results. The beans on the bottom were cooked, but the beans on the top were still hard, because they weren’t totally covered in water as the beans expanded with cooking.
- 1 pound black beans + 4 cups water: Better, than the 3 cups, but still had a few beans on the very top that were a little too crunchy for my liking. I prefer consistently tender beans all around.
- 1 pound black beans + 5 cups water: Perfect! All of the beans turn out consistently tender with this amount of water. Yes, you will have some extra liquid in the pot when the beans are done cooking, but I’ll show you how to handle that, without draining off the flavor, below.
In general, the perfect ratio of water for cooking black beans in the Instant Pot is 2.5 cups of water per 1 cup of dry beans. If the beans are soaked, you can get away with only 2 cups of water per 1 cup of soaked beans.

And yes, you can cook only 1 cup of dry black beans in your Instant Pot, if you want to. The cooking time will stay the same, no matter how many dry beans you use.
Do You Need to Soak Black Beans for the Instant Pot?
Good news! You don’t have to soak beans before cooking them. They cook faster in the pressure cooker, so you don’t have to worry about a slow cooking process, and most people have reported little to no improvement when it comes to digesting beans after they’ve been soaked. Plus, beans taste better when you skip the soaking process.
In the printable recipe below, I’ll show you how to make super-flavorful black beans that you can serve a side dish, or in a burrito bowl.
When the beans are done cooking, you’ll simply use the Sauté function on the Instant pot to simmer away the excess liquid and concentrate the flavoring at the same time. The sauce will thicken up in about 10 to 15 minutes, leaving you with restaurant-quality beans!
How to Soak Beans
Prefer soaking your beans? Soaking dry beans may help to remove their phytic acid content, which may help improve absorption of some minerals, especially iron. The only downside is that you have to plan ahead!
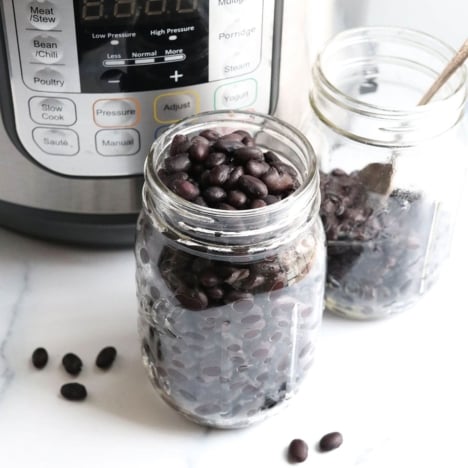
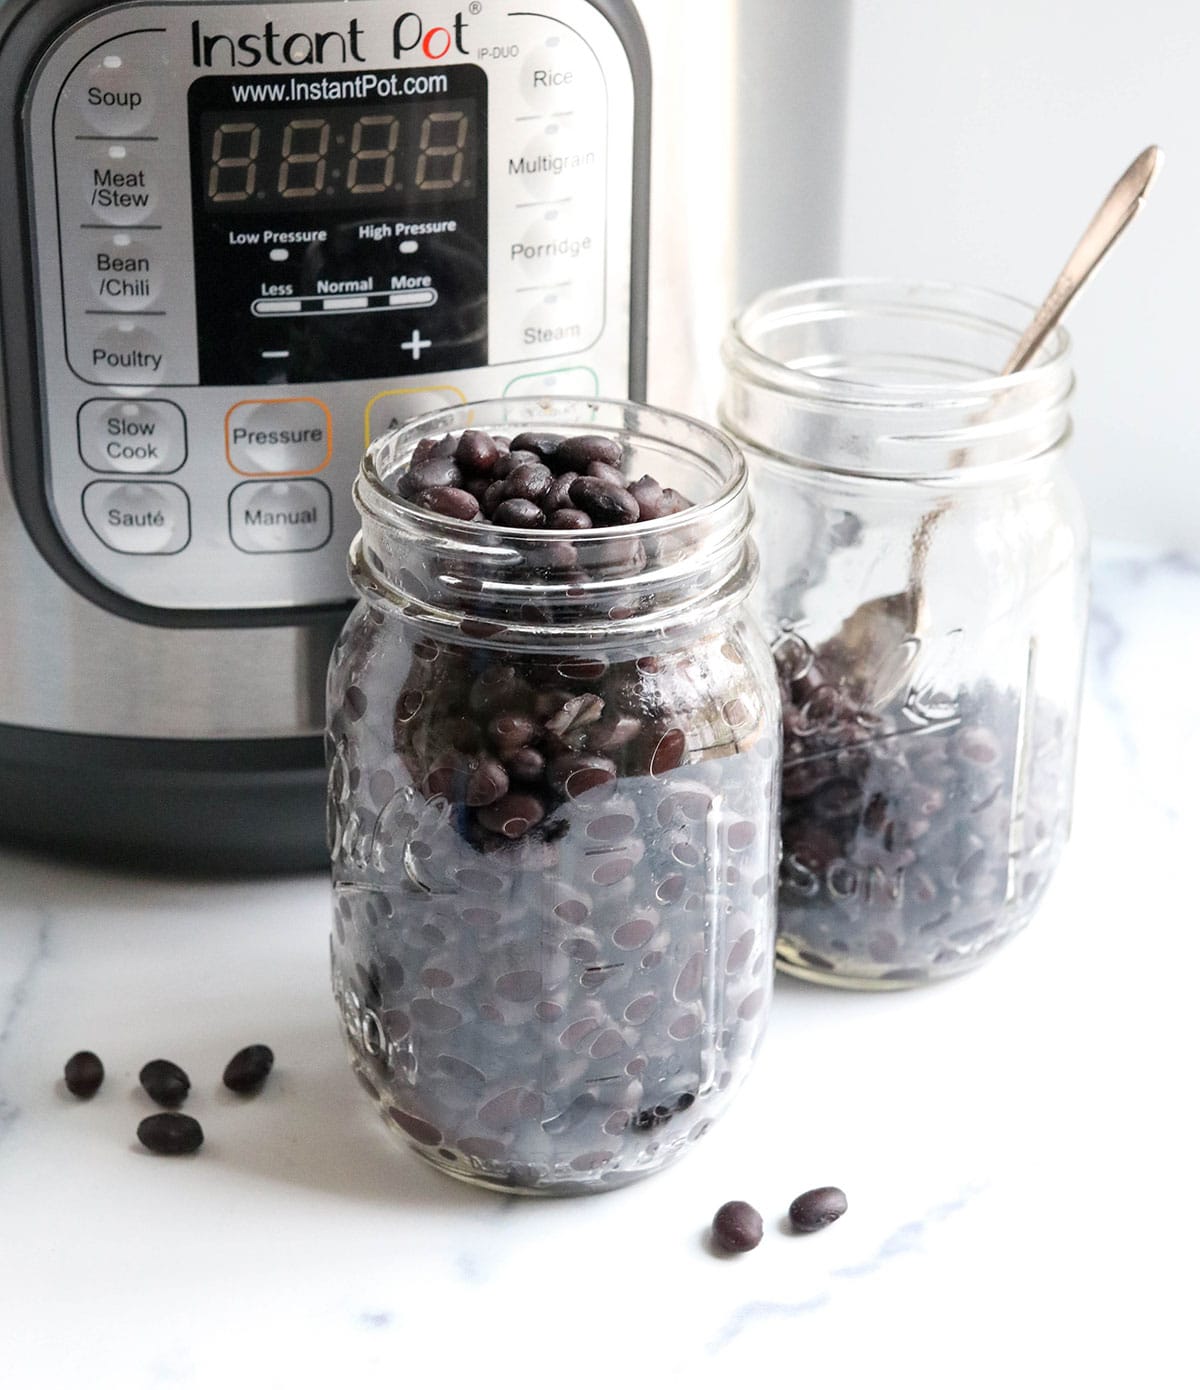
To soak black beans, cover the dry beans with roughly 3 inches of water in a large bowl. The beans will expand up to 3-times their size, so be sure to take this into account when choosing the size of the bowl.

Let them soak for a minimum of 6 to 8 hours, or overnight in the fridge. If you can remember to soak them in the morning, they should be ready for you to cook them at dinnertime.
How to Cook Soaked Black Beans in the Instant Pot
To cook soaked black beans in the pressure cooker, drain them to remove the soaking water, then add the beans to the Instant Pot. You can use the seasoning mentioned in the recipe below, or just cook them plain, so you can use them as a substitute for canned beans in a recipe.
Cover the soaked beans with water (I use the same ratio mentioned above!) then cook at high pressure for 9 minutes. Yes, you shave 41 minutes off the pressure cooking time by soaking the beans first.
Does salt affect the cooking time?
I used to think adding salt to dry beans might slow down the cooking time, but over time I’ve learned that the age of your dry beans has more to do with fluctuating cooking times than the salt does. So, feel free to use salt and enjoy more flavorful beans! The recipe below is my go-to seasoning combination.
How Many Cups is 1 Pound of Black Beans?
- 1 pound of dried beans = 2 heaping cups of dried beans = 5 cups cooked beans
To replace a 15 oz. can of beans in a recipe, you’ll need 1 1/2 cups of cooked black beans. So, the recipe below makes a little over 3 cans of beans!
How to Cook Other Beans & Lentils
If you’re curious about cooking another variety of legume, I’ve got you covered!
- Instant Pot Pinto Beans (so flavorful!)
- Instant Pot Chickpeas (perfect for homemade hummus)
- Instant Pot Lentils (green, brown, black, & red varieties)
Ingredients
- 1 tablespoon olive oil
- 1 yellow onion , chopped
- 2 garlic cloves , minced
- 1 teaspoon ground cumin
- 1/2 teaspoon ground oregano
- 1 bay leaf
- 1 teaspoon salt , plus more to taste
- 1 pound dry black beans (about 2 heaping cups)
- 5 cups water
- fresh lime juice , to taste
Instructions
Seasoned Black Beans
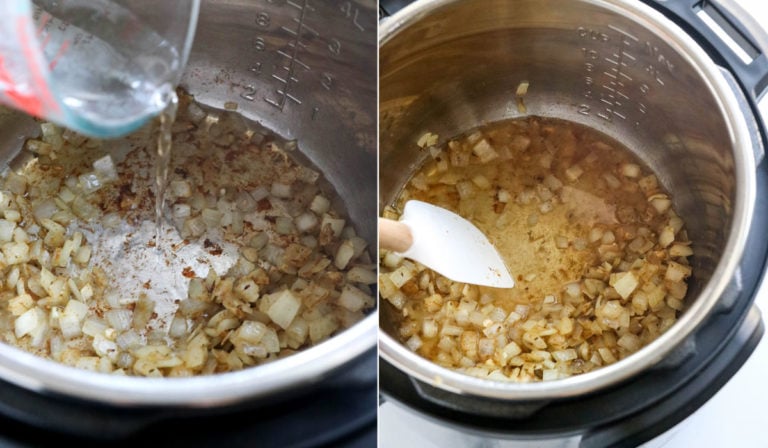
- Press the Sauté button on your Instant Pot, and allow the bottom to heat up. Add in the olive oil and yellow onion, and stir until it looks softened, about 3 to 5 minutes. Stir in the garlic, cumin, and oregano, and stir briefly, then press the Keep Warm/Cancel button, so the garlic won't burn.

- Add in 1/2 cup of water, to help deglaze the bottom of the pot. Use a spatula or wooden spoon to scrape any brown bits off the bottom of the Instant Pot, so you won't trigger a BURN error during the pressure cooking cycle.
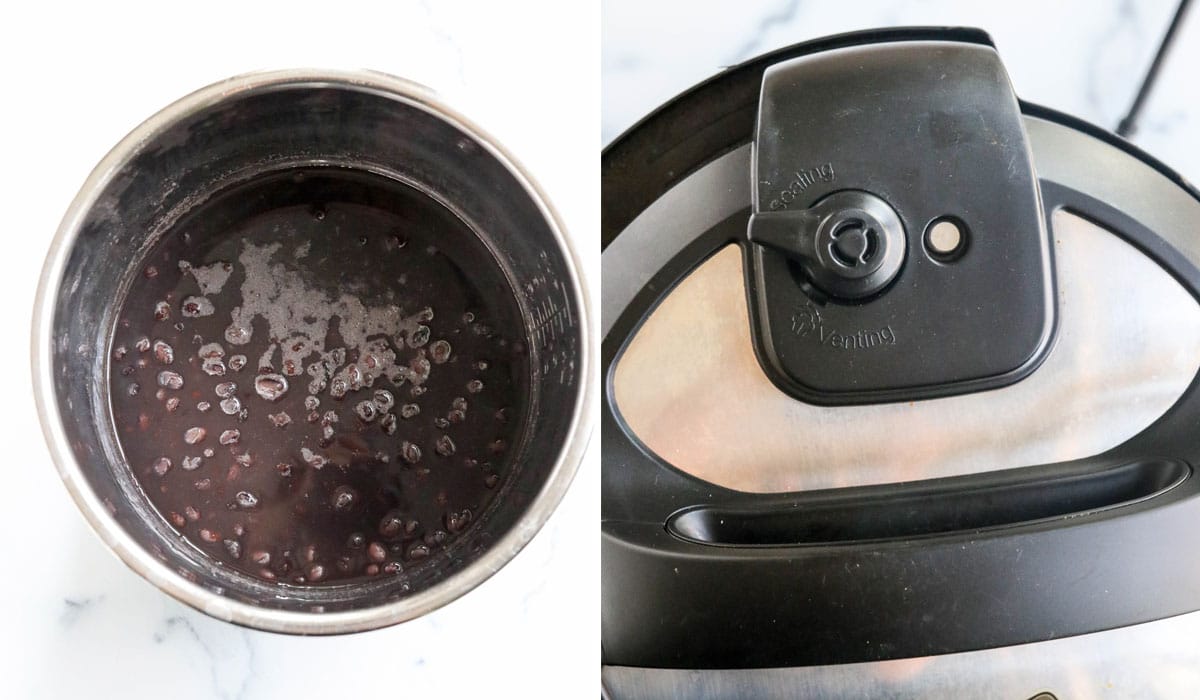
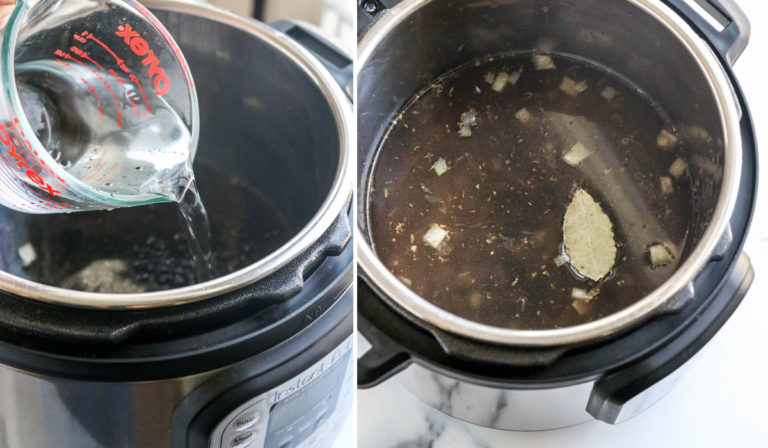
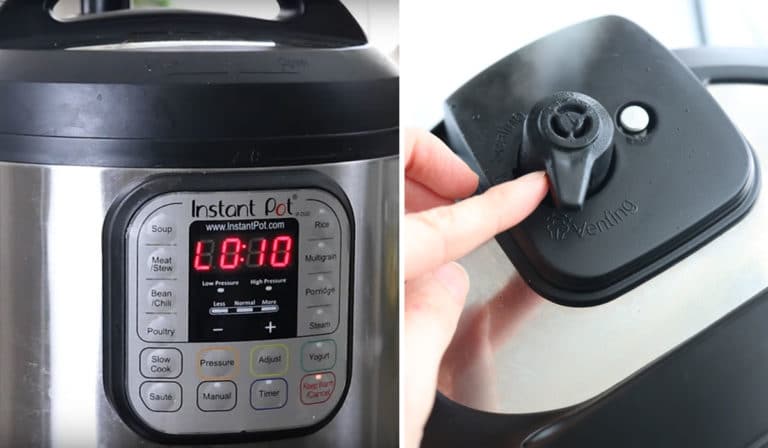
- Once the bottom of the pot looks clean, add in the remaining 4 1/2 cups of water, plus the black beans, bay leaf, and salt. Secure the lid and move the steam release valve to Sealing. Press the Manual or Pressure Cook button to cook at high pressure for 50 minutes. It will take roughly 10 minutes for the pot to come to pressure, so the screen will read ON until then. (If using soaked beans, cook for 9 minutes instead.)
- When the cooking cycle is complete, let the pressure naturally release for 10 minutes (or 15 minutes if using soaked beans). When the screen reads L0:10, move the steam release valve to Venting to release any remaining pressure. When the floating valve in the lid drops, it's safe to open the lid.
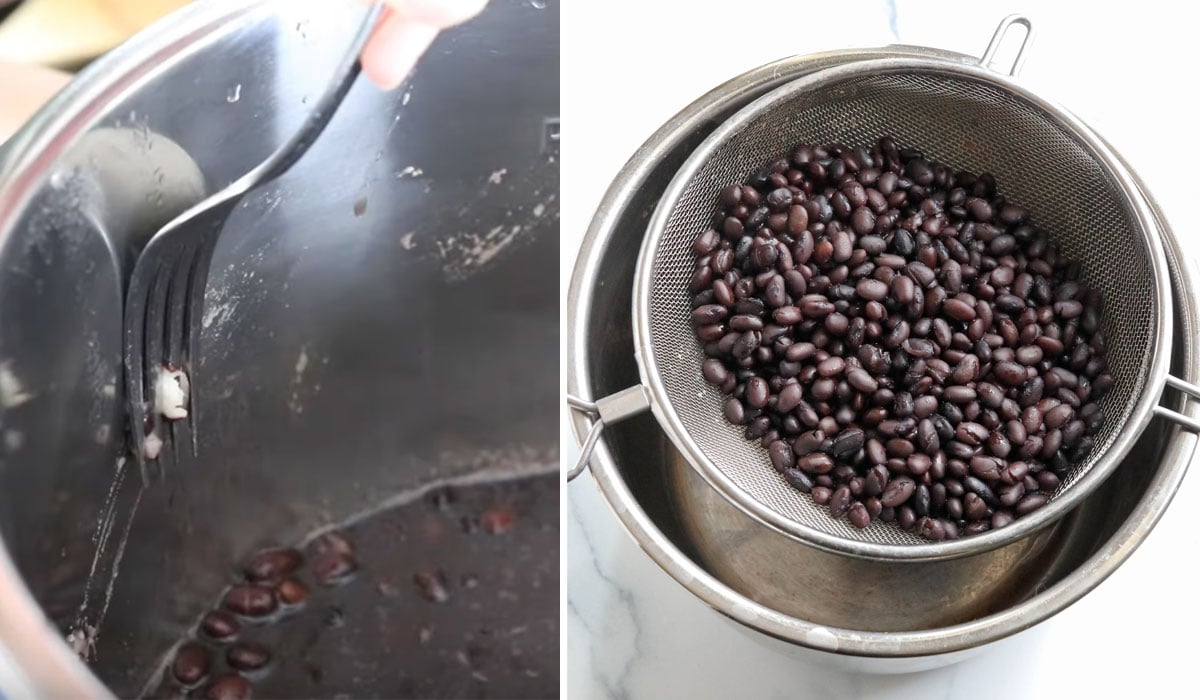
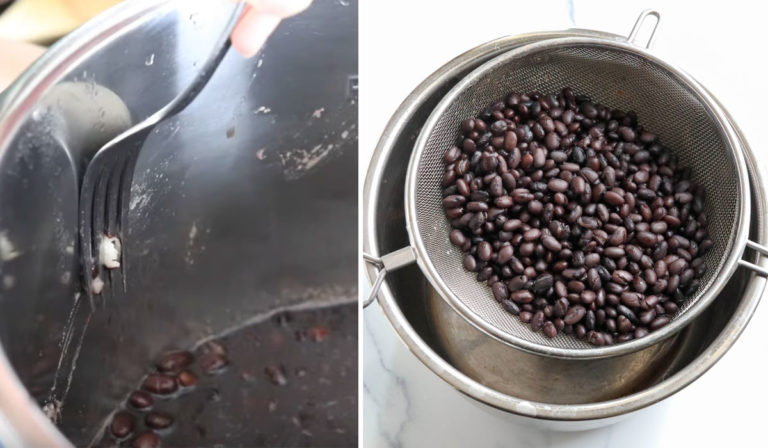
- Remove the bay leaf and use a fork to test one of the beans for tenderness, by mashing it against the side of the pot. It should be very tender and creamy in the middle. To eliminate the excess liquid in the pot, press the Sauté button and let the liquid simmer uncovered for 10 to 15 minutes, stirring occasionally so the beans don't stick to the bottom of the pot. Keep in mind the liquid will continue to thicken as the beans cool, so I don't recommend simmering for longer than 15 minutes. Season with additional salt (I add 1/2 teaspoon) and a tablespoon of fresh lime juice, to brighten up the flavor. Serve warm! Leftover beans can be stored in the fridge for up to 1 week, or in the freezer for up to 3 months.


Plain Black Beans (Substitute for Canned Beans)
- Combine 1 pound of dry beans with 5 cups of water. Secure the lid and move the steam release valve to Sealing. Press the Manual or Pressure Cook button, and cook at high pressure for 50 minutes. (Or cook for 9 minutes if using soaked beans.)
- When the cooking cycle is complete, let the pressure naturally release for 10 minutes (or 15 minutes if using soaked beans). When the screen reads L0:10, move the steam release valve to Venting to release any remaining pressure. When the floating valve in the lid drops, it's safe to open the lid.
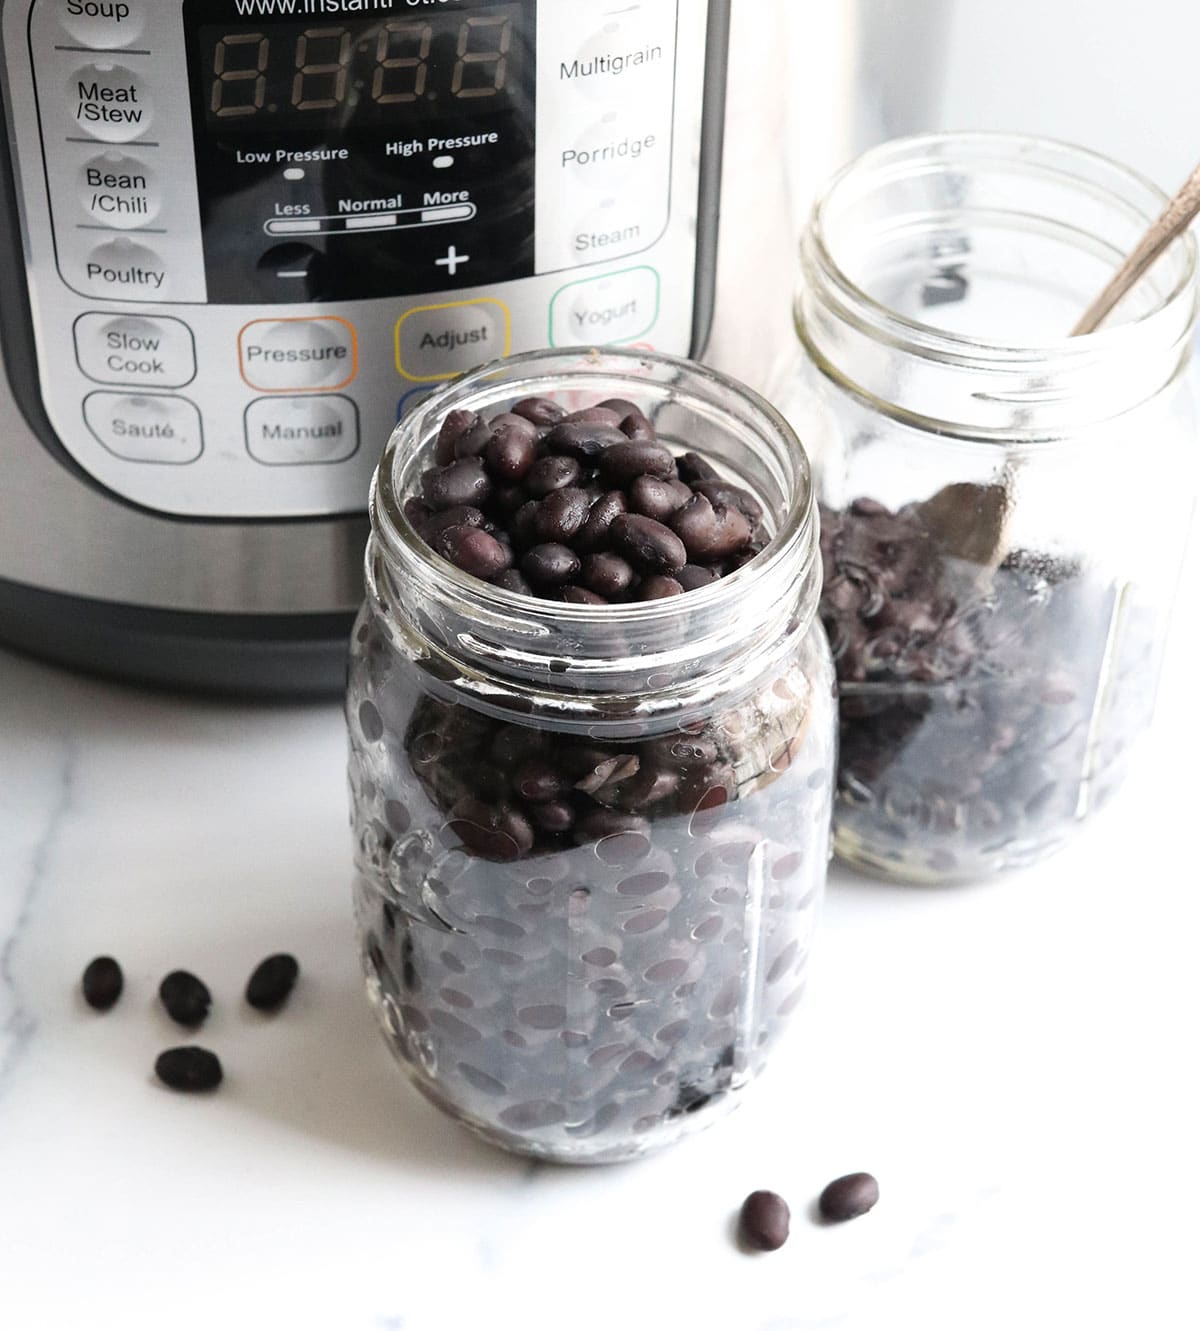
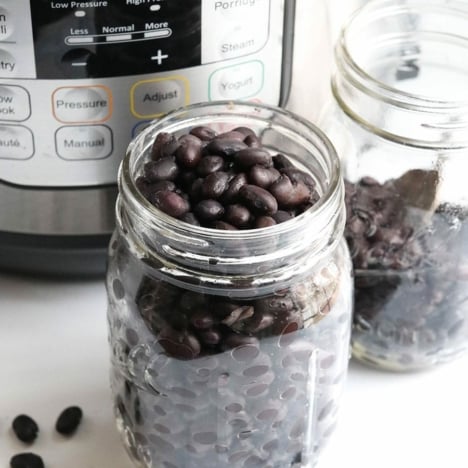
- Test a bean for tenderness by pressing one against the side of the Instant Pot with a fork. It should mash easily when it's tender. Drain the beans, then store in an airtight container in the fridge for up to a week, so you can use it in recipes.
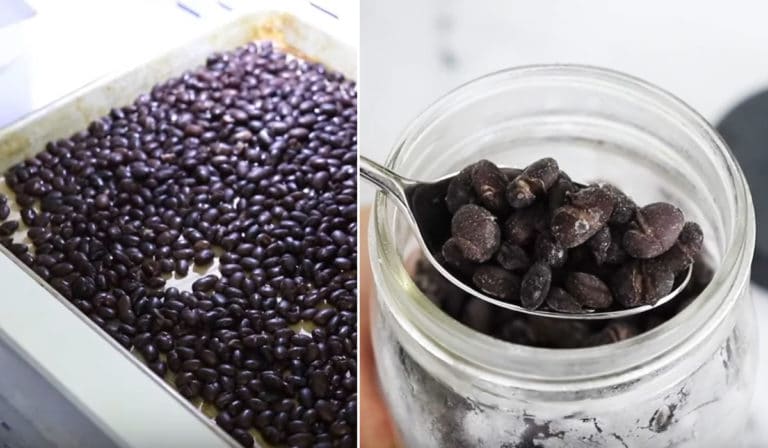
- To freeze cooked beans, line a baking sheet or plate that will fit on a flat shelf in your freezer with parchment paper. Arrange the cooked beans in a single layer, so they will freeze individually instead of in clumps, and place in the freezer for 2 hours. Transfer the frozen beans to an airtight container so they'll keep well in the freezer for up to 6 months.

Video
Notes
Nutrition
How to Store Black Beans
Cooked black beans will keep well in an airtight container in the fridge for up to 1 week, or you can freeze them for a longer shelf life. To freeze black beans, line a large baking sheet or plate (that will fit on a flat shelf in your freezer) with parchment paper.
Pour the cooked beans on the lined pan, and arrange them in a single layer. This way they will freeze individually, instead of in big clumps. This makes measuring them later easier! Freeze for 2 hours, or until the beans feel frozen, then transfer to an airtight container to store in the freezer for up to 6 months. The beans should remain individually frozen this way, so they’ll be easy to thaw and measure for recipes later.
How to Use Them
You can use Instant Pot Black Beans just like you would canned beans, when you use the instructions for plain beans in the printable recipe above. Below, you’ll find some of my favorite black bean recipes.
- Black Bean Brownies
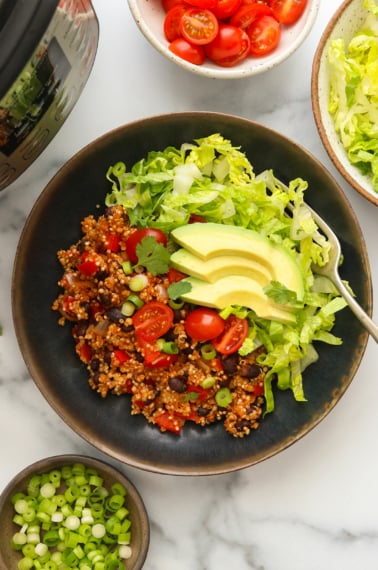
- Instant Pot Burrito Bowls
- Black Bean Burgers
- Copycat Panera Black Bean Soup
- Quinoa & Black Bean Salad
- Bean Dip
—
Reader Feedback: What’s your favorite way to use black beans?


Fantastic! I’ll never buy canned beans again. I had some small portions of beef round/chuck in the freezer some I defrosted them, sauteed (braised) with some onions and garlic, added some leftover enchilada sauce and some leftover chicken broth, added 1.5 cups of black beans and adjusted the water down to account for the other liquids. 50 minutes later, perfect! Beef was so tender, beans were spot on! Simple one pot meal that just needed some Mexican topping cheese and sour cream (oh, and a little Tapatio too…). Worked well either as a stew or taco filling. Was a total experiment that was really simple and delicious.
I added 1lb (2 cups) of soaked canneli beans to my instapot with 4 cups of water. High for 9 minutes and natural release for 15. They were so mushy and broken apart, I had to turn them into a sauce. They were also still sitting in a lot of fluid – had to drain the mush beans. Really awful. This is frustrating and why I gave away my first instapot. Recipes are always off.
Beans came out perfectly using your recipe. Didn’t have to soak them and they were tasty and tender. Thanks!
Came out great but I feel beans need so much salt to have any flavor. Kind of like potatoes need alot of salt, I feel beans do too. I did sautee onion and garlic and added a bay leaf and a teaspoon or two of salt. Once done, I probably added an additional 2 teaspoons. Not a big deal, I just wanted more flavor.