This post may contain affiliate links. Please read my disclosure and privacy policy.

If you had told me years ago that I’d turn into the type of person who cooks beans from scratch… I wouldn’t have believed you. But that was before I wrote The Fresh & Healthy Instant Pot Cookbook and tried cooking beans in the pressure cooker. The Instant Pot makes the process significantly easier!
I spent the past few weeks retesting this recipe to see if I could shorten the cooking time, because some other recipes online suggest that it’s possible. However, when I tested a shorter cooking time in my kitchen, I was disappointed. (The beans don’t turn out evenly cooked.)
One thing I learned from all of my extra experiments is that soaking the chickpeas in salted water makes them more flavorful and more appealing-looking when they’re done. It’s a step you can do in the morning, and they’ll be ready to cook by dinner time.
That said, I usually skip soaking chickpeas because I’m not the type of person to plan ahead. If this is you, too, just know that they’ll turn out delicious either way!
⭐⭐⭐⭐⭐ Featured Review
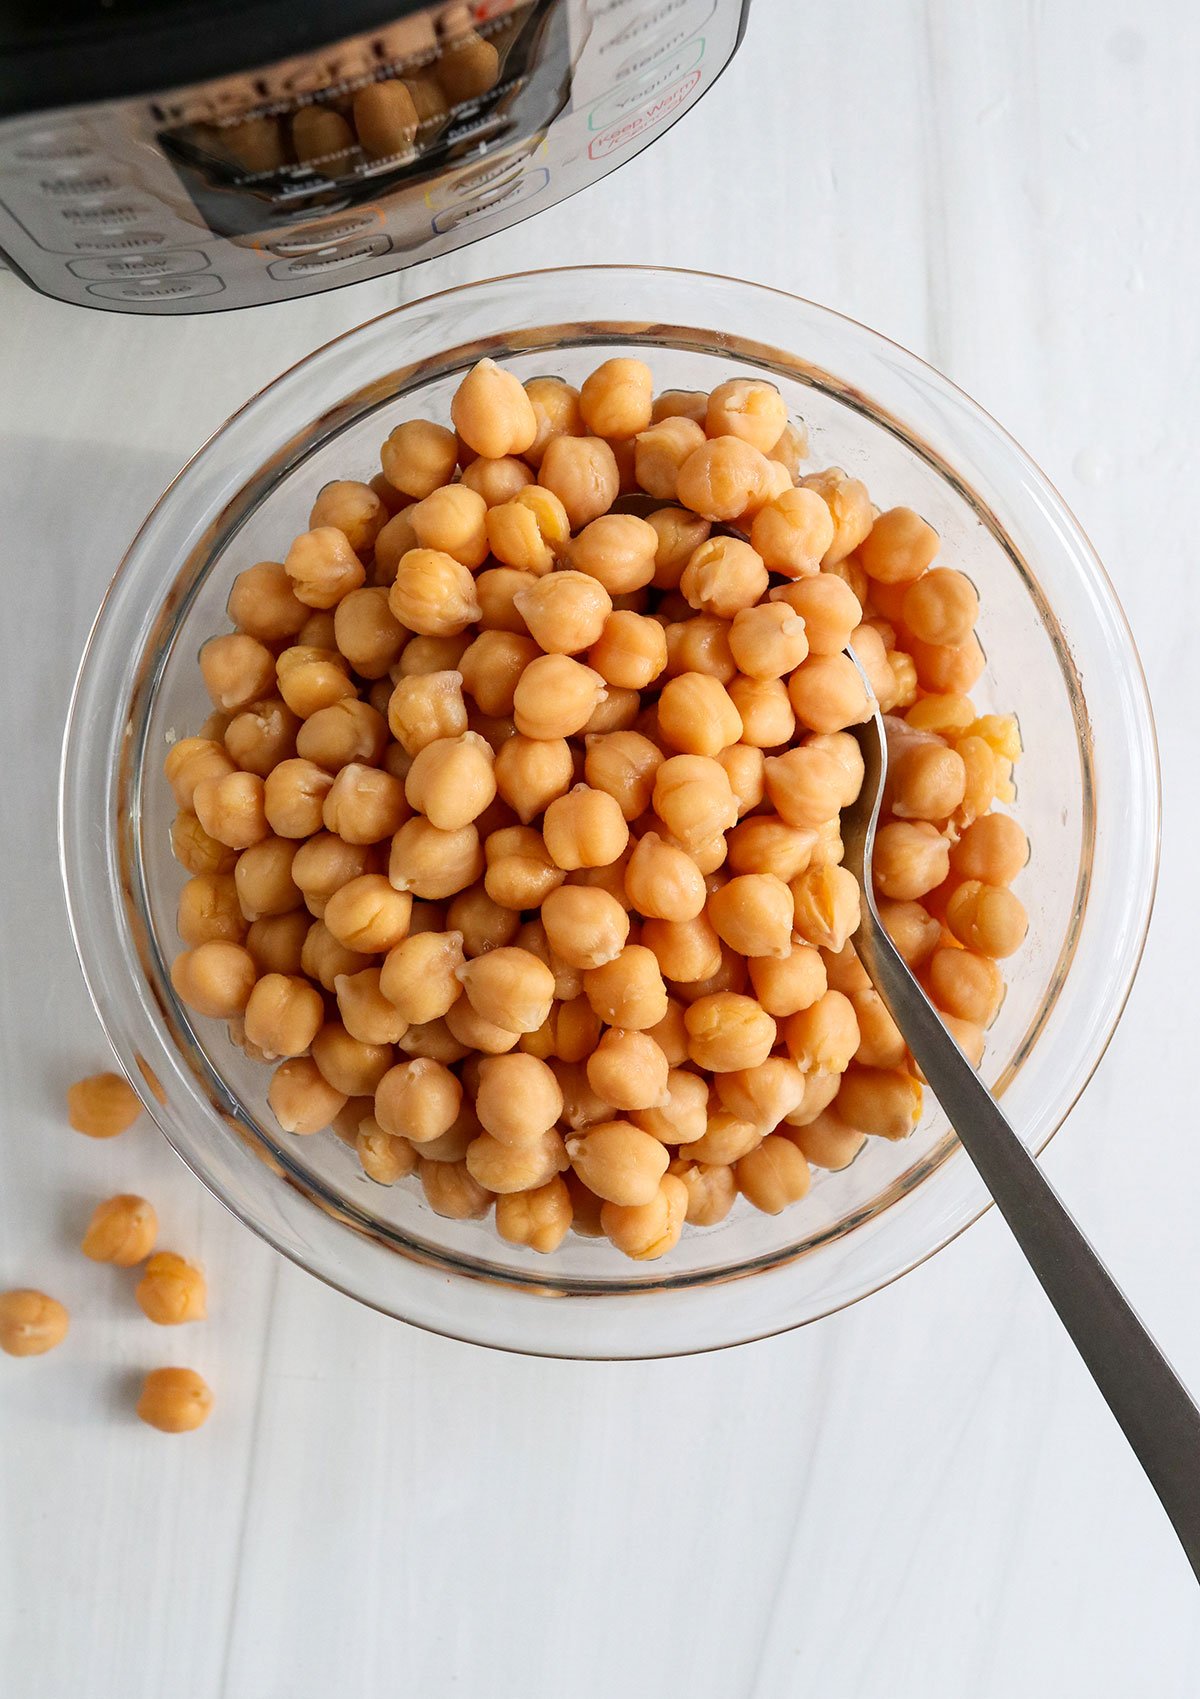
“I made these today and I was so happy to see how creamy the chickpeas turned out. My family is new to cooking with the instant pot. One of our challenges with chickpeas is that they usually took a long time so we would make too many so we didn’t run out then we got sick of them. Now, I can make small batches, thank you so much!” -Richard
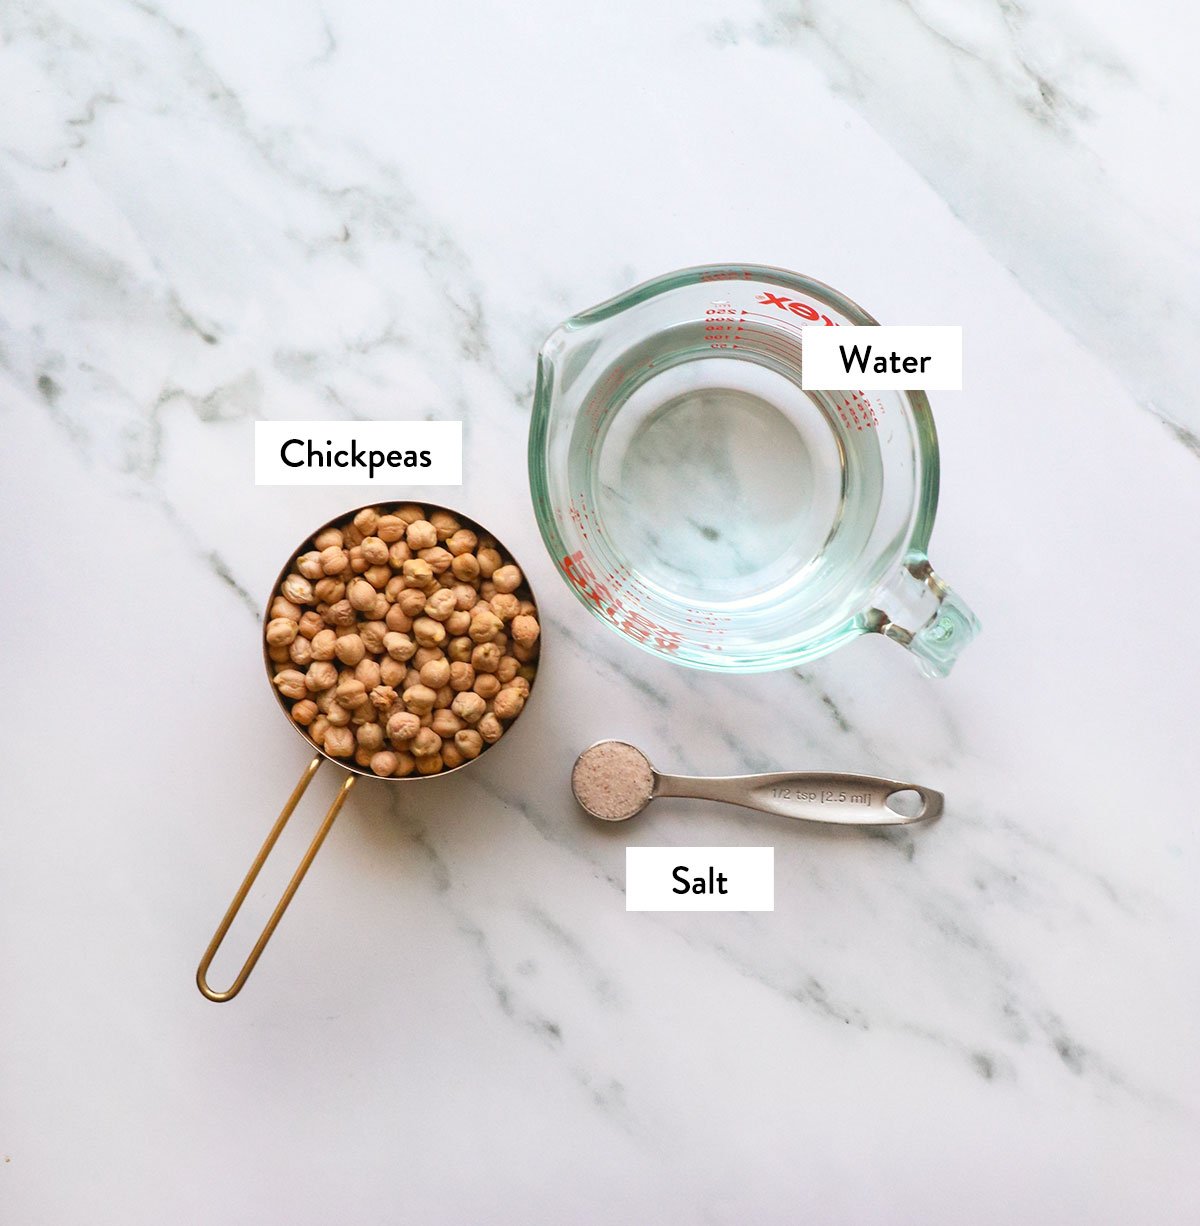
Ingredients for Instant Pot Chickpeas
- Dried Chickpeas. There’s no need to soak these ahead of time, but you can if you want to. (Tips below!)
- Water. You’ll use a 3:1 water-to-chickpea ratio when cooking them in the Instant Pot. Don’t be tempted to use any less, or the beans won’t cook evenly.
- Salt. There’s a myth that adding salt to dried beans will prevent them from getting tender, but I tested salted and unsalted beans side by side, and that’s not true. So add salt if you prefer beans with a more flavorful taste.
How to Cook Chickpeas in the Instant Pot
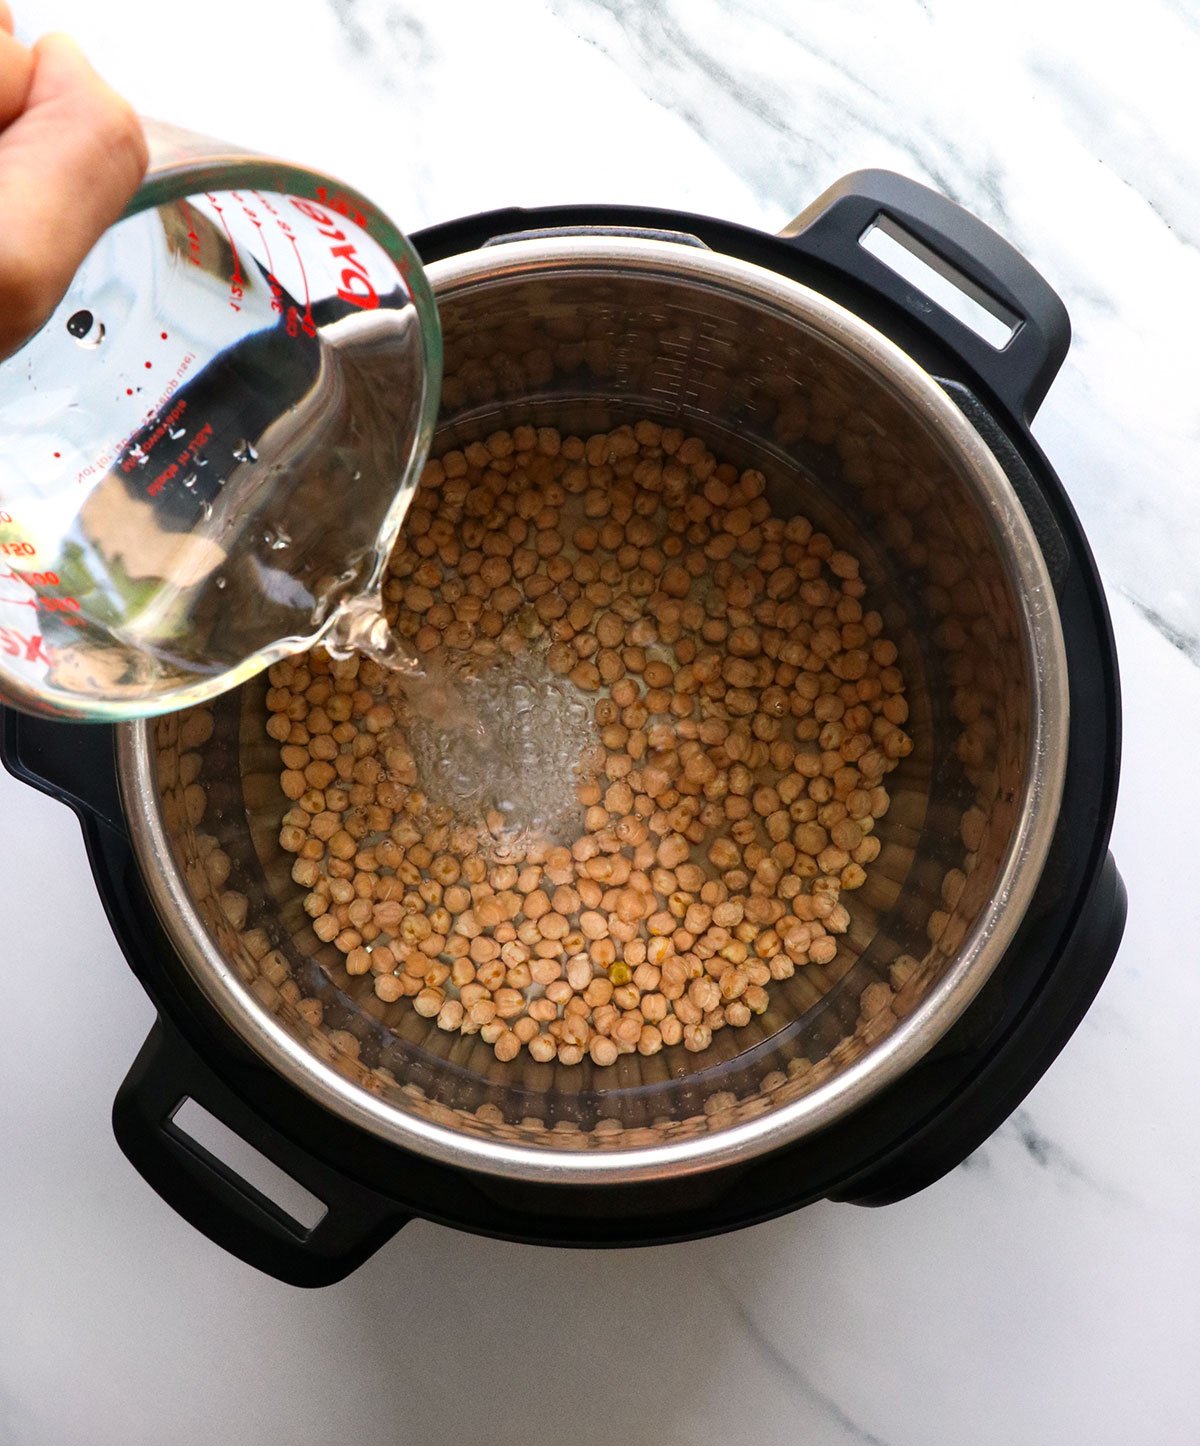
Step 1:
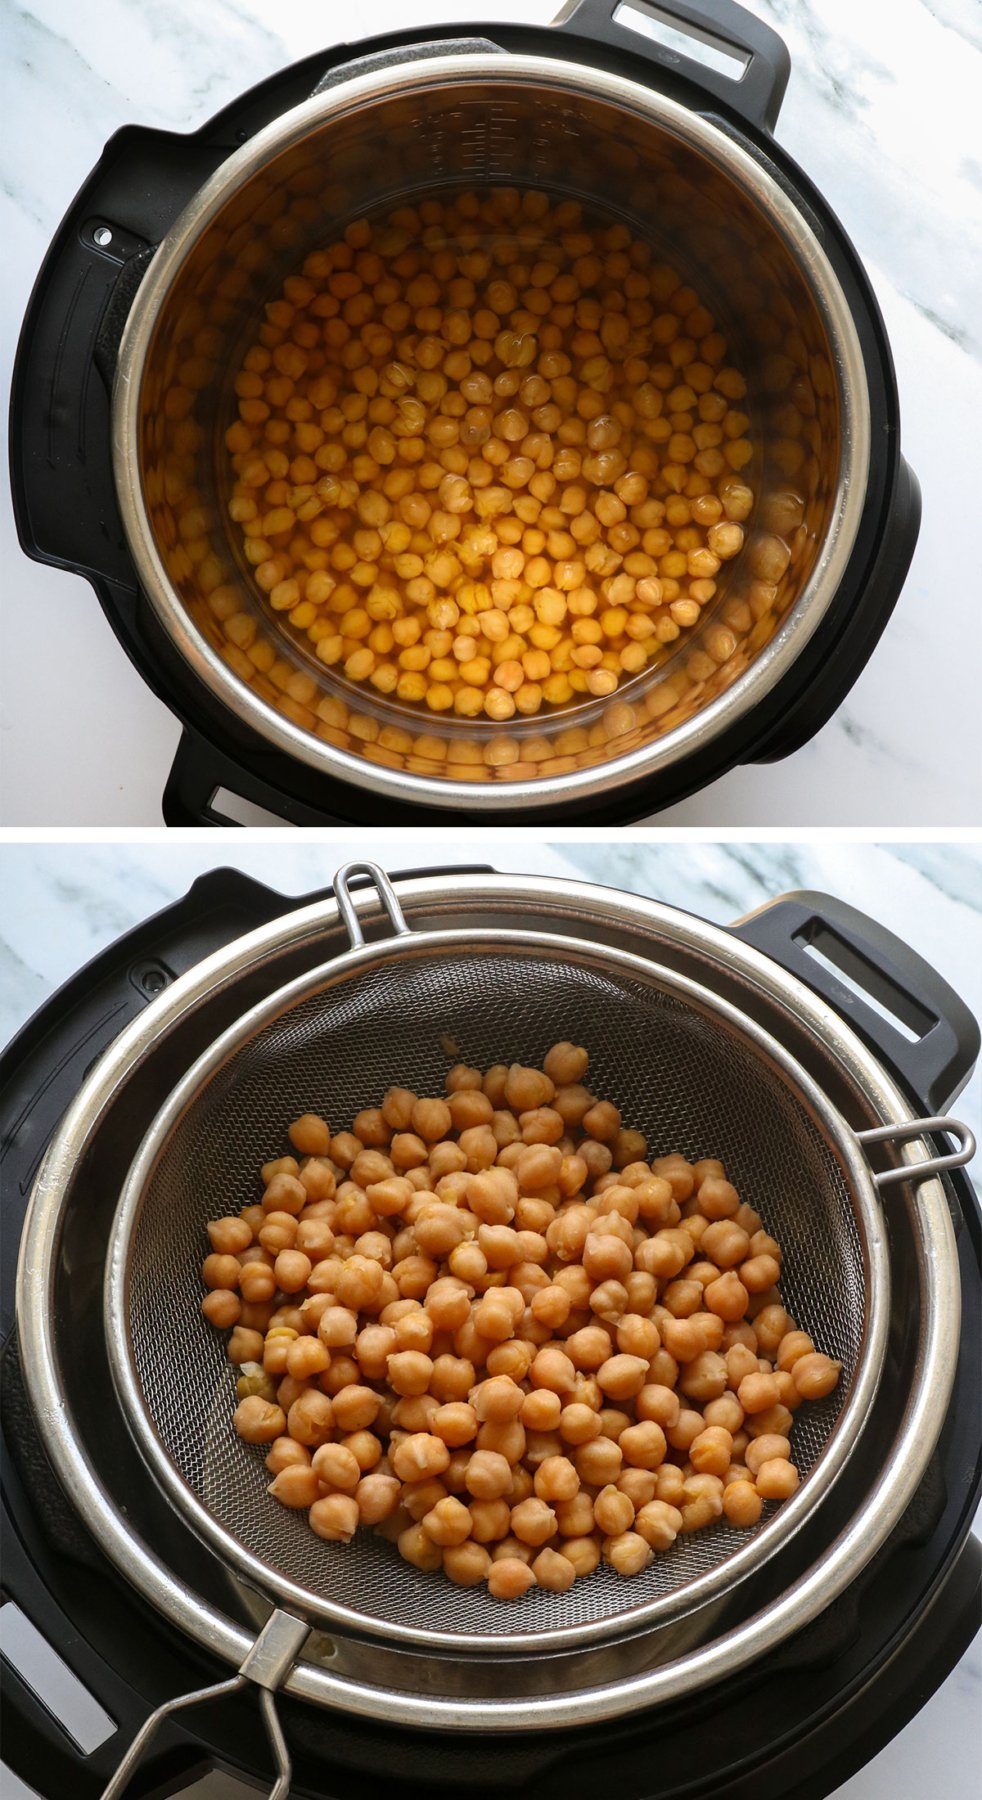
Add the dried chickpeas, salt, and water to the stainless steel bowl of the Instant Pot. Secure the lid and move the steam release valve to the “Sealing” position.
Note: Newer Instant Pot models have the valve in this position by default, so you may not need to worry about it. My older Instant Pot (purchased in 2017) requires you to move the steam release valve between the “sealing” and “venting” positions each time you use it.
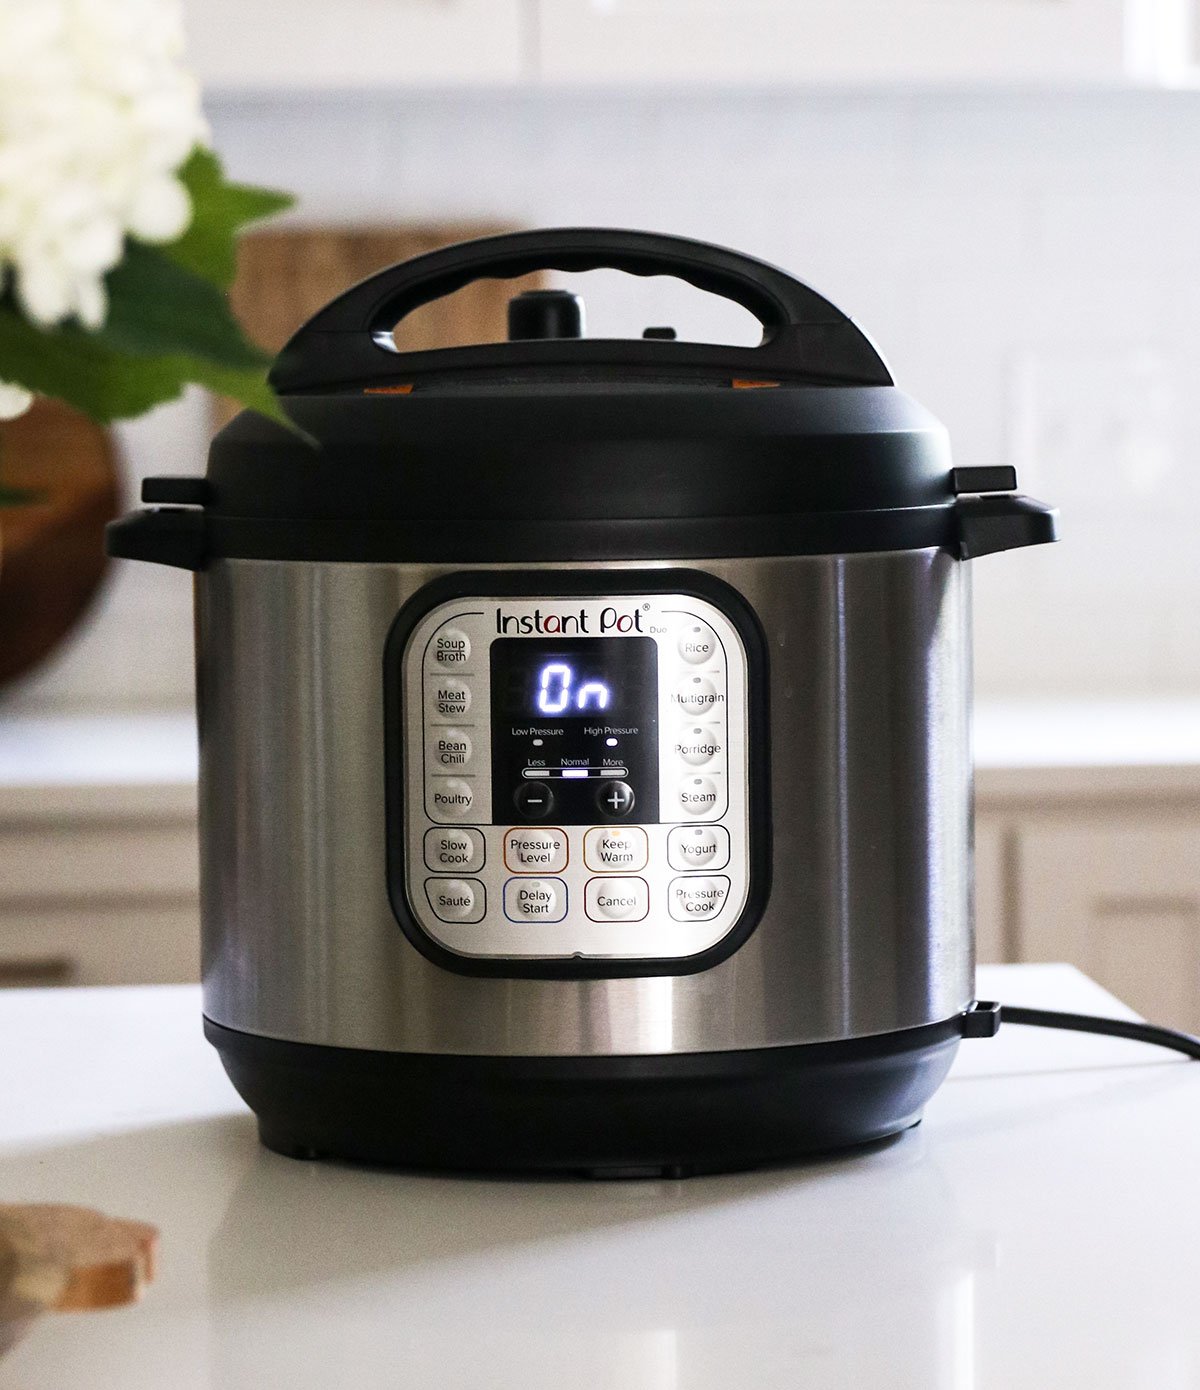
Step 2:
Want to save this for later?
Use the “Manual” or “Pressure Cook” button to cook on high pressure for 50 minutes. In my experience, this is the minimum cooking time to get chickpeas tender.
They might still be slightly firmer at this time, so if you prefer softer chickpeas, set the timer for 60 minutes instead. The machine will take at least 10-15 minutes to pressurize, so the screen will simply read “On” until then.
Step 3:
When the cooking cycle is complete, let the pressure naturally release. This usually takes about 15 to 20 minutes. If you’re impatient, you can move the steam release valve to the venting position after 15 minutes.
Test a chickpea for tenderness by pressing it against the side of the pot with a fork. It should mash easily; if, for some reason, the chickpeas are not as tender as you’d like, you can secure the lid and cook for 10 more minutes.
Drain the cooking water by pouring the chickpeas into a fine-mesh strainer. Then they are ready to use right away.
Safety Tip
When the floating valve in the lid drops, you’ll know the pot is no longer pressurized, and it’s safe to open the lid. As a safety feature, the Instant Pot lid is almost impossible to remove when the pot is still pressurized. So, if it feels difficult to open, don’t force it. The lid is very easy to twist off when the floating valve has dropped.
How to “Quick Soak” Chickpeas
An alternative to soaking chickpeas for 8 hours or more is to use the “quick soak” method. To do this, cover the chickpeas with at least 3 inches of water in a large pot and bring them to a boil over high heat on the stove top. Once it’s boiling, set a timer for 5 minutes.
When the timer goes off, turn off the heat and let the chickpeas soak in the hot water for 1 hour. They can be cooked in the Instant Pot using the timing mentioned above for soaked chickpeas.

Instant Pot Chickpeas (No Soaking!)
Ingredients
- 1 cup dried chickpeas
- 3 cups water
- ½ teaspoon fine sea salt (optional)
Instructions
- Cover the dry chickpeas with water, add the salt, and secure the lid. Move the steam release valve to the SEALING position. Select the "Manual" or "Pressure Cook" button and cook at high pressure for 50 minutes. This is the minimum time needed, but if you prefer more tender minutes, cook them for 60 minutes instead.
- The machine will take 10-15 minutes to pressurize, so the screen will read "On" until the countdown begins. When the cooking cycle is complete, let the pressure naturally release for 15 minutes. This means you don't have to do anything until the screen reads L0:15. Then move the steam release valve to the "venting" position to release any remaining pressure in the pot.
- When the floating valve in the lid drops, it's safe to remove the lid. Test the chickpeas for tenderness by mashing one against the side of the pot with a fork. Pour the chickpeas through a fine mesh strainer to drain the cooking liquid, and then they are ready to use just like canned beans.
- Cooked beans can be stored in an airtight container in the fridge for up to 5 days. (See the tips in this post for freezing tips.)
Notes
Nutrition
How to Use Cooked Chickpeas
- Thai Chickpea Curry
- Mediterranean Chickpea Salad
- Chickpea Salad Sandwich (like tuna salad!)
- Crispy Roasted Chickpeas
- Vegetarian Chickpea Noodle Soup
If you try this Instant Pot recipe, please leave a comment and star rating below to let me know how it works out for you.


I add Kaffir Lime Leaves, whole peppercorns and whole garlic cloves when cooking chick peas. Incredible flavor
Turned out great! Thank you 😊 Used the non-soak method.
These were great, though I will say that the whole “not salting will cause beans to not get tender” thing is actually a complete myth. If they don’t get tender it is likely due only to their age. I swear I’m not just trying to be a negative Nancy, I used to think the same thing! But I have a close friend who attended a prestigious culinary school (names not important, but can say if necessary) and told me it was not only incorrect, but that not salting your water leads to less flavorful beans. Because when you salt after, you are salting the liquid around the beans and the skin of the bean. But when you cook them in salted water, that will permeate the entire bean itself.
I was still skeptical, but I can now confirm with excitement that I *always* salt my water (quite heavily actually) and have had more delicious beans and have had absolutely zero issues with them not getting tender <3
Why add salt though as we already have so much salt in our diets?
Really good information besides just the recipe. They turned out perfectly!
Are the cooking times the same if I half the recipe?
Yes, it should be! It might just take slightly less time to come to pressure in that case. Let me know when you try it!
Just made these tonight using the no-soak method and they came out mushy. Just went through the reviews and someone said to take them out of the water immediately (mine sat in the water for about 5 mins after I released the pressure). Would that make them mushy or should I cut the time (and if so, by how much?)
Sorry to hear that! I don’t think sitting in the water for 5 minutes would make that much of a difference, so I’d try cutting back on the pressure cooking time when you try it again. Dry beans can vary in age by a lot, so fresher beans will cook faster than older beans– and it’s nearly impossible to tell “how old” the beans are when you buy them at the store. Maybe try reducing the cooking time by 10 minutes and see how that works out for you? You can always add more if they aren’t done yet. I’d love to hear how it goes for you next time!
Thanks Megan 🙂 I will definitely try it again with a shorter time and let you know how it works!
So glad to find an easy recipe as an alternative to canned beans. Thanks! I made your hummus recipe, then portioned the rest before freezing. I have since thawed and used them for soup and more of your delicious hummus!
Thank you for your measurements!!! So helpful.
I followed your no soak recipe and it was definitely much too long in the instant pot. I had a feeling it was.
Sorry to hear that! You might be able to get fresher beans than I can. Mine always take this long, but altitude, the size of your pot (an 8 quart will need slightly less time) and the freshness of your beans can all affect the cooking time. It’s sort of a learning process to find out what timing works best, so these are the best estimates I’ve been able to offer from my experience. Hope you can still enjoy them! Whenever I have super-soft beans, I use them to make homemade hummus.
I’ve been using this method — overnight soaking and then cooking in the instant pot — once every couple of weeks during our shelter in place order and it works great. I did learn once the hard way to drain the cooked chickpeas right away (don’t let them sit in the instant pot) so they don’t get mushy. I’ve been using them for your Thai chickpea curry and also for your hummus recipe, both of which I love.