This post may contain affiliate links. Please read my disclosure and privacy policy.
While writing The Fresh & Healthy Instant Pot Cookbook, I spent a lot of time learning the best way to cook rice in the pressure cooker. Brown rice, in particular, is something I’ve avoided cooking too often, simply because it’s time-consuming to keep a pot on the stovetop for that long.
However, that’s no longer the case, thanks to the Instant Pot. You can press a button and walk away while your rice cooks to perfection, without watching the pot or worrying about it burning to the bottom of the pan.
Today, I’ll show you two methods for cooking it: either directly in the stainless steel insert or in a separate bowl for easier cleanup.
⭐⭐⭐⭐⭐ Featured Review
“Wonderful! Thank you SO much – SO EASY & fast – the brown rice tastes so much better cooked in the Instapot compared to stovetop.”
– Tina
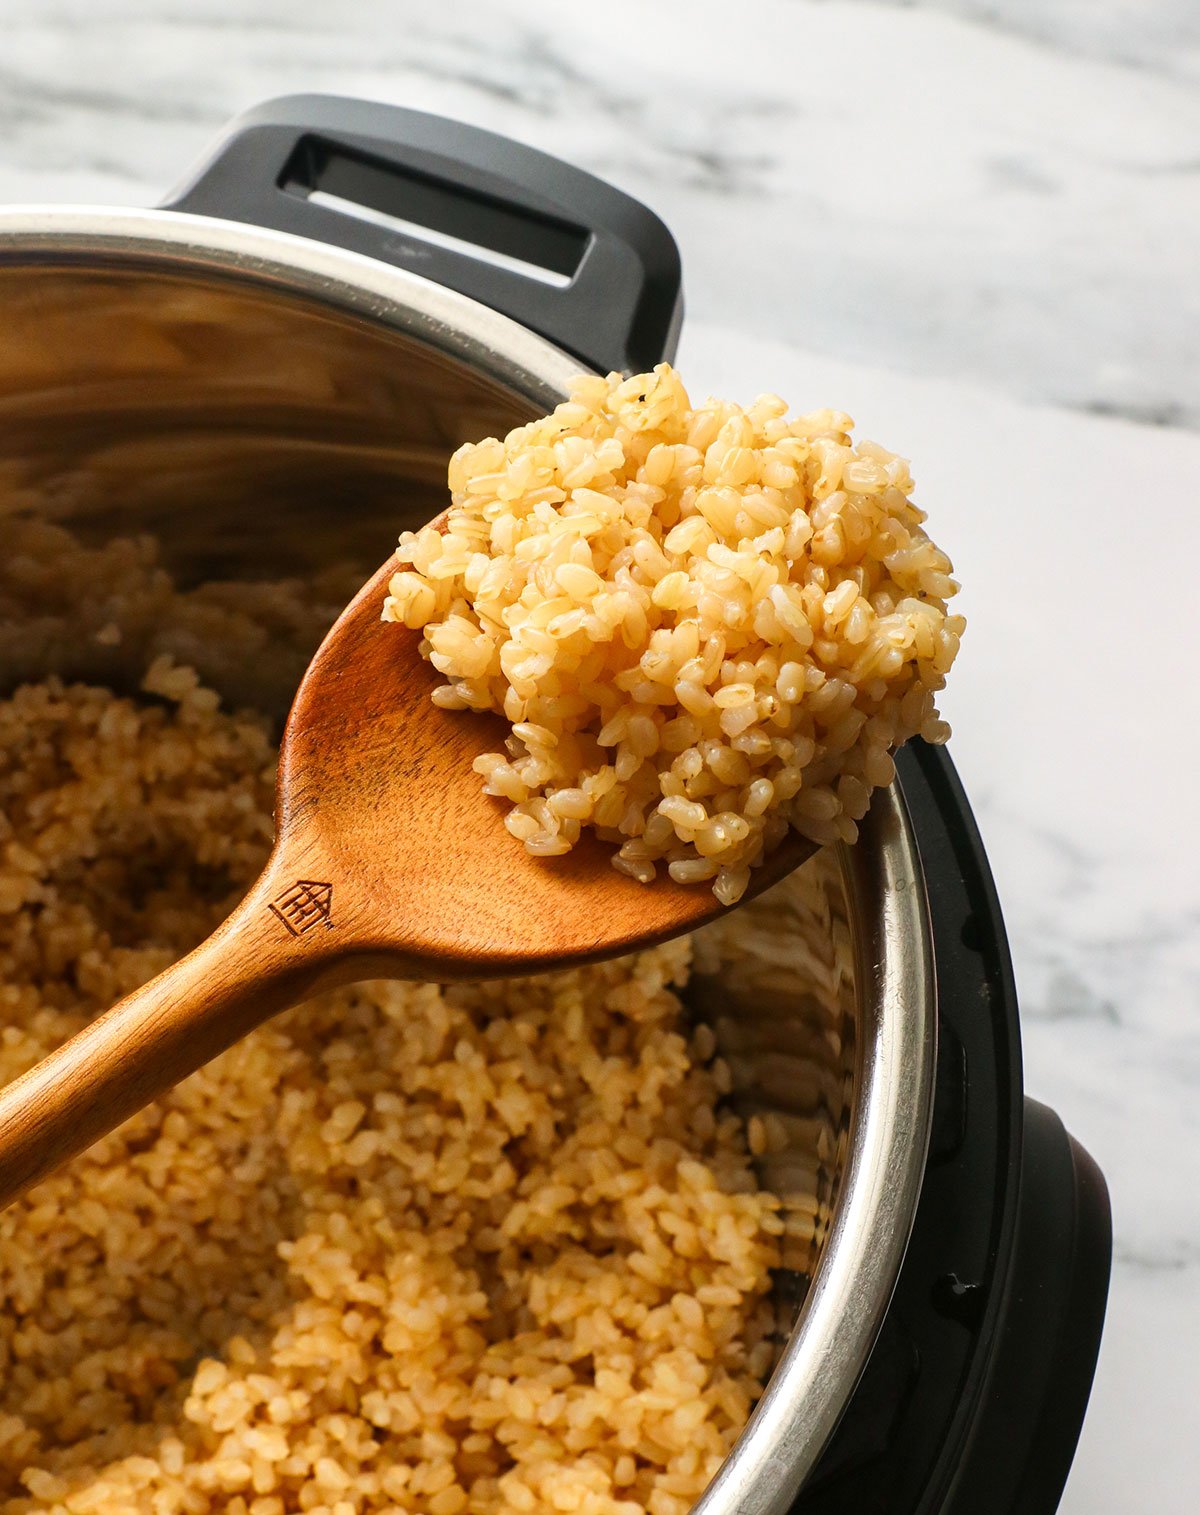
Ingredients You’ll NEed
- Brown rice. This variety of rice is available in both short-grain and long-grain forms. Either option should turn out well with this cooking method.
- Water. Use a ratio of 1:1 brown rice to water when cooking in the pressure cooker. Since there’s no evaporation with this cooking method, you don’t need as much water as you would when cooking on the stovetop.
- Salt. I like to add a 1/4 teaspoon of salt per 2 cups of dry brown rice. This boosts the flavor, without being overpowering.
How to Make Brown Rice in the Instant Pot
Step 1:
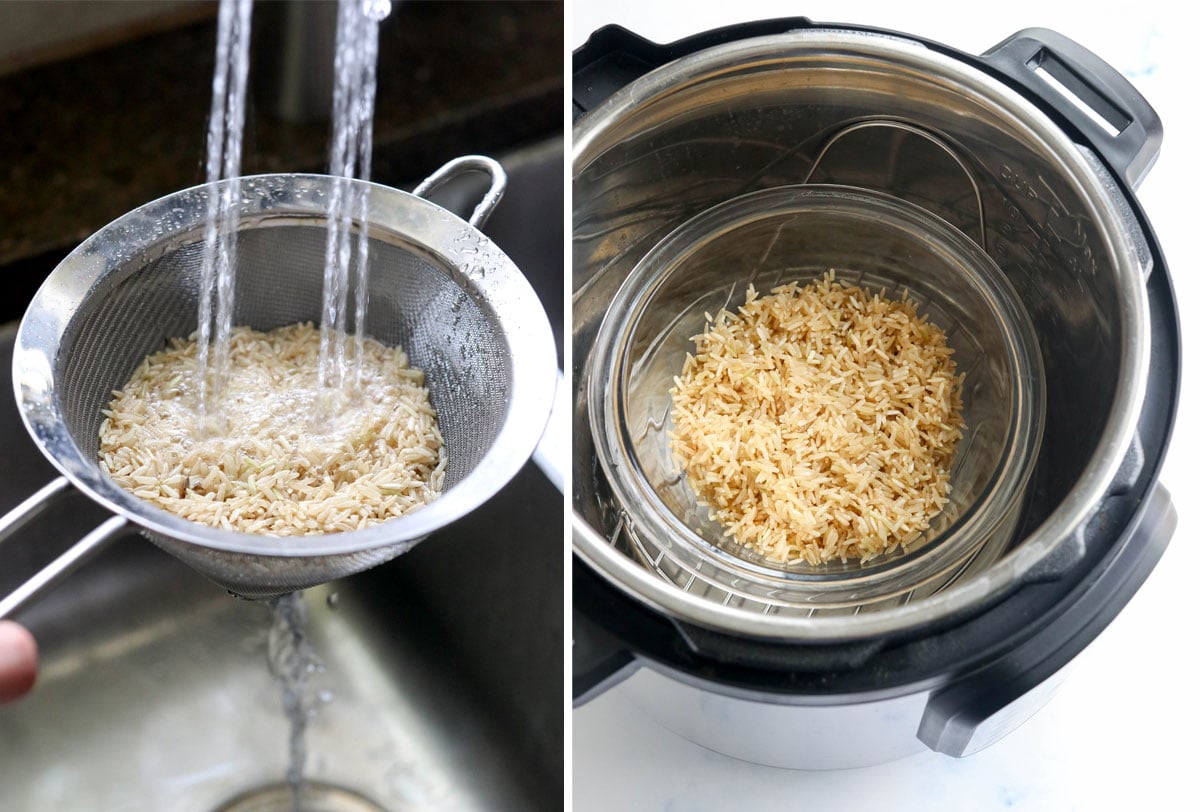
Place the dry brown rice in a fine mesh strainer and rinse it under running water. You’ll likely see foam or bubbles on top of the rice at first. Continue rinsing until the bubbles disappear, which typically takes about 60 seconds.
Transfer the rinsed rice to the stainless steel bowl of the Instant Pot and cover it with an equal amount of water. (So, if you rinsed 1 cup of dry rice, add 1 cup of fresh water for cooking.)

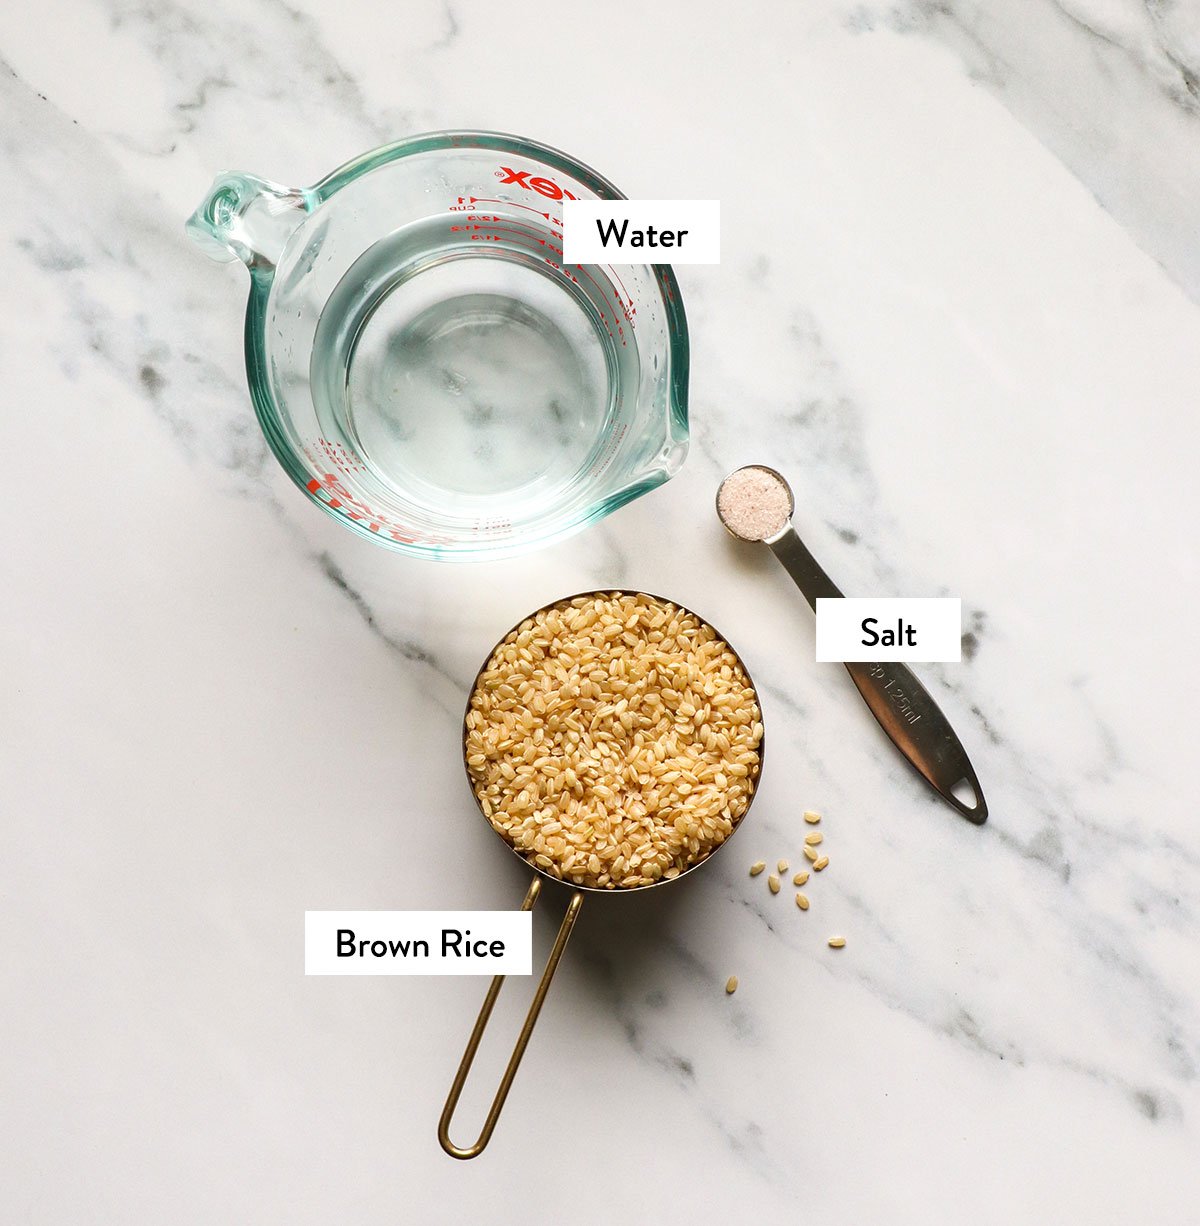
Step 2:
Secure the lid on the Instant Pot and ensure the steam release valve is in the “sealing” position. Use the Manual or Pressure Cook button to cook at high pressure for 22 minutes.
It will take 8 to 10 minutes for the pot to pressurize, so the screen will read “ON” until then.
Want to save this for later?
Step 3:
When the cooking cycle is complete, let the pressure naturally release for at least 10 minutes. This means you don’t have to do anything right away; wait until the screen reads L0:10, indicating that 10 minutes have passed. It’s okay if you wait a little longer, too.
Move the steam release valve to venting to release any remaining pressure. When the floating valve in the lid drops, it’s safe to remove the lid.
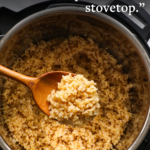
Fluff with a fork, and it’s ready to serve warm.

“Pot-in-Pot” Instant Pot Rice
If you’d like to cook brown rice in a separate bowl in your Instant Pot, that’s called “pot in pot” cooking. This method is often used when you want to cook two dishes simultaneously, such as chicken on the bottom and rice on top.
Here’s how:
- Rinse the rice. Just like the directions above, place the dry rice in a strainer and rinse well until you see no bubbles or foam on top.
- Use the right bowl. Transfer the rinsed rice to a heat-safe bowl that is no bigger than 7 inches in diameter when using a 6-quart Instant Pot. There must be at least an inch of space around the bowl when it sits in the stainless steel pot so pressure can properly build in the pot.
- Arrange the trivet. Pour 1 cup of water into the bottom of the stainless steel Instant Pot liner, then arrange a trivet over that. (My machine came with a trivet, so that’s what I use– no extra equipment needed.) Place the heat-safe bowl of rice on top of the trivet. There should be plenty of room around the bowl for steam to circulate in the pot.
- Pressure cook. Secure the lid and make sure the steam release valve is in the “sealing” position. Cook at high pressure for 22 minutes, then let the pressure naturally release.
When the floating valve in the lid drops, it’s safe to open the pot. Use oven mitts to remove the bowl of cooked rice, as it will be very hot. Fluff the rice with a fork, and it’s ready to serve.

Instant Pot Brown Rice (Easier than the Stove!)
Ingredients
- 2 cups brown rice
- 2 cups water
- ¼ teaspoon fine sea salt
Instructions
- Place the rice in a fine mesh strainer and rinse it under running water until you see no bubbles or foam on top. Add the drained rice and water to the bottom of the Instant Pot, then secure the lid and move the steam release valve to the "sealing" position.
- Press the Manual or Pressure Cook button on your machine and cook at high pressure for 22 minutes. The pot will take roughly 8 minutes to come to pressure before the cooking cycle begins.
- When the cooking cycle is complete, allow the pressure to release naturally for 10 minutes. (In other words, don’t do anything right away.) When the screen reads LO:10, move the steam release valve to Venting to release any remaining pressure.
- When the floating valve in the lid drops, it’s safe to remove the lid. Fluff the rice with a fork, and serve warm. Leftover rice can be stored in an airtight container in the fridge for up to 5 days.
Video
Notes
Nutrition
More Recipes to Try
- Veggie Fried Rice
- Protein Rice Crispy Treats
- Socca Pizza with Roasted Veggies
- Instant Pot Black Beans
- Pinto Beans in the Instant Pot
If you try this recipe, please leave a comment and star rating below to let me know how it works for you.


This came out perfect! What a great recipe!
Prefect every time! Thanks!
Cooking time would have been accurate it ratio f rice to water had been correct. I put 1:1 as per recipe and it came out uncooked. It was burnt to the bottom and needed much more water.
That sounds like your machine didn’t seal. I would check the sealing ring in your lid to make sure it isn’t stuck or damaged– I’ve had to replace mine once in the last 3 years. And always double-check the steam release valve to make sure it’s in the sealing position, or the water in your pot will evaporate, causing the rice to burn on the bottom. You could add 1/4 cup more water to this recipe, but it really shouldn’t need more than that.
I think you’re right. It needs more water. Maybe 1.5 cups of water for 1 cup of rice. Mine didn’t burn. It did cook but it’s a teeny tiny bit uncooked, hence a bit too firm and sticky. I did rinse it as well. I’ll try with a little more water
Perfect short grain brown rice—thank you!
Do you think the cooking time (and natural release time) for brown jasmine rice will be the same as for long grain brown rice? Thank you!
I just got my Insta pot last weekend and after reading through several recipes for rice on other sites I really liked how this one was all laid out there and very well explained so I tried it for the brown rice and oh my goodness it was absolutely wonderful!
When making brown rice it is usually so bland. Without broth/stock (vs water), sautéed veggies and a few preferred spices makes the rice more delicious. Sometimes adding meat makes this rice a 1 bowl meal.
Does using broth instead of water change the ratio of liquid to rice? Seems on the stovetop water absorbs more readily than broth. I too, like to include some sauteed onion and broth. Was interested in your experience before trying in the pressure cooker. Thx
Thank you so much for your help yesterday. I cleaned and reseated the sealing ring, and tried making the brown rice again today and…. THE RICE IS PERFECT!!! I’m so grateful for your help.
I don’t see my comment here, so I’m replying to thank you for your response. I’ll check the sealing ring. I’m using an Ultra, so I don’t have to worry about the “sealing” position. Thank you for replying on New Year’s Day – I really appreciate you!! (I post your oat milk recipe link on FB all the time when people are complaining how hard it is to make! 🙂 Happy New Year!
I followed your directions exactly and tried to cook long grain brown rice in my IP. It came out dry and hard/uncooked.
Do I need to add more water or what?
(The condensation cup was nearly full at the end of the pressure cycle, if that makes a difference.)
Thanks for your help.
Hmm… that sounds like there was an issue with the pot sealing. I’ve never had water in my condensation cup before, so I’d check your silicone sealing ring to make sure it’s properly seated in the lid, and make sure the steam release valve is in the “sealing” position so that the moisture doesn’t escape during the cooking process.