This post may contain affiliate links. Please read my disclosure and privacy policy.
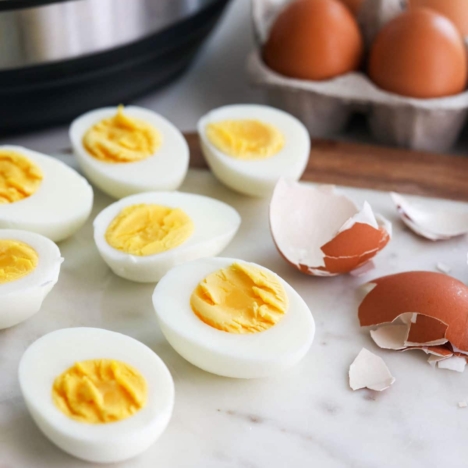
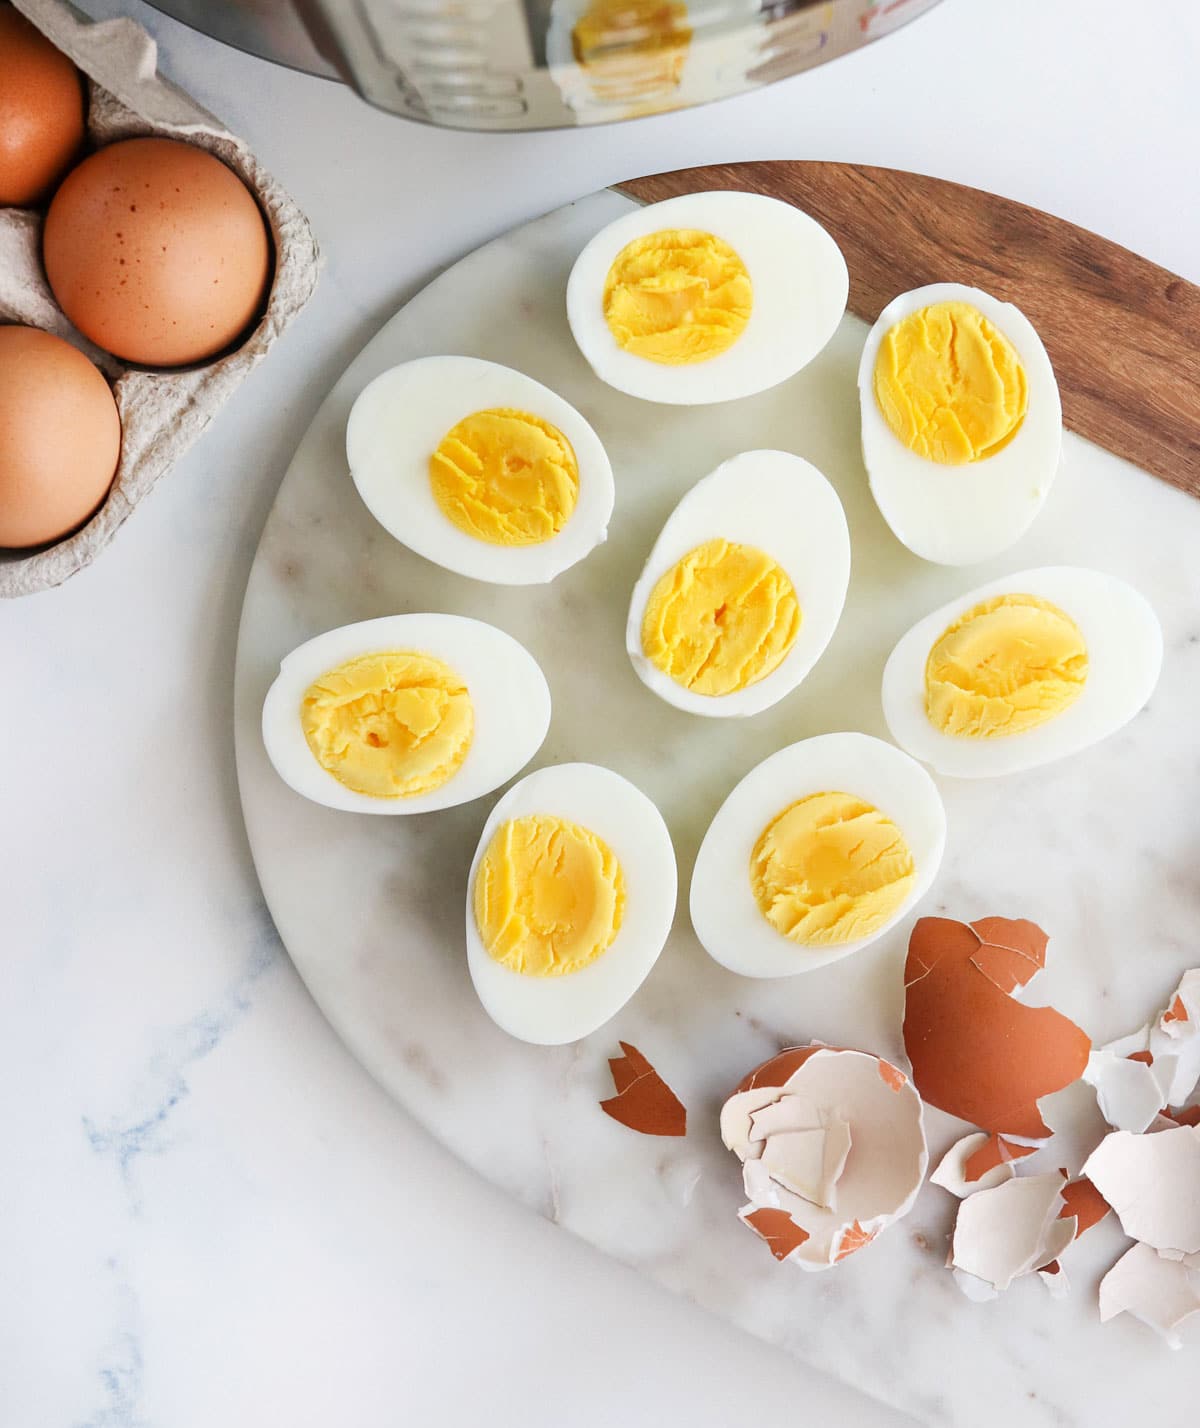
Instant Pot hard boiled eggs turn out perfectly every time, and they are easier to peel than traditional hard boiled eggs. Whether you like the yolks a little runny or totally cooked through, I’ve got you covered in this tutorial below.
Hard Boiled Eggs Without The Green Ring
Growing up, I always thought hard boiled eggs naturally had a green ring around the yolk. I didn’t know that was the result of overcooking them!
My mom has always had the tendency to over-cook food because she’s paranoid of salmonella contamination (no raw cookie dough for me– my kids are lucky we make Edible Vegan Cookie Dough), so I didn’t know any better. But now I do.
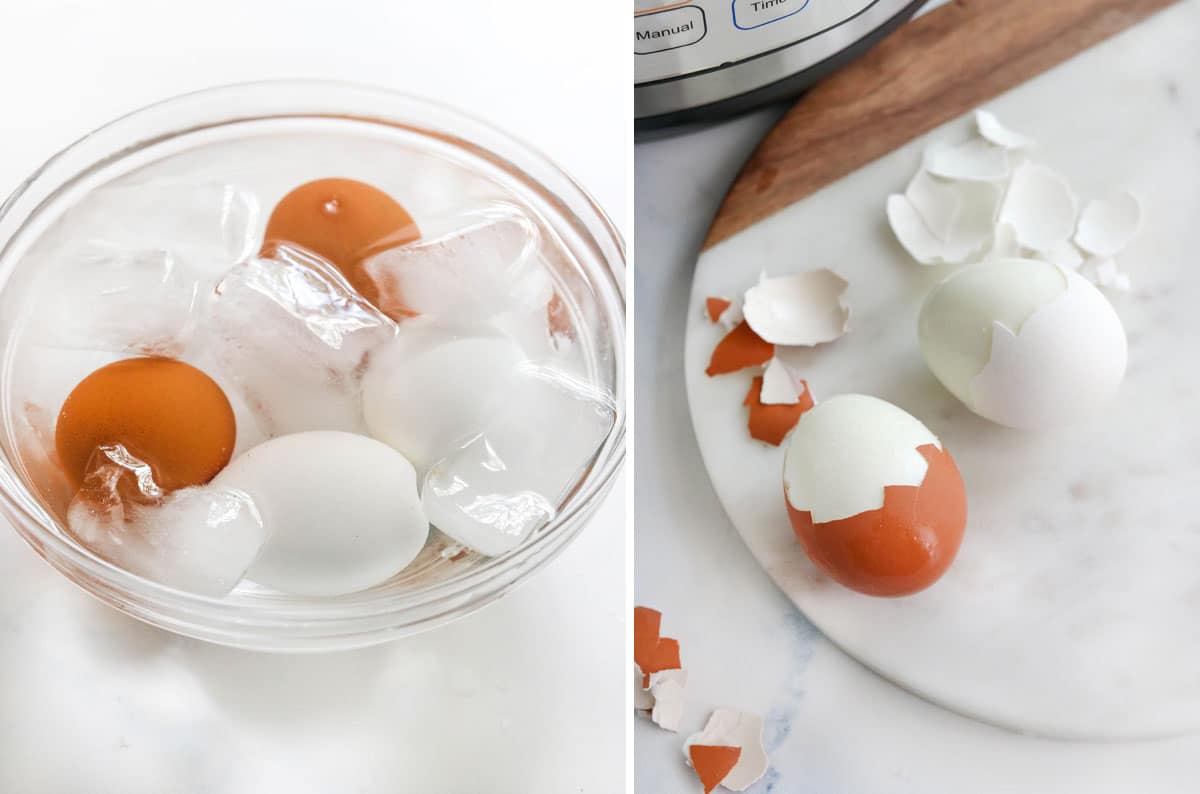
To prevent the green ring, it’s important to place the eggs in a cold water bath immediately after cooking them. This stops the cooking process. Use the cooking times below to make sure you don’t overcook them, too.
How Long to Pressure Cook Eggs
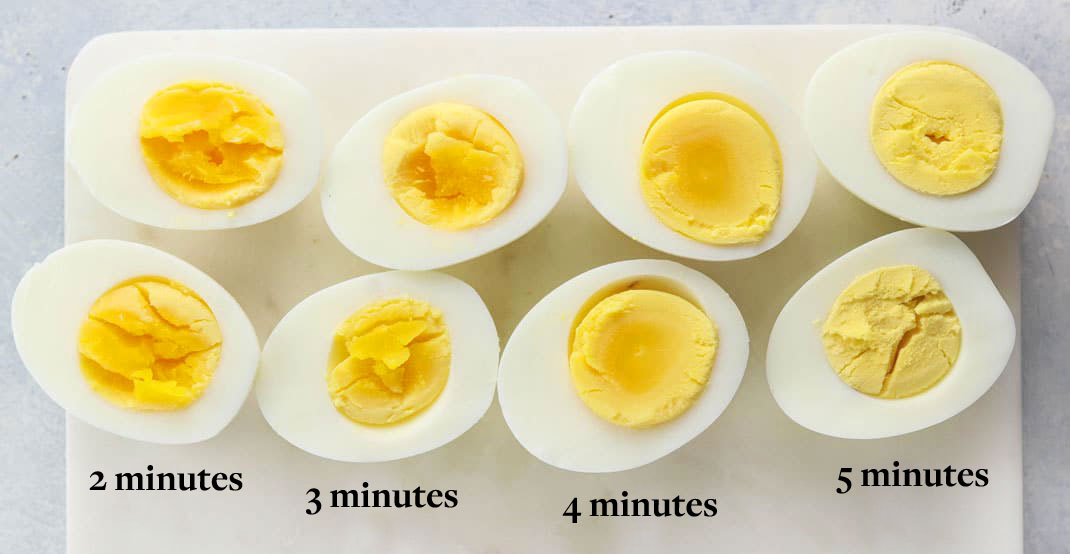
I decided to do a little experiment, cooking my eggs anywhere from 2 minutes to 5 minutes in the Instant Pot, all with a 5 minute “natural release” before releasing the rest of the steam pressure. (If you’d like to watch a video tutorial showing the difference between a quick release and a natural release, watch my How to Use Your Instant Pot video.)
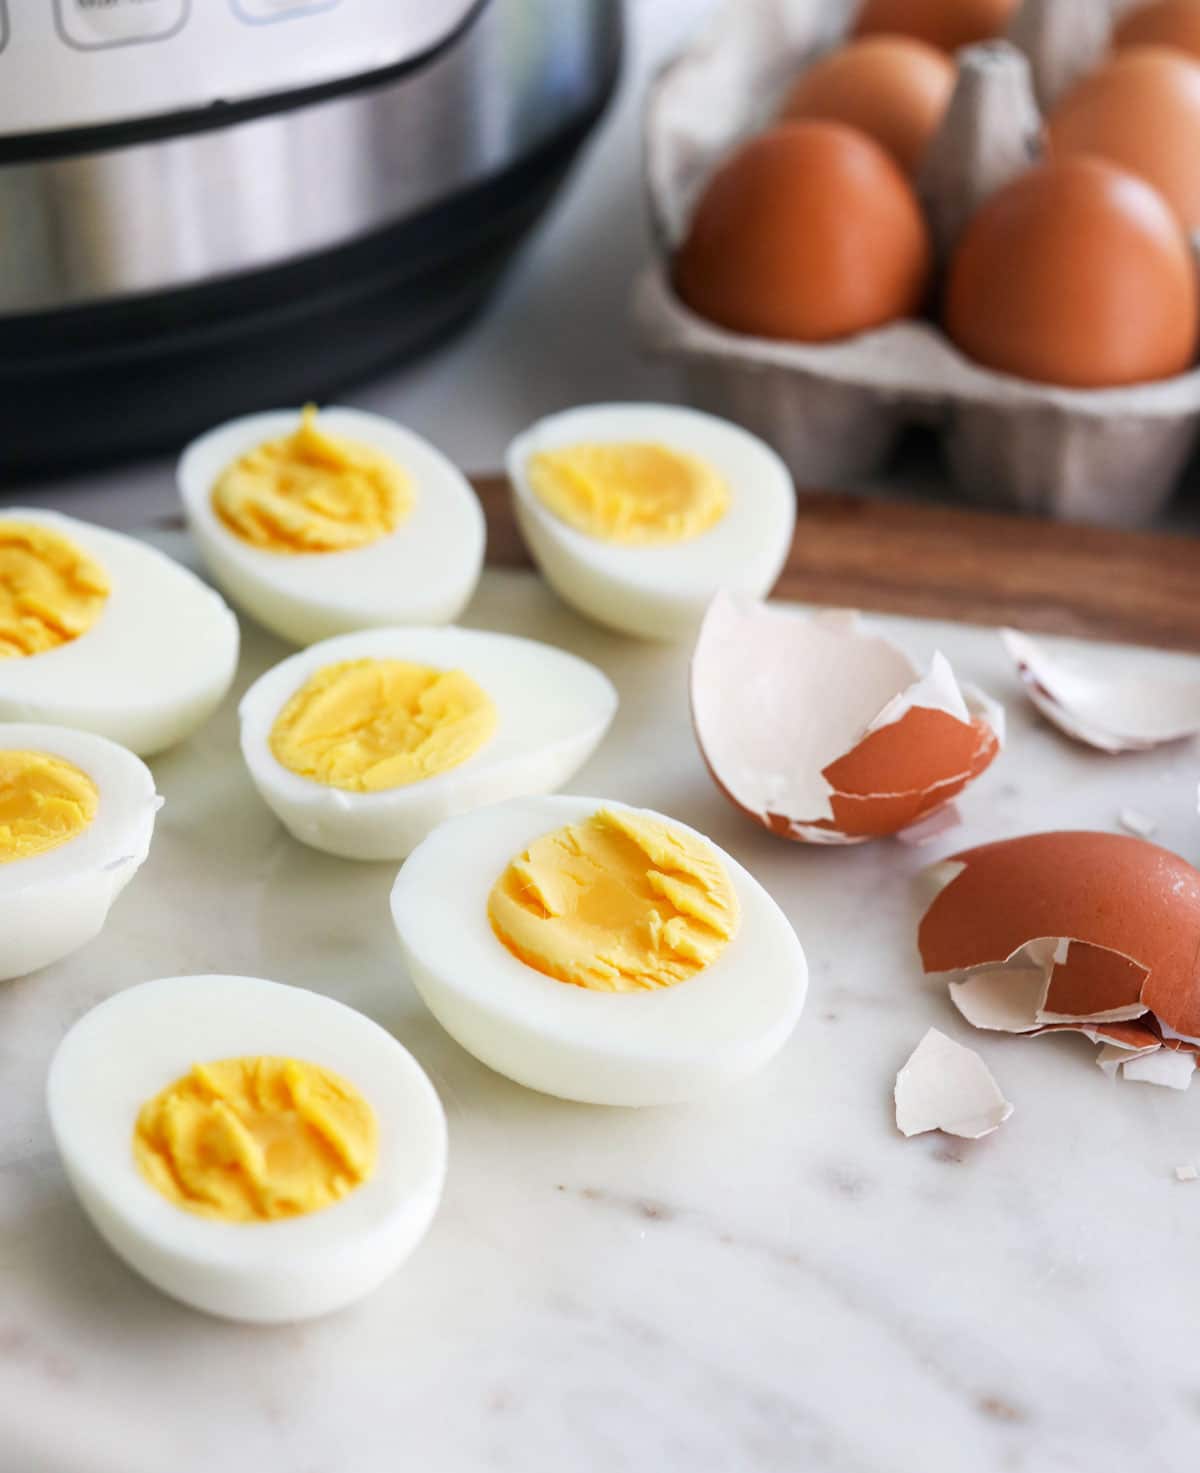
Below are the results of my experiments for hard cooked egg yolks.
As you can see, after 5 minutes the yolks are very well done, and after two minutes they’re softer, but still not runny. For a runny egg, use the “quick release” method, which means you immediately release the steam after the cooking cycle is over.
Soft-Cooked Eggs
If you prefer an egg with a runny or “jammy” egg yolk, you’ll want to perform a quick release instead of a natural release.
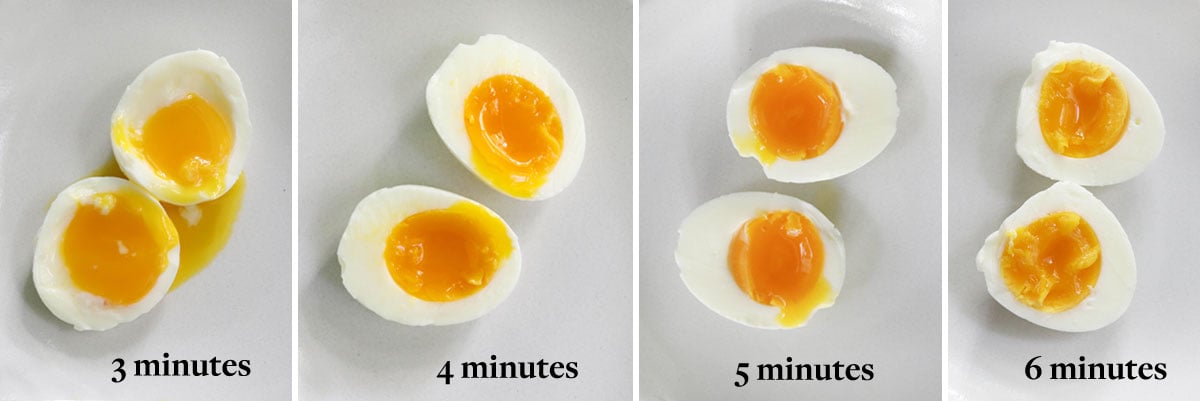
Here are the cooking times for a soft-cooked eggs in the Instant Pot:
- 3 minutes = very runny yolk with the whites mostly set
- 4 minutes = gooey yolk with totally set whites
- 5 minutes = jammy yolk, with the outer part of the yellow starting to set
- 6 minutes = slightly jammy center and slightly hard-cooked yellow edges
With all of these cooking times, you’ll perform a quick release as soon as the timer goes off. The eggs will continue to cook until you plunge them into an ice bath, so you want to work quickly if you’re looking for runnier egg yolks.
Do White and Brown Eggs Cook Differently?
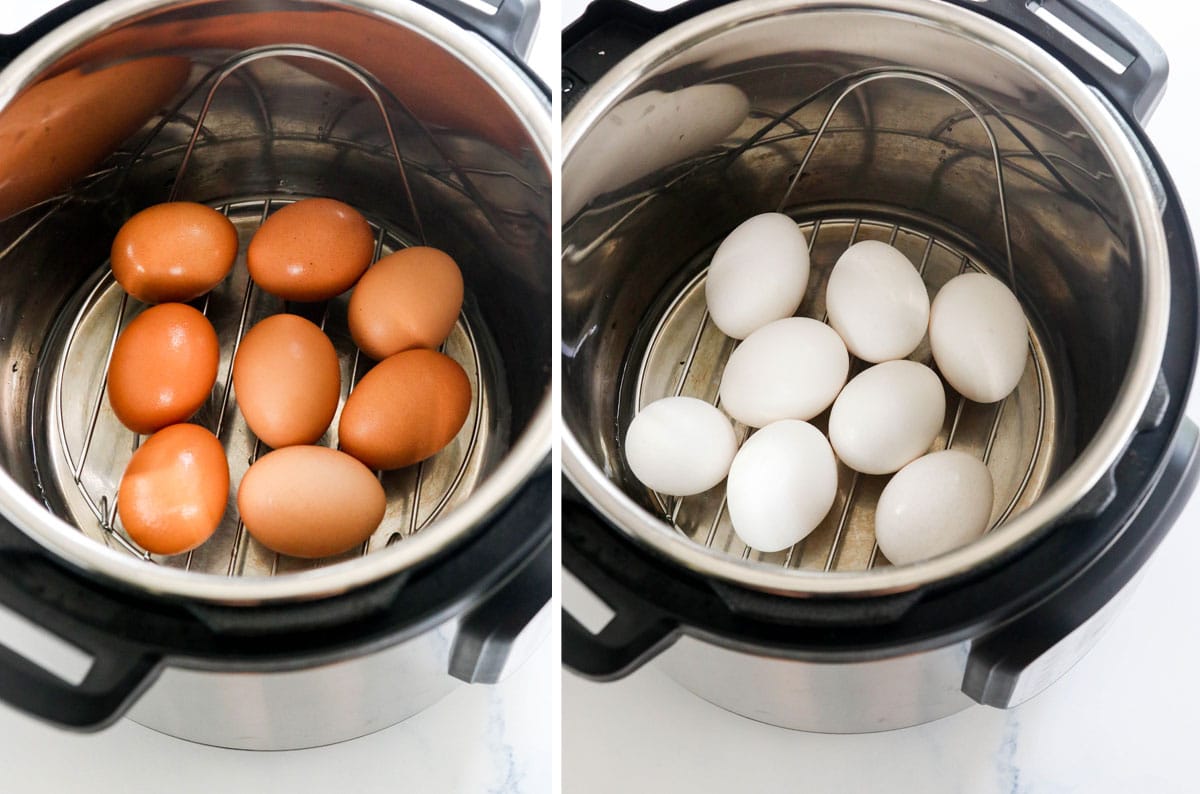
I was recently asked if there was a difference between cooking eggs that come in a white or a brown shell. I usually work with brown eggs, so I bought a batch of white ones to test how they pressure cook.
Following the directions in the recipe below, I cooked a batch of brown eggs and a batch of white eggs, and found that they both peel easily, and cook in the same amount of time as each other. (I tested them both at 5 minutes of high pressure cooking.) So, this method should work for whichever variety you have on hand.
How Long Do Hard Boiled Eggs Last?
You can keep them for up to one week in the fridge, either with the shell on or peeled. I find that hard boiled eggs are the easiest to peel soon after cooking them, so I like to peel them first, then store them in an airtight container in the fridge.
Do They Need to Be Refrigerated?
Yes, they do. Unlike raw eggs, which can sometimes be stored on the counter, cooking the eggs can make them more susceptible to bacteria contamination due to changes in the shell.
It’s recommended that you discard hard boiled eggs if they’ve been out on the counter for more than two hours.
Can You Freeze Hard Boiled Eggs?
If you make too many eggs, or your eggs accidentally freeze in the back of your fridge, keep in mind that the white part of the egg doesn’t thaw well. You can freeze the yolks to use for later use, for up to 3 months in an airtight container. (I’d peel the eggs and freeze just the yolks to make your life easier– peeling a frozen egg doesn’t sound fun.)
Which Instant Pot is Best?
I’ve found the 6-quart Instant Pot to be sufficient for every recipe I’ve made for my family. If you have more than 4 family members, you might want the 8-quart for making larger quantities.
Whether you use them for a quick breakfast, snack, or a salad topper, I hope you’ll find this method for cooking hard boiled eggs in the Instant Pot helpful.
Ingredients
- 4 eggs (or as many as you want to cook)
Instructions
- Fill your Instant Pot with 1 cup of water and place the metal trivet inside. (I use the one that came with my machine.)
- Place the eggs on top of the trivet, then secure the lid onto the pot. Make sure you turn the vent at the top to the "sealing" position. Press the Manual or Pressure Cook button, then cook at high pressure for 5 minutes. (Or use just 3 or 4 minutes for a runnier yolk; see notes.)
- For hard-cooked egg yolks, let the pressure naturally release for 5 minutes after the cooking process is complete. When the screen on the Instant Pot reads LO:05, move the steam release valve to "venting" to quickly release the remaining pressure. Make sure your hand isn't over the top of the vent so you don't get burned by the steam. For softer egg yolks, perform a quick release, which means you'll release the pressure as soon as the cooking cycle is complete.
- When the floating valve next to the steam release valve has dropped, it's safe to remove the lid. Use tongs or a spoon to carefully remove the hot eggs. Place the eggs in a bowl of ice water to stop the cooking process. Let them cool for 5 minutes before peeling and serving.
- Hard boiled eggs can be stored in the fridge for up to one week.
Video
Notes
- 3 minutes = very runny yolk with the whites mostly set
- 4 minutes = gooey yolk with totally set whites
- 5 minutes = jammy yolk, with the outer part of the yellow starting to set
- 6 minutes = slightly jammy center and slightly hard-cooked yellow edges
Nutrition
More Helpful Instant Pot Tutorials
If you’d like to get the most out of your electric pressure cooker, be sure to try the following recipes, too. They will make you ultra-efficient at meal prepping!
- Instant Pot Quinoa
- Instant Pot Black Beans
- Instant Pot Spaghetti Squash
- Instant Pot Chickpeas
- Instant Pot Lentils
- Instant Pot Shredded Chicken
- Instant Pot Sweet Potatoes
- Instant Pot Brown Rice
- Instant Pot Steel Cut Oats
–
Reader Feedback: What’s your favorite use for hard boiled eggs? We use them on my Vegetarian Cobb Salad!




These turned out great! So easy!
Just a question
Does it matter the size of the egg as to the timing for cooking? I love using Jumbo eggs and am guessing the time or the release will need to increase.
Good question! I always test with “large” eggs, so the jumbo ones might need a little extra time. Please report back if you experiment with that! I would start with just 1 egg to see if the timing is the same.
I hard boil a dozen eggs eggs every Sunday to have on hand for the week, but had never tried them in the InstaPot. I did after seeing this post and it’s a game changer. They cooked perfectly and were much easier to peel. Thank you!!
Perfect! 3 minutes qpr. My 10 and 12 year old girls adore!
In case anyone was wondering, if you leave the eggs for 2-3 hours as a natural release they come out just fine. No green ring or anything
These are the best eggs ever! I’ve used this recipe many times and I always get great results. However, I only let it naturally release for 4 min (no ring this way for me) and I typically just let cold water run over the eggs as I peel them. I don’t even do the ice bath and instead start peeling immediately. So as I am peeling one, the others are receiving a cold shower. This consistently works for me so perhaps it will help others who are having peeling problems.
I have tried this way several times because everyone raves about using the Instantpot for hard-boiled eggs. However, each time, I get one or two that explode (I can hear it when it happens there’s a loud pop). I have let my eggs get to room temperature first to see if that helps and they still break. So I am not sure what I am doing wrong. I follow the recipe exactly. For me, it is easier to use the stovetop method, but I really want this to work with the Instantpot. Any suggestions? Some say to use fresh eggs, but that can’t necessarily be the case because how do you know how fresh they are when you buy them in the store? Someone else told me to use brown eggs… I’m only giving this a two-star rating because the unexploded ones peel fine. And I really want this to work! I have your cookbook and love the recipes.
First time making hard boiled eggs in the instant pot and this worked out perfectly! Thanks for a great method!
I live at a high altitude. Someone told me to do 6/6/6 instead of 5/5/5. The eggs turned out perfect!
Thank you for sharing!
I won’t give this a bad rating because I’ve used this method before and it worked perfectly — however, I’m commenting because for some reason when I’m using this method lately my eggs won’t peel properly and they’re getting so messed up and ruining the batch and sticking to the shell and whatnot. I CAN’T FIGURE IT OUT and it’s driving me crazy 🙂 and I’m wasting a lot of eggs because I just want to make deviled eggs and can’t….. HELP. Thanks! 🙂
The fresher the eggs, the harder to peel.